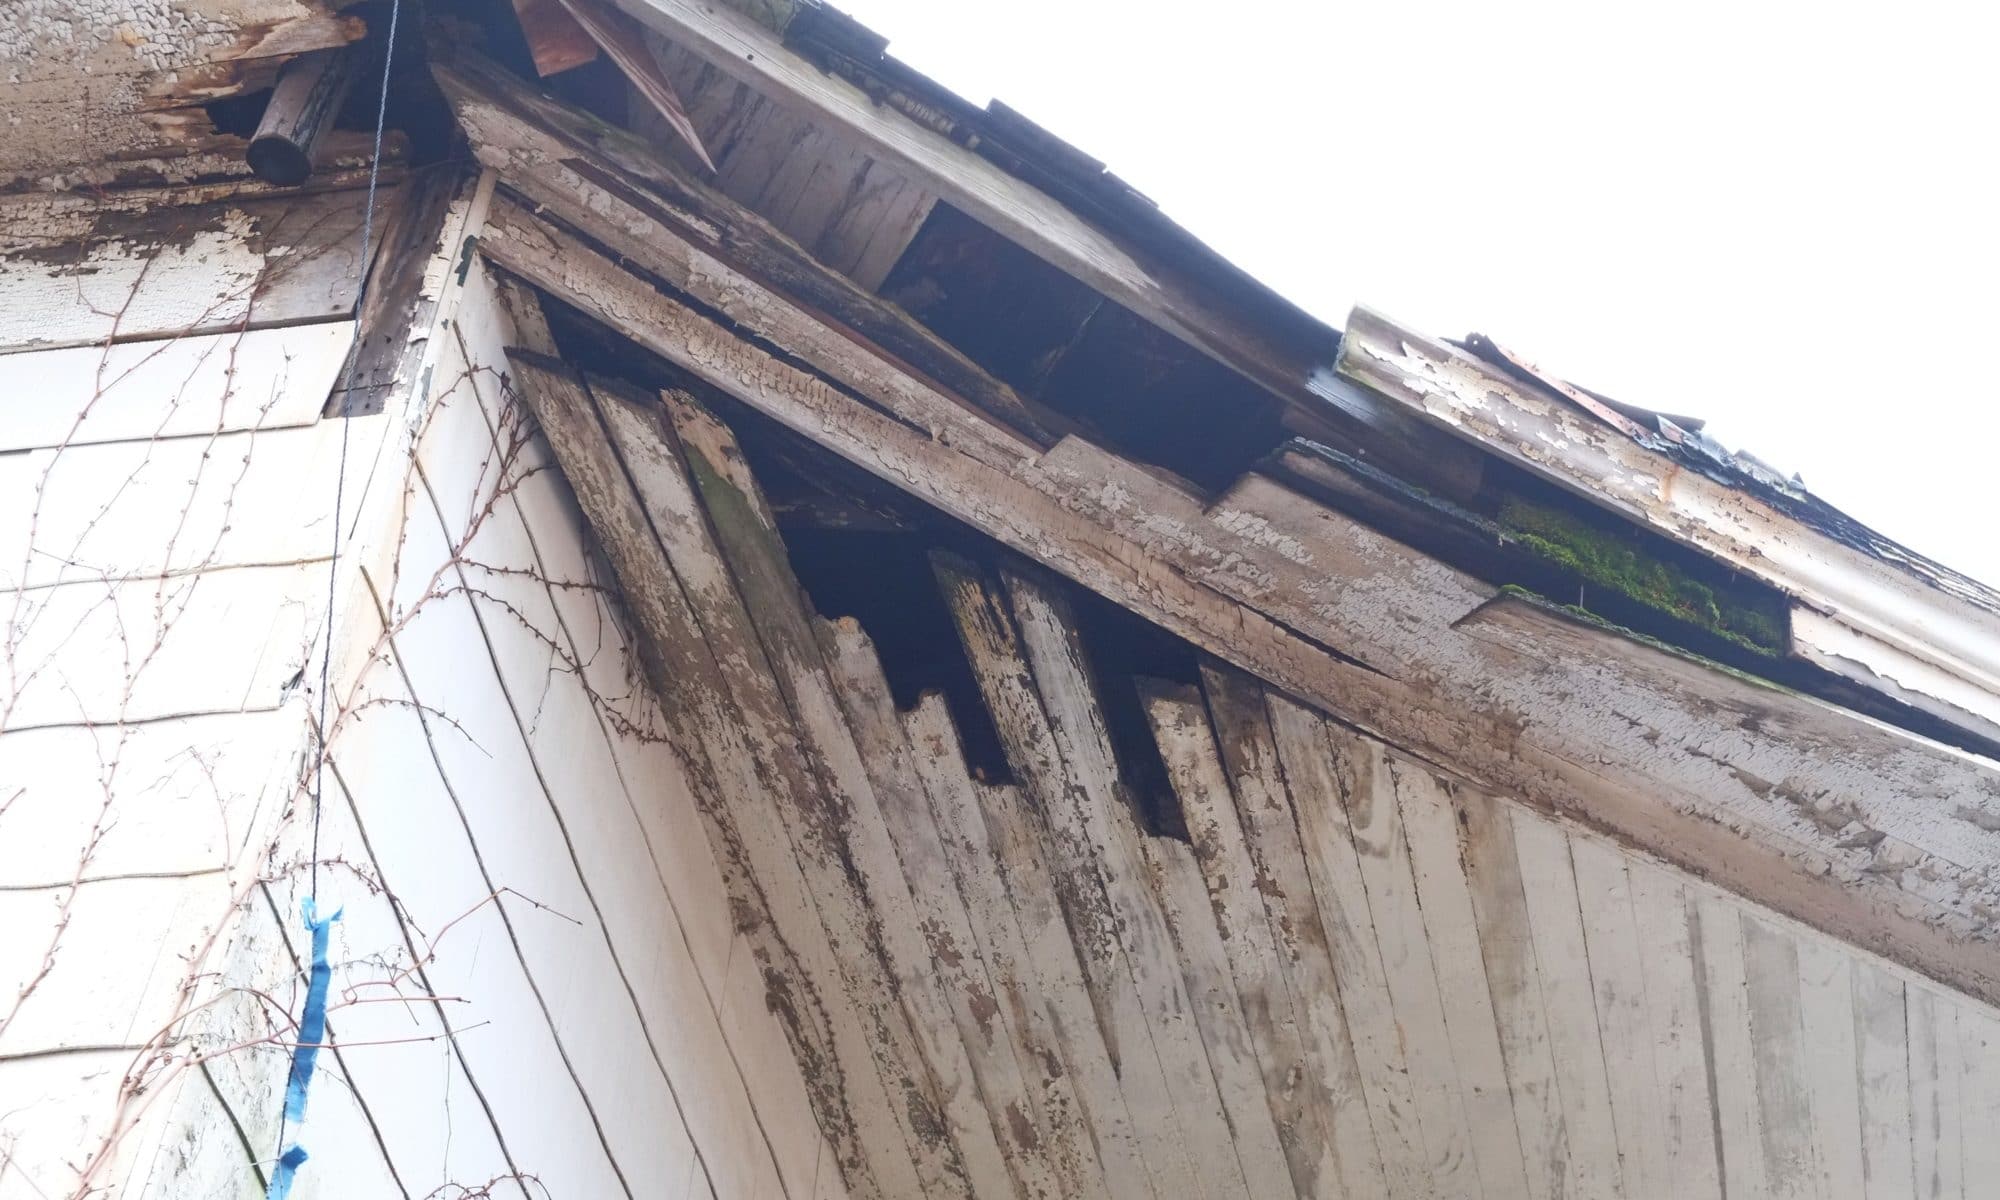
As the end of the year draws nigh and the sun sets over Disaster Mansion, I’d like to recap on what we’ve been up to over the year, what’s given light and what has cast shadows.
January
This is our fifth winter working on the house, we are slowing down a bit, but that’s fine with us. In January we started on some inside projects, first was to build a new partition wall between the boiler room and our bedroom. I over-engineered it with 4×4’s in case we ever needed to hang heavy shelving as well as act as a load bearing wall to support all the partying up above.
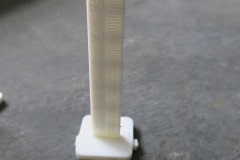
I also started to restore our newel post for our stairs, this was pleasant job as I could work on it from the comforts of our kitchen table.
February
I continued to work on the newel post restoration and started to epoxy together wood for our sash windows. I had bought some thermally modified wood (lasts a long time and is pretty dimensionally stable) but it only came in 1 & 1/4″ thicknesses so the wood had to be milling and then epoxied together to get to the requires 1 7/8″ (≈ 48mm). Again I could do this on the kitchen table. There are a lot of pieces to a sash window so it took some time and spread into March.
March
As well as continuing with the sash window wood we started to clean up the inside and removed all the old gas pipes, knob and tube electrical wiring, old screws/nails and random scraps of wood that had been nailed to the beams.
It was during these winter months that I was also doing a lot of research on self-leveling compound and trying to work out the best way to fix our uneven concrete pour, including how many people we needed, what tools were required, how much we could pour at any time etc. We also started again clearing out the trench at the back of the house for our foundation drain. My brother Matthew helped me with this and he earned his keep as well as getting me motivated again.
April
By April I thought we had dug enough out of the trench, but sadly that wasn’t to be so. I think I had previously got french drains and foundations drains confused and after doing a bit more investigation and consulting our architects plans I released that foundation drains needed to be below the top of the footings. We dug a little deeper and found out that our recently installed new footings were in a very poor state, sigh, but more of that later.
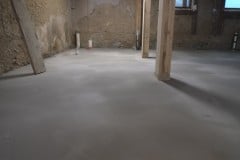
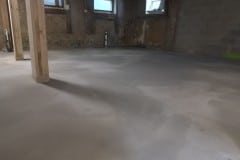
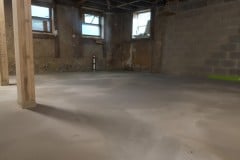
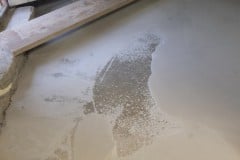
As mentioned previously I’ve been planning for months on how to use self-leveling compound to level our floor. Self leveling compound appears to be an ultra fine cement and sand mix which has the consistency of pancake mix so it can flow and self-level. When I say self-level, it will only do this to a degree, imagine when you make a pancake, you have to encourage the batter to fill the bottom of the pan. The reason I hadn’t started on the self-leveling before was that we needed the surface of our concrete floor to be above 50°F and we were only just starting to get these temperatures. It was frustrating that we had to wait until April as this held us back a bit.
Self-leveling can be tricky as you only have about 15 minutes before the mix starts to set, so you need to be fast and have a team who know what they’re doing. Our team consisted of Joe, Deborah, Rob, Brain and Aimee and I can’t thank them enough, everyone was a vital link and they all preformed faultlessly. Thank you!
Because some areas needed in excess of 1″ of self-lever we did multiple pours in these areas, spread over a number of weeks and re-priming each time.
May
In May we tried our hand at re-plastering one of our interior walls with lime using a process called harling, which is basically throwing the lime mortar at the wall. This proved hard work and the results were just about okay. After a bit of research I found an air driven tool that could do the job a lot faster.
We also did another self-leveling pour, the results weren’t perfect but luckily this wasn’t the final pour.
June
June was back to the trenches but some major rain storms caused the trench to collapse again which meant digging out an extra 2′ deep of dirt, wasn’t happy about this.
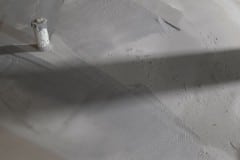
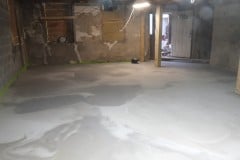
We also finally finished applying self leveling to the main basement room and the results were very pleasing. We added ice to the water this time to give us a bit longer cure time.
Having finished the floor we thought we would epoxy it and apply a stencil pattern, we ran a poll and the top three you voted for were:
- Starry Moroccan Night (8 votes)
- Aragon Damask (8 votes)
- Duomo (6 votes)
Lastly we enlarged the bathroom widow and reframed the plaster. We did this for two reasons, firstly code dictated that this had to be a means of escape from the bathroom, should you be trapped by any nasty whiffs and secondly, the previous window was miserably small and we wanted a decent amount of light in there.
She came in through the bathroom window…
July
The month started off with a fun project, some brick bat boxes, well they were wood (thermally modified) but painted to blend into the brick house next door. Didn’t see any bat action around them this year as we probably installed them too late, but fingers crossed for next year.
Brick Bat Box!!!
Back in April I mentioned that we had discovered some pretty poor workmanship on our footings. This was the month to repair them and it wasn’t fun. More dirt had to be dug out and working down there was pretty cramped, that said I think we did a great job fixing them and in the end it was worth the extra effort.
Repairing the footings
Lastly we tidied up some door openings. The builders left them very rough so we added shuttering and packed them with stone and lime mortar. The doorway to the boiler room will have an arch so there will be at least one room where you can bang your head on. Form for the arch is pretty much complete, just isn’t on a high priority.
August
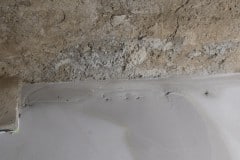
Having just finished all the footing repairs it seemed a good idea to re-plaster the exterior walls. In some places it had crumbled away leaving 4 – 5″ depressions into the wall which is not insignificant. Once this trench gets filled in, these walls won’t see daylight for many many decades, so it seemed a good idea to fix these walls correctly and not skimp.
Luckily for us there was a perfect tool for this, the ToolCrete mortar sprayer which was a pretty invaluable tool. The mortar we used for the wall was lime to match the existing mortar and we also added as much stone as we could to fill in the deep areas. Once sprayed on the walls you could push stones into the lime and suction would do the rest. Once the lime work was done we applied a limewash coat to give some extra protection and then resumed work on the foundation drain.
One of the issues we have with being “new to the trade” is that we don’t always know what products are out there and one case in point was my discovery of Dimple board. Before I filled in the trench I didn’t want wet gravel against the wall, but at the same time we couldn’t paint it with a bitumen type water proof coating as lime walls need to breath. Anyway dimple board was a hallelujah moment for me.
Almost Ready to Lay Down Pipe
September
Late August, early September we took a much needed vacation to see family in the UK, first time back in over three years and it was great to see family and friends, eat fish & chips, curry and steak pie, not forgetting mushy peas, bliss!!!!
The remains of September were spent prepping the rest of the trench for the drainage pipe, including removing a long section of our old cast iron waste water pipe.
Back to work
October
Finally finished off the parging and started work on the drainage pipe. We couldn’t find pre-drilled pipe so spent an evening drilling our own holes in the pipe. We measured the distances and assembled the pipe with PVC glue on the lawn and then dragged it into the trench. I think we only made one correctable mistake. Once the pipe was in the trench we could add a bit of gravel below the pipe and check that the gradient was roughly 1/8″ per foot.
Foundation drain update
It was nice to finally be filling in the trench and we had a few kind volunteers to help fill the trench up to the top of the footings. At last you could walk around the trench without it being a trip hazard.
Having filled in the trench to the top of the footing it was time to install the dimple board. Dimple board is a tough water proof membrane with the added advantage of leaving an air gap between itself and the wall which allows moisture to condensate and fall by gravity.
Dimple Board
Once the dimple board was in it was time to fill the trench with gravel. I did eventually have to splash out and buy some more ply for shuttering, but that was worth it, after all we only needed a column of gravel 12″ – 18″ wide. Thank you Giovanna and Derrick who helped us shift the gravel.
National Gravel Day
November
With the cold weather approaching we moved indoors to complete the lime parging/wall repairs. This can’t be done in cold weather so had to get it done soon and we needed this completed before we started framing out the inside for insulation (our winter project). A lot of the time was spent prepping the wall, removing all the plaster and loose and flakey mortar.
Parging Inside Walls
After parging inside was complete we moved outside and eventually started to fill the trench in. We had a lot of gravel to shift so it took many weeks to complete. We also lost Aimee’s Mum, Doris who will be sadly missed.
Filling in the Trench
December
We finally finished the foundation drain, okay there is a bit to do at the front of the house but that will be easy. Phew!!!
Trench Finally Gone
So in reflection I feel this year was an improvement on the last, we had less disappointments, which could be down to us doing most of the work ourselves. We are definitely slowly down, both physically and mentally but I’m hoping that is balanced by future jobs being less physical and more artistic in nature (hence fun).
Here’s to a healthy, peaceful and cheerful 2023 to all of you that have been following our progress. I special call out to Chris and Ian who are constantly giving us positive feedback – thank you, it means a lot.
Lastly we made a small video in which we tried to encapsulate all the above work. I did forget to add John Paul and Brian from the credits, so my apologies. If we’ve left anyone else out please reach out.
Best David & Aimee, 2022
