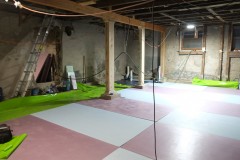
We continue to prepare for the ground floor pour. Seems like we have been doing this for months which is probably not far from the truth. If you had asked me, before we started, how long I thought it would would take I would have said about three weeks, dig out and level basement dirt, add 5 – 6″ of gravel and compact, add vapour barrier, foam insulation, rebar and radiant heating – easy! I should know better by now and multiply all estimates by four or five.
Most of the delays have been spent working around our irregular footings and that has involved a lot of trimming with grinder, hammer drill and chisel etc. If this was a new build we wouldn’t have these problems as everything would be square and at the same height. Even after tidying up the footings they still aren’t square, straight or at the same height so accurately cutting and taping the vapour barrier and foam insulation is more time consuming than I thought. Like a lot of things in the house this is a first for ourselves so we are taking our time and trying to do it right. We have made a few mistakes like getting the levels wrong in bedroom which meant we had to remove a few inches of gravel – annoying as we had finished putting down the vapour barrier and insulations.
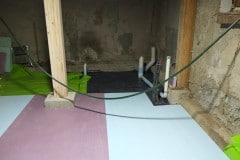
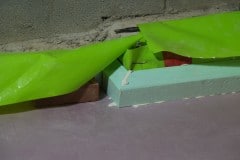
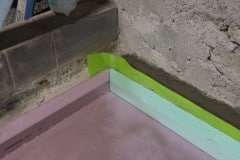
After the gravel was compacted we started laying down the vapour barrier, we were going to put the vapor barrier above the foam but the local building inspector recommended it go below the foam so that’s where it went. We had previously bought some 6 mil polyethylene sheet for this purpose but after some research 6 mil seems to be about the bare minimum so we bought some StegoHome 10-Mil Vapor Retarder which is a lot thicker and comes in a cool color. The red Stego tape is really great also, super sticky. I’d like to thank Mariah of Stego Industries who has been most helpful and patient with us. Thank you Mariah!!
As we had the 6 mil sheet anyway I decided to put that down first as it helped stop us kicking up the compacted gravel as we walked over it. We also wrapped the vapour barrier up the walls a bit – seemed like a good idea especially where the rear walls are build into the earth and subject to damp.
With the vapour barrier pretty much down so we’ve started to add the 2″ foam insulation sheets and we feel we’ve done a pretty decent job with most of the foam joints being nice and tight. Eventually these will all get taped up.
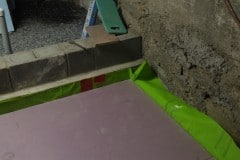
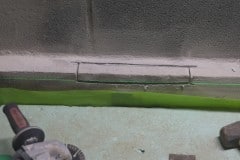
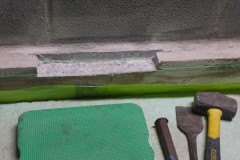
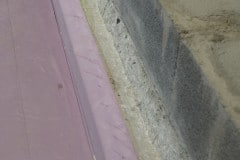
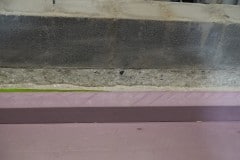
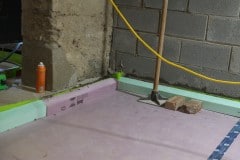
After the main floor insulation we needed to run the foam insulation up the sides of the walls by about 4 to 5″. This acts as a thermal barrier so our heated slab doesn’t end up loosing heat to the footings and outside walls. It was during this process that I discovered more concrete that had to be removed – there goes another three evenings! In the photos below the green laser line is the finished floor level and if I hadn’t removed the concrete above that we would have had a ledge in the bedroom which would have meant that you couldn’t push furniture up against the wall. In the end I went down 1″ below the laser line – I’m getting pretty good with the hammer and chisel 🙂
Below you can see the beveled foam edging which I cut with my track saw. The foam will be about 1/2″ below the finished floor so you’ll never see it. It’s glued down with a construction adhesive.
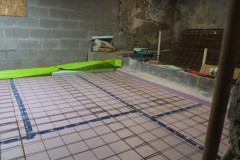
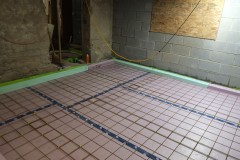
Finally a room with the rebar mesh laid down and zip tied together. On top of this I’ll zip tie the radiant heating pex tubing but first I need to finish off the edge insulation in the other rooms.
I’ll be really glad when this job is over and we have a concrete floor. This might be the biggest job we’ve tackled so far.
