Sistering the floor joists

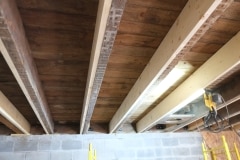
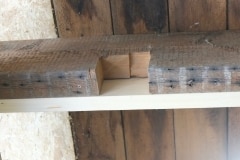
A while back we were discussing some joist repairs I was doing with our carpenter, Andre, and he thought the original floor joists over the main span of the ground floor probably wouldn’t be up to modern building code, especially as in places the joist had been badly butchered with 3-4″ notches cut out of them.

We could have left it as it was, and building inspectors would have probably grand-fathered it in etc, but then someone, maybe Derrick, John Paul or Andre mentioned that houses now have to carry a greater load, basically because we cram in more physical stuff, just look around and imagine how sparse your place would have been a century ago. In addition people socilaised differently a century ago, what may have been a tea party for ten could now be a party for forty, anyway you get the idea. So if you’re doing a major renovation of an old house it’s probably wise to think of what loads the house was designed to bear and plan for what you expect the new loads to be.

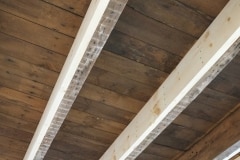
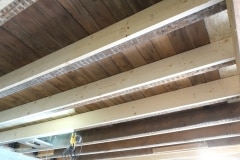
To cut a long story short Andre thought that it would be a good idea to strengthen these floor joists by adding extra wood along the whole length of them, a process known as “sistering”, why that name, I have no idea and a google search wasn’t conclusive but it does reminds me of the bill board on the show, Schitt’s Creek, “Welcome to Schitt’s Creek Where everyone fits it“. If you know, you know.

Our floor joists are about 8 – 9″ tall so Andre did a good job of cutting 2×10’s back to size, plus any necessary shimming. It does take a lot longer but now the new sistered joists are flush top and bottom with the originals. I’m pleased with the work Andre and Jerrid did, thank you. This is another job off our hands.

We really only had one shot to do this work before the electrician and plumber starts pulling wires and pipes through the joist so I’m glad we did it. This work will benefit the house and occupants for decades if not centuries. I appreciate you bringing this up Andre.
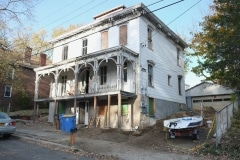
I’d like to report a missing porch

Yes officer, it’s gone!!!!

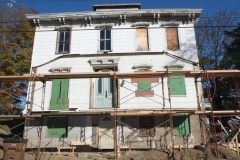
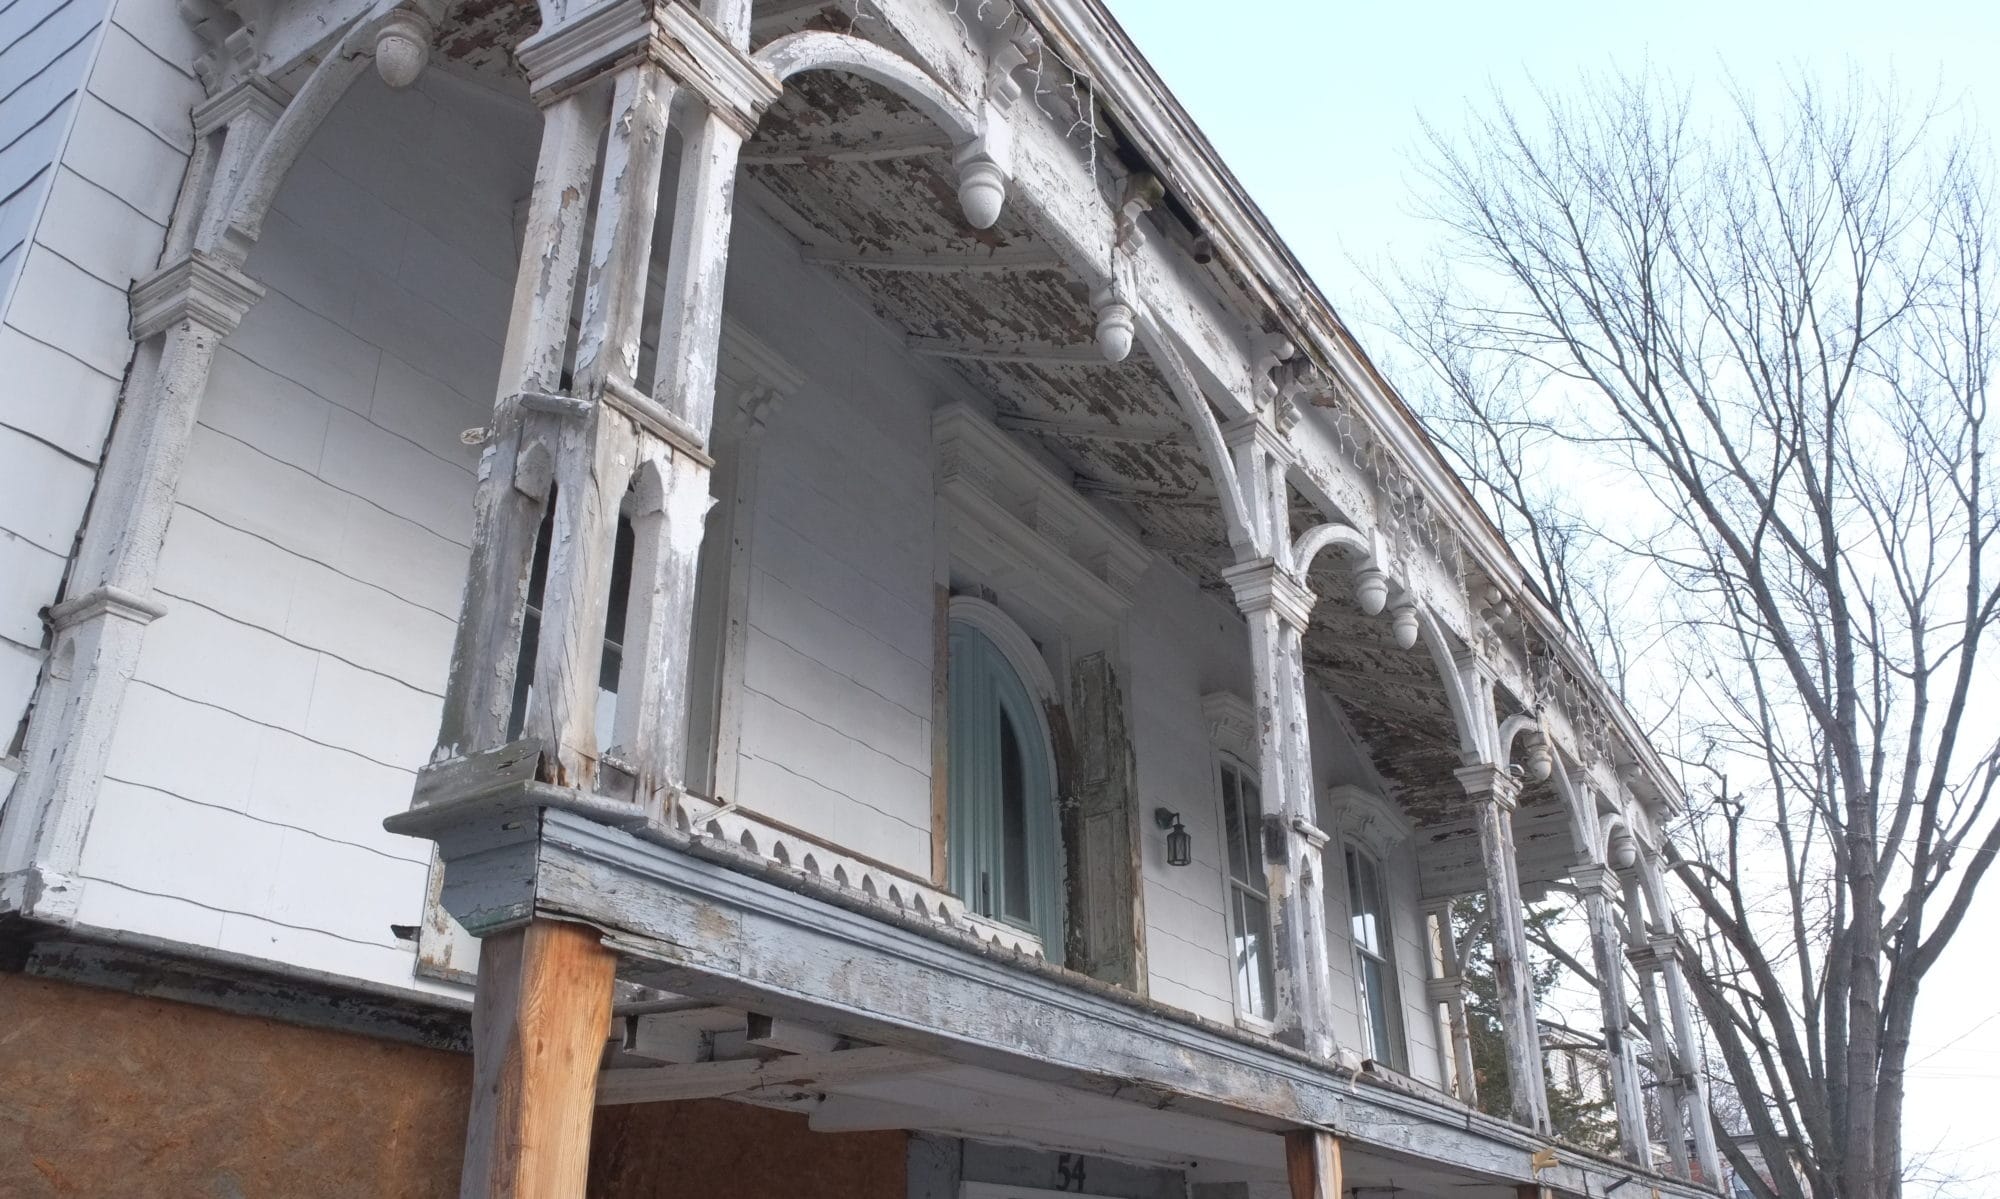
Repairing the porch has been on the books since early this year. It has never been safe to walk to the far ends of the porch and it was starting to pull away from the house a bit. The idea was to replace the lower single supports with double supports and then working upwards, replacing the deck, then upper supports etc. It would have been a big job, possibly beyond our skill level and taken us ages, so Aimee suggested we look to see if we can find someone competent and passionate about this kind of work to undertake this project and not make a bodge out it. Fortunately a partner of one of Aimees work colleagues was a timber frame carpenter which seemed the right sort of skill set and his name was Andre Ernst.

We met Andre a few months ago, explained how we didn’t want a pressure treated nail-gun porch, but more of a hand crafted, near exact replacement, whilst beefing up the strength slightly where possible. Andre definitely knew his stuff and understood what we wanted, but I think what sold it for me was seeing the artistry of his work, see Hudson Valley Timber Frames for some examples of his work. That to me showed me he took pride in his work.

The initial plan was to break the project into two phases, phase one would be to rebuild everything up to the the porch roof and phase two would be to rebuild the roof. During phase one the roof would be supported.

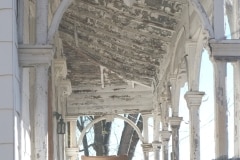
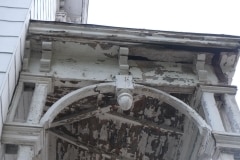
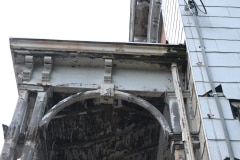
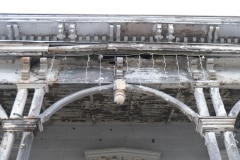
Once the scaffolding went up and a more thorough inspection was carried out it was deemed that the whole porch was in danger of collapse with the ends of the roof rafters rotten and pulling away from the house and the second floor vertical columns bowing out with barely any solid wood connecting them to the roof, so the decision was made to remove all of the porch as part of phase one. Historical society and building department were informed of this decision. I didn’t expect it to come down so quickly, but if it’s unsafe, why wait. Andre did save a lot of the wood so we could recreate the new roof exactly and you can see that the rot is major.

Sure the porch could have lasted for maybe months or years longer, but maybe not. Reminds me of a sad tale of students losing their lives across from where I used to work when their balcony collapsed, Berkeley balcony incident, all very sad and I still feel for all those victims.

Obviously it would have been great if we could have just replaced the odd bit of wood here and there in order to keep the originality, but the decay at the base of the roof was pretty bad. The porch roof gutters had long gone so any rain water would have just been soaking the base of the roof, probably for decades, so the rot is not surprising.

We asked Andre to save all the detailed bits such as the corbels, arches, acorns, curved roof rafters and first floor vertical supports, and we’ll restore a lot of this and if we can’t then they will be used as templates. We won’t reuse the vertical supports for the front porch but I might see if they can be restored and used when we rebuild the rear balcony which is not original and damn ugly.

We did inform the City of Kingston’s, Historic Landmarks Preservation Commissions that the roof needed to be removed and we are appreciative of their support.

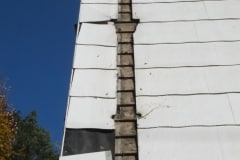
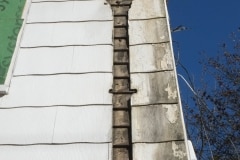
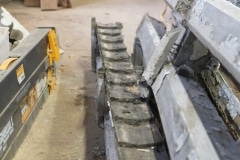
On deconstruction, I did like the way that the concrete tiles were trimmed nicely around the profile of the columns, nice touch, however an even nicer touch was how the vertical columns were notched out to fit the original wooden sidings so they sat flush with no gaps, that’s pretty impressive. I’m going to want the new pillars to be the same. No one would bother with that sort of detail nowadays, hence why I think it’s important for the houses originality, sure it’s new wood, but installed the original way.

Painting the floor

Back in August we painted the ground floor bedroom. This last week we managed to paint the rest of it. Like the bedroom we used a one-part water based epoxy and then finished it off with a coat of textured clear topcoat. The topcoat has anti-slip additive so there’s a bit of grip so people won’t slip if it gets wet. The paint is supposed to be rated for garages, but I doubt it could stand up to too much rough treatment. I’m glad we got this done as soon it’ll be too cold to do it.

We first had to roughen up the surface of the floor with a diamond pad on our orbital sander, took a while and luckily I forget camera on second day so most of that isn’t in the video which is fortunate and it’s almost as exciting as watching paint dry! Note, if you ever encounter sanding pads not sticky well to your sander then that is probably because the plastic velcro hooks on the sander have softened due to heat build up, this can easily be fixed as most manufactures sell replacement pads for about $10.

To make cleaning easier we plan to tile the areas that will receive the most abuse, such as the entry area, kitchen and bathroom. Not sure what we will cover the remaining floor with, possibly wood but for now we’ll just carpet these as we have a few of them in storage.

The ground floor will probably never be as clean as this!

A big welcome to our latest subscriber, Lynn from Dinas Powys. Looking forward to a tour of your interesting property one day!