Je Suis Très Fatigué

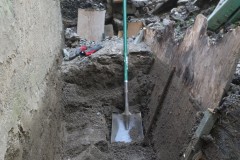
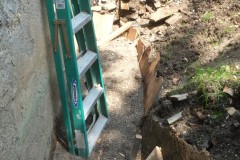
If you remember, last month I had a post titled, “Digging is over“, well you can imagine my joy when I noticed that it wasn’t, a couple of feet deep of muck now sat at the bottom of the previously cleared trench. Not sure how it got there, but the plot thickens!! At it’s deepest it was a little over 2′ deep and even the ladder was buried.

It was caused by a serve storm earlier this week and today I decided to dig it all out and to make the parge coat and a french drain a top priority as I don’t really want to dig it out again. It probably took about 5 hours with a few breaks. Luckily I was in the shade and there was a slight breeze as temperatures today were hitting the low 90F/32C. The hard part was throwing it out of the trench, but fortunately this thankless task is over.

PS. The title of this post comes from a line in a British comedy show, do you know which one? I bet Jason knows.

[Spoiler alert. The answer: https://www.youtube.com/watch?v=kulkUAUEWrs ]

Self Leveling Revisited

This Sunday we got the crew together to do another self leveling pour. The original plan was to do an initial pour to fill in all the deep areas and then a second finishing pour. Well I underestimated the number of bags for the first pour (17 bags ≈ $700) so we didn’t manage to fill in all the deep areas, worse than that after checking the levels with a laser, the deep areas still needed at least 1/2″ of product. This was poor planning on my part and I decided that I needed was some sort of depth gauge to give you some visual indication of how much leveler a particular spot on the floor required.

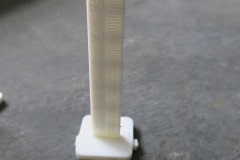
I looked about a bit and eventually found these handy self leveling pins. They have adhesive on the bottom, so I placed them every 3′ to 4′, set up the laser level and then cut them down to the height of the laser line. They did the a great job though they were pretty expensive at $120 for a box of 250, however, we only used about 40 so I’ll sell the rest.

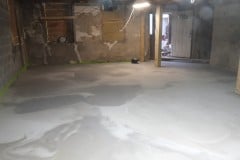
For this weekend we had 51 bags (≈ $2,100) and I decided to do the whole main room – for self leveling that’s quite a large area. I damned off the bedroom as we needed somewhere to mix.

The results weren’t perfect:

  • It was a hot day and the product set fast. Next time I’ll ice the water.
  • I tried to move the product after it had started to set and caused some unsightly blemishes.
  • We had some leaks where the product was draining into our sub-slab gravel.
  • We ran out of product and didn’t cover the entire area.

That said we will do another final skim coat which will hide all these minor blemishes.

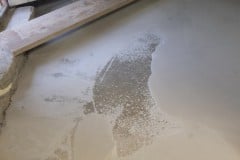
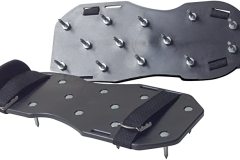
By the way I’m wearing spiked shoes so I can walk over the product without messing it up, pretty damn slippery though.

In the photos you will see a lot of lines on the floor, these are the boundaries of each batch we poured, however, these are smooth so no ridge, just change in color. The final pour should be pretty straight forward and all the different batches will be blended in with the spiked roller, after which we will probably apply a protective epoxy coating.

The photos don’t do it justice and I’m pretty pleased with how this pour went, apart from the odd blemishes (which will be covered in the final pour) it’s finally getting nice and flat. Again a big thanks to Joe, Deborah, Brian, Rob and Aimee.
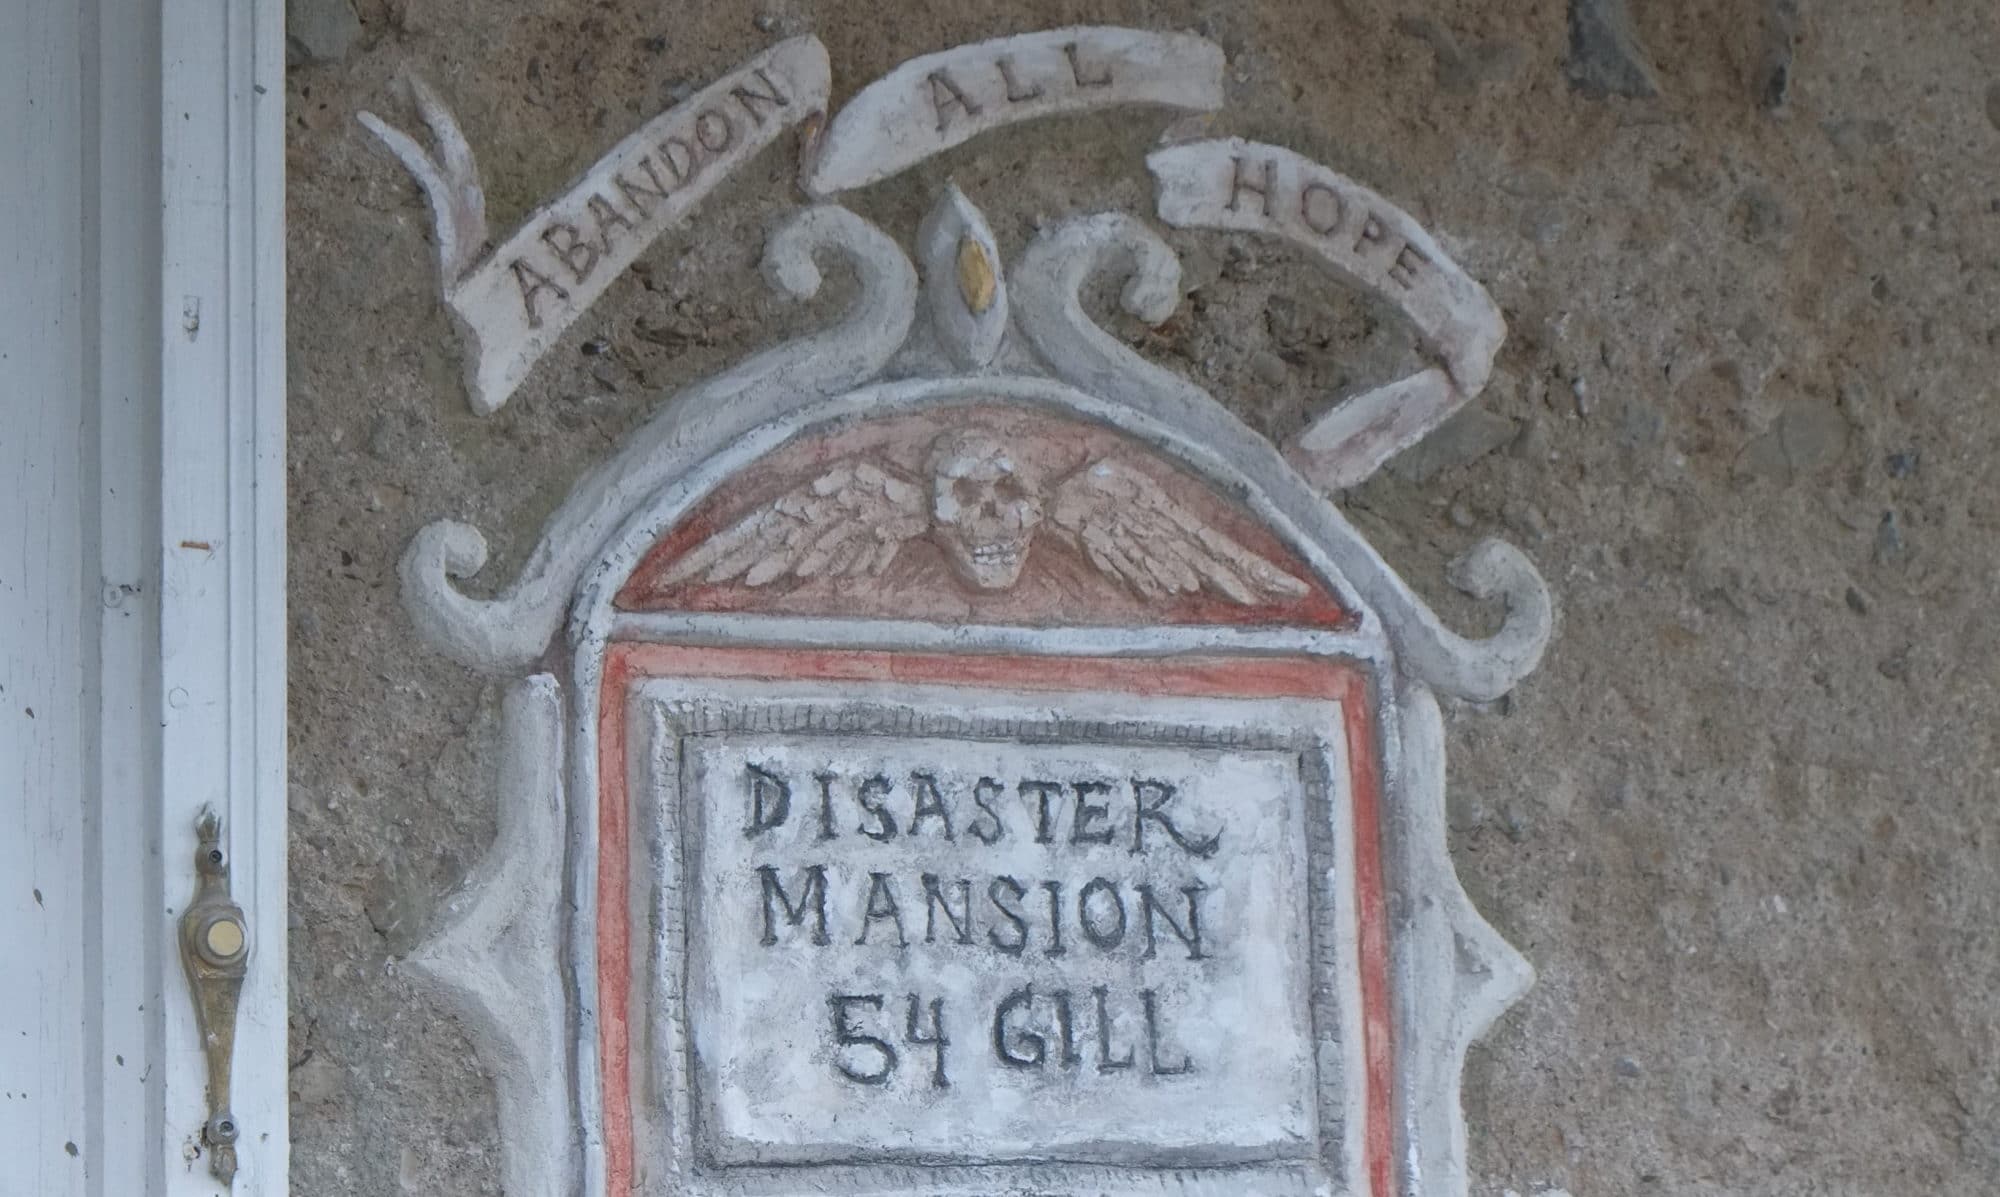
Harled a bit this weekend, but feeling better now

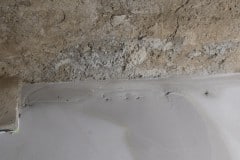
Harling is the process of throwing a lime slurry onto a wall. I’m guessing the name derived from the word hurl. We’re doing this to replace the flaking lime render on our walls. Lime mortar walls are porous and I believe it’s normal for the surfaces to flake like this over time. These walls probably haven’t been touched in 150 years so they deserve a little love. The harl coat isn’t a finish coat, rather it provides a good textured coat for subsequent coats. As we will be framing out the downstairs to add insulation we will leave the majority of the walls with just this harl coat. Only internal walls will have finishing coats.

It’s a bit of a messy and physical job with lots of the lime ending up on the floor. You have to wear eye protection as the lime is pretty caustic and will burn. Mixing lime is also pretty time consuming as a batch will take a minimum of twenty minutes to mix. Lucky our friends John Paul and Joe and Deborah both lent us decent mixers which made the process a lot easier.

For the mixing process you have to dry mix the sand and Natural Hydraulic Lime 3.5 (we buy ours from the fine people at Limeworks) for 5 minutes, add water and then mix for a further twenty minutes to make the render more workable or ‘fatter’.

We are thinking of buying or hiring something like the Render Gun for the harl coat and pay someone to do the finish coat.