Today we painted a door

Today we painted our soon to be new back door. Its taken us ages to restore this door so it was nice to finally paint it. We found the door up in the rafters of our decrepit garage with a good layer of soil and plant life on top. We had to replace all the trim, panels and most of the stiles needed major repairs from abuse by crowbars.

So we painted a door today, but there’s a lot more to it than that, what we are doing is putting a stake in the ground for the colour scheme for the whole house which we’ll hopefully live with for many years.

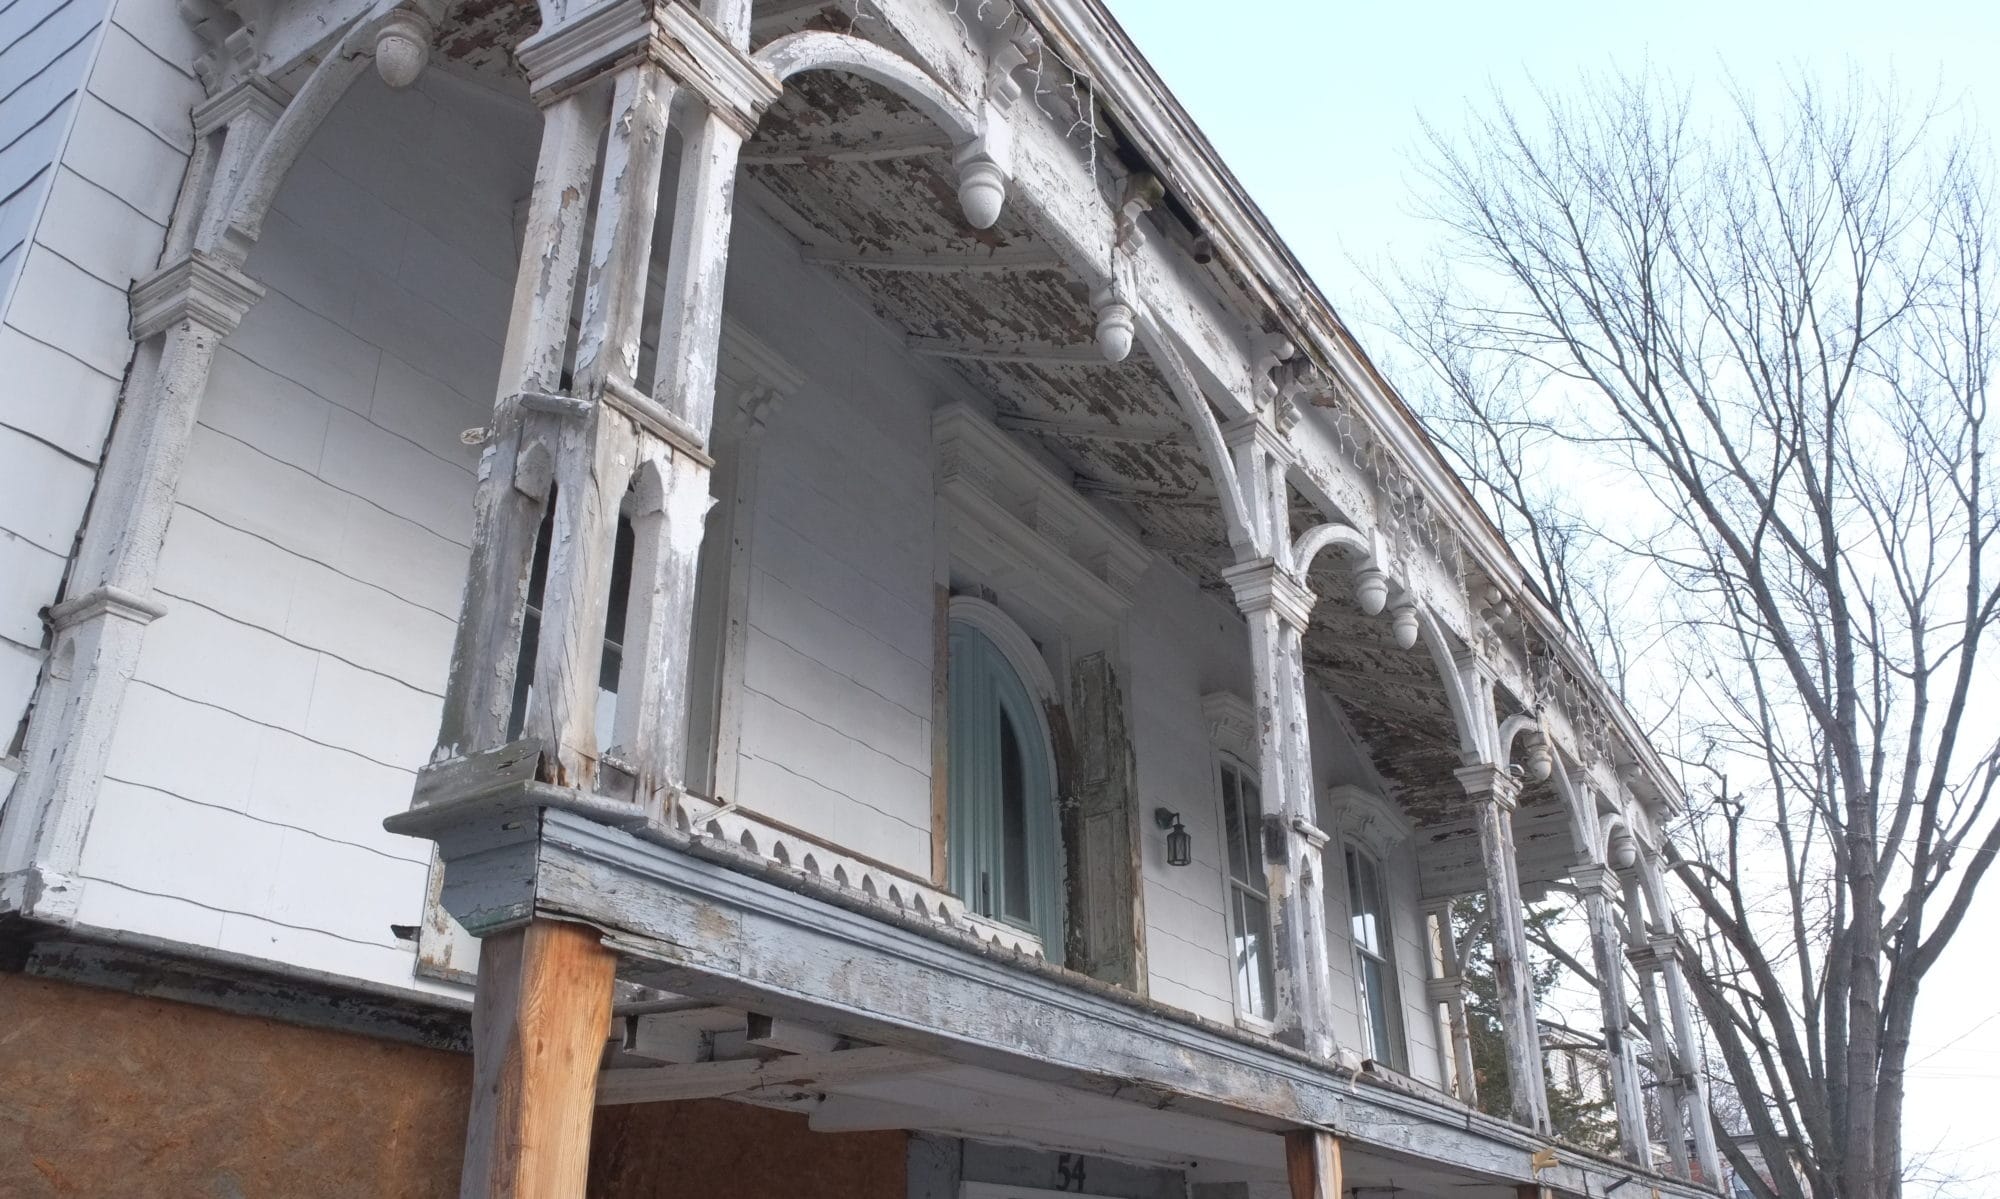
When we bought the house it had been gutted and very little of the original trim or details remained however there were some remaining surfaces that retained the original paint such as the light blue sea green color of the stairs and balusters.

We decided to continue with this colour which started us on our headache to match it. We started off with countless colour cards followed by various samples which were way off the mark. Finally we found a colour card which seemed a great match so off we trotted to get a gallon of Sherman Williams Duration which was recommended by Derrick.

First coat went on and it looked too green. We let it dry overnight hoping it would mellow but in the morning light it was still firmly too green. After a bit of head scratching we thought we could take our paint back to Sherwin Williams in the hope that they could magically re-tint it to what we wanted and in truth it was an act of purest optimism and would have undoubtedly ruined a gallon of pretty expensive paint in the process. As luck would have it Sherman Williams closes at 4:30 on Saturday and we missed it by minutes. We then thought of buying some sample latex paint from a box store and blending it ourselves, but before we did this we thought we’d run the idea past Derrick as we’d be blending different makes. So glad we spoke to Derrick as he very helpfully suggested we go to an art store and buy acrylic paint (small tubes/bottles etc.).

The nearest store was Michaels so we got some Black and Manganese Blue acrylic from Golden which is great quality paint but it does cost a little more, that said it was worth it for the beautiful swirls it gave while mixing. Back home we started making colour swatches by adding a single drop of acrylic each time. I was a bit concerned that I may add too much acrylic to our paint and ruin it, how wrong was I!! In total we added 6oz of Golden Manganese Blue, 8 drops of Golden Black, 8oz of Liquitex Cerulean Blue and 8oz of Liquitex Titanium White (we went with the Liquitex due to cost).

https://www.goldenpaints.com/

The results of this did improve the color and now the door is more bluish than greenish however, the blue is a little dark so we’ll probably add another 8oz of White Titanium. We think we’ll leave the side of the door we painted as it is as it’s already had three coats, but the other side is fresh wood.

Cool cars at Disaster Mansion

Today we honored with a visit from this cute car, the owner of which would rather be known as the Possibly the Honorable D the J.

Some free beers in Kingston if you can identify the car and the year. Note the engine was upgraded to a 850cc, hence why the boot is continually open.

As we left Possibly the Honorable D the J had us join him in pray that he get home in one piece. Thankfully his prayers were answered and he did manage it.

Thank you Possibly the Honorable D the J for reveling this classic and you can trust us that we will not reveal your identity.

Knock, knock, who’s there?

Some idiot who forgot to put windows in our new front door. Sigh.

We hadn’t touched this door for months and I wasn’t thinking when I glued on one side of the plywood sheet yesterday, or when we glued down the foam core insulation with Special 3M 78, never to be removed spray adhesive, today. Of course about fifteen minutes after completing this it dawned on me that we were planning on having two glass window panels.

If it wasn’t for the fact that we have already sunk over $120 and many hours into this door, I probably would scrap it.

I’m sure I can tidily cut the foam out etc., and I’ll think on it tonight or maybe I’ll have a beer instead.

And remember all you makers out there, measure once, cut twice… I’ll get my coat.

On some good news today we finished all the excavation for the basic ground floor plumbing and shifted enough soil from the driveway that we can get our little sail boat out. Last year we didn’t take the boat out once as there were tons of rubble blocking it in.

And not so different from the last post

This time it’s reinforcing the foundations of the front wall so we can connect to the street. This wall was a bit trickier as we were near the corner of the house. We did have new footings put in but they weren’t continuous over the section that we had to burrow under, that is, the footings were done in small 3 – 4 foot pieces, which is fine normally, but its not possible to know what the linkage between these sections is, there could be rebar spanning them or it could be friction etc… You can see from the pictures that there are some clearly discontinuous sections. It’s like lego bricks, if you want to span a large distance, then longer pieces are better than lots of small ones. We had lots of smaller sections and in lots of places you could put your hand at least 5″ under the wall, not good.

Again we could have skipped the reinforcement, but in two days we had the job done. It was a big job but we did get 30 bags of concrete delivered which was a great help as we can only get 5 bags in our Corolla. I’m not sure Aimee wanted to go ahead with this project but now it’s done we’re both glad we did it as tunneling under this wall is now stress free.

Oh and on the back wall I did start counting, in chalk, the number bags of concrete we used, alas the camera has a limitation of 40,000 pics even though there was plenty more space on the SD card. This was a big pour and I think we used over forty 80 lbs bags. Pain in the back, literally.

The finished product can be seen below and the reason the concrete shows differences in colour is that we used different manufactures when we ran out of our delivery load. All of this will eventually get covered up by our concrete slab which we’d like to get done this year if possible.

Progress on plumbing

So as you may recall we have to redo all our plumbing as we currently have very little – a garden hose attached to our mains water which we greatly appreciate and can thank Paul Sinnott for.

We believe the last owners of the house were attempting to restore it as they gutted the house, hence no kitchens, bathrooms and then it was left empty for about ten years, during which time it was broken into and anything of value was pinched, e.g. copper pipes etc. It does make us feel sorry for the defenseless house and reminds me of the poor albatross chicks on Gough island and don’t search for it if you’re squeamish. If you want to donate go to RSPB Gough Island project.

To add to the plumbing complication there had never been any bathroom on the ground floor and as the sewer pipe entered the ground floor above ground level this was going to be a problem as sinks, toilets, baths etc. usually expect the above mentioned pipe to be below so gravity can do it’s work however, as we have to install a new sewer pipe it gives us the opportunity to lower the new pipe by a few feet – sure we could have had some pump system, but I really want to keep this system as simple and as reliable as possible. Fortunately for us the existing level of the sewer pipe at the street is low enough to enable this two to three foot drop.

Earlier this year we met Paul at the house and discussed how we should progress and it was decided that we should dig all trenches for the pipes, including out to the street – this was really a cost cutting exercise on our part as we need to be prudent.

Trench digging is fine, it’s hard work but we take it slowly, the issues we had was that we had to dig trenches under two load bearing walls and having brought down a wall accidentally last year you can understand how I am very hesitant about burrowing under them, especially as the geological layer around here and beneath our walls is 95% sand and I kid you not. You dig a hole in our basement and within minutes the ground around it collapses – you get the idea. In fact on occasion when we made our concrete mix too wet, we just used some of the sand we had dug up to thicken it! Added to all that the footings don’t appear very substantial in the areas we have to dig under as can be seen in the photos below.

Earlier this year Derrick had suggested that we reinforce the footings our builders had put in and that is what you can see us doing in the photos and video. We first drilled holes into the existing footings and epoxied in rebar perpendicular to the wall followed by a couple of long pieces of rebar parallel to the wall. In the end it took us about eleven straight hours and about twenty five 80 lbs bags of concrete. We also added some large washed rocks to save on concrete. It was hard and sweaty work but now I won’t have any worries about burrowing under this wall as it’s a substantial chunk of concrete. One more wall left to reinforce.