It certainly wasn’t a safety feature so we decided to take it off in case anyone grabbed it thinking it would support them. We’ll reuse the hand rail and newel post and after looking at the stair treads, some of those as well as wood is expensive. Out of all the spindles, maybe three are original. I was going to buy a lathe and remake them myself, but it’s probably easier to pay someone to do this.
The trick to removing the spindles (thank you Derrick) is to remove the side trim and then they pop out, note the square end so the spindle doesn’t rotate.
The bottom of the newel post is pretty decayed, I may stabilize it with Rot Fix or just chop off the rotted section and replace it with new wood. The wood is possibly walnut.
We’re getting close to getting a basement pour and to save some money we are excavating it ourselves. On average we’ve removed about 8″ deep of soil which will allow for 5″ of gravel, 2″ of insulating foam and 4″ of concrete. It will have probably taken us about 16 hours in total to remove this dirt, spread over a weekend and a few evenings, hard work but we take lots of rests, plus the dirts is basically sand. Main problem is where to put the dirt and the front of our house is starting to look like a scale model of the Himalayas. The dirt isn’t going back into the house, so what to do with it? Feel free to help yourself.
One good thing about this new pour is that we’re gaining 4 – 5″ of extra height in the basement. The ceilings will still be a little low but not as low as they used to be. To achieve this we did had to cut some of our footings down by a few inches which wasn’t an easy job and required a diamond cutting blade on my grinder and a hammer drill. That job probably took another few weekends and evenings, annoying as I added this extra concrete in the first place!! The footings still go down another 14″ so not loss of strength.
We’ll pay someone to do the pour, though at one point we were seriously thinking of doing it ourselves, with the help of course from people who have some expertise in this, mainly Derrick, John Paul and Joe. If this was all we had to do on the house then I’m pretty sure we would have done it ourselves.
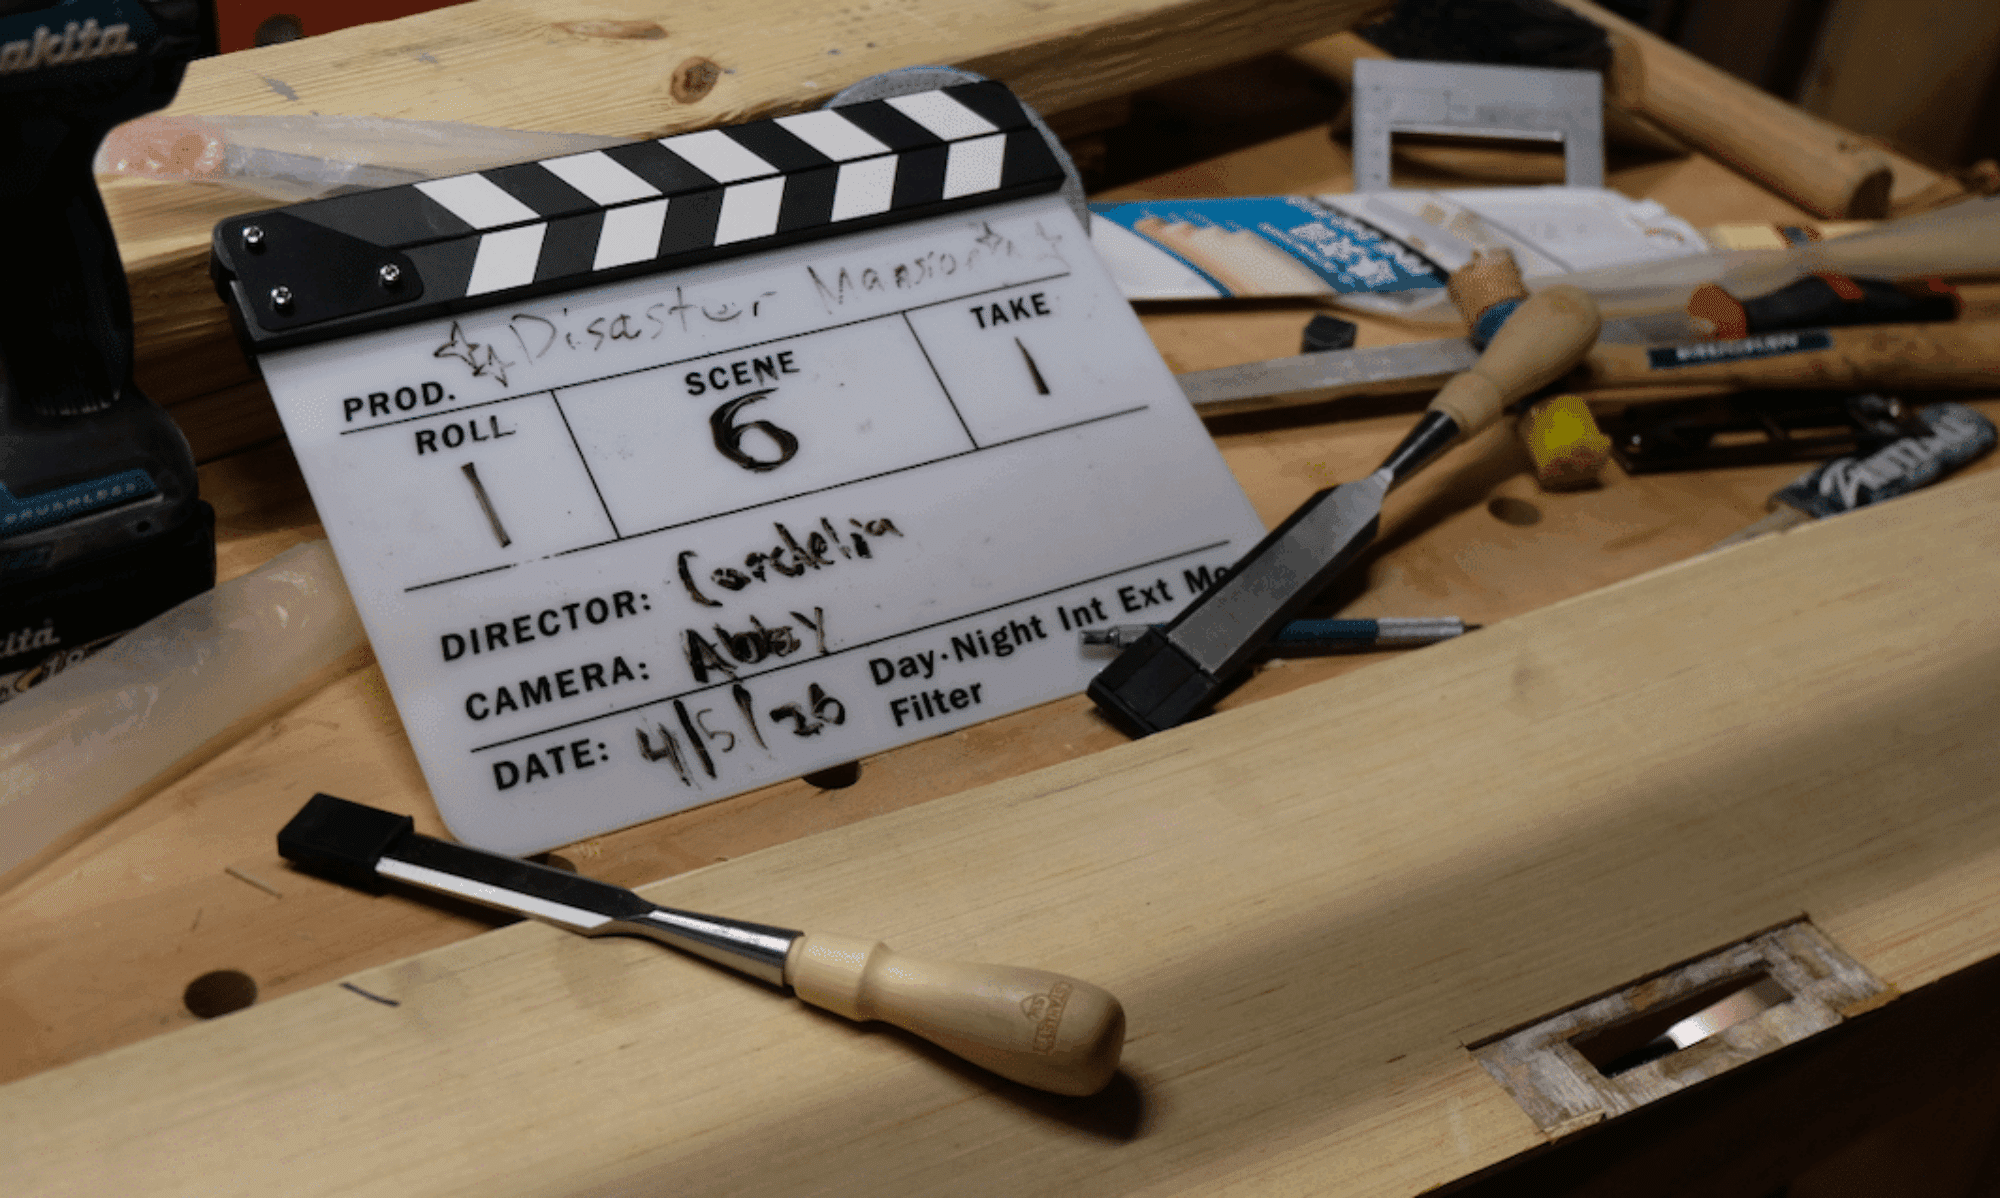
We still have a few little jobs to do before we’ll be ready and these include laying an electrical conduit for the mains cable, drilling holes through the wall into our mechanical room for our radiant heating pipes and lastly we’ll need to remove the staircase. We’ll probably keep just the hand rail and the newal post and bin the rest. Making a new stair case shouldn’t be too hard and should be a fun project 🙂
Today we planted a Jane Magnolia. Both Aimee and I share magnolias in our childhood memories, Aimee from her parents old house in Long Island, and my Gran in Dinas Powys. Aimee dug a hole my dad would have been proud of and we added some decent amount of good soil and peat. We’ve named her “Big Nan” after my grandmother and she should grow to about 15′.
Maybe in a few decades, magnolia left will become magnolia right.
Next tree to plant (if I can find one) will be an Acer griseum. We will plant some native trees as well and intend to plant a white oak and some hazel nut trees, and this is in addition to a white pine and larch that we planted last year.
By the way our daffodils have done pretty well this year and eventually we’ll plant them over all this lawn and include crocuses, snow drops, primroses and bluebells.
You may have noticed that we haven’t done much work on the house recently. That’s because it’s been so cold here. With temperatures generally below freezing it’s not very inviting especially when it’s dark outside. We have been working on some side projects such as the toledo chairs, a bird table and our test sash window, for which I’ve been working on the sash/weight pocket.
So what is a sash/weight pocket?
If you look at the anatomy of a sash window (see first picture below) you’ll see counter weights on either side of the window. These weights are of a similar weight to the sashes they’re connected to thus making the windows easy to open and close. Sash pockets are the small removable panels on the lower jambs that allow you to access the weights for both sashes.
So why do you need them? You’ve built and installed your windows and they work great, what could go wrong? Probably nothing for many decades, but one day you may have a problem, your sash cord may break or you maybe you decide to reglaze with heavier glass and need to add additional weights? This is where sash pockets come in handy as they give you access to the sash cord and weights. If you don’t have these pockets you’re going to have to use a pry bar to remove wooden trim which will take some time patching up.
Next time you’re in an old house with sash windows, open up the lower sash and see whether you can see the sash pocket, it will probably be painted over but you may be able to see the joints underneath the paint. Note, not all sash windows will have pockets but you can dig further yourself if you’re interested.
As you can see from the following videos making these pockets is a skill and if you get it wrong your sash pocket will look ugly. I’m not sure I have the skills to make these cuts accurately, so I decided to find an alternative method.
The method I decided upon was to make the window jamb from multiple pieces, this allowed me to create the sash pocket separately and use magnets to hold the pocket closed so I don’t have to use a screw. As we’ll be making these windows out of a dark coloured wood, you probably won’t even notice the pocket and all you need to open the sash is another strong magnet. All these joints were cut using a table saw and tenoning jig. When we are ready to start production of the real windows I’ll set up a production line and make a bunch of these at one time.
The only down side of these sash pockets is that the jambs need to be assembled from three pieces of wood instead of just the single bit. It’s a bit more effort but I feel the results are worth it as these pockets work and look great.
I got the magnets from KJ Magnetics which has been my go to place for strong neodymium magnets for years. What’s nice is that they have a pull force calculator so I knew that my two magnets placed 1/4″ apart would have a pull force of 1.7lbs which is more than I really need. I only have magnets at one end and these are held in place with West epoxy, again my go to for epoxy for decades. For small amounts I always use a gram scale to get the correct ratio.