This Sunday we got the crew together to do another self leveling pour. The original plan was to do an initial pour to fill in all the deep areas and then a second finishing pour. Well I underestimated the number of bags for the first pour (17 bags ≈ $700) so we didn’t manage to fill in all the deep areas, worse than that after checking the levels with a laser, the deep areas still needed at least 1/2″ of product. This was poor planning on my part and I decided that I needed was some sort of depth gauge to give you some visual indication of how much leveler a particular spot on the floor required.
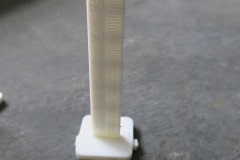
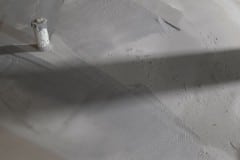
I looked about a bit and eventually found these handy self leveling pins. They have adhesive on the bottom, so I placed them every 3′ to 4′, set up the laser level and then cut them down to the height of the laser line. They did the a great job though they were pretty expensive at $120 for a box of 250, however, we only used about 40 so I’ll sell the rest.
For this weekend we had 51 bags (≈ $2,100) and I decided to do the whole main room – for self leveling that’s quite a large area. I damned off the bedroom as we needed somewhere to mix.
The results weren’t perfect:
- It was a hot day and the product set fast. Next time I’ll ice the water.
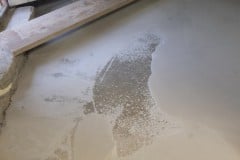
- I tried to move the product after it had started to set and caused some unsightly blemishes.
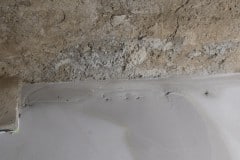
- We had some leaks where the product was draining into our sub-slab gravel.
- We ran out of product and didn’t cover the entire area.
That said we will do another final skim coat which will hide all these minor blemishes.
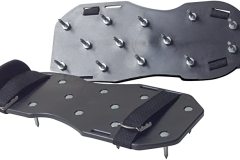
By the way I’m wearing spiked shoes so I can walk over the product without messing it up, pretty damn slippery though.
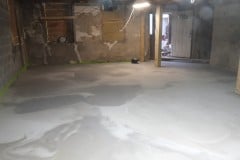
In the photos you will see a lot of lines on the floor, these are the boundaries of each batch we poured, however, these are smooth so no ridge, just change in color. The final pour should be pretty straight forward and all the different batches will be blended in with the spiked roller, after which we will probably apply a protective epoxy coating.
The photos don’t do it justice and I’m pretty pleased with how this pour went, apart from the odd blemishes (which will be covered in the final pour) it’s finally getting nice and flat. Again a big thanks to Joe, Deborah, Brian, Rob and Aimee.
I would love to meet the person that gets the quoted coverage out if any building/decorating product much like mpg or more relevantly range of EVs.
It might not feel like it but these are big strides to your goal.
Brilliant
Cheers Chris, appreciated 🙂