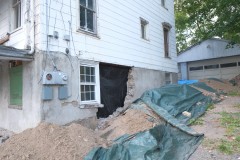
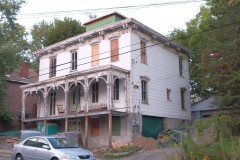
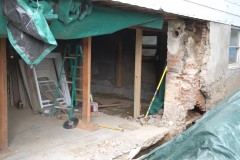
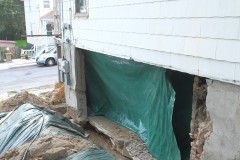
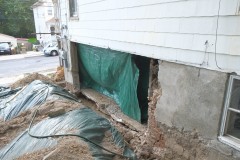
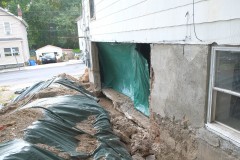
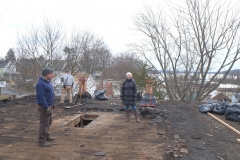
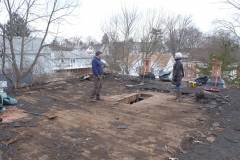
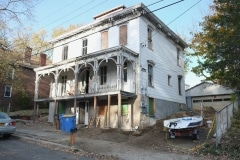
I’d like to report a missing porch

Yes officer, it’s gone!!!!

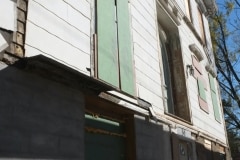
Repairing the porch has been on the books since early this year. It has never been safe to walk to the far ends of the porch and it was starting to pull away from the house a bit. The idea was to replace the lower single supports with double supports and then working upwards, replacing the deck, then upper supports etc. It would have been a big job, possibly beyond our skill level and taken us ages, so Aimee suggested we look to see if we can find someone competent and passionate about this kind of work to undertake this project and not make a bodge out it. Fortunately a partner of one of Aimees work colleagues was a timber frame carpenter which seemed the right sort of skill set and his name was Andre Ernst.

We met Andre a few months ago, explained how we didn’t want a pressure treated nail-gun porch, but more of a hand crafted, near exact replacement, whilst beefing up the strength slightly where possible. Andre definitely knew his stuff and understood what we wanted, but I think what sold it for me was seeing the artistry of his work, see Hudson Valley Timber Frames for some examples of his work. That to me showed me he took pride in his work.

The initial plan was to break the project into two phases, phase one would be to rebuild everything up to the the porch roof and phase two would be to rebuild the roof. During phase one the roof would be supported.

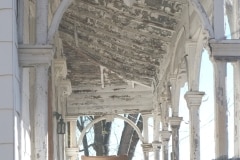
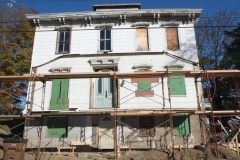
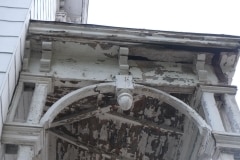
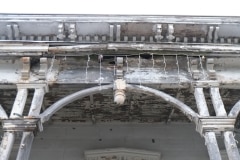
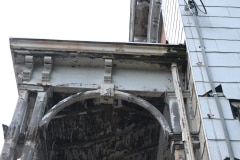
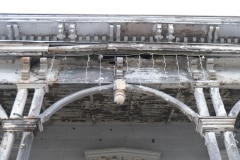
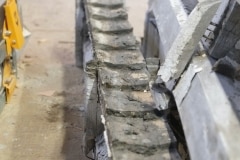
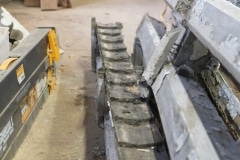
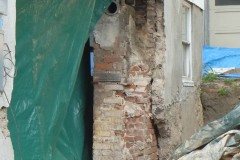
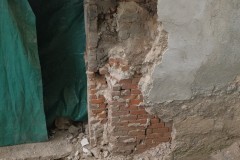
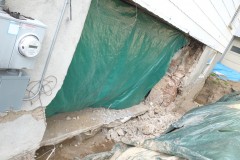
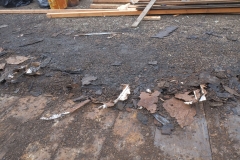
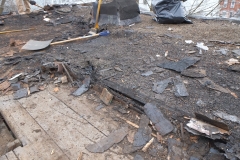
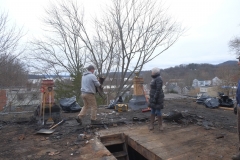
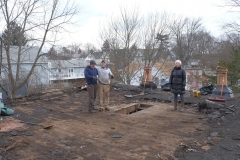
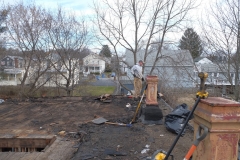
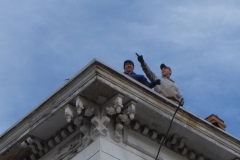
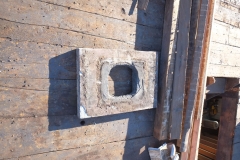
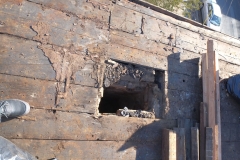
Once the scaffolding went up and a more thorough inspection was carried out it was deemed that the whole porch was in danger of collapse with the ends of the roof rafters rotten and pulling away from the house and the second floor vertical columns bowing out with barely any solid wood connecting them to the roof, so the decision was made to remove all of the porch as part of phase one. Historical society and building department were informed of this decision. I didn’t expect it to come down so quickly, but if it’s unsafe, why wait. Andre did save a lot of the wood so we could recreate the new roof exactly and you can see that the rot is major.

Sure the porch could have lasted for maybe months or years longer, but maybe not. Reminds me of a sad tale of students losing their lives across from where I used to work when their balcony collapsed, Berkeley balcony incident, all very sad and I still feel for all those victims.

Obviously it would have been great if we could have just replaced the odd bit of wood here and there in order to keep the originality, but the decay at the base of the roof was pretty bad. The porch roof gutters had long gone so any rain water would have just been soaking the base of the roof, probably for decades, so the rot is not surprising.

We asked Andre to save all the detailed bits such as the corbels, arches, acorns, curved roof rafters and first floor vertical supports, and we’ll restore a lot of this and if we can’t then they will be used as templates. We won’t reuse the vertical supports for the front porch but I might see if they can be restored and used when we rebuild the rear balcony which is not original and damn ugly.

We did inform the City of Kingston’s, Historic Landmarks Preservation Commissions that the roof needed to be removed and we are appreciative of their support.

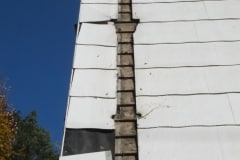
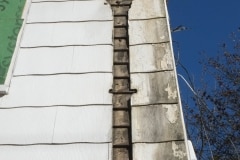
On deconstruction, I did like the way that the concrete tiles were trimmed nicely around the profile of the columns, nice touch, however an even nicer touch was how the vertical columns were notched out to fit the original wooden sidings so they sat flush with no gaps, that’s pretty impressive. I’m going to want the new pillars to be the same. No one would bother with that sort of detail nowadays, hence why I think it’s important for the houses originality, sure it’s new wood, but installed the original way.
A Mild Case of Demo

Weather is finally getting better so time to get stuff done!!!!

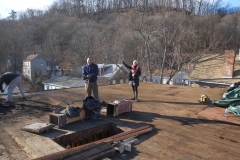
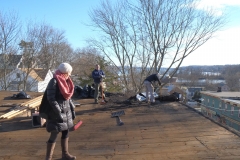
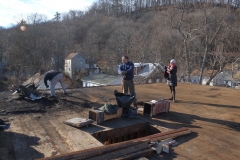
We were hoping to start work on repairing the wall so we can install the new sill beam but temperatures are still dipping below 40°F so we’re hoping to do that next weekend. To access the sill beam and wall I’d already removed a small part of the old deck but as it was a lovely day and we wanted to work outside so we decided to remove a lot more so we’d have more space to work. It’s not completely gone and we left the main structure and a 3′ square by the doors upstairs, just incase someone ever stepped out by mistake.

The deck and balcony obviously weren’t original and when we come to replace it we will add something that is in character with the house. The upper balcony will be triangular to match the roof line and on the ground floor you will step out the back door onto a blue stone patio which should last centuries.

Because we’re usually at the house on weekends we often get visitors and today we had Bianca, Seth, Rob, Randall and Richard, always nice to see folks.

How to turn your house into a bungalow

And all in one evening!

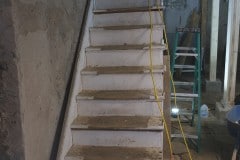
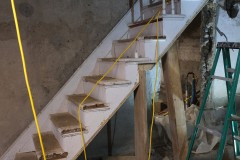
This evening we took the staircase down to make it easier for the concrete pour. The new floor will be 4″ lower so this staircase wouldn’t have fitted anyway. It was decently made and we’ll use it as a guide to making the new one. That said the space seems a lot bigger with no stairs so we’ll see and it might be easier to get a certificate of occupancy without one.
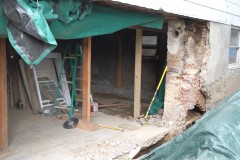
So now we have a bungalow, albeit with a huge attic.

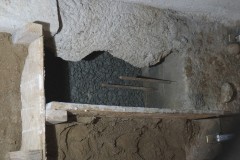
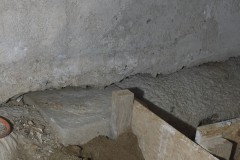
It also gave me a chance to beef up some of the footings before the pour. Probably difficult to see from the last photo, but you could stick your hand at least six inches under that supporting wall!!

If I looked sweat drenched, I was. I think it was in the 90s outside with 100% humidity.

Now we have to work out how to heft the stairs out to our garage. Any volunteers?

Off with the bannister

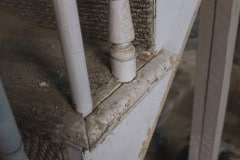
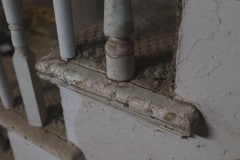
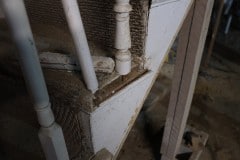
It certainly wasn’t a safety feature so we decided to take it off in case anyone grabbed it thinking it would support them. We’ll reuse the hand rail and newel post and after looking at the stair treads, some of those as well as wood is expensive. Out of all the spindles, maybe three are original. I was going to buy a lathe and remake them myself, but it’s probably easier to pay someone to do this.

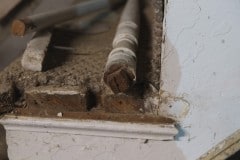
The trick to removing the spindles (thank you Derrick) is to remove the side trim and then they pop out, note the square end so the spindle doesn’t rotate.

The bottom of the newel post is pretty decayed, I may stabilize it with Rot Fix or just chop off the rotted section and replace it with new wood. The wood is possibly walnut.

Chimney removal

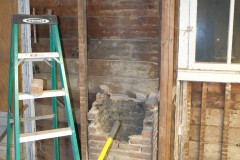
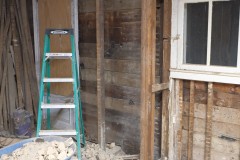
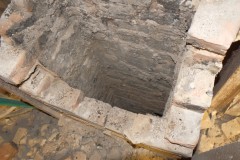
In the previous post I mentioned that the chimney needed to be removed due to the fact that it was crumbling. The builders had quoted us about $2,500 to remove it so we decided to remove it ourselves and save us some money.

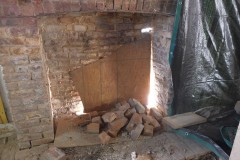
We had three floors of chimney to remove but luckily the bricks were very easy to remove with just a slight tap from a rubber mallet and a lot I could pull off with my hands. After seeing how easy it was to remove the bricks I was glad that the chimney was going as it made you realise how unsafe it was. We’re saving the bricks as they are actually worth something – we’ll probably re-use them somewhere possibly for an outside fire pit or maybe a chimney for a cast iron wood stove. We had to carry all the bricks downstairs which took a while and I’m glad I started cross-fit earlier this year as that helped us with all the stair climbing.

The hardest bit of the wall was removing the bottom section which was mostly stone and lime mortar, is was also the scariest as this was a load bearing wall and we were concerned that temporary bracing wouldn’t be enough. This section of the wall had to be removed with hammer and chisel and it took about three evenings to do it. I forgot the camera on a few nights hence the jumps in the time lapse. I’m glad to say that we managed to remove the chimney without anything bad happening.

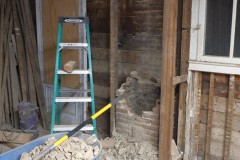
Incidentally to the right of the green step ladder you can see our old chimney stacks. Two of these were were sitting over real chimneys, whilst the third was just a dummy, maybe having more stacks was a status symbol. Anyway to keep up with the Jones we we’ll probably put them back on roof.

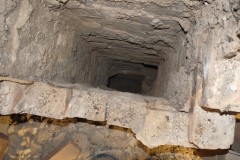
On the plus side we do now have a nice rectangular hole in all our floors suitable for a dumbwaiter.

Removal of the second wall

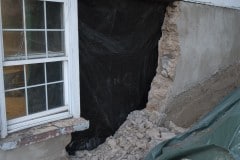
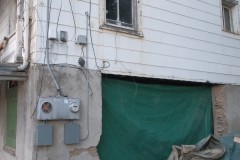
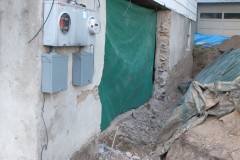
With the new footings poured a few weeks ago we’re ready for the new wall, which if you’ve forgotten is to replace the wall lost in the second great wall disaster.

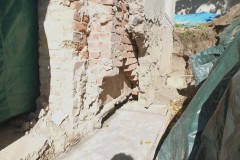
The first step in this is to remove the existing crumbling wall and we’re leaving most of this to Thomas and Matt as this is a load bearing wall and don’t want anything going wrong. The current wall is made of lime mortar and stone and it’s tough to remove. I think Tomas and Matt use a large diamond masonry circular saw to cut it into smaller sections.

We’re hoping the new wall can go up quickly as the house looks and feels very precarious propped up with a few 2×4’s and I always feel the house sags a bit more when in this state. In addition to that the house isn’t particularly secure with a huge gapping hole in it.

In some of the shots you can see our red brick chimney which is crumbling aways so alas this will have to go, a bit of a shame, but you couldn’t use it any more as it wouldn’t be up to code and would likely cause the house to burn down and having no chimney will actually help us divide the rooms better, so this is positive. Eventually we’ll have some cast iron wood burning fires and they only require a 6″ stainless chimney pipe.

Out with the old roof

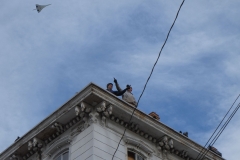
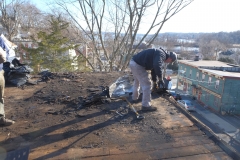
Now that the old cupola has gone Thomas and Matt have started stripping the old roof and it probably has never been stripped bare before. If the wood could speak I bet it’s glad to see the sun again!

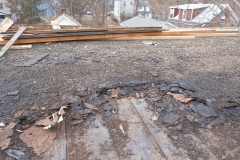
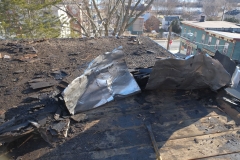
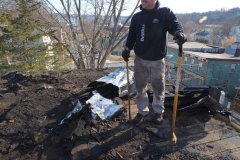
Thomas and Matt thought there were about thirteen layers on the roof which in total gave this tar and gravel lasagne a thickness of at least 3 – 5″. It looks like the very first layer was metal, a lot of which you can see in the photos has rusted but some is still bright and shiny underneath.

Thomas and Matt thought that they had probably removed between 8 – 10 tons in weight from the roof (based on the weight scales at the city dump as they charge by the ton). Most of the layers they removed were saturated with water which may account for why the water dripping through the roof was black.

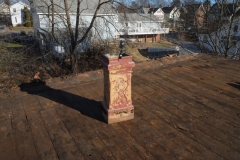
All the chimney stacks were removed without damage and they all sat on slabs of bluestone with holes cut in them. The false chimney had been filled with sand and it was false because there was no brick chimney stack beneath it. Perhaps the number of stacks was a status symbol. We’re not sure what we will do with these. They will of course be kept but they can’t be used with the current chimney stacks as they aren’t up to code.

It’s nice to see all the wood again, most of which hasn’t seen the light of day for almost 150 years. If the house were alive I bet it would have sighed a sigh of relief to be rid of the huge scab of a roof. The new roof will be a rubber membrane which may weigh 1/4 ton.

Jason if you’re reading this I’m not going to put a badminton court on the roof. It’s big enough but would be a little scary!

The deck we have planned for the roof isn’t huge but should accommodate a party of ten seated comfortably. It will be nice to have candlelit dinner parties out there on summer nights.

New doorway

The bottom left of the house was occupied by a decent sized room with an earth floor and reduced headspace (due the thickness of the earth). Access was by a small door under the stairs. We wanted to make this room a little more accessibly so Thomas and Matt cut a doorway through the lime mortar and rock. The wall was a bit of a bugger to cut through due to the rock.

The previous owners must have had the same thoughts as we did find architect plans in the house of this room. They had started to excavate the earth which unfortunately left the foundation walls hanging in mid-air (the walls had no footings). This was made worse by our local groundhog who had made even more holes under the walls. The soil is also very sandy tended to crumble and fall away. The walls will need some special treatment to prevent them from collapsing after which we will have an insulated concrete floor poured.
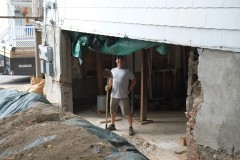
This room will be where we keep the mechanicals (boiler etc), though it probably will be a part-time bedroom and maybe later a project studio.

Thomas and Matt made this doorway just before we left for the UK for Christmas. It will be interesting to see how the house looks when we return.

Jack Hammer 2 – the Case of the Disappearing Steps

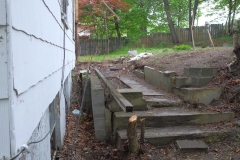
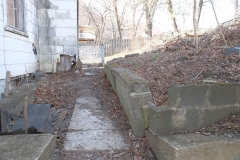
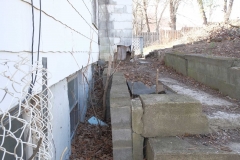
Multiple reasons why the back path is being replaced:

  • It was ugly
  • The walls were falling down
  • It blocked light into our semi-basement
  • We wanted an accessible route into our house for when we’re old & infirmed 😮
  • Also until we get the foundations and the roof fixed it doesn’t seem worth doing any work within the house so we have to look outside.

We’ll eventually have a nice gentle slope on which we will have a wandering bluestone path. We will also reduce the height of the bank on the right so if you look out of the basement window you will have a better view of the garden. We think we’ll plant ferns as it is mostly in the shade.

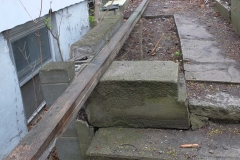
We removed the steps on Saturday and today we hoping to dig out the majority of the soil, alas, it was raining today and we only managed an hour or so. The rain has stopped now, but we are feeling a little lethargic so we will probably stay in and catch up on other work. Tomorrow is a holiday so we will try and start early. It will also be cooler tomorrow which will be nice, it was in the hight 80’s, low 90’s on Saturday so a little too warm, thankfully there was a slight breeze and we were working in the shade.
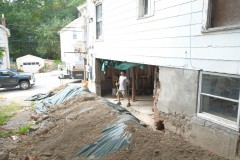
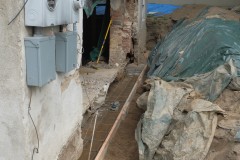
As a reminder this is how it used to look.

And this is the latest:

What a jack hammer

Yesterday we demolished a lot more of the concrete block walls. It poured down most of the day but cleared up round about 5pm so we went down and worked till dark. I didn’t bother filming it, but it was quite hard work swinging the hammer and filling up the skip.

Today was better weather so I tried out our new jack hammer, the best $145 I have ever spent, apart from the round on Jasons stag night but that’s another story. If I had to do todays work with sledge hammers and chisels it would have taken me four times as long. The jack hammer took a little time to setup as the instructions were in poor English with lots of warning about things being fatal! Anyway sorted it out, just had to get the oil level correct. Pretty easy to use and not too noisy, only effort involved clearing away the lumps of concrete. Drill itself weights about 35lbs and once you have it going you just have to keep it vertical which is pretty easy.

In case you are wondering how these time lapse relate to real-time. The camera takes a picture every 10 seconds. The software I use then combines them together at a frame rate of 20 – 30 per seconds (depending on how many days I am recording over). Anyway this relates to roughly 15 – 25 seconds of time lapse to one hour real-time.

Next job will be to remove the concrete steps. We want at least once entrance which is ADA accessible, so no steps.

If I look a little bedraggled at the end, well that’s because I am. I was pleased with the cooling breeze today and on the second time lapse don’t the trees look like they are dancing with the sound track?

Today I offer you: