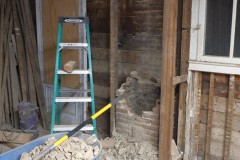
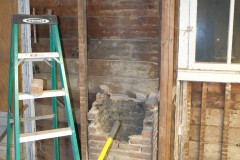
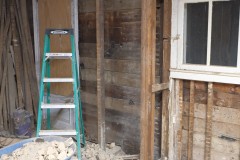
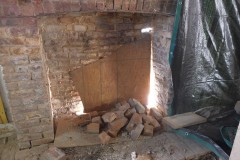
In the previous post I mentioned that the chimney needed to be removed due to the fact that it was crumbling. The builders had quoted us about $2,500 to remove it so we decided to remove it ourselves and save us some money.
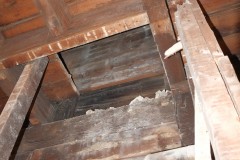
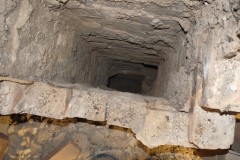
We had three floors of chimney to remove but luckily the bricks were very easy to remove with just a slight tap from a rubber mallet and a lot I could pull off with my hands. After seeing how easy it was to remove the bricks I was glad that the chimney was going as it made you realise how unsafe it was. We’re saving the bricks as they are actually worth something – we’ll probably re-use them somewhere possibly for an outside fire pit or maybe a chimney for a cast iron wood stove. We had to carry all the bricks downstairs which took a while and I’m glad I started cross-fit earlier this year as that helped us with all the stair climbing.
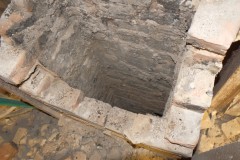
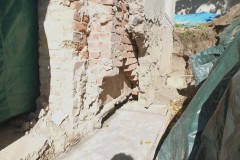
The hardest bit of the wall was removing the bottom section which was mostly stone and lime mortar, is was also the scariest as this was a load bearing wall and we were concerned that temporary bracing wouldn’t be enough. This section of the wall had to be removed with hammer and chisel and it took about three evenings to do it. I forgot the camera on a few nights hence the jumps in the time lapse. I’m glad to say that we managed to remove the chimney without anything bad happening.
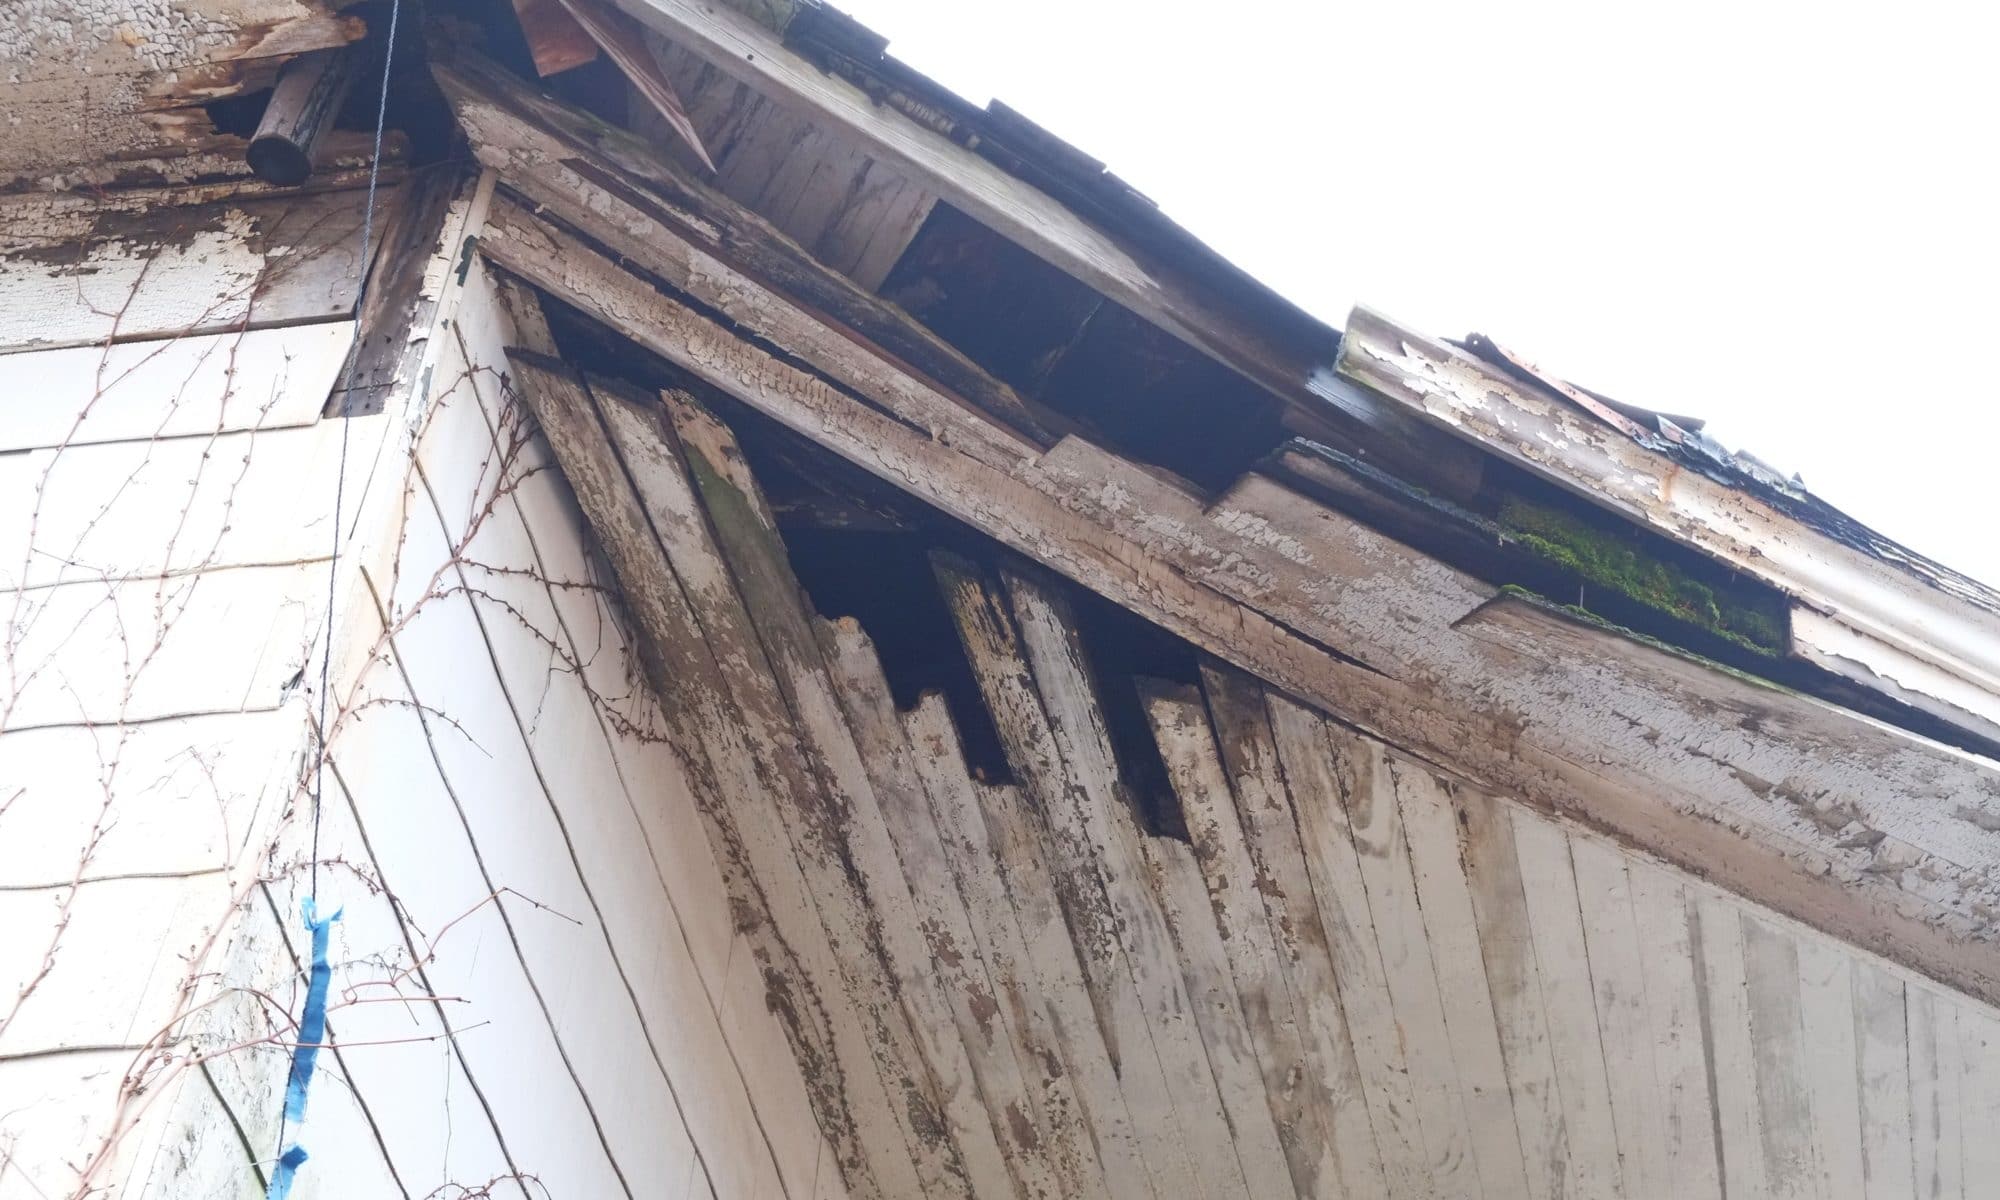
Incidentally to the right of the green step ladder you can see our old chimney stacks. Two of these were were sitting over real chimneys, whilst the third was just a dummy, maybe having more stacks was a status symbol. Anyway to keep up with the Jones we we’ll probably put them back on roof.
On the plus side we do now have a nice rectangular hole in all our floors suitable for a dumbwaiter.
