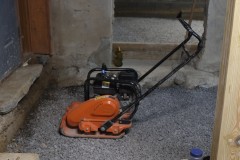
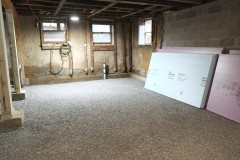
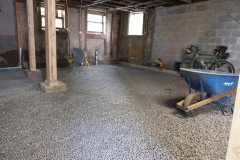
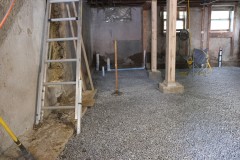
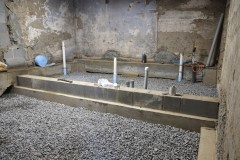
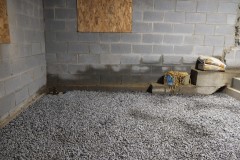
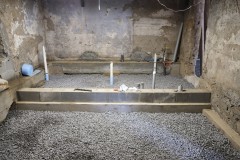
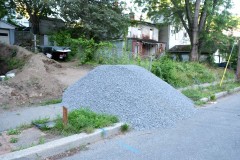
Someone dumped some gravel…

We’re not sure who put it there, but the plot thickens.

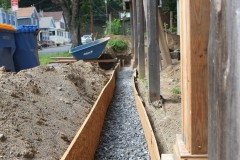
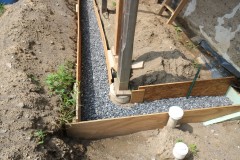
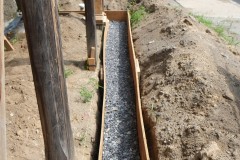
Yes it’s our gravel and it will form the sub-base for the concrete ground floor. We ordered 13 cubic yards (about 17 tons) and this should be enough to give us a 5″ – 6″ layer of gravel, main purpose of which is for drainage under the slab.

Shifting it will keep us busy but I think we’ll have it all done by the following weekend. My Dad used to order huge piles of soil, gravel, sand etc. so I’m used to the mental stamina required in moving it! Anyone fancy a workout?

I have to say that we were pretty impressed with the supplier, Denter Sand & Gravel. We ordered lunchtime and when we got to the house this evening it was already there!!!!

How to turn your house into a bungalow

And all in one evening!

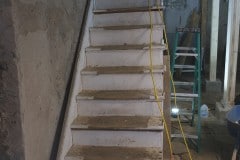
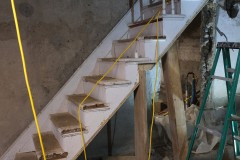
This evening we took the staircase down to make it easier for the concrete pour. The new floor will be 4″ lower so this staircase wouldn’t have fitted anyway. It was decently made and we’ll use it as a guide to making the new one. That said the space seems a lot bigger with no stairs so we’ll see and it might be easier to get a certificate of occupancy without one.

So now we have a bungalow, albeit with a huge attic.

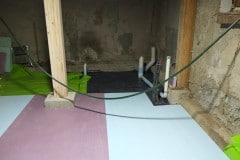
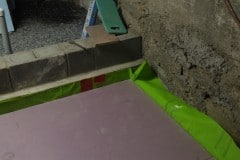
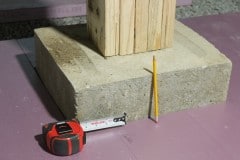
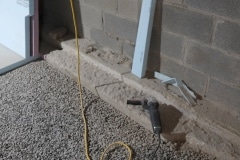
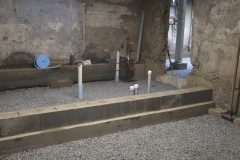
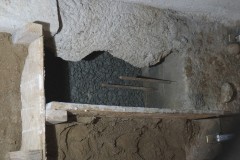
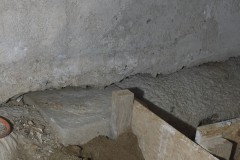
It also gave me a chance to beef up some of the footings before the pour. Probably difficult to see from the last photo, but you could stick your hand at least six inches under that supporting wall!!

If I looked sweat drenched, I was. I think it was in the 90s outside with 100% humidity.

Now we have to work out how to heft the stairs out to our garage. Any volunteers?

Sub-floor electrical conduit installed

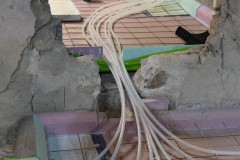
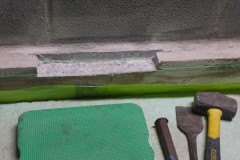
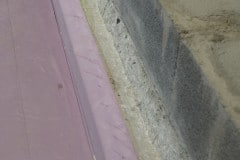
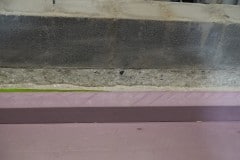
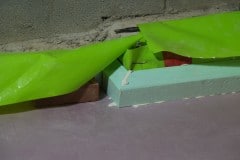
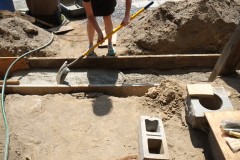
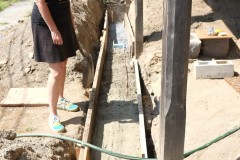
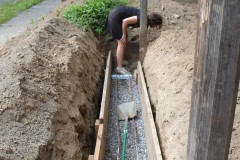
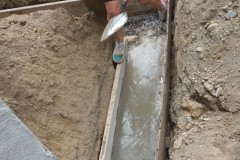
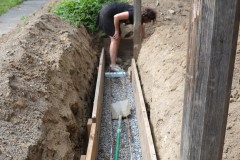
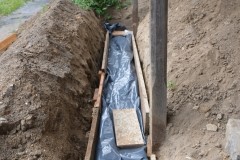
These past few weekends we’ve been chipping away concrete and putting down the electrical conduit which will carry the mains and low voltage (internet, phone etc.) cables into our house.

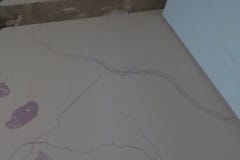
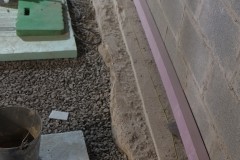
Our electrician, Tom Nash, told us what to do so we could save some pennies. I thought it would be a weekend job but it’s been more like three weekends, with at least half of that involving removing concrete from the underside of the footings which wasn’t a fun job, see first and second pictures.

We felt the price increase that Covid has caused on building materials with this little lot of pvc costing close on $300.

Next task before concrete pour is to remove the staircase and do one last repair to the footings.

We have a winner to “What is this object?”

The winner does happen to be my brother Ian, but there was no shenanigans, in fact I would have rather the winner be local as now I have to ship the prize overseas.

Ian’s second guess was

I would say it’s for marking the area to cut out in order to recess the rails in a balustrade, to ensure they are vertical, hence the spirit level

Which is bang on, the device is in fact the LJ-3047 – Telescoping Baluster Marking Tool, made by LJ Smith. To see it in operation I suggest you watch this YouTube video by Matt Weber.

I haven’t used it yet, but I’m sure I will. I think I paid the embarrassingly low price of eBay of $0.99, plus shipping.

Chris, I’ll also send you a pot as you were the only other entrant, Ian can deliver.

What is this object?

I bought this mystery tool a while back. I haven’t used it but it will get used at some point. It’s still in production and is a specialist tool that has a single purpose. Can you guess what it does?

Think about the features listed below, they will help you a lot in identifying what it can do and then it’s particular purpose.

Features include:

  • Spring loaded punch on one end and a spike on the other
  • Bubble level’s on two axes
  • It’s telescoping

Winner receives a jar of our homemade DnA chili sauce. Local winners can pick it up, for others I will ship.

I’ll suppress any winning comments for few days to give everyone a while to think about it.

Sashes of the window go up and down…

Finally finished (ish) with out test sash window. It took a while but was worth making as we made quite a few mistakes and learnt a lot in the process. I won’t bore you with all the details so here are the basics.

First step was the windows bucks, these frames hold the windows and typically would be installed in a masonry wall. In a wooden structure the framing would form the window bucks. Note the tapered window sill, did we need it, not sure. The bucks, window frames and sashes were all assembled using my Dowelmax.

The magnetic sash pockets worked out well and I hope future occupants of the house will appreciate them. In time I’ll probably write a maintenance manual for the house, how to take care of various aspects of it etc.

I was quite pleased with the pulley installation. For this I made an adjustable jig which cut both the initial recess so the pulley plate was flush as well as the through cut which the pulley wheel passes through. I used a trim router with bottom bearings and after some minor chisel work to clear the corners everything fitted great.

We also added weather stripping to our sashes which will cut down on drafts. I’ll also design these windows to take external storm windows which will be a big help in keeping in the heat during our cold winters. We used a pile weather strip on the side as this can withstand friction while at the bottom and top we’ll opt for tube-seal weather stripping. The weights are attached via chains, and are held to the sashes via spiral springs. If we were using cord then you’d tie a not in the cord and insert that into the hole.

There are a few more things I need to do such as installing it into the window buck, added trim so the sashes don’t fall out and we may even glaze them for practice. Hopefully we can start making the real windows soon.

Quality control of the windows was done by Aimee whilst humming a modified version of the classic American folk song by Verna Hills.

Sashes of the window go up and down
Up and down
Up and down…

I’ll get my coat…

Off with the bannister

It certainly wasn’t a safety feature so we decided to take it off in case anyone grabbed it thinking it would support them. We’ll reuse the hand rail and newel post and after looking at the stair treads, some of those as well as wood is expensive. Out of all the spindles, maybe three are original. I was going to buy a lathe and remake them myself, but it’s probably easier to pay someone to do this.

The trick to removing the spindles (thank you Derrick) is to remove the side trim and then they pop out, note the square end so the spindle doesn’t rotate.

The bottom of the newel post is pretty decayed, I may stabilize it with Rot Fix or just chop off the rotted section and replace it with new wood. The wood is possibly walnut.

Basement dig

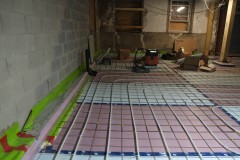
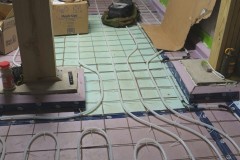
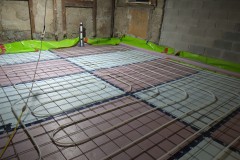
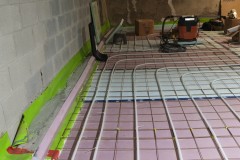
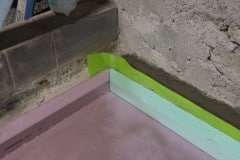
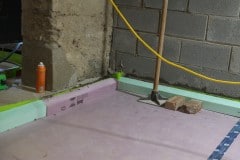
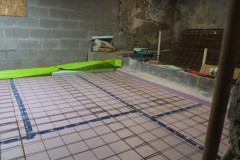
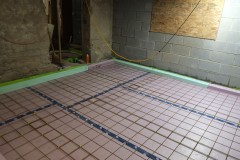
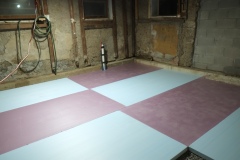
We’re getting close to getting a basement pour and to save some money we are excavating it ourselves. On average we’ve removed about 8″ deep of soil which will allow for 5″ of gravel, 2″ of insulating foam and 4″ of concrete. It will have probably taken us about 16 hours in total to remove this dirt, spread over a weekend and a few evenings, hard work but we take lots of rests, plus the dirts is basically sand. Main problem is where to put the dirt and the front of our house is starting to look like a scale model of the Himalayas.  The dirt isn’t going back into the house, so what to do with it? Feel free to help yourself.
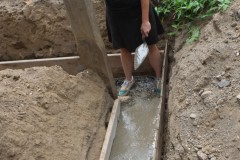
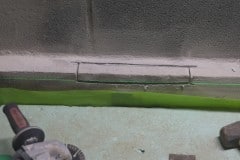
One good thing about this new pour is that we’re gaining 4 – 5″ of extra height in the basement. The ceilings will still be a little low but not as low as they used to be. To achieve this we did had to cut some of our footings down by a few inches which wasn’t an easy job and required a diamond cutting blade on my grinder and a hammer drill. That job probably took another few weekends and evenings, annoying as I added this extra concrete in the first place!! The footings still go down another 14″ so not loss of strength.
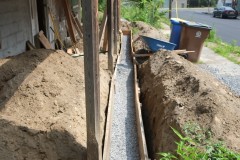
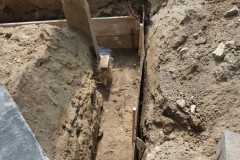
We’ll pay someone to do the pour, though at one point we were seriously thinking of doing it ourselves, with the help of course from people who have some expertise in this, mainly Derrick, John Paul and Joe. If this was all we had to do on the house then I’m pretty sure we would have done it ourselves.

We still have a few little jobs to do before we’ll be ready and these include laying an electrical conduit for the mains cable, drilling holes through the wall into our mechanical room for our radiant heating pipes and lastly we’ll need to remove the staircase. We’ll probably keep just the hand rail and the newal post and bin the rest. Making a new stair case shouldn’t be too hard and should be a fun project 🙂

Big Nan

Today we planted a Jane Magnolia. Both Aimee and I share magnolias in our childhood memories, Aimee from her parents old house in Long Island, and my Gran in Dinas Powys. Aimee dug a hole my dad would have been proud of and we added some decent amount of good soil and peat. We’ve named her “Big Nan” after my grandmother and she should grow to about 15′.

Maybe in a few decades, magnolia left will become magnolia right.

Next tree to plant (if I can find one) will be an Acer griseum. We will plant some native trees as well and intend to plant a white oak and some hazel nut trees, and this is in addition to a white pine and larch that we planted last year.

By the way our daffodils have done pretty well this year and eventually we’ll plant them over all this lawn and include crocuses, snow drops, primroses and bluebells.

Sash pockets

You may have noticed that we haven’t done much work on the house recently. That’s because it’s been so cold here. With temperatures generally below freezing it’s not very inviting especially when it’s dark outside. We have been working on some side projects such as the toledo chairs, a bird table and our test sash window, for which I’ve been working on the sash/weight pocket.

So what is a sash/weight pocket?

If you look at the anatomy of a sash window (see first picture below) you’ll see counter weights on either side of the window. These weights are of a similar weight to the sashes they’re connected to thus making the windows easy to open and close. Sash pockets are the small removable panels on the lower jambs that allow you to access the weights for both sashes.

So why do you need them? You’ve built and installed your windows and they work great, what could go wrong? Probably nothing for many decades, but one day you may have a problem, your sash cord may break or you maybe you decide to reglaze with heavier glass and need to add additional weights? This is where sash pockets come in handy as they give you access to the sash cord and weights. If you don’t have these pockets you’re going to have to use a pry bar to remove wooden trim which will take some time patching up.

Next time you’re in an old house with sash windows, open up the lower sash and see whether you can see the sash pocket, it will probably be painted over but you may be able to see the joints underneath the paint. Note, not all sash windows will have pockets but you can dig further yourself if you’re interested.

As you can see from the following videos making these pockets is a skill and if you get it wrong your sash pocket will look ugly. I’m not sure I have the skills to make these cuts accurately, so I decided to find an alternative method.

The method I decided upon was to make the window jamb from multiple pieces, this allowed me to create the sash pocket separately and use magnets to hold the pocket closed so I don’t have to use a screw. As we’ll be making these windows out of a dark coloured wood, you probably won’t even notice the pocket and all you need to open the sash is another strong magnet. All these joints were cut using a table saw and tenoning jig. When we are ready to start production of the real windows I’ll set up a production line and make a bunch of these at one time.

The only down side of these sash pockets is that the jambs need to be assembled from three pieces of wood instead of just the single bit. It’s a bit more effort but I feel the results are worth it as these pockets work and look great.

I think I will name these DM sash pockets.

I got the magnets from KJ Magnetics which has been my go to place for strong neodymium magnets for years. What’s nice is that they have a pull force calculator so I knew that my two magnets placed 1/4″ apart would have a pull force of 1.7lbs which is more than I really need. I only have magnets at one end and these are held in place with West epoxy, again my go to for epoxy for decades. For small amounts I always use a gram scale to get the correct ratio.