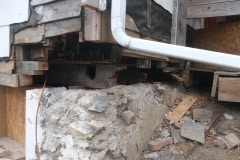
So having just repaired the rim joist, it’s now time to replace the rotten floor joists, three to be precise. Due to rot, none of these attached to the rim joist and were just hanging mid air and two of them had huge chunks cut out of them, possibly for duct work so they were severely compromised.
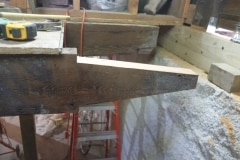
Like most projects on the house I wanted to do a respectful job so instead of butt jointing in a new piece and sistering on a 2×8″ (adding extra wood to strengthen a damaged beam), I thought I’d do some joint work. I’ll still add a 2×8″ but only on one side as my joint will be stronger than a butt joint. I’m not sure this joint has a name, it’s slightly similar to a scarf joint.
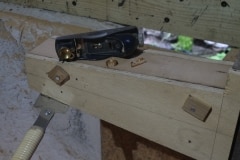
I probably would have done a fancier job if it wasn’t so difficult to cut, standing on a ladder is not the easiest position to cut from. For the first beam I made some templates which I attached to the beam and used a Sawzall to rough cut, finishing off with a hand saw and plane – that was hard work. I then had the idea of using a trim router and that worked out great. I did have to to do multiple passes as a trim router as the name suggests isn’t supposed to remove a lot of wood in one pass. It probably took me about 3 – 4 hours to cut a single joist like this, luckily I only have three.
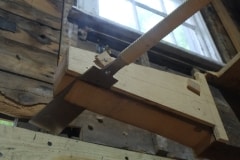
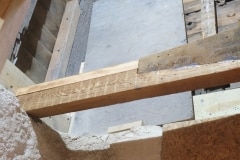
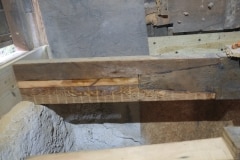
As I didn’t have any wood with similar dimensions to the joist, I laminated three pieces of old growth lumber together. I used West System epoxy so this will be a stronger than wood bond, plus I’m running 3/8″ bolts vertically through the joint as an extra safe guard. The reason the center piece is lighter is because I planed it down.
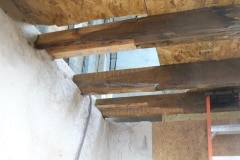
And this is how they finally turned out and I will secure these floor joists to the rim joist with 3/16″ thick steel angle brackets. I know these aren’t the finest or strongest joints, but I think they are decent, plus the addition of another sistered 2×8″ will make every rock solid.
This whole job, repairing wall, replacing rim and floor joists has taken me a few months – I wasn’t expecting it to take this long, but in most endeavours the first time you do something there’s a learning curve.


Perhaps you should add ‘learning curve’ in brackets after Disaster Mansion. The joists look really good and the brackets with the additional timbers will be fine.
Coming together inside and out.
As always excellent work. Have you considered using Balsa Wood, to cut down on preparation times?
Funny you mentioned balsa wood, I do have plans for some of that!!!!