Sashes of the window go up and down…

Finally finished (ish) with out test sash window. It took a while but was worth making as we made quite a few mistakes and learnt a lot in the process. I won’t bore you with all the details so here are the basics.

First step was the windows bucks, these frames hold the windows and typically would be installed in a masonry wall. In a wooden structure the framing would form the window bucks. Note the tapered window sill, did we need it, not sure. The bucks, window frames and sashes were all assembled using my Dowelmax.

The magnetic sash pockets worked out well and I hope future occupants of the house will appreciate them. In time I’ll probably write a maintenance manual for the house, how to take care of various aspects of it etc.

I was quite pleased with the pulley installation. For this I made an adjustable jig which cut both the initial recess so the pulley plate was flush as well as the through cut which the pulley wheel passes through. I used a trim router with bottom bearings and after some minor chisel work to clear the corners everything fitted great.

We also added weather stripping to our sashes which will cut down on drafts. I’ll also design these windows to take external storm windows which will be a big help in keeping in the heat during our cold winters. We used a pile weather strip on the side as this can withstand friction while at the bottom and top we’ll opt for tube-seal weather stripping. The weights are attached via chains, and are held to the sashes via spiral springs. If we were using cord then you’d tie a not in the cord and insert that into the hole.

There are a few more things I need to do such as installing it into the window buck, added trim so the sashes don’t fall out and we may even glaze them for practice. Hopefully we can start making the real windows soon.

Quality control of the windows was done by Aimee whilst humming a modified version of the classic American folk song by Verna Hills.

Sashes of the window go up and down
Up and down
Up and down…

I’ll get my coat…

Off with the bannister

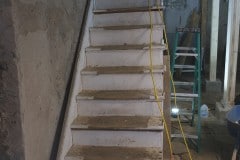
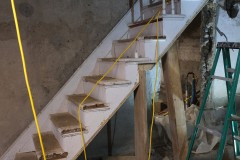
It certainly wasn’t a safety feature so we decided to take it off in case anyone grabbed it thinking it would support them. We’ll reuse the hand rail and newel post and after looking at the stair treads, some of those as well as wood is expensive. Out of all the spindles, maybe three are original. I was going to buy a lathe and remake them myself, but it’s probably easier to pay someone to do this.

The trick to removing the spindles (thank you Derrick) is to remove the side trim and then they pop out, note the square end so the spindle doesn’t rotate.

The bottom of the newel post is pretty decayed, I may stabilize it with Rot Fix or just chop off the rotted section and replace it with new wood. The wood is possibly walnut.

Basement dig

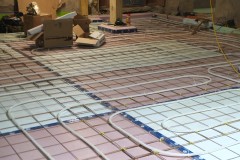
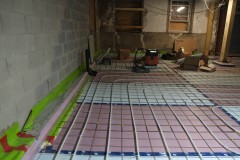
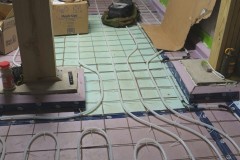
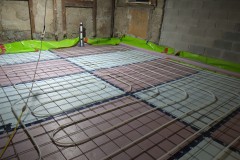
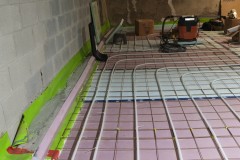
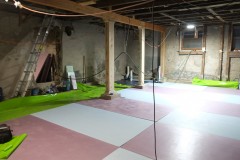
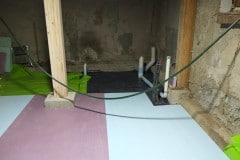
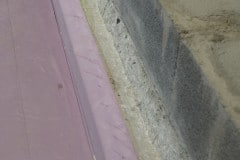
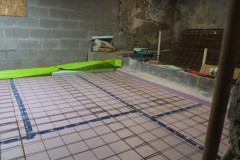
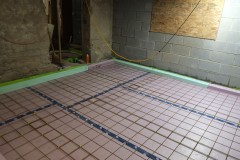
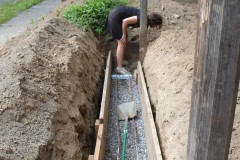
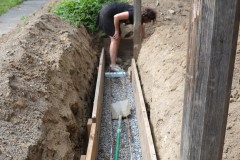
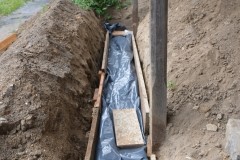
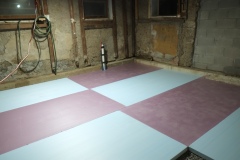
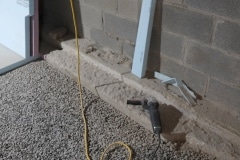
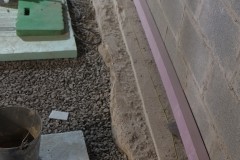
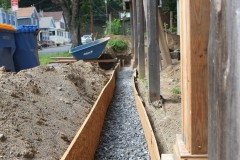
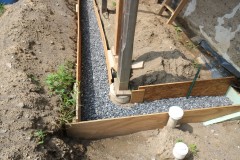
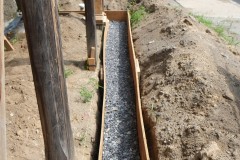
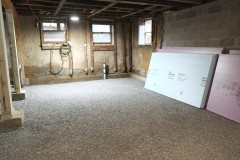
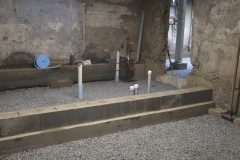
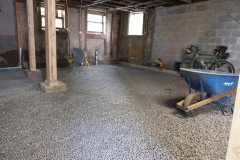
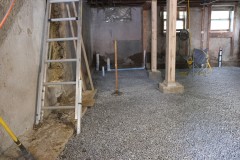
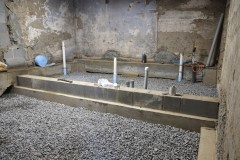
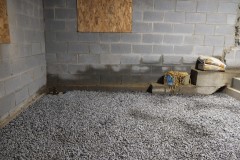
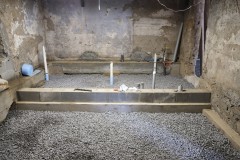
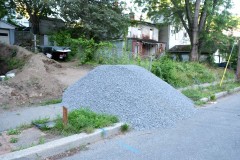
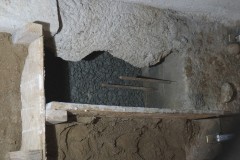
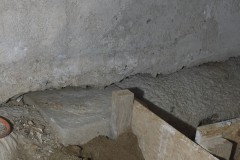
We’re getting close to getting a basement pour and to save some money we are excavating it ourselves. On average we’ve removed about 8″ deep of soil which will allow for 5″ of gravel, 2″ of insulating foam and 4″ of concrete. It will have probably taken us about 16 hours in total to remove this dirt, spread over a weekend and a few evenings, hard work but we take lots of rests, plus the dirts is basically sand. Main problem is where to put the dirt and the front of our house is starting to look like a scale model of the Himalayas.  The dirt isn’t going back into the house, so what to do with it? Feel free to help yourself.
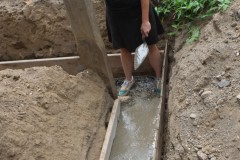
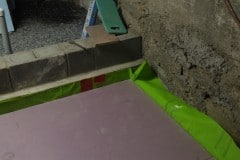
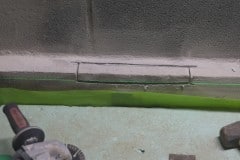
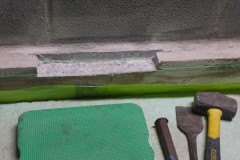
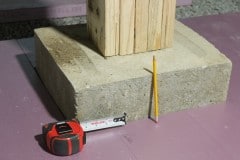
One good thing about this new pour is that we’re gaining 4 – 5″ of extra height in the basement. The ceilings will still be a little low but not as low as they used to be. To achieve this we did had to cut some of our footings down by a few inches which wasn’t an easy job and required a diamond cutting blade on my grinder and a hammer drill. That job probably took another few weekends and evenings, annoying as I added this extra concrete in the first place!! The footings still go down another 14″ so not loss of strength.
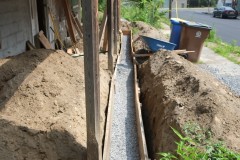
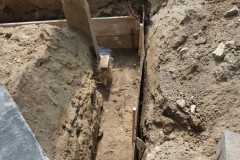
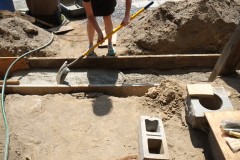
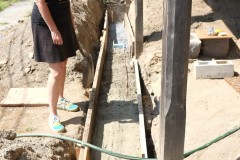
We’ll pay someone to do the pour, though at one point we were seriously thinking of doing it ourselves, with the help of course from people who have some expertise in this, mainly Derrick, John Paul and Joe. If this was all we had to do on the house then I’m pretty sure we would have done it ourselves.

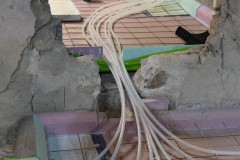
We still have a few little jobs to do before we’ll be ready and these include laying an electrical conduit for the mains cable, drilling holes through the wall into our mechanical room for our radiant heating pipes and lastly we’ll need to remove the staircase. We’ll probably keep just the hand rail and the newal post and bin the rest. Making a new stair case shouldn’t be too hard and should be a fun project 🙂

Big Nan

Today we planted a Jane Magnolia. Both Aimee and I share magnolias in our childhood memories, Aimee from her parents old house in Long Island, and my Gran in Dinas Powys. Aimee dug a hole my dad would have been proud of and we added some decent amount of good soil and peat. We’ve named her “Big Nan” after my grandmother and she should grow to about 15′.

Maybe in a few decades, magnolia left will become magnolia right.

Next tree to plant (if I can find one) will be an Acer griseum. We will plant some native trees as well and intend to plant a white oak and some hazel nut trees, and this is in addition to a white pine and larch that we planted last year.

By the way our daffodils have done pretty well this year and eventually we’ll plant them over all this lawn and include crocuses, snow drops, primroses and bluebells.

Sash pockets

You may have noticed that we haven’t done much work on the house recently. That’s because it’s been so cold here. With temperatures generally below freezing it’s not very inviting especially when it’s dark outside. We have been working on some side projects such as the toledo chairs, a bird table and our test sash window, for which I’ve been working on the sash/weight pocket.

So what is a sash/weight pocket?

If you look at the anatomy of a sash window (see first picture below) you’ll see counter weights on either side of the window. These weights are of a similar weight to the sashes they’re connected to thus making the windows easy to open and close. Sash pockets are the small removable panels on the lower jambs that allow you to access the weights for both sashes.

So why do you need them? You’ve built and installed your windows and they work great, what could go wrong? Probably nothing for many decades, but one day you may have a problem, your sash cord may break or you maybe you decide to reglaze with heavier glass and need to add additional weights? This is where sash pockets come in handy as they give you access to the sash cord and weights. If you don’t have these pockets you’re going to have to use a pry bar to remove wooden trim which will take some time patching up.

Next time you’re in an old house with sash windows, open up the lower sash and see whether you can see the sash pocket, it will probably be painted over but you may be able to see the joints underneath the paint. Note, not all sash windows will have pockets but you can dig further yourself if you’re interested.

As you can see from the following videos making these pockets is a skill and if you get it wrong your sash pocket will look ugly. I’m not sure I have the skills to make these cuts accurately, so I decided to find an alternative method.

The method I decided upon was to make the window jamb from multiple pieces, this allowed me to create the sash pocket separately and use magnets to hold the pocket closed so I don’t have to use a screw. As we’ll be making these windows out of a dark coloured wood, you probably won’t even notice the pocket and all you need to open the sash is another strong magnet. All these joints were cut using a table saw and tenoning jig. When we are ready to start production of the real windows I’ll set up a production line and make a bunch of these at one time.

The only down side of these sash pockets is that the jambs need to be assembled from three pieces of wood instead of just the single bit. It’s a bit more effort but I feel the results are worth it as these pockets work and look great.

I think I will name these DM sash pockets.

I got the magnets from KJ Magnetics which has been my go to place for strong neodymium magnets for years. What’s nice is that they have a pull force calculator so I knew that my two magnets placed 1/4″ apart would have a pull force of 1.7lbs which is more than I really need. I only have magnets at one end and these are held in place with West epoxy, again my go to for epoxy for decades. For small amounts I always use a gram scale to get the correct ratio.

New old drill press

This weekend we picked up a lovely old bench-top drill press from a fine fellow named Matt. Matt was given the drill press from an elderly neighbour who always took care of it. The neighbour probably owned it from new.

The drill press is a Craftsman and looks to be from around the early 1940s or late 1930s, either way it’s a beauty and runs like a dream. This drill press was made for Craftsman by Atlas (now Clausing).

During the 1920s Atlas Press added drill presses and metalworking lathes to their product lineup. During the 1930s they began making wood lathes. In 1934 they began making drill presses and wood lathes for Sears Roebuck, which marketed them under the Craftsman, Companion, and Dunlap names.

By the way vintagemachinery.org is a great site for information on vintage machines, including reprints of parts lists and brochures. The brochures for Craftsman go back almost a 100 years.

We do have two other drill presses, an Orbit (now Jet) and a Delta but the Orbit has a really bad wobble and the other is a pain to adjust. These didn’t cost me much so I’ll sell them.

The nice thing about this Craftsman is that it came with the optional “Multi-speed attachment” which is the pulley in the center (front pulley is behind the cover for safety). This option gives you a wide range of speeds for different materials and drill bits. With reasonable care this will be still be running fine for the next 80 years.

By the way I become interested in vintage drill presses after visiting the website of James Hurley. James breathes youth back into old machines and what an amazing job he does. Whether you like tools or not you can’t not be impressed with what James achieves, which in my opinion are works of art. Please check out his artistry at Iron Age Enterprises.

By the way this is what James has to say about the quality of these old machines:

Why Restore?

U.S. – made machinery from the ’30s through ’70s were produced by an industrial infrastructure we will never see the like of again. Technology, availability of materials, styling, and pride of craftsmanship, all combined during that period to produce tools that were far superior to most tools today.

For example; In 1957 Sears offered a bench-top drill press made by the King-Seeley corporation under the Craftsman marque. At that time The Model 100 sold for a whopping $97.00 – (without the motor) – Sounds like a great deal, doesn’t it? Well…. In 2018 dollars, that $97 equates to…..$866.41.

Let that sink in…. To get the equivalent machine today you’d have to spend over $850 !

Without the motor.

So before you call the scrap-guy and replace that old rusty drill press with something that can be sold for $200 AFTER being shipped from overseas, get in touch with us.

We restore those great old machines… Because they deserve it!

Happy Birthday Mum, we miss you and lastly, Happy St. David’s day.

Everyone, please find yourself a chair…

If you read our previous post you’ll know that we got these great workshop/drafting chairs for a good price from Amenia Station. They didn’t look in great shape but we sanded them down, filled in the big chips with epoxy putty, stained and varnished them and I have to say that we are rather pleased with the results.

After removing the paint/satin it was obvious that the majority of wood used lacked any luster. It was a hodge podge of different woods, most of them were gray and bland, but a few were really nice. I can see why they were painted. We bought about three different types of stains to test out, including blending colours. In the end we went for “Golden Sunset” from Zar. When I mixed and colored the epoxy to repair the large chip I thought we were going to keep the dark look, hence it’s colour. I could remove the epoxy and redo it but I feel it adds to their story.

As you can see from the photos there is a quite a variation in colour but all in all I think we’ve made a big improvement and I think they’ll fit in with the house. As a comparison I added a picture of how they used to look. They are comfortable and I hope in the future that some of you readers will be able to plop your posterior down on one and enjoy a nice cup of tea or a cocktail.

Aside, preparation. Sanding down twice, one coat of Minwax Pre-stain, one coat of Zar “Golden Sunset” and two coats of Zar semi-gloss polyurethane (sanding back after first coat). We also re-drilled the holes in the wood slightly as the bolt heads were sitting a little proud. All in all we probably spent about 8 hours working on them.

Happy Birthday Martin, I know you would have loved these chairs

Recently we’ve been thinking that it might be nice to sit down whilst doing some work at DM. Our work bench is higher than most tables so chairs don’t cut it. What we need are some workshop chairs or stools. I did have a few workshop swivel stools with back rests but we sold them when we left Oakland, sigh. By the way we’re looking for something that fits the aesthetics of DM, so no chrome or thick vinyl clad foam seat .

I was toying with the idea of making some but adding a swivel seat put me off the idea. For some time I was looking on craigslist and ebay for stools but nothing ever decent came up, but then I came across something called a “Toledo” drafting chair which looked exactly what we wanted, seat was at a good height with foot and backrests and it also swiveled. My mistake was that I had been searching for workshop stool when I should have been searching for drafting stool. Since I discovered the Toledo I’ve spoken to a few friends about it and for most this chair was already on their wish list. Aimee and I had never heard of it.

Below is a vintage Toledo and these sell for $300 – $1,000 per chair so we we aren’t going ‘chic vintage’.

Vintage Toledo drafting chair

A got this snippet about the history of these chairs from industrial furniture:

What came to be known as the Toledo Metal Furniture Company was started as Uhl’s Cycle Emporium at 1021-23 Monroe Street in Toledo, Ohio in 1898. Philip E. Uhl (president) and Clement Richard Uhl (VP/supt) founded the company on $85. Others of the 10 Uhl brothers joined the firm, including Joseph Ferdinand Louis Uhl (secretary/GM), Otto G., Charles, Henry and Robert Uhl. Joseph, a 1-legged concert violinist, also directed the family Concert Band and Orchestra.

As the popularity of automobiles reduced the market for bicycles (1900-1910), the Uhls shifted their focus to manufacturing ice cream parlor furniture, renaming the company Uhl Art Steel, and in 1904 incorporating as the Toledo Metal Furniture company. By 1920 capital stock reached $300,000, there were over 150 employees and the product mix had been expanded to include office and classroom furniture.

Fortunately for us we found that there are modern day reproductions of these chairs, the most popular being from Restoration Hardware. The hunt was on! Luckily these chairs seem to be pretty popular and they come up often on ebay and facebook. Most people seem to use them as kitchen or bar stools which is fine for us as once we’ve finished with them in the workshop, we’ll use them in our kitchen or close by.

The best deal I came across were these. They did look a bit beat up with scratches, chips, a broken lift mechanism and the backs looked bent. I offered the seller $160 which was accepted and we went to pick them up last weekend, a 50 minute drive.

The sellers were a lovely couple, Michael and Patty, who run an antiques and furnishing store, called Amenia Station. If you’re ever in the area I recommend popping in for a browse, you never know what you might find, plus there is a lovely cafe next door. Back to chairs, yes they did look beat up, but they felt rock solid and the backs weren’t bent, just the way the adjustable back rests were set. We agreed to buy them and Michael kindly let us have them for $150 for all 4!!! Luckily they did fit in the car.

Back home we decided to sand all the paint off and repair the chip with epoxy and it so happened that the lift mechanism was also fixable.

We’re in the process of sanding and refinishing these chairs and we’ll post an update when they are finished. They won’t be perfect but we love them. We have a chair always for you Martin.

Window, window on the wall who is the brokenness of you all?

This being the season of window making and the generousity of ARC, we did a window inventory. We knew they all needed a lot of TLC but when you see photographs of all of them you realise how much work this will take.

Pictures for each floor start from the left and rotate anti-clockwise.

Ground floor

Everything on this floor is missing or is pretty much trash.

First floor

We actually have two windows that are fully operational. These are protected by the porch, hence their condition. A lot of our windows were shot with BB guns, shame as the glass was old wavy glass.

Second floor

Most of these windows are exposed to the full brunt of the elements, hence they’re in most need of repair.

Cupola/penthouse

The cupola will have nine windows which don’t currently exist, hence no pictures.

Summary

Within a short time we’ll be pretty proficient at making or restoring sash windows and it would be nice to offer some window making classes. We’d need our friend Derrick to be onboard as he has the historical and practical knowledge and is the person I go to when I get stuck. Just an idea.

Lastly anyone want to sponsor a window pane? Not sure what that would entail, but we’d let you look through it and open and close it!!! Maybe have your name tastefully etched onto the glass as well.

Architectural Resource Center to the rescue – and just in the nick of time!!!!

We’re excited to announce that we have a designer and manufacturer helping us with our sash windows. Bob, president of the Architectural Resource Center, has very kindly offered to help us source supplies for our sash windows. We were blown away by Bob’s generosity and it has truly touched Aimee and I and is one of the few highlights of 2020. We had a lovely chat with Bob on New Years eve and hope to meet him in person later this year.

As a bit of a background, Bob stated off in the military before becoming a wood working lecturer which he did so for 19 years before starting up the Architectural Resource Center in 1985. Since then the Architectural Resource Center has gone from strength to strength and has an impressive list of clients including the The Biltmore Estate, Carnegie Hall and the White House to name a few.

To give you an idea of the hardware required for one double hung window, you need:

That’s a lot of hardware for a single window and multiplied by eight it adds up quickly and that’s just for the ground floor. The majority of this hardware is brass for longevity.

Thank you Bob for helping us make our windows work!!