Bryd Shelix cutter head + Dewalt 735 = $$$ – noise + peace and tranquility

If you own a Dewalt planer you’ll probably know I’m referring to the Byrd helix cutter head which cost close on as much as the planer did a few years back. So why did I plonk so much money down on a set of blades?

Main reason was the noise, if you’ve ever used a planer you know it screams when in operation and ear plugs do little to lessen this. It got so bad that I really didn’t like using the planer, plus the whole street can hear it, hence the self imposed 7pm curfew on its use. In short this machine is a howling banshee in operation which is not pleasant and the noise travels.

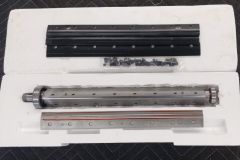
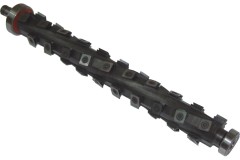
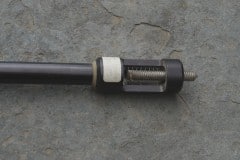
The original cutter head consist of three high speed reversible blades that span the full 13″ width, with the Bryd helix cutter head, you get about 40 blades arranged in a spiral. Each blade is carbide (holds its edge longer) and has four sides which can be rotated if you dull or chip one.

The helix blade will be quieter, in part due to the spiral nature of the cutter head as only one blade is striking the wood at any one time, compared to the original blade which would strike the wood over the full width of the wood.

Install isn’t trivial but as the Bryd cutter head is so popular there are plenty of quality installation videos on YouTube which helped alot. I relied mostly on two below. I did have issues removing the original cutter head, and I eventually removed the spiral drive gear and used a 1.25″ diameter wooden dowel to help with the removal (not my idea but can’t remember where I came across it).

So today I finally got to try the new cutter head out for the first try. For starters the Dewalt planer (the only planer I’ve ever used) is a bit noisy anyway even before you start feeding wood through it, I’m thinking noisy vacuum cleaner levels. With the new cutter head I thought the standing noise was a bit higher, but we’re still talking noisy vacuum levels.

My first test was 7.5″ wide pine and boy what delight it was, I had simple ear lugs in and it was really quiet, no high pitch screech of the old blades. I did notice some slight ridges in the wood so I will check the seating of the the blades.

So would I recommend this to other Dewalt owners, yes most definitely. I do think the resulting cuts are smoother but whats most important to me is the noise reduction which is a welcome blessing. Sure it’s still going to sound like a noisy vacuum in operation but no longer the banshee and I don’t think I have to curfew it now.

Thank you Bryd Tools.

Prominent Staff Member Caught in Vice Probe

Shock, horror probe!!!

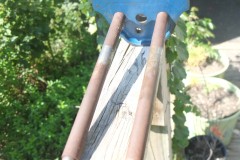
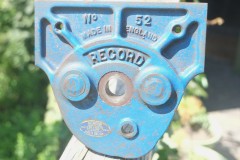
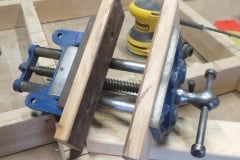
This vice belonged to my Dad and possibly my Grandfather before that. It’s a Record No. 52 and it dates from somewhere between 1940 and 1960 and for as long as I can remember it’s been sitting unused on a shelf under a work bench in Dinas Powys, Wales.
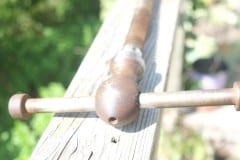
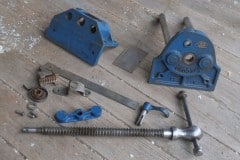
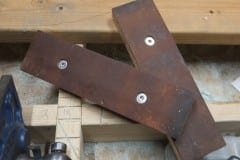
We’ve been looking for a woodworking vice for a while now and it made perfect sense to bring this back from the UK. I disassembled it and Aimee and I both bought parts back in our luggage. It had quite a bit or surface rust so I removed that before reassembling it. The last picture is after I removed most of the surface rust. The blue painted pieces were just washed and will retain their patina.
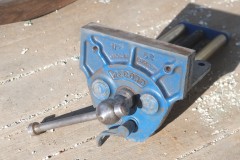
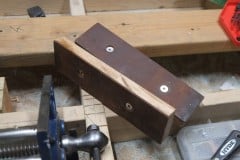
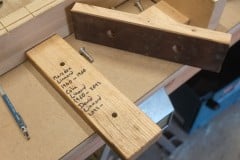
Here it is assembled, incorrectly I may add, and it took me maybe 10 minutes to figure out the quick release. Next step is to make some oak jaw pads from local wood supplied by John Paul. Odd that it didn’t have any jaw pads, maybe it was never used.

The idea to add leather to the pads was something I saw on a youtube video and should help stop the jaws from marring the wood. Holes were punched in the leather so that I could remove the pads without having to remove the leather.

I should think that with decent care, the vise will last for many more decades and I like the idea that my Dad and Grandfather used it. I wrote all the owners names on the inside of the pads so the next owner can see a bit of the vises history and add their own name.

Nowadays Record are owned by Irwin and they make their vices in China so it’s nice to have a good old, “Made in England” one.

You’ll notice that I interchange vice with vise and if you’re interested in grammar read on:

We have a winner to “What is this object?”

The winner does happen to be my brother Ian, but there was no shenanigans, in fact I would have rather the winner be local as now I have to ship the prize overseas.

Ian’s second guess was

I would say it’s for marking the area to cut out in order to recess the rails in a balustrade, to ensure they are vertical, hence the spirit level

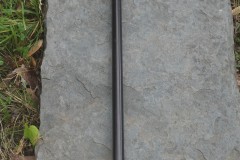
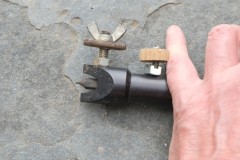
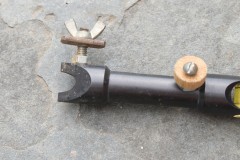
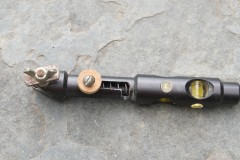
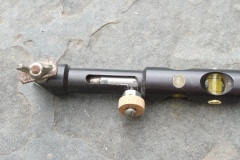
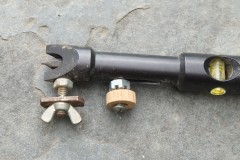
Which is bang on, the device is in fact the LJ-3047 – Telescoping Baluster Marking Tool, made by LJ Smith. To see it in operation I suggest you watch this YouTube video by Matt Weber.

I haven’t used it yet, but I’m sure I will. I think I paid the embarrassingly low price of eBay of $0.99, plus shipping.

Chris, I’ll also send you a pot as you were the only other entrant, Ian can deliver.

What is this object?

I bought this mystery tool a while back. I haven’t used it but it will get used at some point. It’s still in production and is a specialist tool that has a single purpose. Can you guess what it does?

Think about the features listed below, they will help you a lot in identifying what it can do and then it’s particular purpose.

Features include:

  • Spring loaded punch on one end and a spike on the other
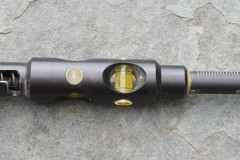
  • Bubble level’s on two axes
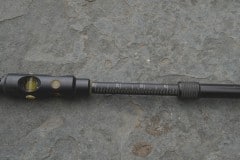
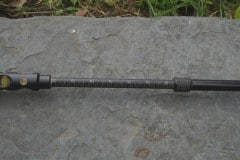
  • It’s telescoping

Winner receives a jar of our homemade DnA chili sauce. Local winners can pick it up, for others I will ship.

I’ll suppress any winning comments for few days to give everyone a while to think about it.

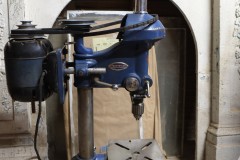
New old drill press

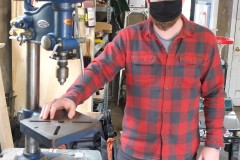
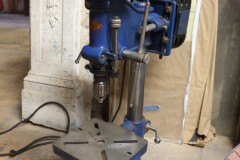
This weekend we picked up a lovely old bench-top drill press from a fine fellow named Matt. Matt was given the drill press from an elderly neighbour who always took care of it. The neighbour probably owned it from new.

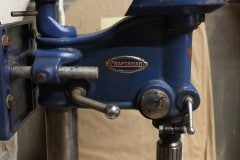
The drill press is a Craftsman and looks to be from around the early 1940s or late 1930s, either way it’s a beauty and runs like a dream. This drill press was made for Craftsman by Atlas (now Clausing).

During the 1920s Atlas Press added drill presses and metalworking lathes to their product lineup. During the 1930s they began making wood lathes. In 1934 they began making drill presses and wood lathes for Sears Roebuck, which marketed them under the Craftsman, Companion, and Dunlap names.

By the way vintagemachinery.org is a great site for information on vintage machines, including reprints of parts lists and brochures. The brochures for Craftsman go back almost a 100 years.

We do have two other drill presses, an Orbit (now Jet) and a Delta but the Orbit has a really bad wobble and the other is a pain to adjust. These didn’t cost me much so I’ll sell them.

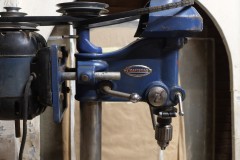
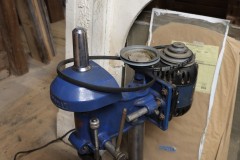
The nice thing about this Craftsman is that it came with the optional “Multi-speed attachment” which is the pulley in the center (front pulley is behind the cover for safety). This option gives you a wide range of speeds for different materials and drill bits. With reasonable care this will be still be running fine for the next 80 years.

By the way I become interested in vintage drill presses after visiting the website of James Hurley. James breathes youth back into old machines and what an amazing job he does. Whether you like tools or not you can’t not be impressed with what James achieves, which in my opinion are works of art. Please check out his artistry at Iron Age Enterprises.

By the way this is what James has to say about the quality of these old machines:

Why Restore?

U.S. – made machinery from the ’30s through ’70s were produced by an industrial infrastructure we will never see the like of again. Technology, availability of materials, styling, and pride of craftsmanship, all combined during that period to produce tools that were far superior to most tools today.

For example; In 1957 Sears offered a bench-top drill press made by the King-Seeley corporation under the Craftsman marque. At that time The Model 100 sold for a whopping $97.00 – (without the motor) – Sounds like a great deal, doesn’t it? Well…. In 2018 dollars, that $97 equates to…..$866.41.

Let that sink in…. To get the equivalent machine today you’d have to spend over $850 !

Without the motor.

So before you call the scrap-guy and replace that old rusty drill press with something that can be sold for $200 AFTER being shipped from overseas, get in touch with us.

We restore those great old machines… Because they deserve it!

Happy Birthday Mum, we miss you and lastly, Happy St. David’s day.

They Don’t Make Them Like They Used To

We’ve almost finished our new ground floor front door. I did think we could make it in three weeks, but it’s probably been nine weeks already, not continuously, just weekends and evenings and being interspersed with other projects. If we build another door it will be a lot simpler and quicker – you learn a lot on your first pass.

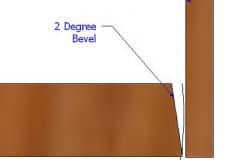
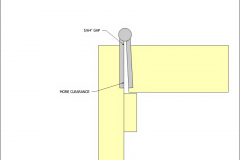
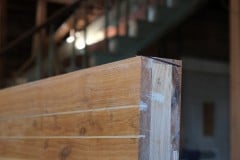
We’re almost at the point of painting the door and the last thing we have to do is to bevel both the lock and hinge sides of the door. The reason for beveling the lock side is to allow for a tighter fit of the door to the jamb when in the closed position and on the lock side it stops the hinges from banging into each other (called binding). Pictures below hopefully illustrate this.

The easist way to put a bevel on would be to run my track saw along both edges, set at say a 2° – 3° angle, however the door is too thick to cut through completely – our door comes in at 2 1/2″ thick which doesn’t seem thick, but it is, that said it does have a 1″ foam core to keep us cozy. Also the saw tracks are pretty wide and once you add the trim to door (which is raised) you can’t do this – I made this mistake on the last door.

So how to add the bevel? I thought of using a hand plane which I’m sure would have worked but it would have been tricky to get a consistent angle, then we borrowed an electric hand planer from Don, but same issue with the angle. After spending so much time on making the door I didn’t want to mess it up right at the end.

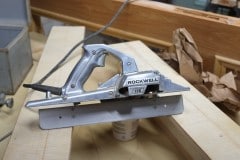
Searching, I found out about a tool, sadly no longer made, which was made for door beveling, the Porta Planer 126, made by Porter Cable. As an aside I always thought that Porter(a) Cable meant PORTAble electric tool on a CABLE but if you follow the above link the company was created by Mrs Porter and Mrs Cable. I started looking for a 126, which seems to be an appreciating classic, but all the ones on ebay were a few hundred dollars and then I came across one being sold locally by the Kingston Boat Building School, for $80.

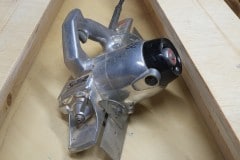
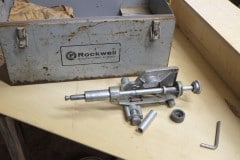
You’ll have to agree it’s a beauty of a tool, it’s quite the work of art and I read somewhere that the Rockwell engineers who designed this may well have been designing exotic jet planes or rockets. This one is probably at least 40 years and likely a lot older. The bevel angle drawn on the door in the last picture is just to let me know which side to put the bevel and actual bevel will be a lot less.

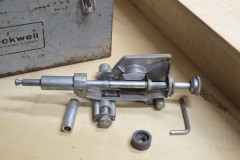
The only downside with this tool is that spare parts are no longer in production, especially the cutter head. The cutter heads do turn up on ebay every now and then but they sell for about $150. However, this tool has a trick up it’s sleeve – you can sharpen the blade yourself on site!!!! Notice the accessories? They’re the parts to sharpen the spiral cutting blade with the small round object being the grinding stone. Now who builds tools like this any more? I know my friend Win would have loved this.

Some days you’re just lucky

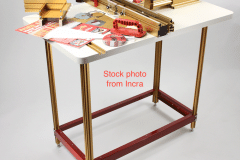
For a long time I’ve been looking forward to the day I could buy a router table. A decent system can cost in excess of $1,000 and as we are on a budget, this wasn’t something I could go and splash out on, though I was putting some money aside every month for one.

For months I’ve been researching router tables and had narrowed it down to a Woodpeckers, Jessem or Incra systems which isn’t really narrowing it down at all!! I was pretty hooked on a Woodpeckers table with an Incra lift but then I came across a review about the Incra system which talked about how repeatable it was, that is, you can route a piece of wood, change all the settings and then come back months later and dial in the router (to a resolution of 0.001″ / 0.025mm) to produce an identical cut to the one you did months ago.

Anyone who has used a router table will be familiar with the usual procedure of the easing up of the fence clamps, knocking the fence back and forth, taking measurements and running test cuts until you get it right, which can get pretty tedious if you are making lots of different cuts. As we need to make a lot of identical cuts, e.g. for all the sash windows, this seemed a great system for such a projects.

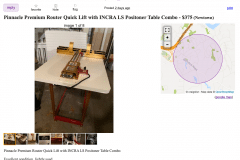
Again for months I’ve been looking for a second hand one and more recently I was looking specifically for an Incra system. Unfortunately decent router tables don’t come up often craigslist or ebay and a specific brand even less, but that was until this last Friday …

[spfx: drum roll]

By the time I saw the post it was 20 hours old, so kicking myself for not spotting it earlier I replied and surprise, surprise I get a reply and following a phone call we arrange to drive down on Saturday morning to pick it up!!!! I wasn’t going to count my chickens until we were driving back with it in the car, but I was feeling pretty optimistic.

Fortunately everything went to plan and the seller Joe was very pleasant to deal with and we also bought a couple of sets of nice router bits from him. There were one or two components missing from the table, but Joe said that if he came across them he’d mail them on. Also if they never turn up, I’ll just buy them from Incra. As stated in the advert, it is in excellent condition.

I’m super, super excited about using this tool so thank you again Joe and I think our workshop is now pretty much complete!!!

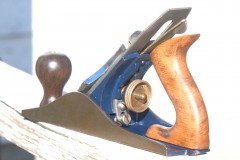
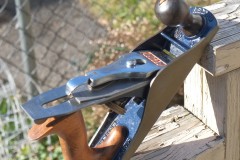
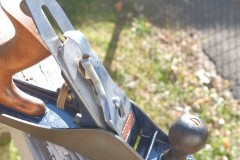
Record No. 4 plane reassembled and ready for use

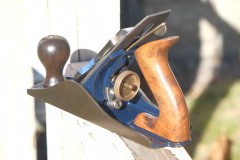
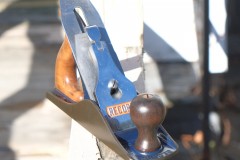
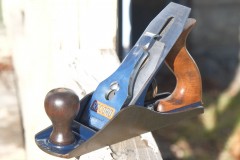
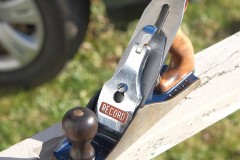
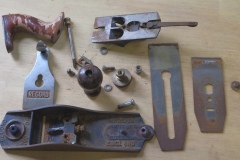
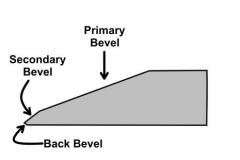
After cleaning and removing most of the surface rust (soaked the plane in vinegar for a day) the plane has now been reassembled. The blade was also sharpened using a set of DMT Duosharp diamond bench stones which took a while as I needed to flatten the back of the blade. The primary bevel of this plane blade is 25° with a 30° secondary bevel. I also put on a slight curve to the blade, following these instructions from Matt Estlea. In future I’ll only need to sharpen the secondary bevel, unless it’s gets as large as the primary bevel in which case I’ll re-grind the primary.

You’ll notice the handles are now a different color, which I put down to differing types of woods. Previously the handles were finished in a dark reddish lacquer but as this was flaking off I sanded them both down to bare wood, applied a few coats of linseed oil followed by some hard wax polish. Before final assembly I sprayed all the metal parts with Boeshield T-9 which leaves a protective waxy film.

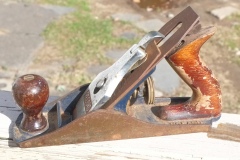
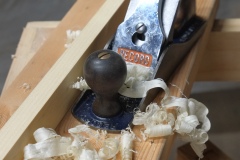
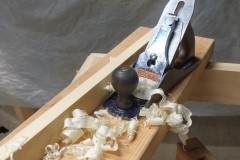
I included one of the before pictures so you can compare and contrast and as you can see the plane cuts pretty well.

PS this is the previous plane entry.

Old house, old tools

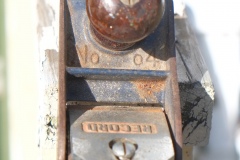
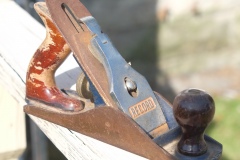
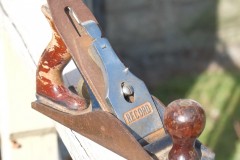
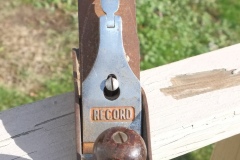
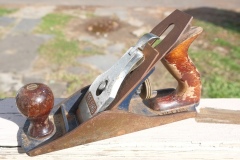
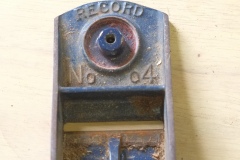
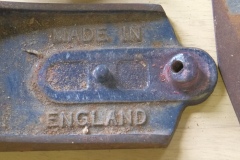
Not only does it seem fitting to use old tools on an old house, but practical, a well made old tool is often better than its modern counterpart. To this end I have been collecting some old tools, some belonging to my dad (and possibly his grandad). There’s something nice about using something your parents or grand parents used. I don’t have many such tools, a couple of screwdrivers, a hacksaw, some chisels and on my last trip to the UK I picked up my dads, “Made in England” Record No. 4 wood plane. This plane is a smoothing plane which is used to ‘produce a finish that equals or surpasses that made by sandpaper’.

Concerning ‘Made in England’, I also have a lovely ‘Made in USA’ Bailey/Stanley plane which I picked up on ebay, again an old plane, but built with quality. Aimee has used this one quite a lot while working on our back door restoration and the results were most pleasing.

This model was in production from 1931 to 2004 and from this excellent site on Record planes I’ve dated this plane from somewhere between 1952 to late 1957 which gives it an age of between 62 to 67 years old.

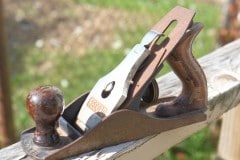
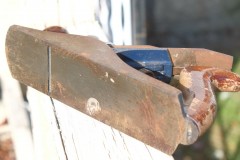
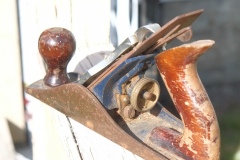
As you can see in the pictures it has quite a bit of surface rust but I’m hoping to remove this and return it to a decent condition. The trick I picked up for removing rust is simply to soak it in vinegar for a few hours. Luckily there doesn’t seem to be much pitting, which you can’t do much about.

These pictures are the before any cleaning. I’ll post some pictures once I’ve cleaned off the rust, sharpened the blade and re-varnished the handles etc. Probably take me a few weeks to get around to this.

Where does the sole go when it leaves you?

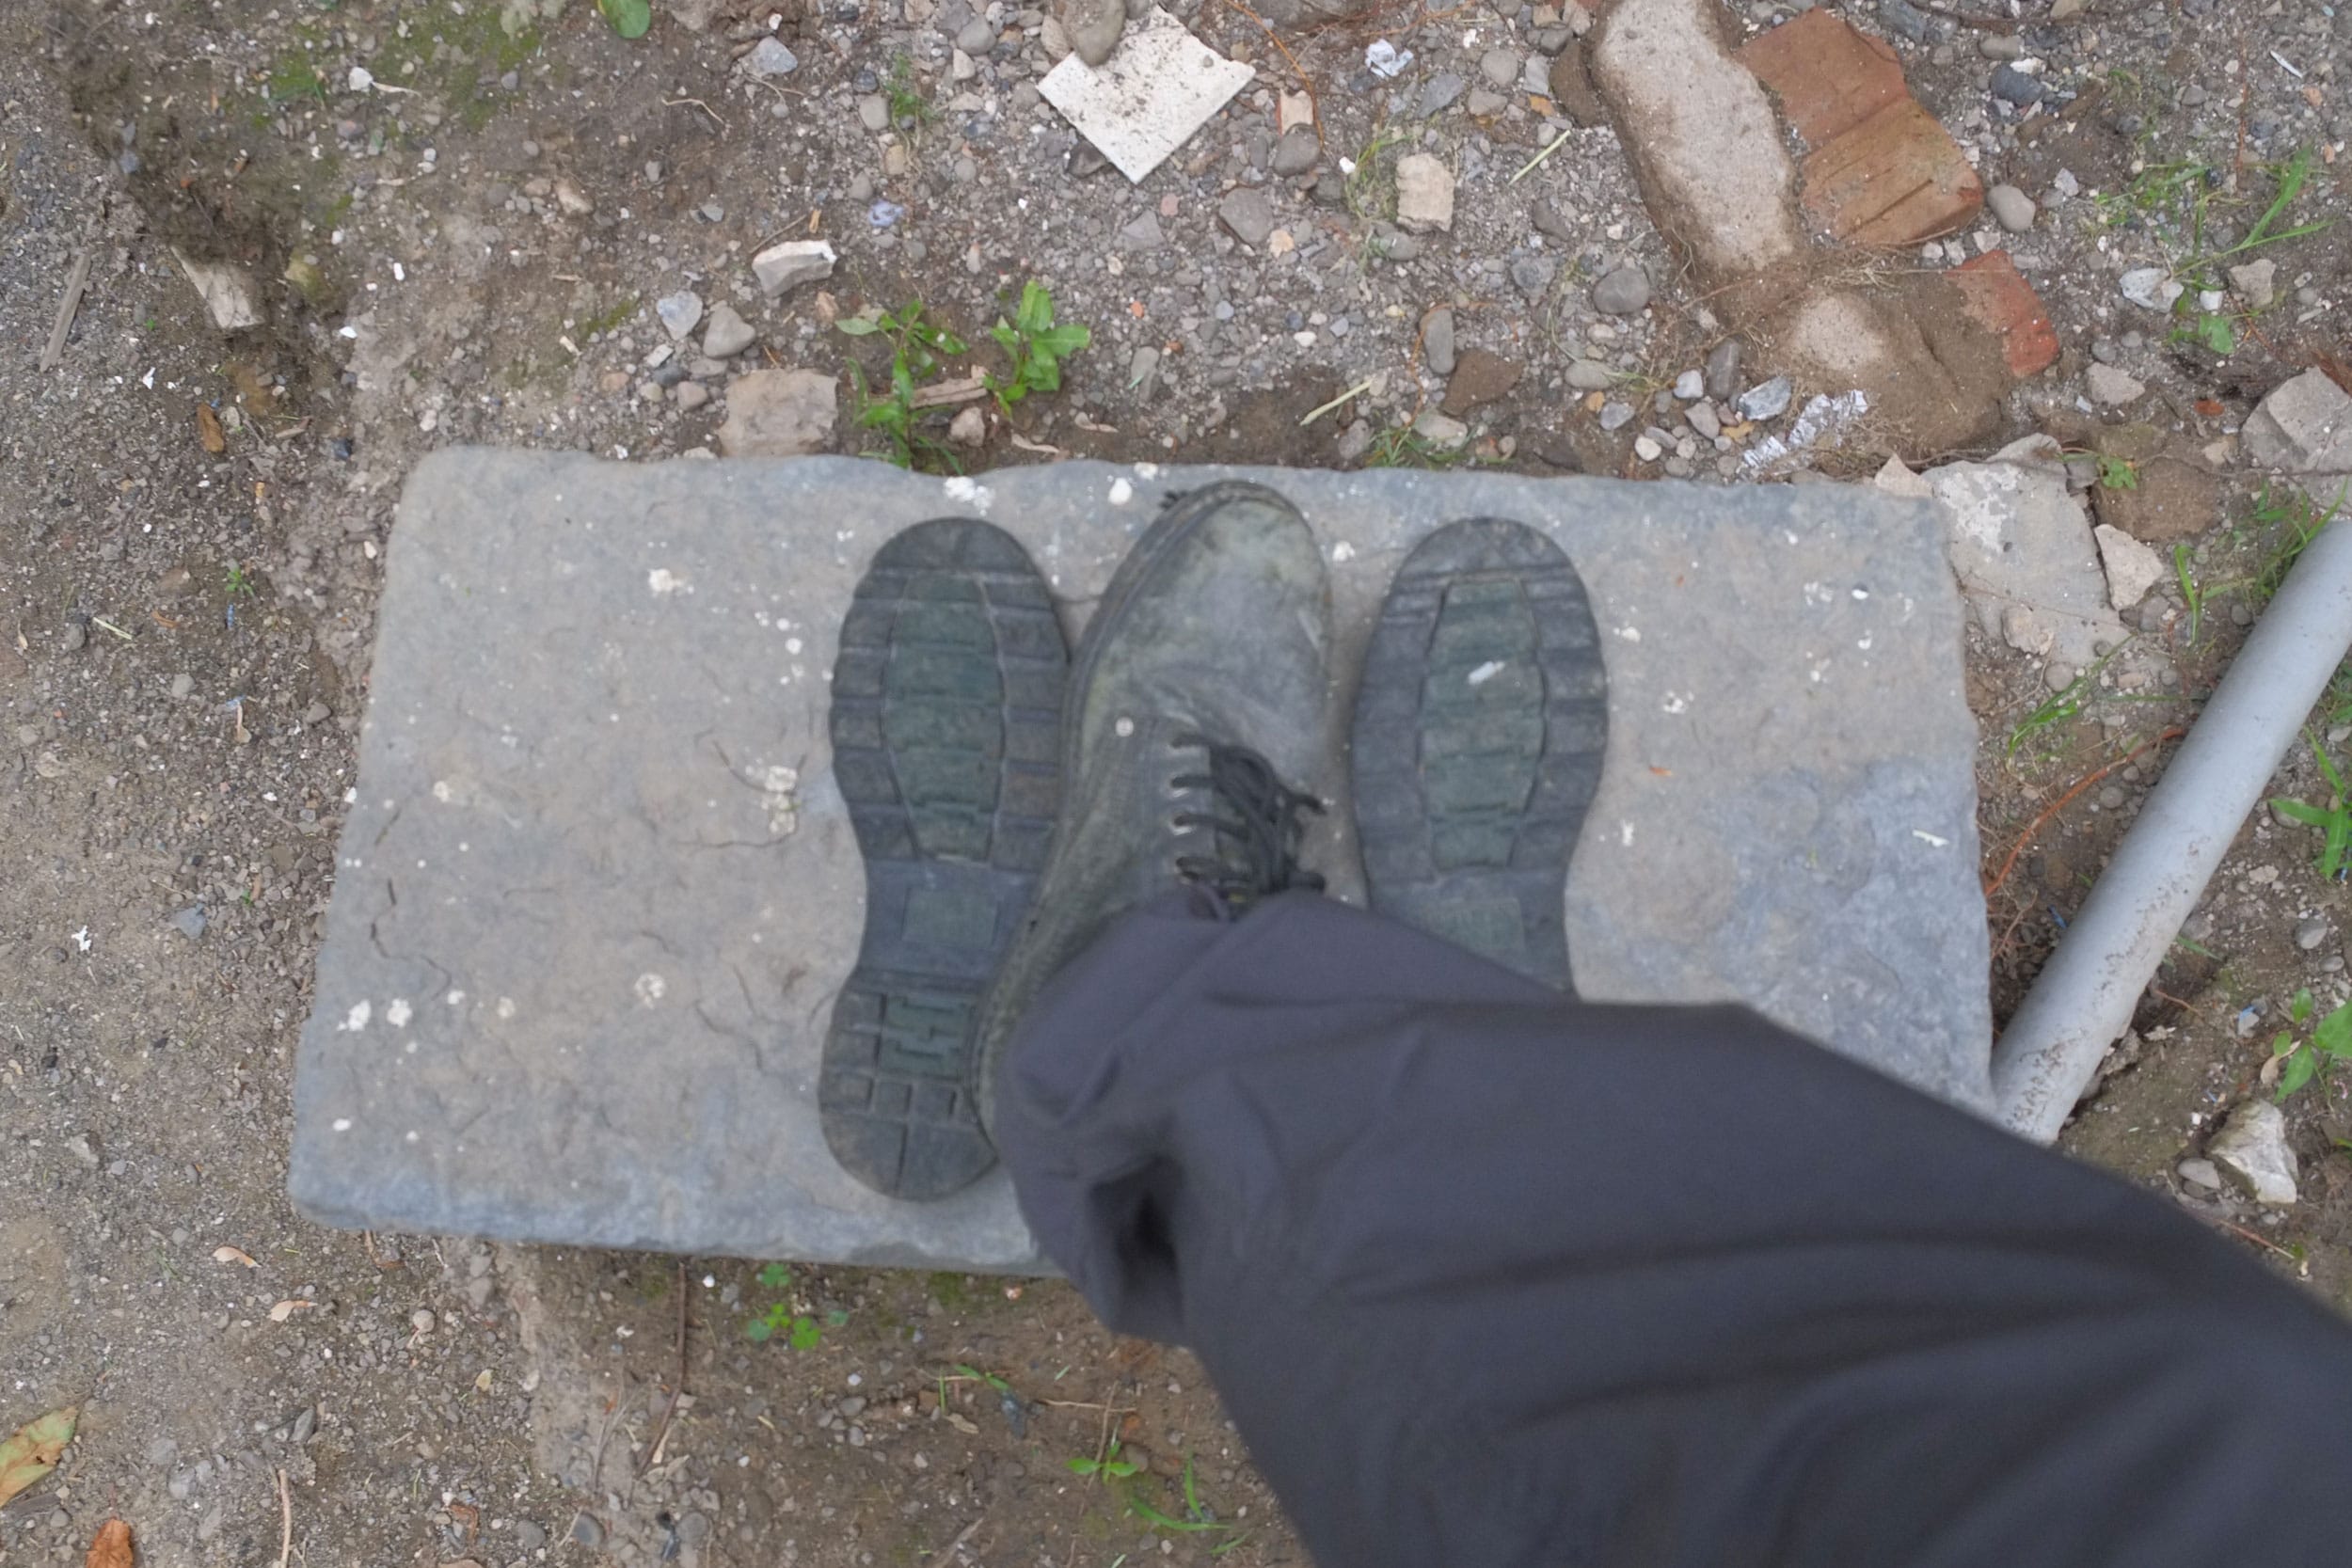
This weekend, in the space of fifteen minutes, the soles of both my boots fell off. They weren’t especially expensive boots, I got these steel-toed boots for working down the at Crucible in Oakland, probably fifteen years ago, but the coincidence of them both failing within fifteen minutes surprised me. I was high up in a tree on a ladder at the time so maybe they were scared of heights.

Works boots with both soles detached

I now have some great Carhartt work boots and you really need good boot around DM. These boots fit well, whether I have one pair or three pairs of socks on.