Fixing a hole

Today is a good day in many ways.

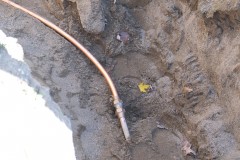
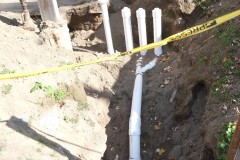
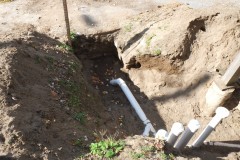
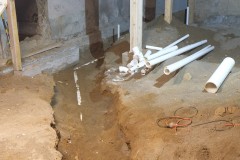
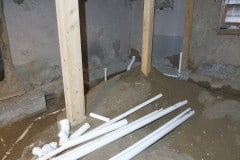
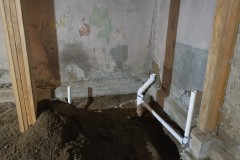
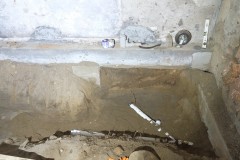
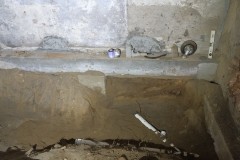
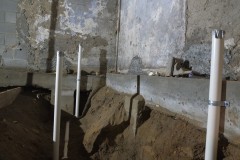
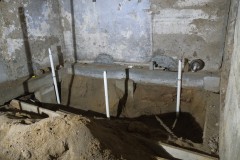
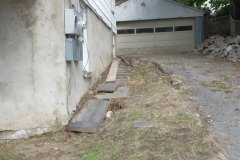
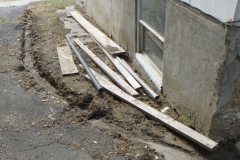
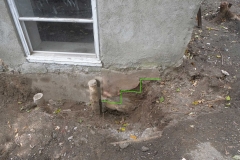
After months of waiting our plumbing has finally been roughed in [spfx: Hallelujah] and we’re now connected up to the street. This doesn’t mean we have a working loo or sink etc., just that pipes are in place for such porcelain devices.  We can now fill in all the trenches and holes, some of which were putting our walls at risk of failure. Thank you Nick and Cameron from Sinnott Plumbing.

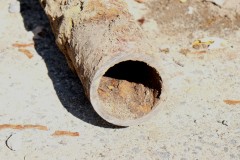
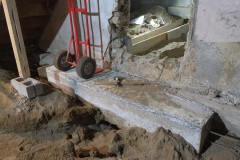
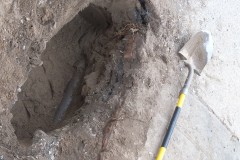
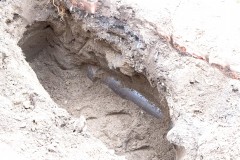
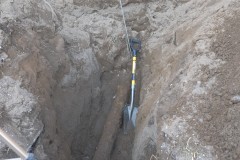
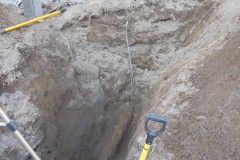
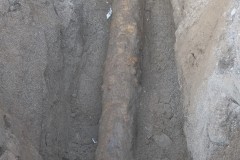
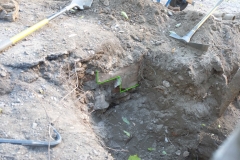
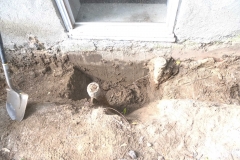
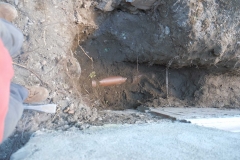
In the pics you’ll see a section of the old cast iron sewer pipe. Cameron said he had never seen one as thick, it was a good 1/2″ and the metal inside looked as good as new. Pretty good for being under the ground for over 100 years.

Next step is a concrete pour, but before we do this we’ll probably beef up one or two small sections of our footings as we won’t have this chance again. After that we’ll start to prep for the pour which we now plan to do in the spring.

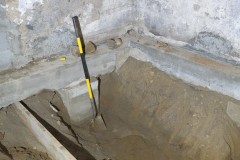
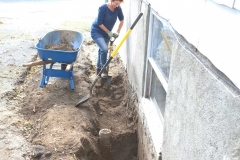
By the way do you like my magic shovel, you place it on the ground and it sucks soil onto it, it’s brilliant, birthday present from Aimee!!!

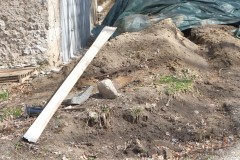
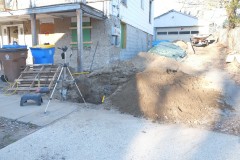
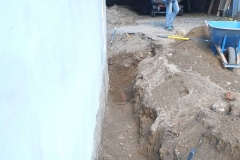
It was very nice to finally fill in the hole by our pavement/sidewalk which was at least four foot deep and was putting our porch structure and any stray member of the public at risk, we also recovered some of our driveway 🙂

One step closer to the Porcelain Throne

Sorry we haven’t posted in while, we’ve been working on our new front door and it’s taken longer than I thought. Construction is almost complete and we hope to paint it in the following few weeks, then we have to work out how to hang this behemoth of a door, anyway enough of that and back to what you’ve been all waiting for, our latest plumbing update.

Backing up a bit when we bought the house the plumbing was pretty much non-existant, there was the original cast iron pipes which led through the house to the street which had rusted through and any copper piping that may have existed had succumbed to the house’s ten year absenteeism from human occupation or in the British vernacular, ‘some bugger had pinched all the pipes‘.

Now at last we are starting to get all the plumbing replaced and up to modern standards. It’s taken us a while as we had foundations to fix, collapsed walls to rebuild and even after the builders had finished their work on the foundations we beefed up them up where pipes had to go under them.

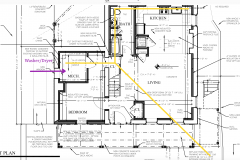
Today Nick and Taylor from Sinnott Plumbing came around and started the rough in and for this we had to nail down where we wanted every plumbing related item, sink, bath, toilet etc. which was pretty tricky for us as the house is unfinished and we need to add 6″ or so of insulation to the walls etc. Fingers crossed we aren’t too far off as all of this will be covered by a concrete slab making changes a little tricky. So if in the future you ever come to visit the house and wonder why the bath, sink or shower is in an odd place you’ll know why, but then such placement will probably be all the rage.

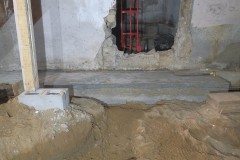
I’m so, so glad we added the extra strengthening to the footings plus the two reinforced pillars beneath the back wall, which would have otherwise been held up by sand alone. I’m pretty sure that without the extra support the back wall wouldn’t have survived being excavated in such a fashion and I just hope it can hang on for a little longer. You can see those back wall pillars in the last five photos.

They will be coming back soon to connect our newly laid pipes to the street and also run some pipes for gas, after which we can hopefully start to fill in the trenches and start planning for a concrete pour. That said I also need to do some research on Radon etc.

Progress on plumbing

So as you may recall we have to redo all our plumbing as we currently have very little – a garden hose attached to our mains water which we greatly appreciate and can thank Paul Sinnott for.

We believe the last owners of the house were attempting to restore it as they gutted the house, hence no kitchens, bathrooms and then it was left empty for about ten years, during which time it was broken into and anything of value was pinched, e.g. copper pipes etc. It does make us feel sorry for the defenseless house and reminds me of the poor albatross chicks on Gough island and don’t search for it if you’re squeamish. If you want to donate go to RSPB Gough Island project.

To add to the plumbing complication there had never been any bathroom on the ground floor and as the sewer pipe entered the ground floor above ground level this was going to be a problem as sinks, toilets, baths etc. usually expect the above mentioned pipe to be below so gravity can do it’s work however, as we have to install a new sewer pipe it gives us the opportunity to lower the new pipe by a few feet – sure we could have had some pump system, but I really want to keep this system as simple and as reliable as possible. Fortunately for us the existing level of the sewer pipe at the street is low enough to enable this two to three foot drop.

Earlier this year we met Paul at the house and discussed how we should progress and it was decided that we should dig all trenches for the pipes, including out to the street – this was really a cost cutting exercise on our part as we need to be prudent.

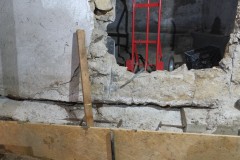
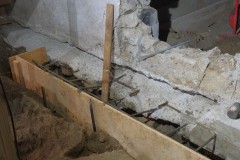
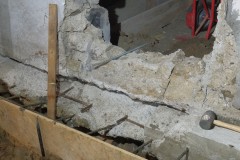
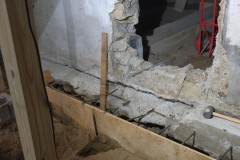
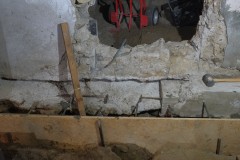
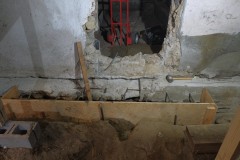
Trench digging is fine, it’s hard work but we take it slowly, the issues we had was that we had to dig trenches under two load bearing walls and having brought down a wall accidentally last year you can understand how I am very hesitant about burrowing under them, especially as the geological layer around here and beneath our walls is 95% sand and I kid you not. You dig a hole in our basement and within minutes the ground around it collapses – you get the idea. In fact on occasion when we made our concrete mix too wet, we just used some of the sand we had dug up to thicken it! Added to all that the footings don’t appear very substantial in the areas we have to dig under as can be seen in the photos below.

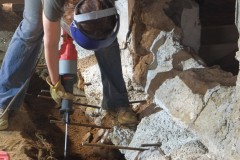
Earlier this year Derrick had suggested that we reinforce the footings our builders had put in and that is what you can see us doing in the photos and video. We first drilled holes into the existing footings and epoxied in rebar perpendicular to the wall followed by a couple of long pieces of rebar parallel to the wall. In the end it took us about eleven straight hours and about twenty five 80 lbs bags of concrete. We also added some large washed rocks to save on concrete. It was hard and sweaty work but now I won’t have any worries about burrowing under this wall as it’s a substantial chunk of concrete. One more wall left to reinforce.

Digging a hole

Last weekend, as the weather was good and the ground was above freezing we decided to dig. We weren’t just digging any hole, but were trying to find the old waste water/sewer pipe. Paul Sinnott, our plumber, was hoping to connect a new pipe to the existing pipe near where it went under the pavement/sidewalk, thus hopefully saving us from the cost of digging up the road etc. Our aim was to expose about five foot of the pipe so Paul could see what the deal was.

We knew the old pipe ran roughly parallel to the side of the house and rather than dig it up all the way down we dug an exploratory trench about 10′ foot up from the pavement/sidewalk and once we had located the pipe we roughly knew where we should start digging near the pavement.

On Saturday, adjacent to the pavement we went down about 4′ and nothing, then some of the soil under the pavement fell away revealing a terracotta pipe. I had no idea what this was, possibly a sewer pipe, possibly not, either way I’m glad we didn’t damage it. This pipe is shown below. Still no sign of our cast iron pipe, so further digging was required.

On Sunday we another exploratory dig 5′ back from the pavement, went down until we hit our cast iron sewer pipe and worked our way to the pavement and as you can see we revealed about 5′ of pipe, which goes beneath the terracotta pipe by about 18″. There were no obvious holes in the cast iron pipe, but the outside corrosion looked pretty bad and I wouldn’t be surprised if we need a new pipe from the edge of our property to the main sewer which I believe runs down the middle of the road.

In the end the hole was maybe 5′ deep in parts but luckily the soil here is very sandy so the digging could have been a lot worse. We covered the hole with branches and leaves to make sure no one falls in [spfx: evil laughter]

We have one modern convenience

Running water, albeit a single tap, but this is progress.

A big shout out to our plumber Paul Sinnott, Derick at Kingston City Water Department and Thomas our builder.

Paul, Derick, Thomas and ourselves all met up last Tuesday at 8.30am. I wish I had bought my camera with me as a lot of progress was made in a short time. It seems that our water system was very old (see man hole picture) and it surprised everyone that the system hadn’t frozen and burst years ago considering how low the water meter etc. were below ground (about two foot). It took some grunt to get it turned on and involved a very long pole to get better leverage and an angle grinder. At times I thought we were going to have a geyser outside of Gill House.

This old connection to the mains will be upgraded in time and Paul thought that we wouldn’t have to dig into the road to install the new system which is great news for us and it will save us money and the hassle of getting permits etc.

We temporarily filled up the hole so no one would fall into it and covered the pipework with a plastic water bottle to keep the dirt out. Some history about the “Ford Meter Box” can be found on the Ford Meter Box companies website.

As you can see form the photos, we can now water our grass which was in much need of water. We’ll probably have to reseed a bit but we’ll wait a week or so to see what happens.

We have a new plumber

We’ve been looking for a new plumber for quite a while since we lost our previous plumber. Our friends Ritchie and Helena recommended Paul Sinnott and after a few text and phone calls we finally met Paul. Summer is a busy time for the trade so we are glad that we found a time that Paul, Thomas and Matt (builders) and us could all meet.

The idea is to first rough in the main downstairs plumbing components (sewer, water etc.) By the way “roughing in” means:

to bring in the various lines (Plumbing pipes, duct work, electrical conduit) to the space, but not make the final connections. For plumbing, this would be the pipes in the walls and floors that lead to the sinks, bath, toilets, etc, but not actually hooking up those fixtures

Eventually we will do a concrete pour on the ground floor so these pipes need to be installed first.

Paul got the ball rolling immediately by call Kingston city water department and arranging a site meeting next week with one of their engineers to discuss getting our water re-connected. It would be so nice to have just one tap in the house, both for the builders and for us so we can water the new lawn. By the way we haven’t had much water of late and the temperatures have been in the 90’s of late so lawn is suffering.

Paul also does heating so it would be handy if we could work with him on that as well.

Did you know that the word plumbing comes from the latin plumbum:

The word “plumber” dates from the Roman Empire.[3] The Latin for lead is plumbum. Roman roofs used lead in conduits and drain pipes[4] and some were also covered with lead, lead was also used for piping and for making baths.[5] In medieval times anyone who worked with lead was referred to as a plumber as can be seen from an extract of workmen fixing a roof in Westminster Palace and were referred to as plumbers “To Gilbert de Westminster, plumber, working about the roof of the pantry of the little hall, covering it with lead, and about various defects in the roof of the little hall”.[6] Thus a person with expertise in working with lead was first known as a Plumbarius which was later shortened to plumber. [Wikipedia]

So I guess that is how a plumb bob got it’s name as I bet the weight was made from lead.

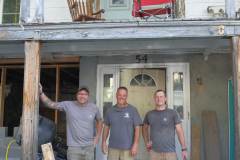
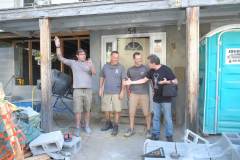
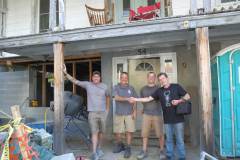
In the pictures, Paul has the sunglasses around his neck, Thomas is the one wearing the hat and Matt is well, just Matt. I’m the one wearing Eric Anderson’s cast off Levi jeans – my brother Matt also has a few pairs as well so thanks Mr. E 🙂

P.S Also note worthy in the photos is the fact that the bottom left hand walls are finally near completion.
The French Drain and the Sewer

As we approach build time we have to think of the plumbing. We want a shower and loo on the ground floor but alas the sewer pipe is about 18″ off the ground and as most plumbing works on gravity we would have to mount all our plumbing on a 24″ platform, so steps up to the throne etc. One solution involves underground tanks and pumps, which adds more things to go wrong and no one ever wants any problems in this area of the plumbing. Another solution is to lower the sewer pipe. The internal pipes are all cast iron and are probably original (150 years old or so), so these need to go, plus we are at an ideal stage to rip all this stuff out as we have no internal walls and everything is exposed.

The problem with the sewer pipe is outside and the first hurdle is that it’s buried, the second (and the biggest) hurdle is the gradient. We need the outside pipe to have a gradient of roughly 1/4″ drop in 12″, I think we can go slightly less maybe to 1/8″ in 12″ but that may be pushing it. Our plumber, Rowland Green, recommended the 1/4″ drop so that is what I am hoping for. The gradient isn’t something you can work around, our house is at one height and the main sewer line is at another height and neither can change.

Rowland recommended that we expose the pipe for maybe 10 foot or so and check the gradient, or even better we find that it turns sharply down. It’s possible that after all the digging we can’t lower the pipe but luckily the work won’t be wasted because we were planning to install French drains around the house.
French drains are basically gravel channels that provides the water an easy way of egress. They help lessen dampness in underground areas. Our semi-basement seems pretty dry already so the drain won’t hurt and now is the time to do it before we put in any paths etc. We will also get Derrick to apply a lime render to the existing lime motar foundation walls. Lime walls need to breath so you can’t apply a sealant as you would if you were dealing with Portland cement. The lime render is really a sacrificial layer that absorbs the harmful salts etc. that move through lime masonry.

During the digging we found some old steps down to a now non-existent back door which I have illustrated with the green lines. Their was a ton of stone and mortar that took a good time to jack hammer out. You can see where the backdoor used to be as the concrete beneath the window has newer shuttering than the rest of the wall. This makes sense as this is where the staff worked and Aimee did find a lot of half burned coal and ash a little down the trench – the main cooking stove is just left of where that door was in the basement. This was probably filled in in the 40’s, 50’s to make way for the driveway to the garage. It’s pretty cool to see how a house used to operate.

Derrick knows of someone who is a good digger, so we are going to ask him to continue our work. The work is hard but I do enjoy chipping away at it, however, we can only do weekends and it would be nice to get this sorted before everything freezes.

The large cast iron pipe we dug up were close to the surface, they didn’t seem connected so probably previous workers on the pipes just buried them, classy.