But don’t tell Aimee, it’s a secret. Zip System (chip board with a water resistant membrane) shouldn’t be exposed to the elements for much longer than six months. Usually this would be covered with weatherboards/clapboards/sidings etc. but as we’re not ready to cut out and install the windows we have to dress it in house wrap to help weather proof the house for winter. I wish we had installed the fabric upside down or back to front as we’ll now be advertising Lowes for the next few months. Maybe we’ll paint it as we do have a quite a few paint samples, in which case I’ll do it in a dazzle fashion.
By the way I added extra strips along the corners to give the wrap a bit more abrasive protection.
When we are ready to install windows I think I’ll rip all the existing Zip System off as it wasn’t really installed with love, the panels are uneven, the corners are horrible and the seams are improperly taped. When replacing it I’ll look at alternatives such as ply and DuPont tyvek.
The gap in the video is us going to lunch which in hindsight was a bad idea as we didn’t finish the fastening of the wrap and today is very wet, that said we did go to one of Aimees favourite cafes, Peace Nation which is closing it’s doors for good this weekend. At the end of the time lapse you get a quick view over the Hudson estuary – we get a great view in the winter, but not so good in the summer due to leaf cover.
To keep our basement as dry as possible, we’ve been working on installing a french drain around the house. A french drain is basically a trench filled with gravel and containing a perforated pipe that redirects surface water and groundwater away from an area, see this wiki for more information. This trench didn’t need much work as the builders had cleared a lot of the soil away when they rebuilt it – this was the first wall to collapse.
We’ll need wait until Thomas and Matt remove the large pile of old wall debris from the front of the house as this is the area that the water will drain into. Once that is removed we can continue the trench and then lay the gravel, pipe and filter fabric (used to stop the gravel from clogging up with soil etc).
It was quite tiring throwing the soil clear of the ditch but the weather was perfect, a crisp autumn day. This was were we removed the tree stump from last week and you can see some of the remaining roots sticking out from the deck on the right. In the background Aimee is building a fire to burn the roots etc. We’ll often finish the day with a beer around a fire 🙂
House gets a root canal, well it’s getting under-pinned and new footings. If the house were sentient, I’m sure it would feel pretty bad.
Some of you may have read from previous posts we’ve had a couple of foundation walls collapsing, luckily the house survived both of these stressful events, but did reveal the fact that the house has very shallow foundations walls without footings. If you’re not sure what the difference between the two are, click on the photo below.
The shallowness of the footings and the fact that the soil that they sit on is practically sand is problematic. The lack of depth means that the walls sit above the frost line, which means that the ground beneath will freeze and thaw which will damage the building by moving the foundations walls. See this wiki on ‘frost line’ for a fuller explanation.
It’s been a bit costly but better to do this now when the ground floor is half earthen and we have no tiling or plasterwork to crack, should the house move doing this work – which I’m sure it has.
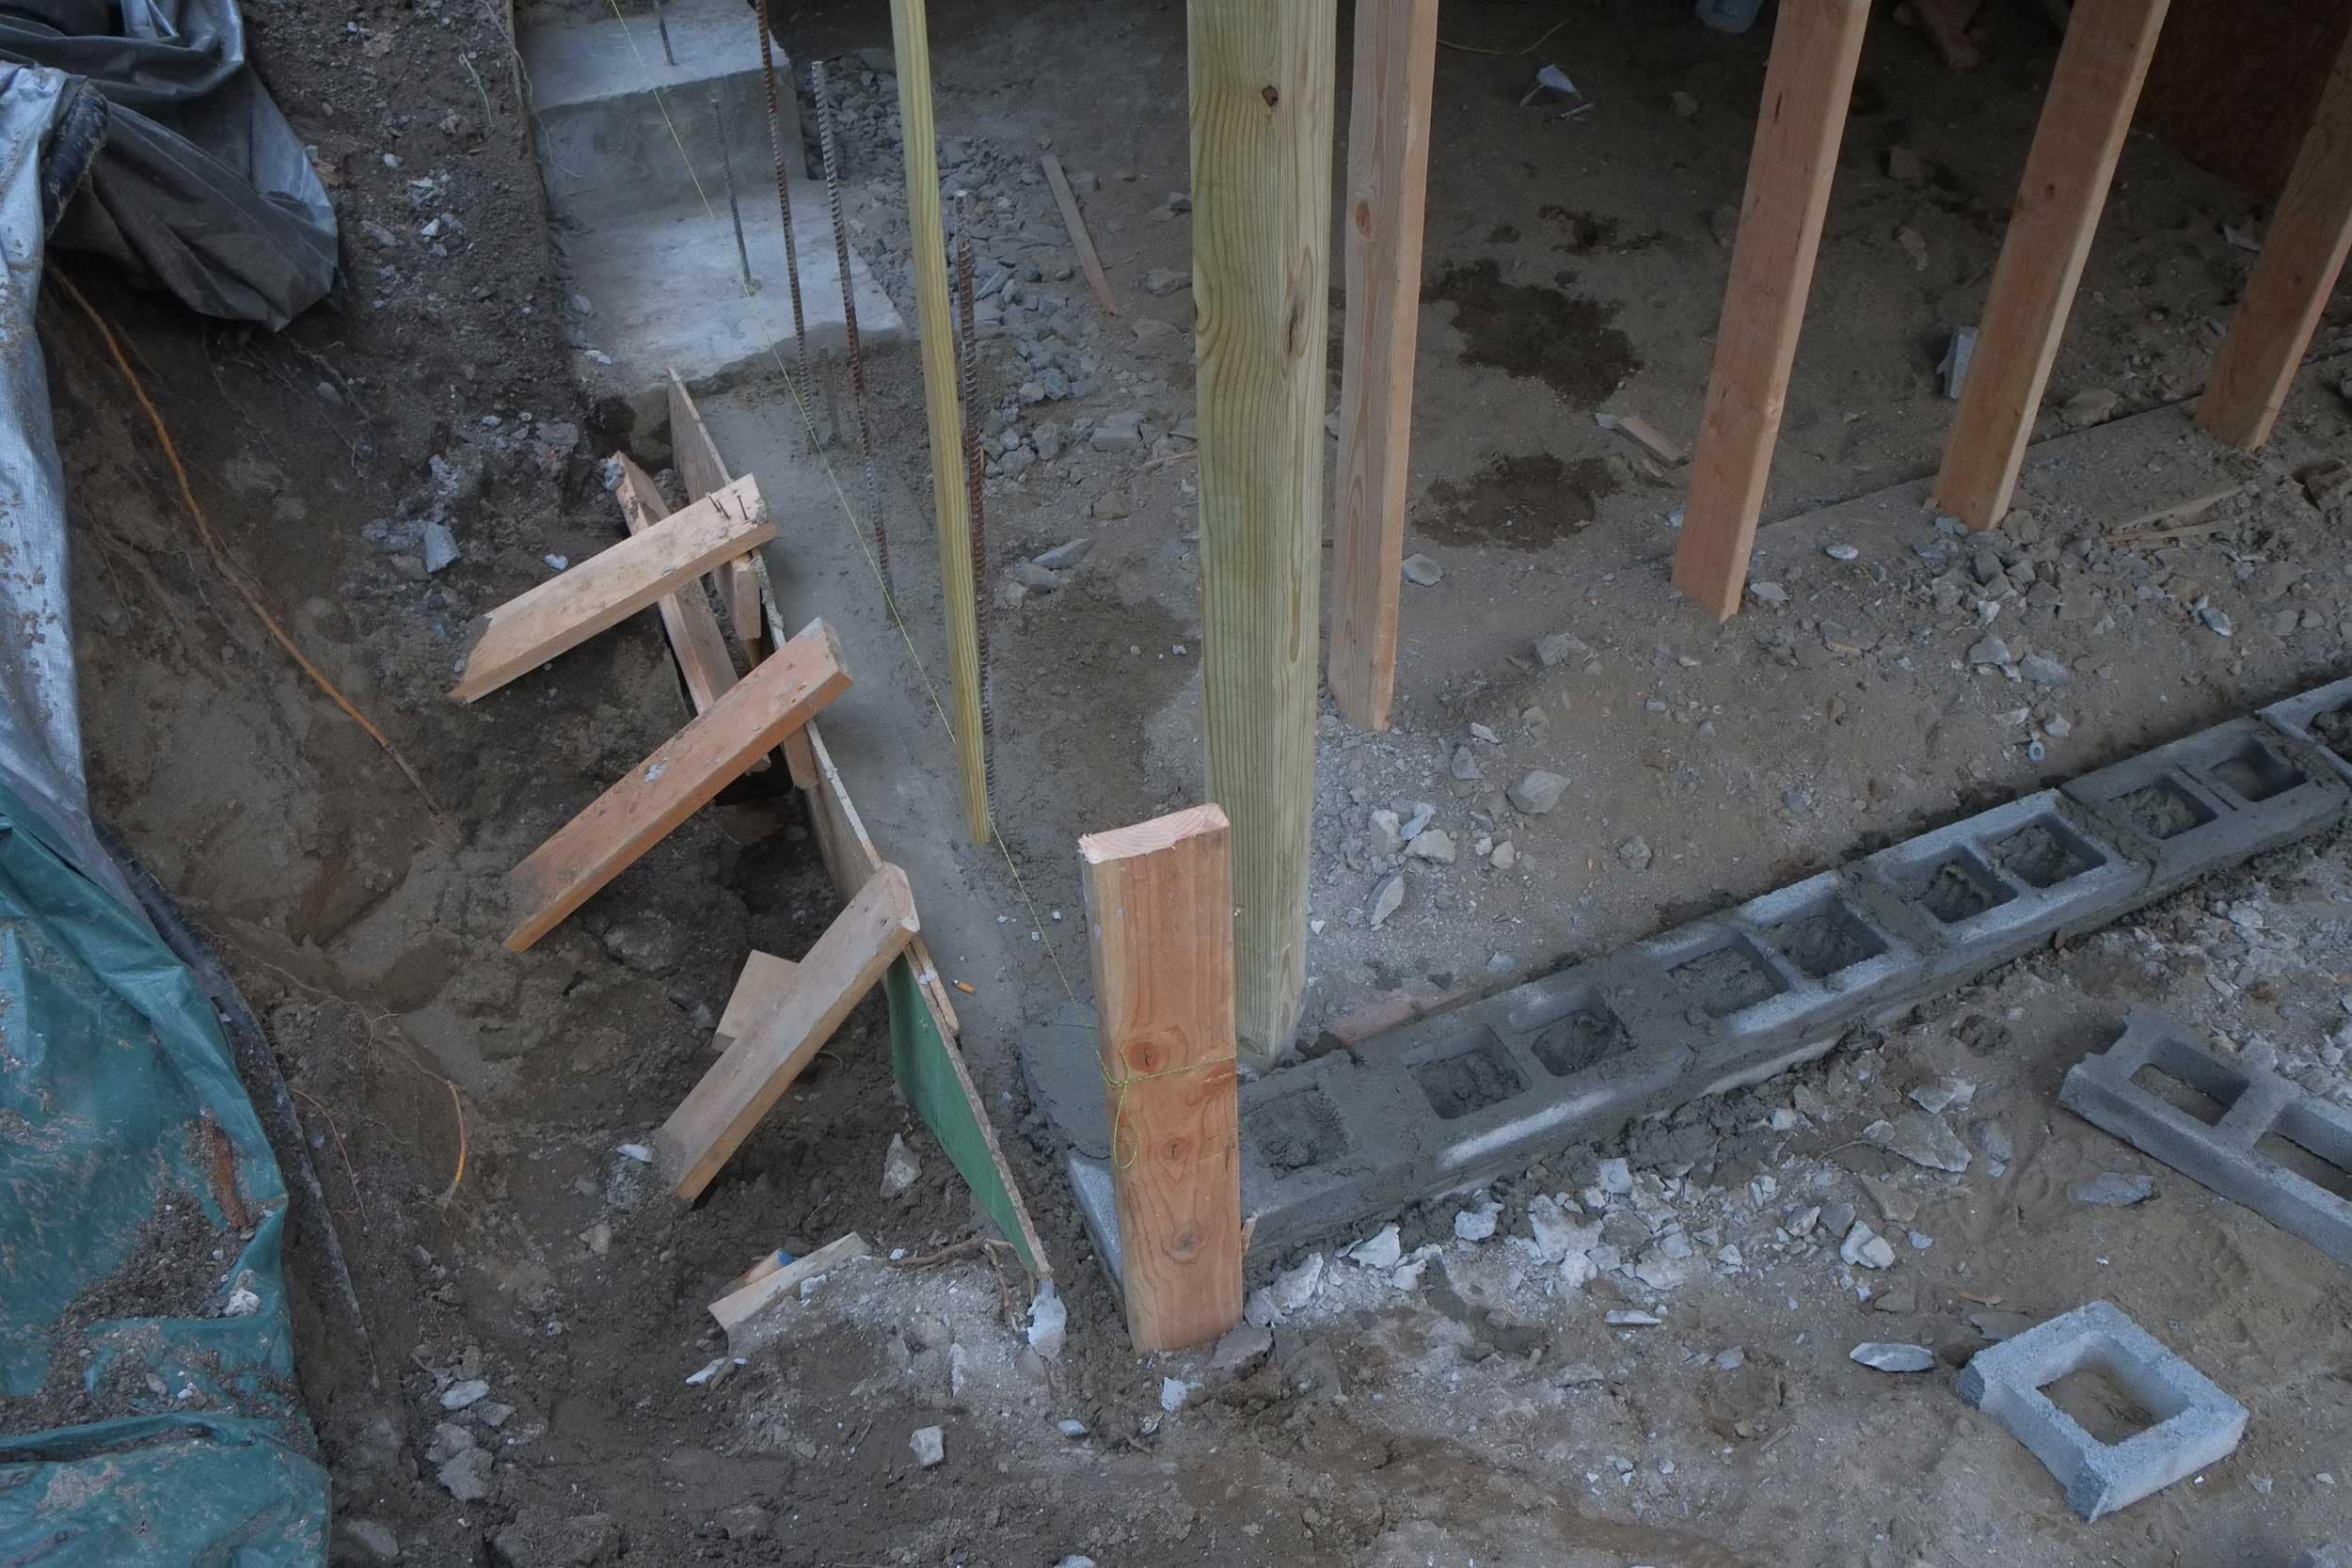
The first step is to install concrete piles beneath the walls every five to six foot. Adding these will allow Thomas and Matt to remove the soil between them so they can add a footing. As you can see in the photos you can literally put your arm under the walls either to the outside or to another room. I probably would have positioned these piles differently to reduce the chances of the walls cracking, but what is done is done.
It will be nice when all this is finished as the house does seem very precarious and we’re very careful to tread lightly when working upstairs.
Note how sandy the soil is in a few of these photos.
So we’ve gotten over our roof meltdown and the issue I mentioned about how the membrane doesn’t wrap around the edges has been sorted by some metal flashing, though our friend Derrick said that how it had been done will cause problems down the road [spfx: sigh].
The pooling water which Thomas was hoping to fix never was fixed, but I think I can fix that by filling in the hollow with ever enlarging patches of the rubber, only pain is that the chemicals are expensive, you need a cleaning agent, a primer agent and then the glue which would probably cost a few hundred dollars in total.
The new roof was leaking. We contacted Thomas and it looks like the leaks were where the cupola meets the new roof. The cupola was missing the final flashing so temporary stuff was added. It doesn’t look great but the leaks seem to have stopped, phew.
I would still like to redo the roof at some point but that could be years down the road, in the meantime I have to work out a good way to fix this roof once and for all – by the way it’s an old roof so the current gradients aren’t what they were when the house was built etc. Also the flat roof we have has multiple gradients all leading to one point at the back of the house. Also the new cupola adds to the complexity as water now has to drain around it.
Thomas is now working on the foundations and I’m sure we will be happy with the results as he did a good job on the last set of foundations.
After many months waiting for a good spell of weather for the roof, Thomas and Matt have restarted on the roof. The new roof is a EPDM membrane which is a type of rubber sheet about 2mm thick.
The roof was re-started last Thursday and should be finished on Monday and I have to say I am really sad and disappointed with the results:
It all seems a bit of a patch work and looks ugly
There are quite a few large bubbles
There are squishy bits that move down under pressure of a foot
The rubber membrane doesn’t wrap over the edge of the roof, which makes sense to protect the substrate from the weather etc. See diagram below
There about 12 different seams in our EPDM roof, I would have thought you could have got away with four seams joining four pieces of membrane together. PS. most EPDM roof failures are around the seams so it’s a good idea to minimise them
When it rains there are still standing pools of water
This roof looks DIY to me and from the onset I was hoping they would get the levels of the roof right so water would drain correctly, but no, they just built on the existing roof contours. I am really not happy with this and can see this roof being redone (when we can afford it) in a few years down the road. We had plans for a deck but it’s no point in putting that down if the roof has to get ripped up. Sigh.
By the way there is still a complete roll of EPDM plus, so running out of the membrane shouldn’t have been a factor for the existing EPDM patchwork. Aimee’s face sums it up.
What probably makes me most sad is that Aimee and I are trying are hardest to lovingly restore the house and then we get this sort of work. It makes me think what’s the point of all our effort.
So it looks like there was some confusion over the front wall/ foundations, which is the small 4″ high wall you see in the following two photos:
The issue with this wall was that the building inspector had never seen the foundations for this (this work was done by a previous owner), and didn’t know that there was a decent footing underground. The following picture shows these foundations before they were covered up (right-hand side of photo by the green ply).
This morning both our builder Thomas and architect Dave both rang up the building department, sending them pictures and architecture plans etc. and that seemed to resolve the issue. I think there was also some mention of how the house was being shored up, so I think Thomas beefed that up and also fenced off the area.
Building of this block wall should now recommence on Monday 🙂
By the way seeing the house like this I was wondering how it would look if that room was all glass, okay it’s not going to happen but it would give the building an interesting appearance.
Nice surprise this evening when I found a “Stop Work” notice on our door, it was posted today. Thomas and Matt were here today so probably posted after they left. I know I’m joking about this but I’m sure building inspectors do a good job and are just protecting us by making sure no corners are cut in the building process.
I thought it might be how vulnerable the house looks, held up by just a few wooden structs, but when I got back home I looked up the code, “Article IRC 2015, section 403.1” and you can see from one of the photos that it’s to do with the foundations. Not sure what’s going on here so I’ll ask the builder Thomas and our architect Dave Toder.
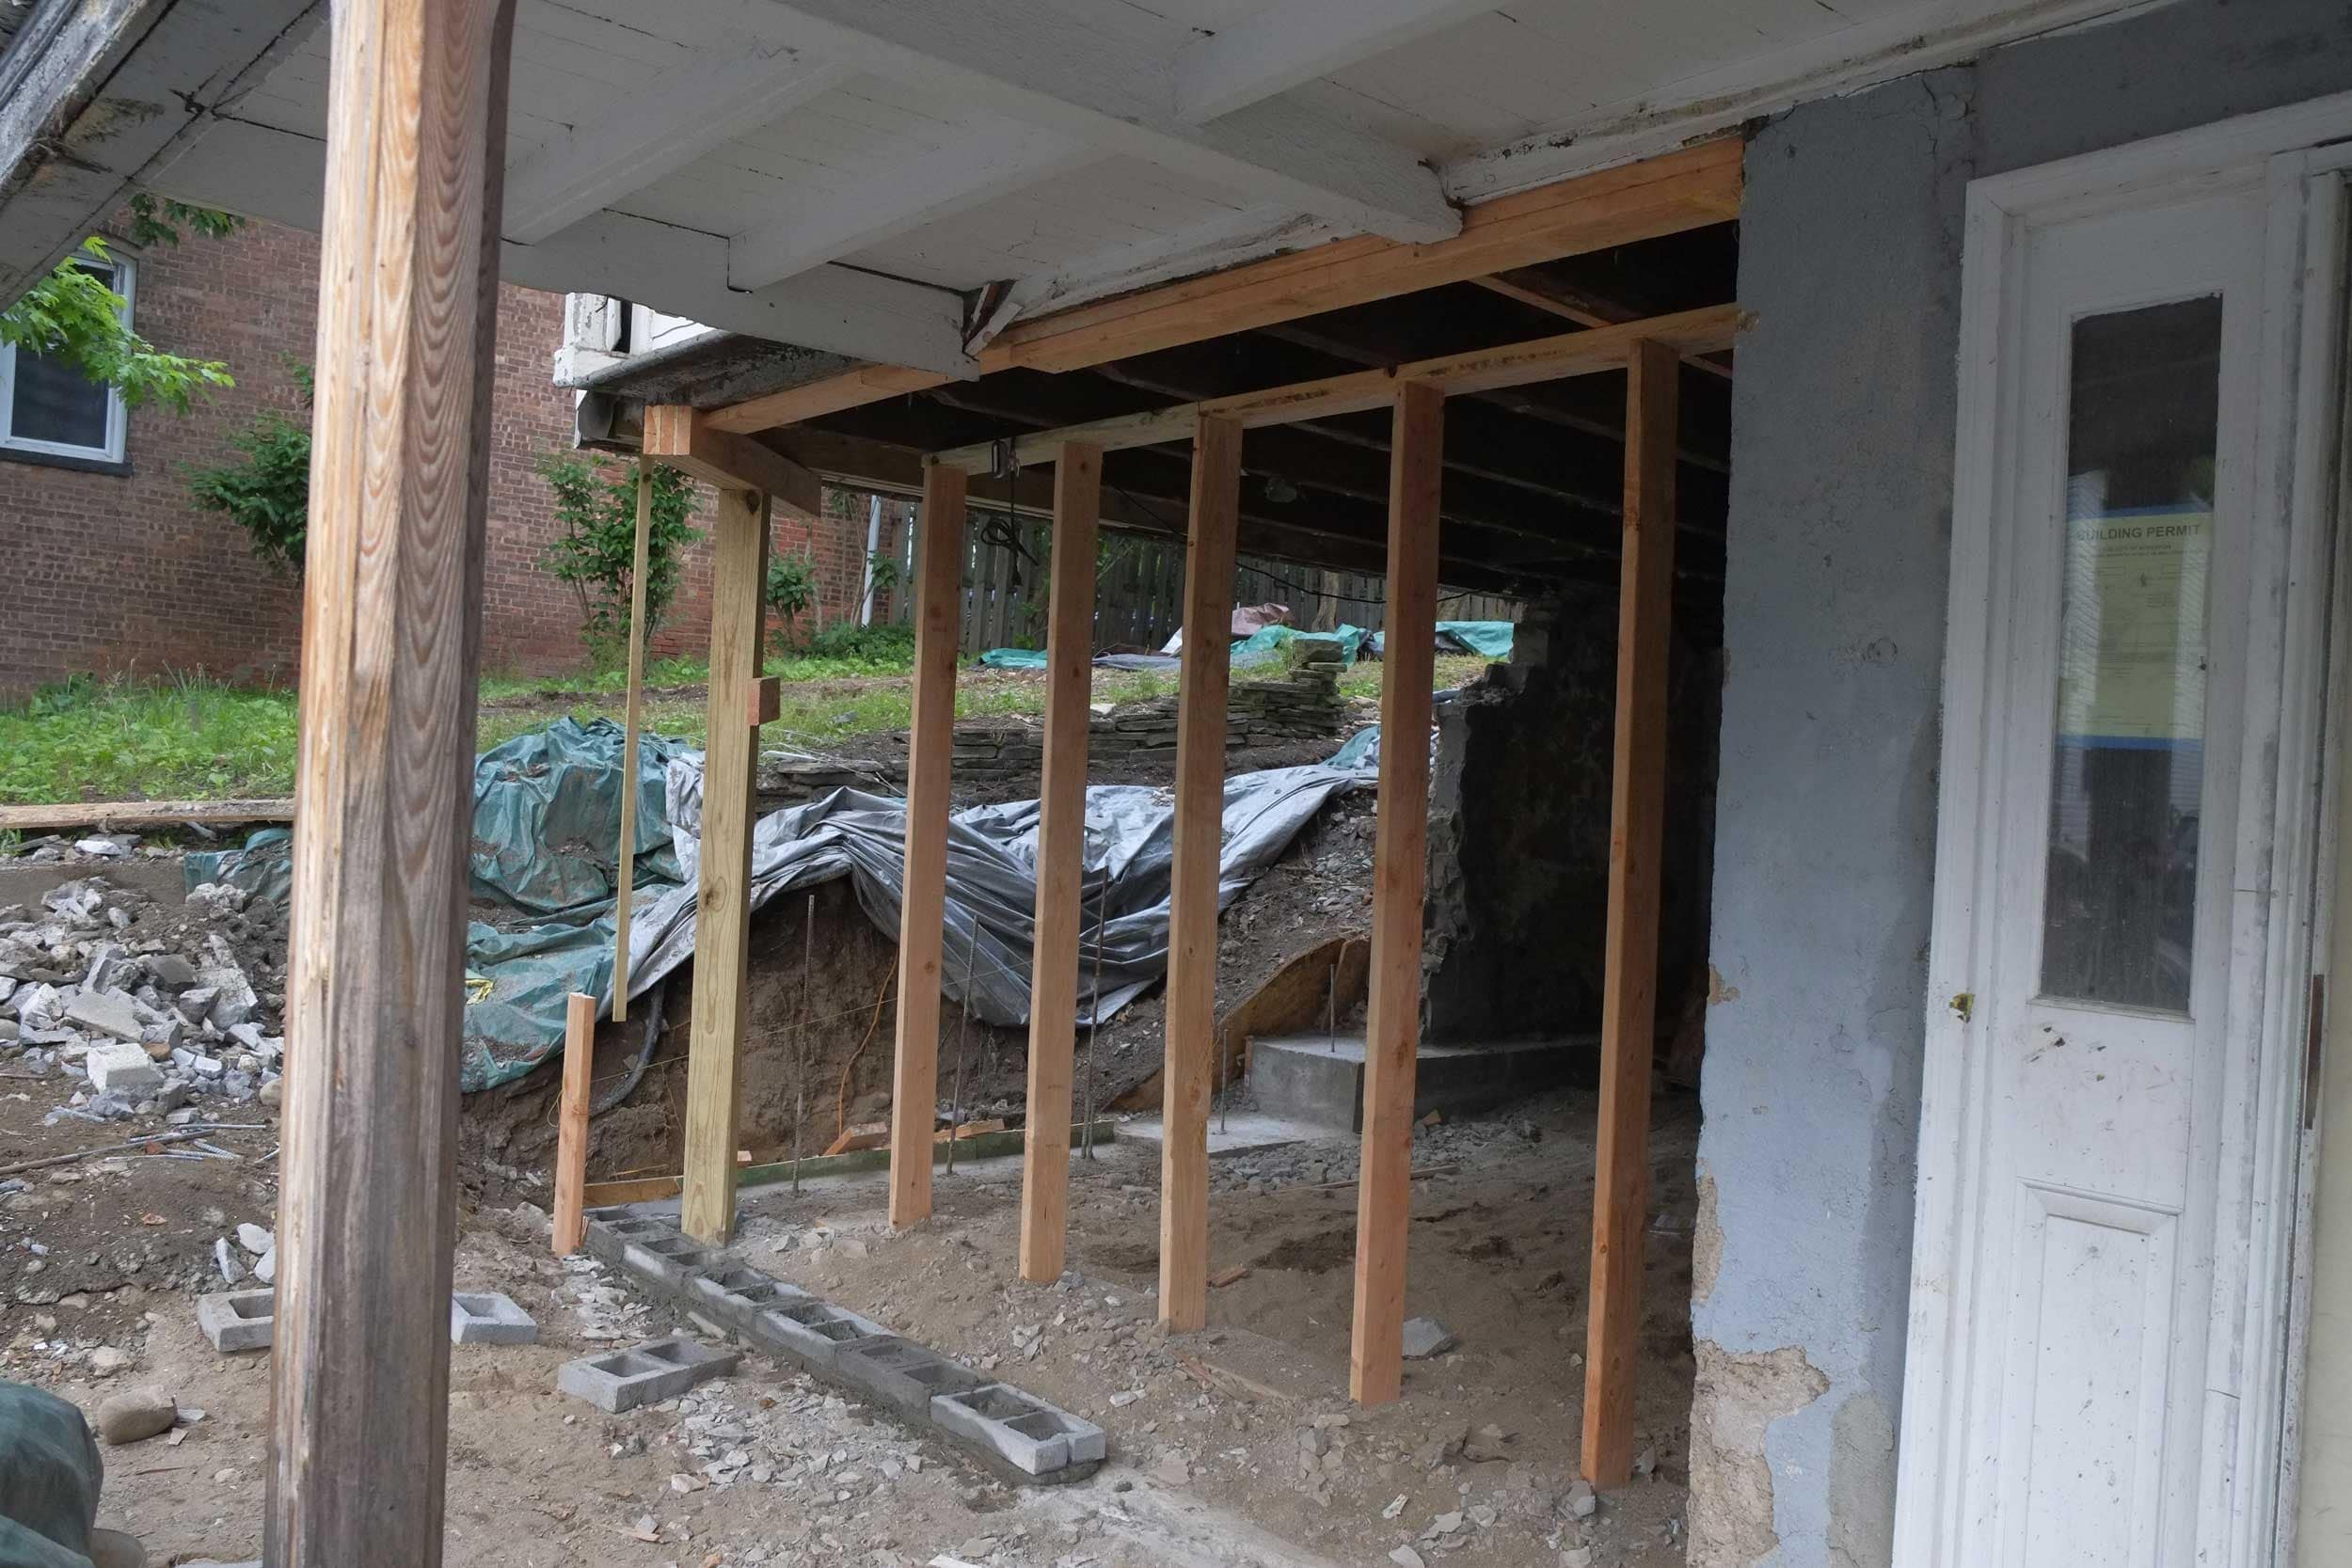
Just to give you some understanding of what’s going on in the pictures, the wall on the side of the house was the wall that collapsed (eleventh photo), was rebuilt and then had to be demolished (wasn’t up to code) and is now to be rebuilt. The wall at the front was demolished years ago by some previous owner who had started a foundation wall, but gave up, subsequently leaving it shored up with timber and plywood (last but one photo).
Okay this may be a little confusing, in total we have now had two walls collapse which reminds me of a joke, how many ears does Captain Kirk have? Back to walls, we had the wall on the left collapse last year and more recently the one on the right decided it was only fair to do the same.
A month or so ago we had the wall on the left fixed which including demo of the old wall which unfortunately wasn’t cheap, luckily the Iron Bank of Braavos was understanding.
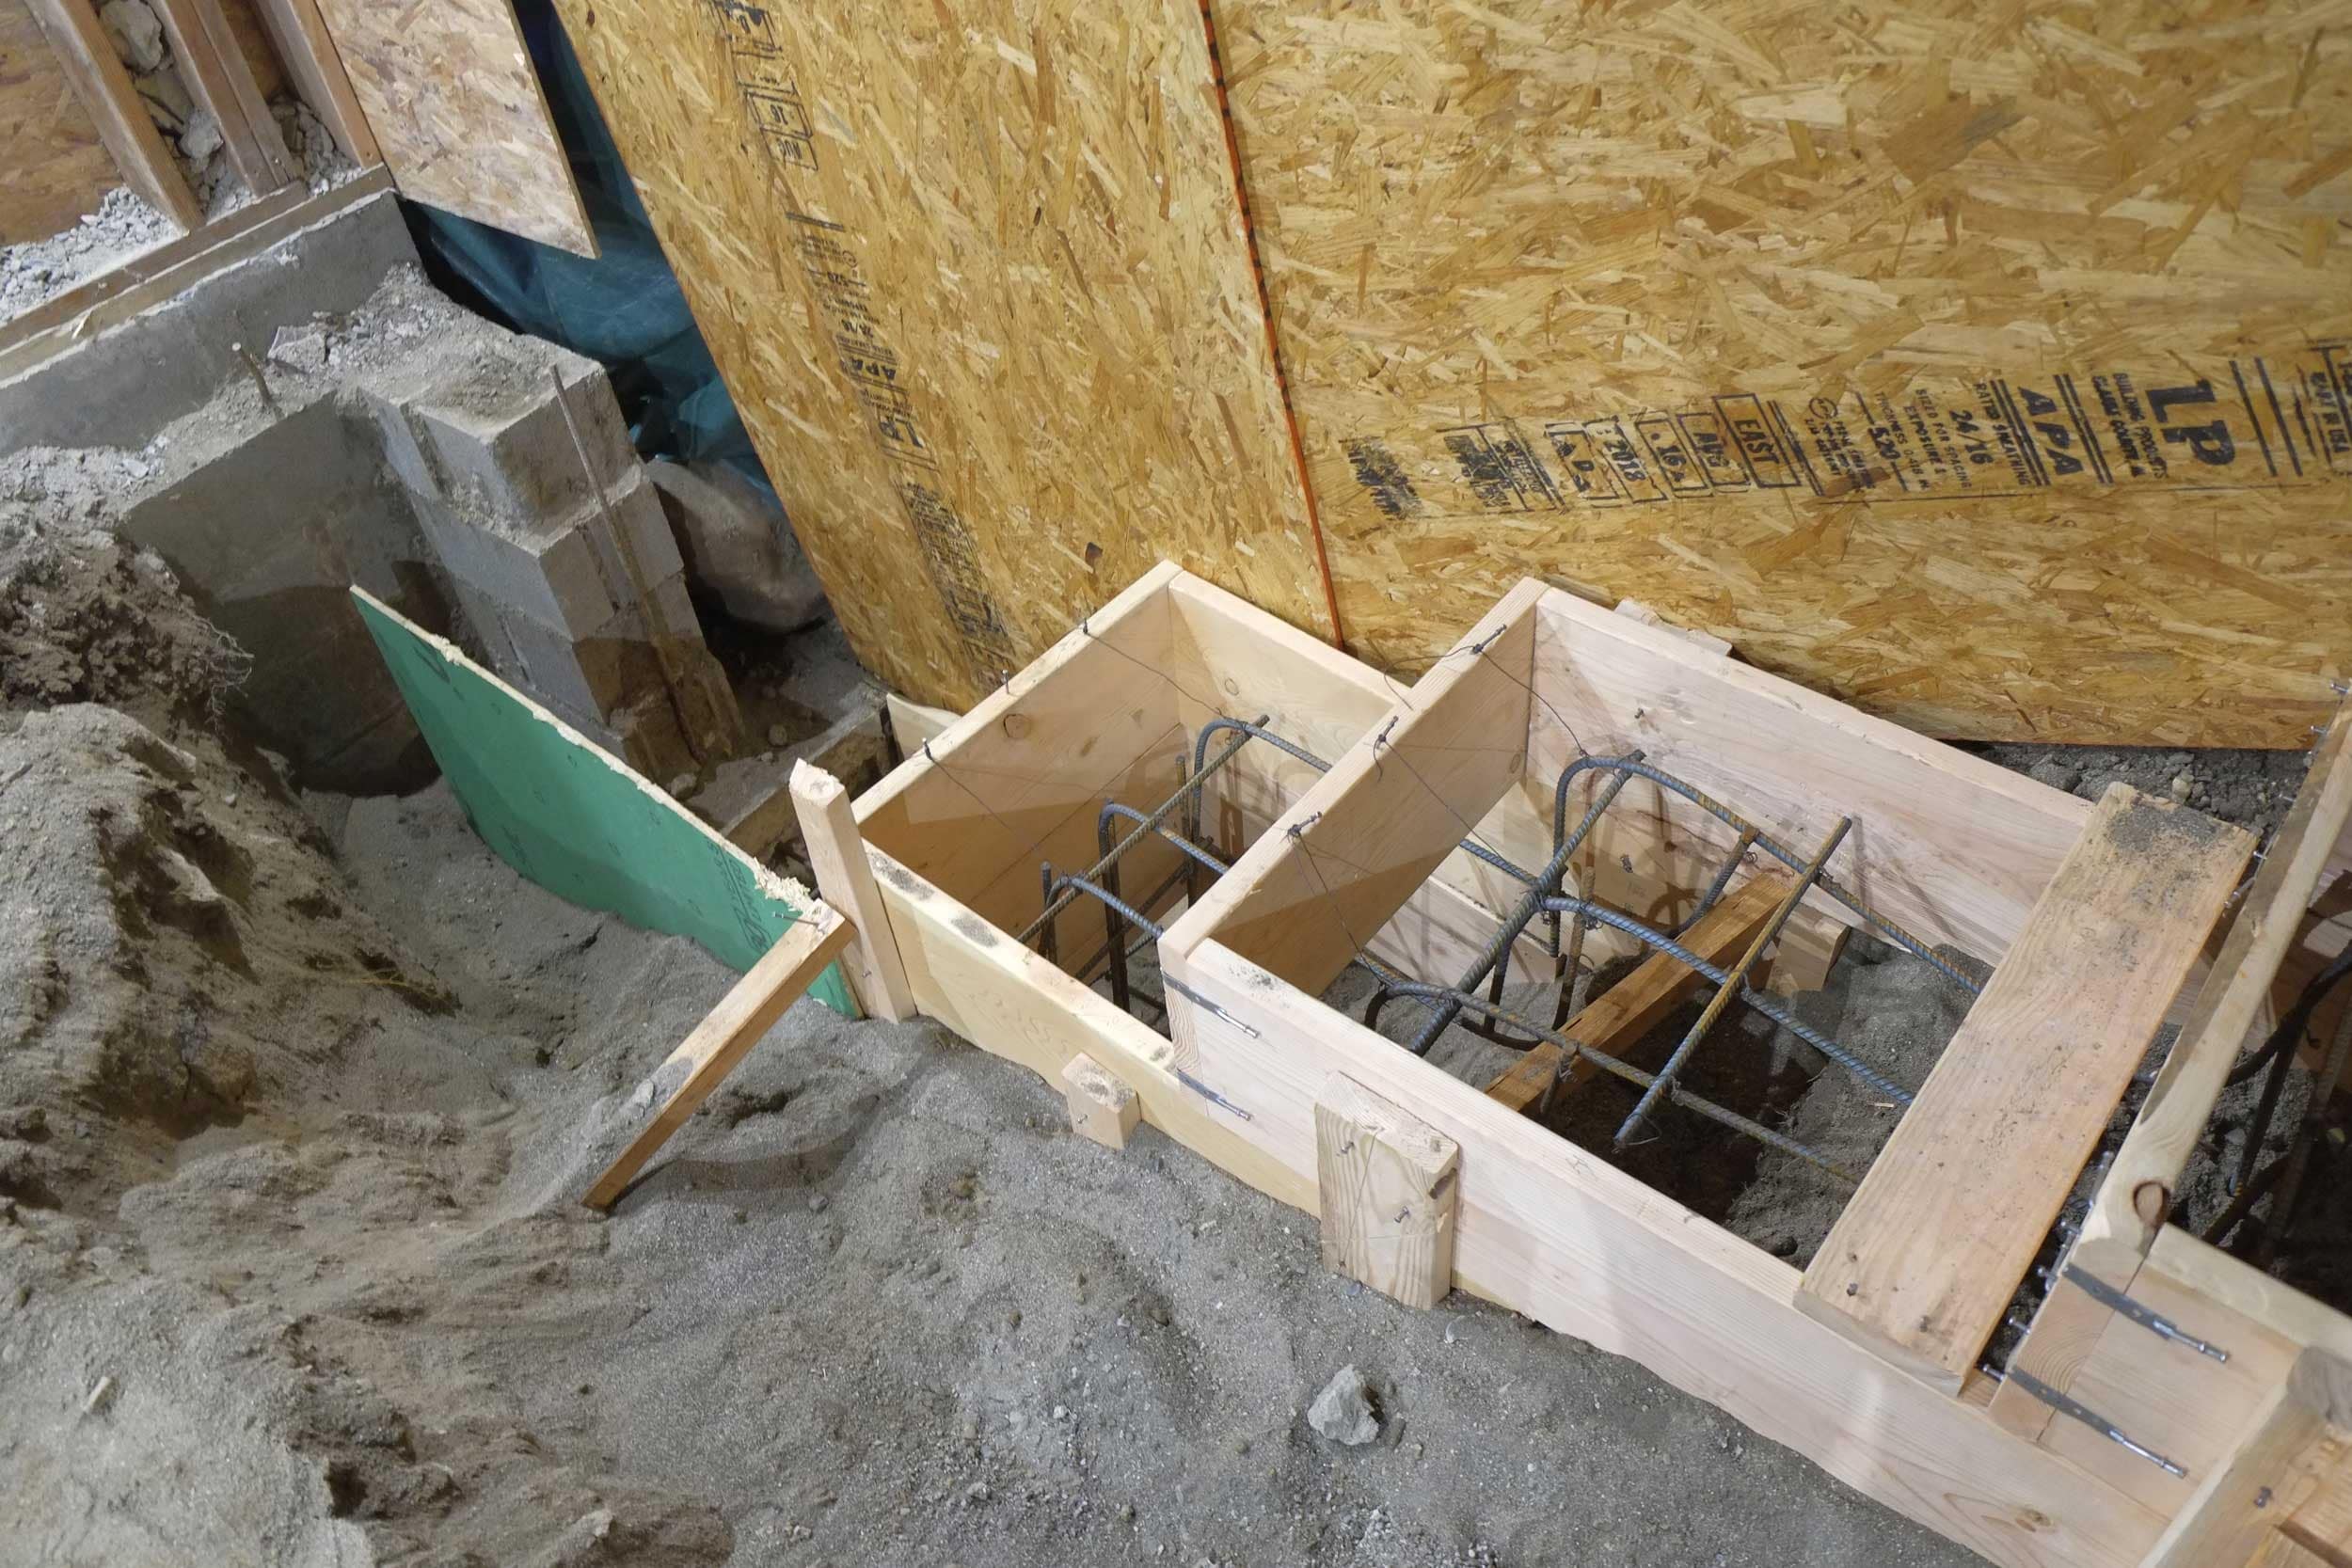
New construction should be up to code and the new section of the wall has really good footings. I would say the footings probably went 4 foot below where the existing foundation wall stopped especially at the front corner. It looked a good solid job.
Again look at the fill, it looks like sand, feels like sand and it is sand.
The small door in the third picture was the original doorway into this room but as we now have a new larger doorway we will probably just make this some sort of storage space or make it into a Harry Potter bedroom.
Fine from the inside that is. In the following first picture you can see the wall of the house above isn’t actually sitting on the wall, rather, it’s between 3 – 6″ inward. Aimee and I aren’t builders, but we both thought this wasn’t right and pretty much every one who looked at it thought it was an odd thing to do including our architect and the structural engineer (who had come to look at the other wall).
Eventually after a conversation with Thomas and our architect, Dave Toder it was decided that the wall should be torn down and rebuilt, this time with 12″ concrete blocks, instead of the 8″ thick blocks. Turns out that Thomas our contractor had used a masonry guy he hadn’t used before. Thomas said he would do the rebuild himself.
Shore up is now complete. Took three of us most of Friday to do it. The hard part was screwing in the huge 6″ lag bolts into the hard old timbers of the house.
We sistered up both sides of each floor joist with 2″x8″ lumber and then bolted each floor joist, either side to the rim beam, with some very heavy duty “L” brackets. These brackets will be permanent and add extra strength to the house for the future.
The header of the framing wall is 3 x 2″x10″, the uprights are 4″x6″ and the base plate is 2 x 2″x8″. After hammering the uprights in place we blocked the uprights top and bottom so they won’t move. All in all very sturdy. The diagonal piece is doing nothing, just needed somewhere to put it.
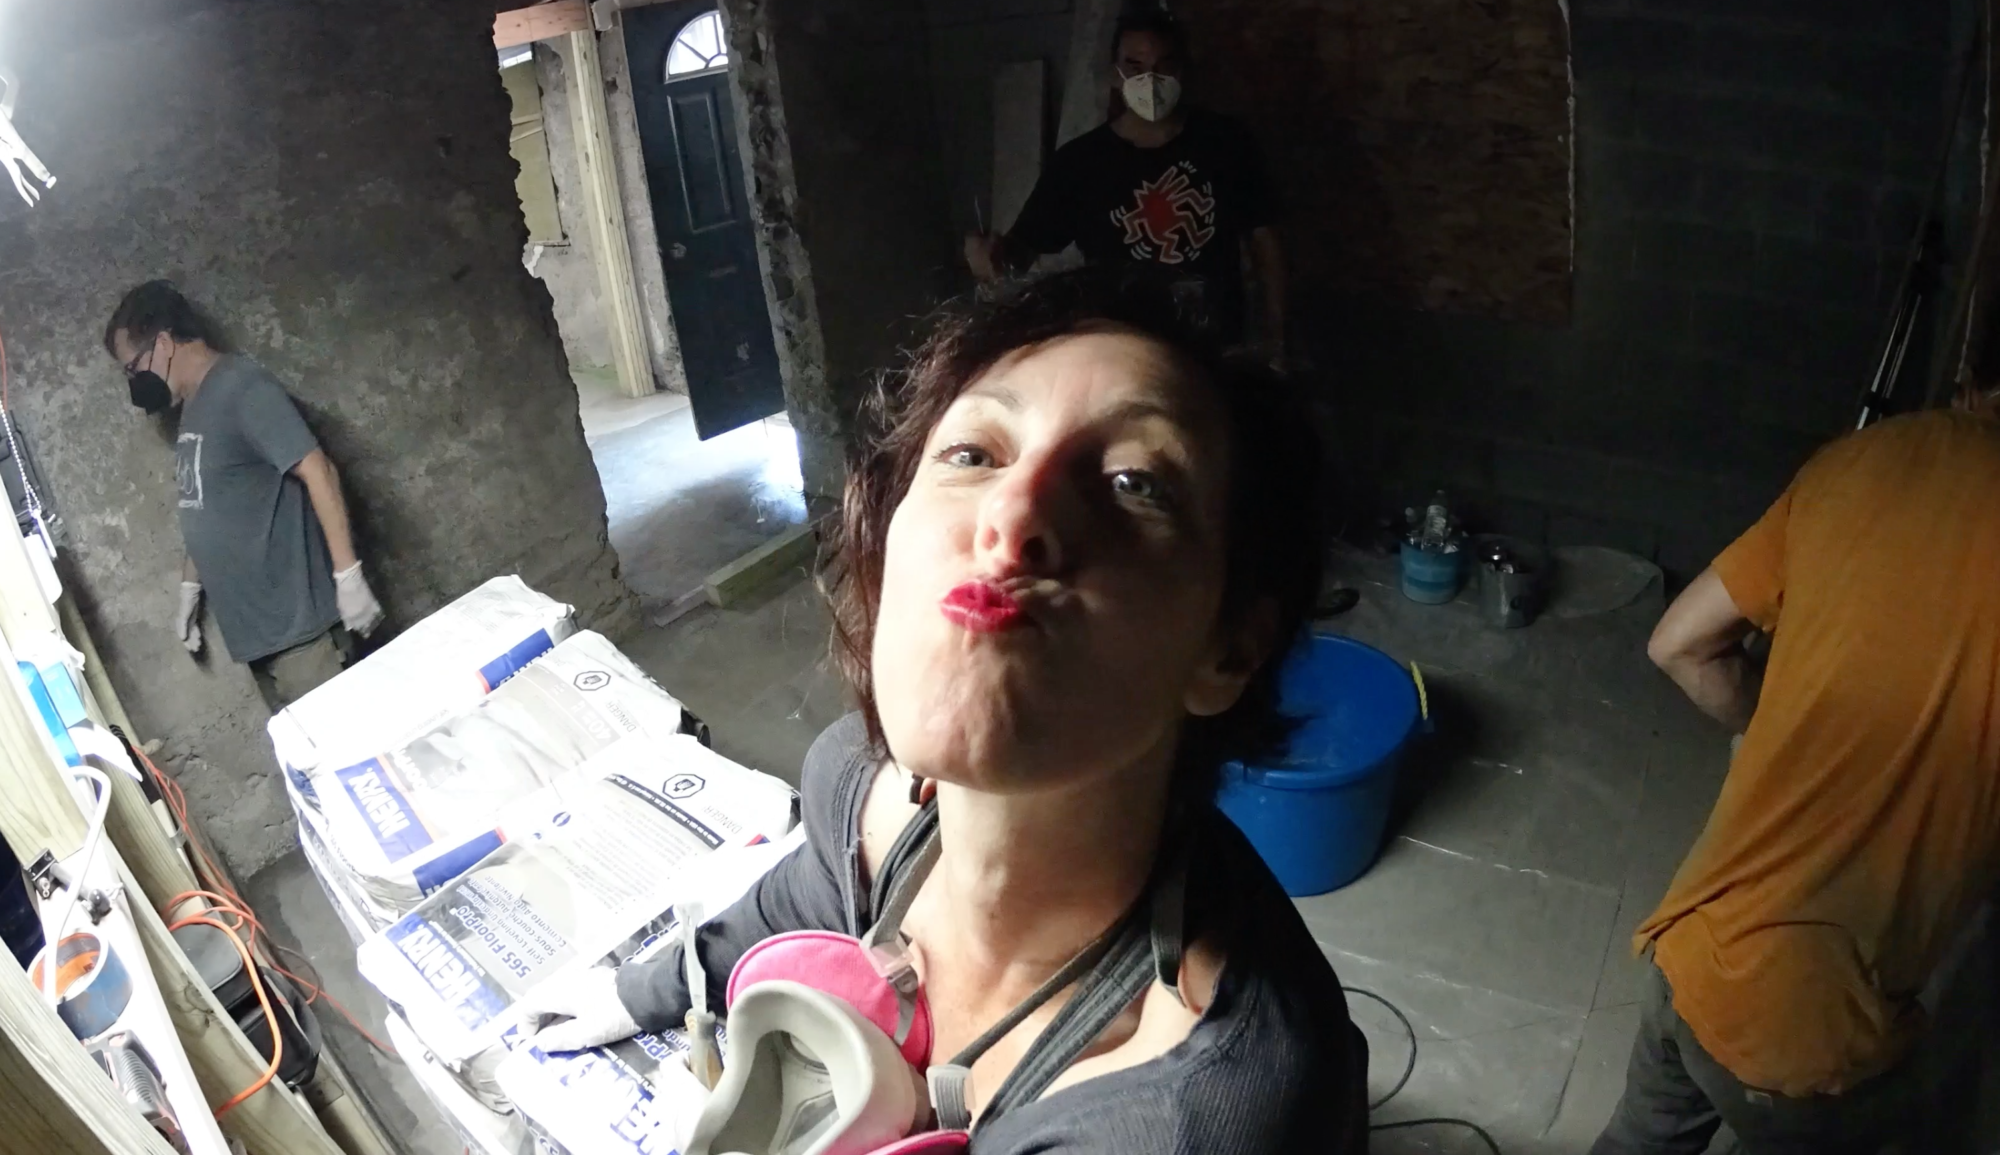
Thank you again Derrick (wearing the red ear defenders) and John Paul (wearing the head lamp).
The house is still standing and I kid you not this could have been disastrous. The ground by the foundation wall running up by the drive was dug away last weekend to access the old sewer pipe and to install a french drain. In the process the trench was dug below the foundation wall (which was very shallow) by a good foot in parts.
All was fine for most of the day and looking at it, the wall just seemed to descend to the bottom of the trench, however towards the end of the day, a huge chunk of what I thought was wall fell away, leaving the wall unsupported. It wasn’t wall that fell away, it was the soil beneath the foundation wall. This is when the cracking started.
I don’t know where my mind was that day, I wasn’t doing the majority of the trench work that day, but that said, I was in charge.
On Monday Matt Alexander a structural engineer kindly came over to look at the house. He thought that the house should be first shored up and then the middle section of wall should be underpinned before being removed and replaced with a new wall, then we should underpin all the other walls, even those unaffected due to the shallow nature of the walls as this would prevent any future issues. Matt suggested we get our architect to draw up proper engineering plans and to that end we met with Dave Toder this afternoon to discuss details.
Tomorrow (Friday), Derrick and his friend John Paul have kindly offered to help shore the place up to make sure that if the wall does fail further, then the house will still be safe. Thank you Derrick and John Paul.
It was good talking to Matt as he did say that he had seen a lot worse and that the silver lining was that we had exposed a future potential issue and this is an ideal time to fix these sort of issues. The trouble with fixing foundations on a finished house is that sometime the house will flex slightly when it’s being shored up leading to cracks in plaster and tile work etc. We have no plaster or tiles so we don’t have to worry about this, also we have no tidy garden or driveway that we don’t mind digging up. That gave me a little consolation but I’m really annoyed with myself for letting this happen.
In this set of pictures everything was all fine and the first three was Aimee and I working on the trench the weekend before. By the way we had started on this trench last year but we had to stop when the ground froze. In the other pictures you can see my helper Al, who if there was ever an Olympic medal for digging, would get a gold.
This second set is where things started to go wrong, the damp soil looked just like the damp wall above it so I wasn’t really noticing that we were digging so much away. I just thought that as we’re on a slope, then bottom of the wall would also slope down. It wasn’t until a huge chunk of soil fell away that we realised that we had dug too far and that was a little too late as very soon, you could hear lots of strange sounds, a bit like rain actually and then we noticed the cracks and the thick bluestone window plinth snap. I have to admit it was a tad stressful. We shored it up as best we could inside and out and then went to call our friend and advisor Derrick.
As it turns out the sewer pipe (which you can see in the first set of pictures) is below the foundation wall so the wall would have had to been underpinned, but had we done this correctly we wouldn’t have needed to replace the wall $$$.
This is the second wall that collapsed, the same thing happened on the other side of the house. We weren’t responsible for this but it’s interesting that it sounded the same – rain drops.
By the way thank you for all of you that send supportive emails.