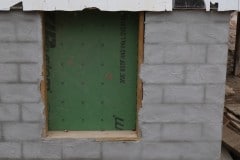
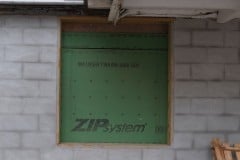
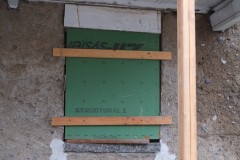
Not a very exciting post, just finishing off the work we started here, Thanks Mary.
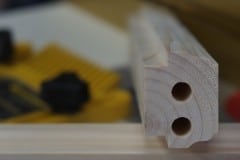
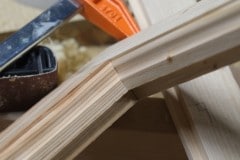
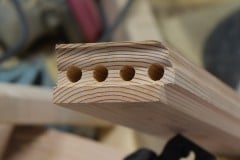
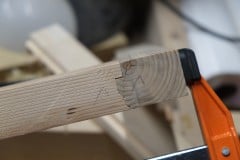
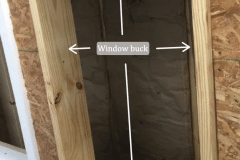
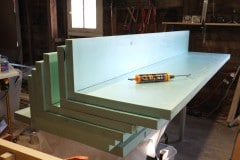
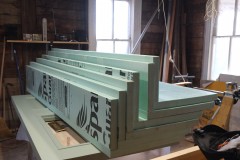
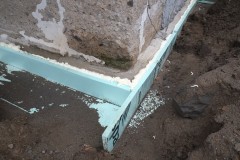
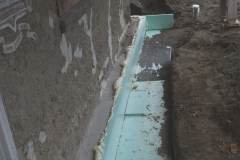
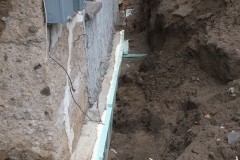
We did a really nice job on the right most post, four pressure treated 2×10’s, planed (including hand planing), glued, bolted together and then all the holes and dents filled with epoxy paste. Result is a nice post which looks like a ye olde piece of timber which we’ll paint to hide the not so old epoxied bolt holes. The post of the left will be hidden within our six inches or so of insulation, so no need to make it look fancy.
We’ll use these two pillars to build a little alcove for when you come in which will house a bench and somewhere to hang your coats. I think we’re both looking forward to when we can work on these design features. For the immediate future it’s still heavy lifting.
No awards for this video, but it gives you an idea of where the house is situated and how it’s laid out. I’m sorry I moved the camera so much and next time I’ll be steadier.
If you haven’t visited the house in person this will help you understand what needs to be done. It’s a huge job as everything needs to be fixed.
We are planning to move into the ground floor while we work on the rest of the house and as you can see even the ground floor needs a lot of work. Slow and steady are our deep breathing exercises when we get too stressed. That said it’s not always stressful and it gives us the perfect escape from our rented apartment.
Why the Olympics ever stopped hosting ‘leaf raking’ as an event I’ll never know. In celebration of that event Aimee, complete with Olympics regulation leaf paddles and rake goes through the paces. To accompany her carefully choreographed movements Aimee chose a leaf raking classic, Yakety Sax by Boots Randolph.
Remember, this is a long and gruelling event which, on this occasion Aimee was fortunate to complete in under 5 hours, a personal best I believe.
Enjoy and maybe you’ll become a supporter of ‘leaf raking’…
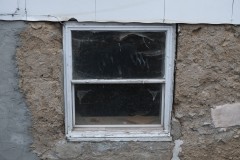
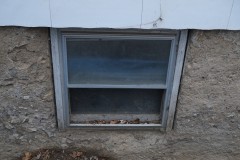
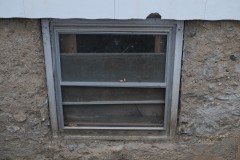
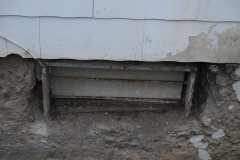
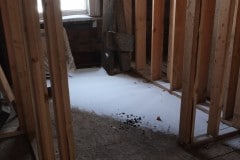
I’m not sure sure what this room was ever used for, it had a small slit of a window and a soil floor. In our redesign we’ve dropped the floor a bit to match the rest of the ground floor and added a couple of windows. This room also needs to be split into two, a small bedroom and a mechanical/boiler room with room for a washer, dryer and slop sink.
It’s a shame that the bedroom will be smallish as when this floor is complete we’ll be living here for a good few years while we fix up the rest of the house. That said, small can be cosy. We’ll be creative with our use of space and I’ll be reaching out to my brother Matthew who has been devising some clever under the stairs pullout storage systems. Aimee who used to live in New York city says that compared to the housing there, our ground floor apartment would be viewed as pretty spacious.
Our friend and advisor Derrick suggested that this partition wall could also be load bearing to help support the long ceiling span above, which makes total sense and is why we put this decent footing down, complete with rebar. Derrick is the best.
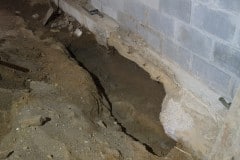
Due to the footings, the floor of the mechanical room will be higher than the rest of the ground floor by about 6 inches, hence why we added a single layer of concrete blocks. Our experience with bricklaying is next to zero so we made a bit of a mess out of it and resorted to pushing in cement with our fingers, that said the end result was pretty good, plus it’s straight and pretty level.
As temperatures are getting pretty low I covered up the concrete in a plastic tent with a small heater which we kept on overnight. The following day we drilled down through every other block so we could hammer in 10″ sections of rebar which we in-filled with concrete and topped off with a nice smooth mortar – was the rebar and in-fill needed, not sure, but now those blocks aren’t going anywhere. By the way the Makita hammer drill makes light work of the holes, not sure who made the 1/2″ drill bit but but probably Milwaukee or Bosch.
After months of waiting our plumbing has finally been roughed in [spfx: Hallelujah] and we’re now connected up to the street. This doesn’t mean we have a working loo or sink etc., just that pipes are in place for such porcelain devices. We can now fill in all the trenches and holes, some of which were putting our walls at risk of failure. Thank you Nick and Cameron from Sinnott Plumbing.
In the pics you’ll see a section of the old cast iron sewer pipe. Cameron said he had never seen one as thick, it was a good 1/2″ and the metal inside looked as good as new. Pretty good for being under the ground for over 100 years.
Next step is a concrete pour, but before we do this we’ll probably beef up one or two small sections of our footings as we won’t have this chance again. After that we’ll start to prep for the pour which we now plan to do in the spring.
By the way do you like my magic shovel, you place it on the ground and it sucks soil onto it, it’s brilliant, birthday present from Aimee!!!
It was very nice to finally fill in the hole by our pavement/sidewalk which was at least four foot deep and was putting our porch structure and any stray member of the public at risk, we also recovered some of our driveway 🙂
Hi, Aimee here!! I usually just dictate to David but today I find myself writing as he’s polishing my boots and scythe.
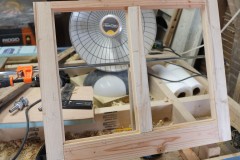
As you’re probably aware our house project requires lots of different skills, particularly woodworking which isn’t surprising considering it’s a wooden house. In particular most of our sash windows need to be replaced or repaired and we do have a quite a few of them. Yes we could have gone with modern energy efficient PVC windows, but they lack the charm and we feel the look of them wouldn’t suit this house. Yes they aren’t as energy efficient but we’ll make sure that we build them with draft excluders as well as having storm windows for winter.
By the way if you ever need to restore a sash window we can highly recommend this Youtube series, Sash Windows Restoration – “Don’t Trash the Sash”. It’s a ten part series and it does explain a lot as well as pointing out that well looked after sash windows can last 100 years or so, would PVC last that long?
Anyway, I diverge. Getting to the point: woodworking isn’t my one of my fortes, in fact I know next to nothing about wood apart from the fact that it comes from trees. Currently David does most of the woodworking and I’m left to to do the more tedious tasks, which is fine most of the time but sometimes I want to be creative and make something also. To remedy this I’ve enrolled in a bunch of woodworking classes at the Kingston Wooden Boat School which is part of the Hudson River Maritime Museum. I pretty much enrolled for all the classes which are:
Understanding Wood
Woodworking Tools-Their Use & Care
Basic Joinery
Machine, Tool, & Shop Safety
Advanced Joinery
Build Your Own Adirondack Chair
I’ve just finished Machine, Tool, & Shop Safety and about to start Advanced Joinery next week. Finally I’ll round it off with a chair building course where I’ll combine all that I’ve learned.
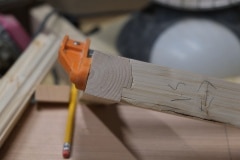
By the way, the Hudson River Maritime Museum is a cool museum which I highly recommend. Below are the results of my handiwork from the Basic Joinery class, the first is a half-lap joint and the second is a mortise and tenon. My teacher, Michael Puryear, is one of my favorites (besides Udo Guddat from high school German).
We’re edging closer to being able to paint our new downstairs front door. We’re anxious to get it painted before it gets too cold to paint, plus we don’t want the paint we mixed up to go to waste. When we were trying to color match earlier this year we probably added about $130 of artists acrylic to an already expensive can of paint.
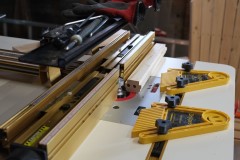
We’re using three hinges for this brute, not vintage but brass re-creations. I did acid-etch them to get rid of some fake antique coating and they look better. To cut the recesses we used a Porter Cable door hinge template kit combined with a compact Makita router, both of which do a fine job. I did the first hinge and then Aimee took over and did the remaining two. Placement of the hinges was 7″ from the bottom, 11″ from the top and one between the other two. We trimmed out the corners of the recesses with hand chisels.
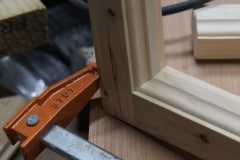
Check out the clamps we used to hold the door upright. Note that the clamp base is only supported at the ends and because of this when the weight of the door presses down the base bends and the two uprights clamp tightly to the door and it’s pretty rock solid, not my idea, I found it on a Youtube video. If I can find the video I’ll add a link. These clamps are super useful.
Winter is coming and we’re scrambling to get a bunch of tasks done before it gets too cold. Our house has little protection from the cold which from a comfort point of view can fixed by wearing three pairs of socks, leggings and two pairs of gloves etc. but what you can’t do is change the chemical properties of cement, paints or glues which really can’t be used when temperatures approach freezing.
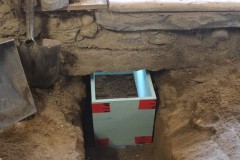
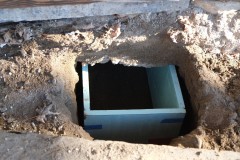
These last couple of weekends we’ve worked on replacing the last of our new pillars blocks which were already cracking and starting to subside. This is a link to the first pillar block we replaced back in May this year.
Once we have these new blocks in place we’ll only need a bit more plumbing and some electrical lines put down before we can fill in all the trenches and start to prep for a concrete pour in the spring.
When we replace a pillar support we first have to remove the existing pillar which is always a little nerve racking as these pillars are holding up a decent portion of the house. To prevent any damage to the house we add temporary bracing which as this is second time around, we’re a bit more comfortable doing it. It’s a bit of a struggle to get the temporary bracing in place and often involves some good choice words.
Like the first pillar block we’re using old cast iron railroad screw jacks which are perfect for the job. In case you’re wondering why they’re sitting in holes, it’s because the soil is pretty much sand and if we had placed them on top, then when we excavated for the new pillar blocks there’d be a good chance that the soil beneath the jacks, especially under load, would have caved in and that wouldn’t be good.
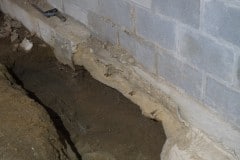
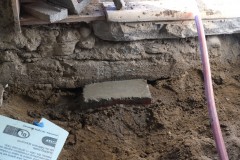
For the third block we also had the chance to continue our efforts at beefing up the existing footings. In places you could put your hand maybe 8″ under the walls so it was nice to get all this sorted out. We tied this new pour into the existing footings with epoxied rebar.
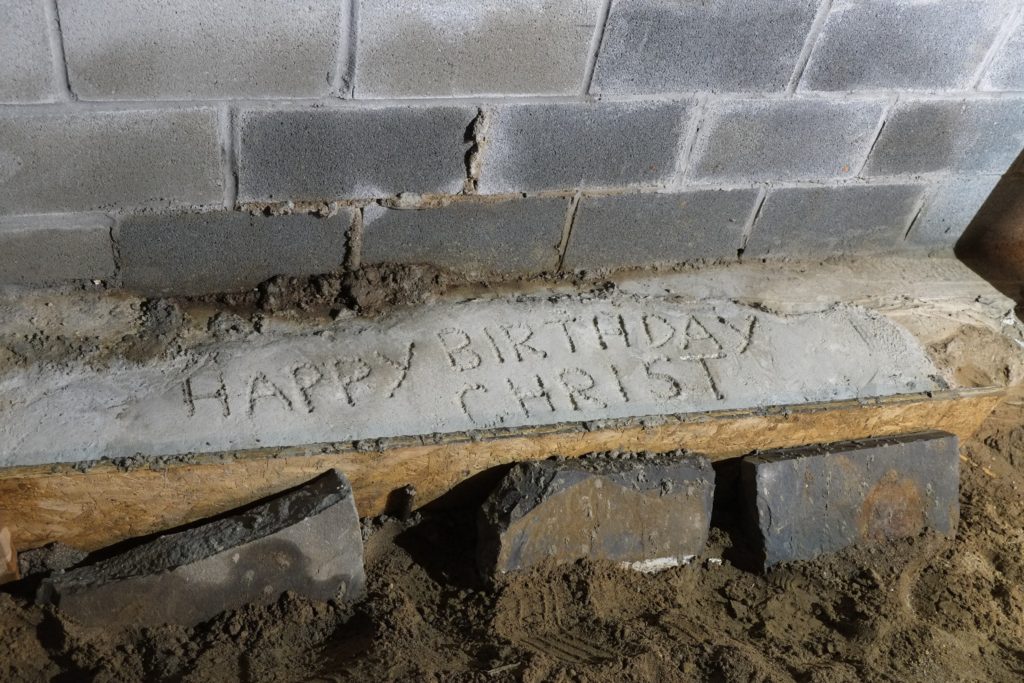
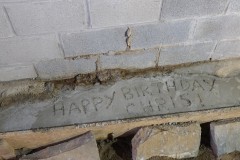
Would you believe it, no sooner had we finished the pour some one tagged it, thanks Mary, if that’s even your real name.
With his new piece, “Demolition of the Contractor”, Linnard takes us further down the path established by his earlier works “Naivety of Optimism” and “Inevitability of Failure”.
The theme is similar; how the reassuring surge of adrenalin that accompanies the commencement of a task rapidly transforms into the strychnine of despair upon realisation of its futility.
This time however the implementation is clearer; shock and awe when the scale of the effort reveals itself; disillusionment and betrayal when promised contributions fall well short of expectations.
In this work, Linnard identifies with all who take on any endeavour whatsoever, and crystallises the notion that any effort towards completion is trivial and futile and should be abandoned or, as this work seems to hint at, does Linnard have something up his sleeve?
Linnard will be exhibiting his latest works, November 1st 2020 to January 10th, 2030 at the Manoir de Catastrophe, Kingston NY.
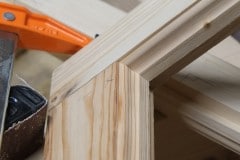
We’ve almost finished our new ground floor front door. I did think we could make it in three weeks, but it’s probably been nine weeks already, not continuously, just weekends and evenings and being interspersed with other projects. If we build another door it will be a lot simpler and quicker – you learn a lot on your first pass.
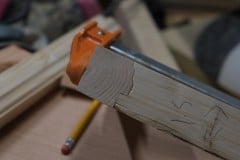
We’re almost at the point of painting the door and the last thing we have to do is to bevel both the lock and hinge sides of the door. The reason for beveling the lock side is to allow for a tighter fit of the door to the jamb when in the closed position and on the lock side it stops the hinges from banging into each other (called binding). Pictures below hopefully illustrate this.
The easist way to put a bevel on would be to run my track saw along both edges, set at say a 2° – 3° angle, however the door is too thick to cut through completely – our door comes in at 2 1/2″ thick which doesn’t seem thick, but it is, that said it does have a 1″ foam core to keep us cozy. Also the saw tracks are pretty wide and once you add the trim to door (which is raised) you can’t do this – I made this mistake on the last door.
So how to add the bevel? I thought of using a hand plane which I’m sure would have worked but it would have been tricky to get a consistent angle, then we borrowed an electric hand planer from Don, but same issue with the angle. After spending so much time on making the door I didn’t want to mess it up right at the end.
Searching, I found out about a tool, sadly no longer made, which was made for door beveling, the Porta Planer 126, made by Porter Cable. As an aside I always thought that Porter(a) Cable meant PORTAble electric tool on a CABLE but if you follow the above link the company was created by Mrs Porter and Mrs Cable. I started looking for a 126, which seems to be an appreciating classic, but all the ones on ebay were a few hundred dollars and then I came across one being sold locally by the Kingston Boat Building School, for $80.
You’ll have to agree it’s a beauty of a tool, it’s quite the work of art and I read somewhere that the Rockwell engineers who designed this may well have been designing exotic jet planes or rockets. This one is probably at least 40 years and likely a lot older. The bevel angle drawn on the door in the last picture is just to let me know which side to put the bevel and actual bevel will be a lot less.
The only downside with this tool is that spare parts are no longer in production, especially the cutter head. The cutter heads do turn up on ebay every now and then but they sell for about $150. However, this tool has a trick up it’s sleeve – you can sharpen the blade yourself on site!!!! Notice the accessories? They’re the parts to sharpen the spiral cutting blade with the small round object being the grinding stone. Now who builds tools like this any more? I know my friend Win would have loved this.
We use cookies to ensure that we give you the best experience on our website. If you continue to use this site we will assume that you're cool with it.I am