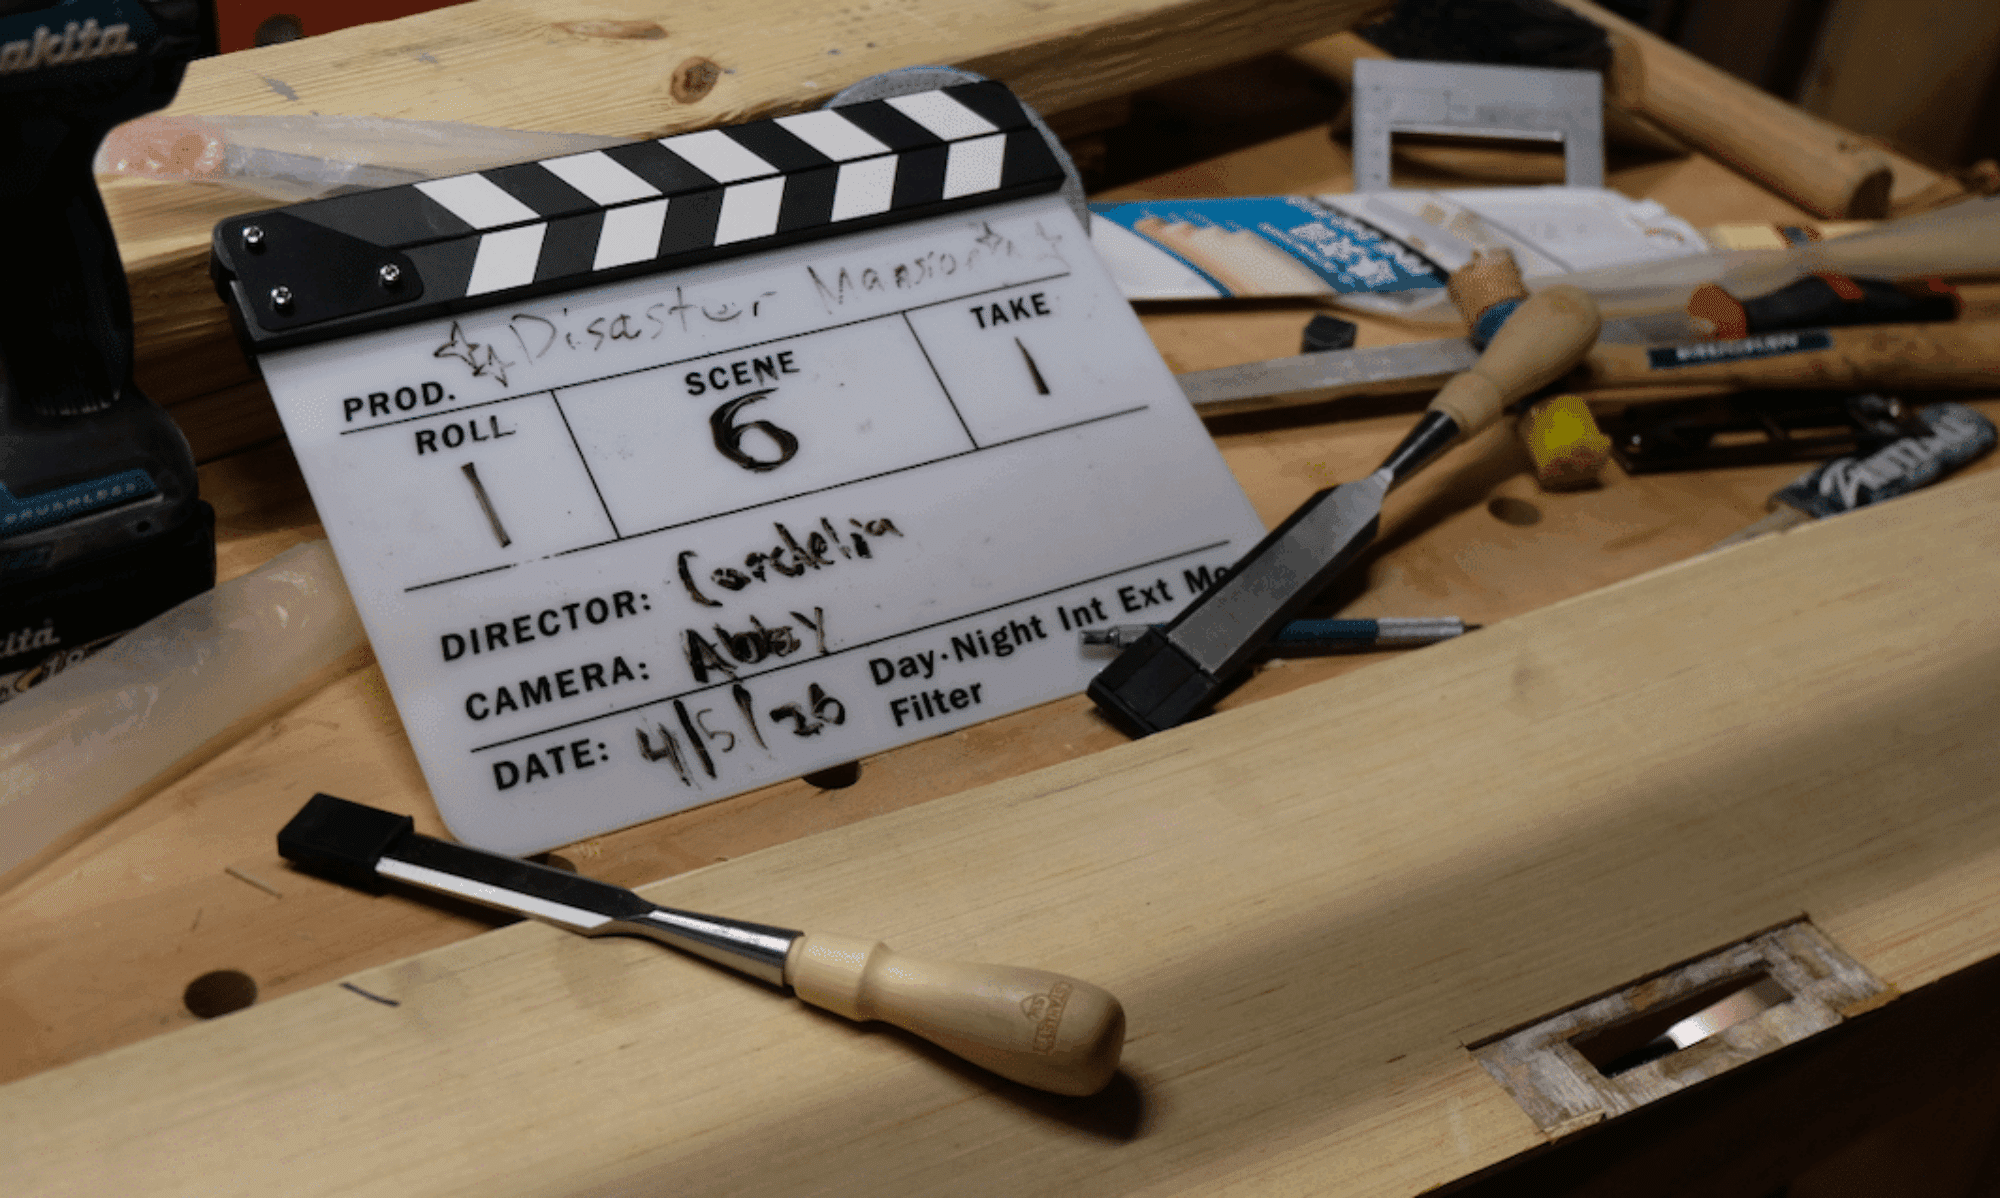
A few weeks ago we met up with our electrician, Tom Nash, aka PAN ELDI. Tom gave us a list of things to complete before he started, and one of them was the framing. The framing to be done was the main bathroom wall, the bathroom door area, which would also include an airing cupboard, and a small wall near the front, which would serve as a shoe-changing area and coat rack, with a television on the other side.
I’m not the quickest framer, and this took a few days, mainly because I like to get things spot on, which required quite a bit of trimming and ripping on the table saw. We also gave ourselves a wide doorway, not quite as wide as ADA building standards, but not far off.
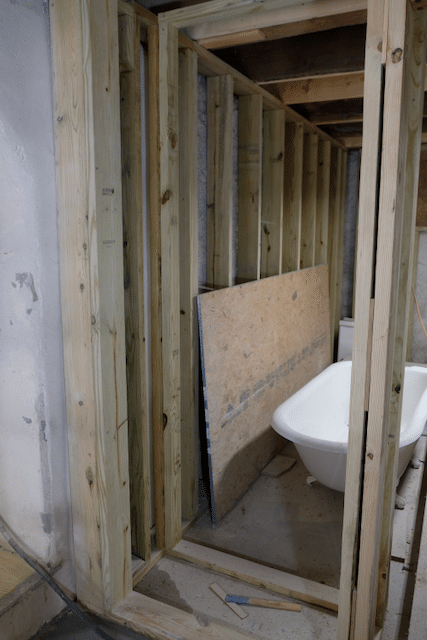
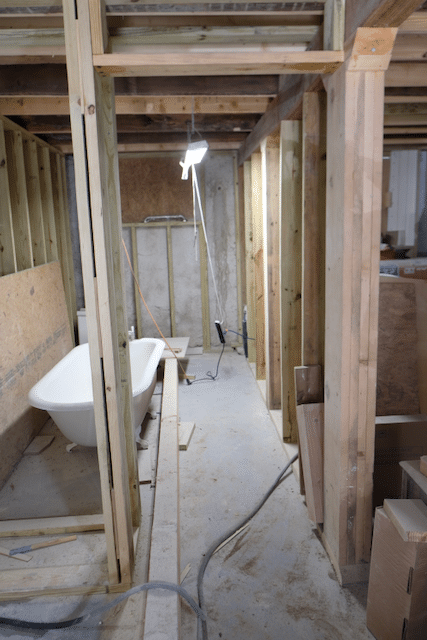
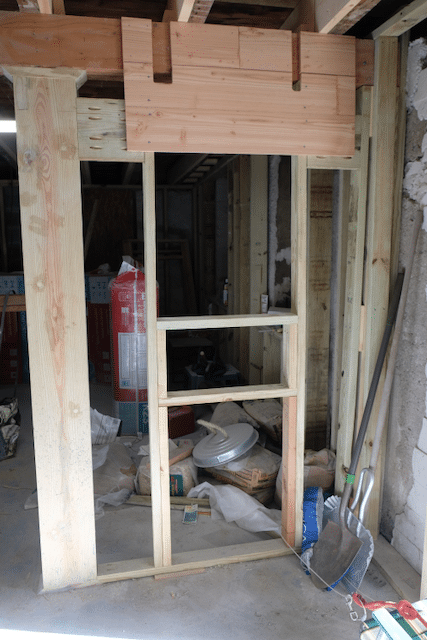
The small framed rectangle in the last photo matches the mounting points of the TV wall bracket, and the weird bit of wooden paneling at the top is because the electrician isn’t allowed to drill through structural beams, so this is a way to get electrical and Ethernet cabling into the wall panel without any beam drilling. We’ll eventually add a small cupboard up top so you won’t see any of that.
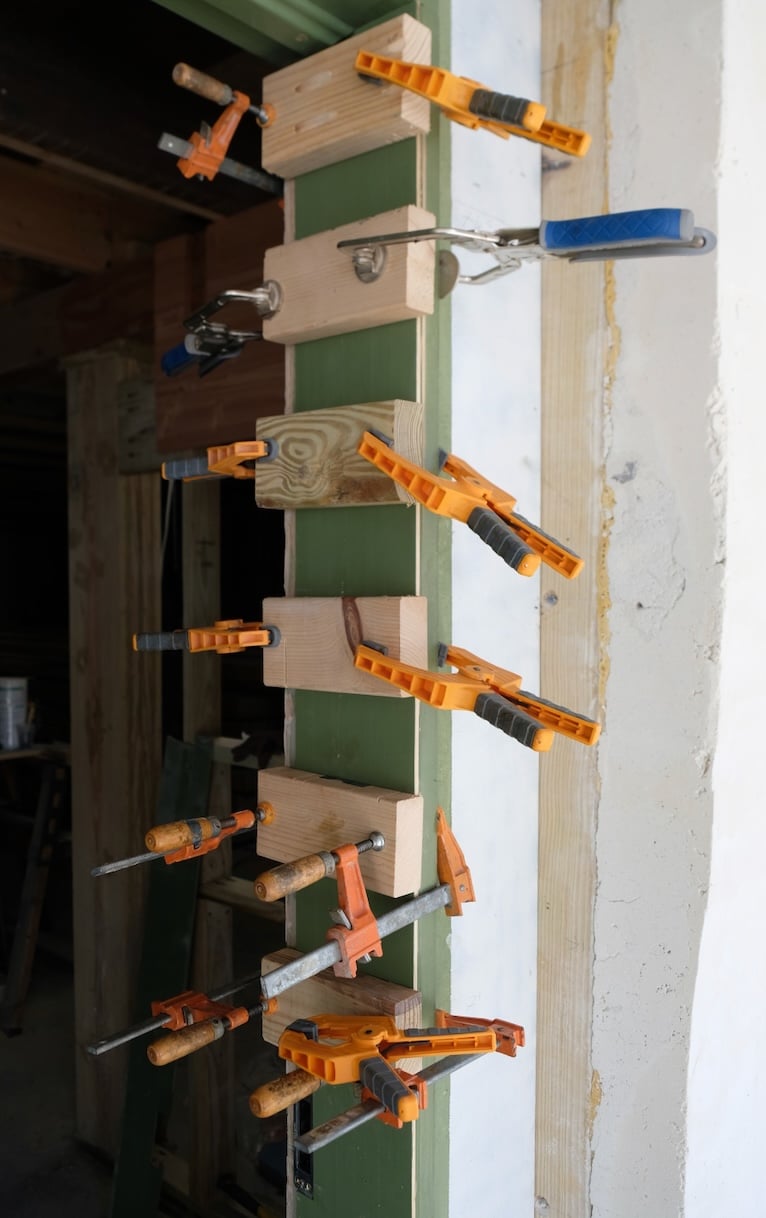
One last job was to fix the botch job on the front door. When I hung the door, it was pulled in nice and snug on the hinge side. This resulted in a larger-than-I-wanted gap (about 4mm, 3/16″) on the lock side. To bridge this gap, I glued in poor-quality interior plywood, and although I painted it within a month, it had already started to delaminate. I did try to glue it back together, but whenever I did, it started to fail elsewhere.
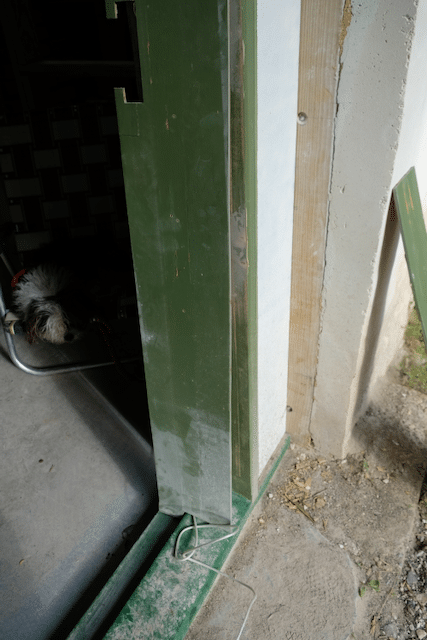
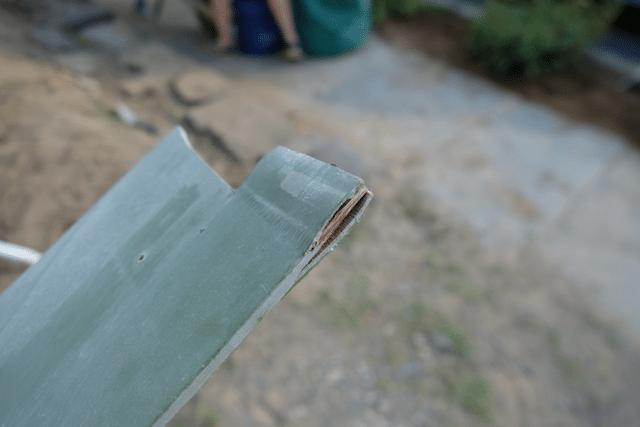
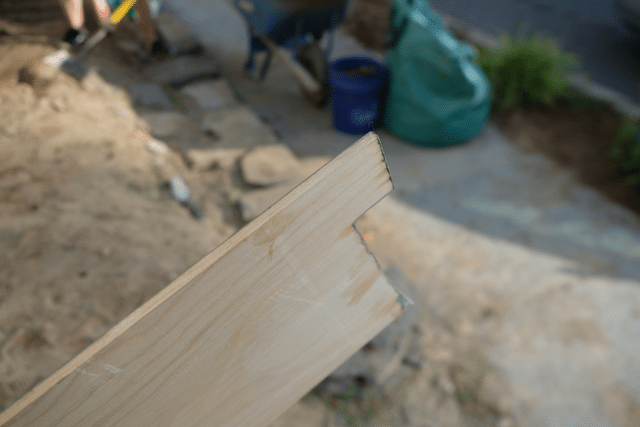
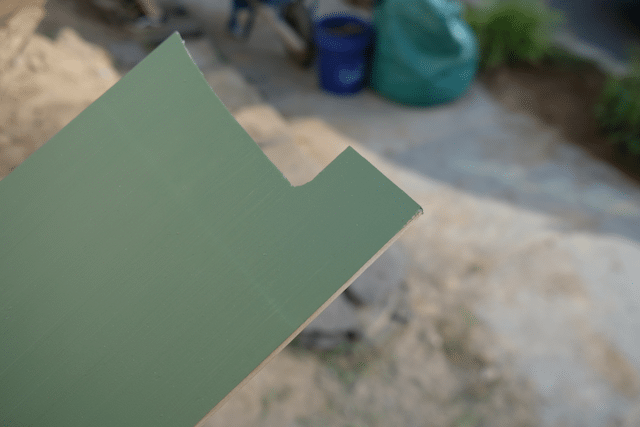
The only thing to do was to remove it and replace it with a thin plank of solid wood, and for this I used Accoya, which is a modified fast-growing wood that is dimensionally stable and comes with a 50-year warranty for above-ground use and a 25-year warranty for in-ground use. It’s also easy to work with; the only downside is that it’s a bit expensive.
Luckily, I had just gotten my bandsaw working; the issue turned out to be the centrifugal motor switch, which needed cleaning and readjusting. Two months ago, I had never even heard of a centrifugal motor switch, so thank you, internet. With this, I was able to cut a nice 1/4″ thick plank, which I then ran through the planer to get the desired thickness. I’ll be using epoxy to attach this, and I don’t expect to have an issue with it again.
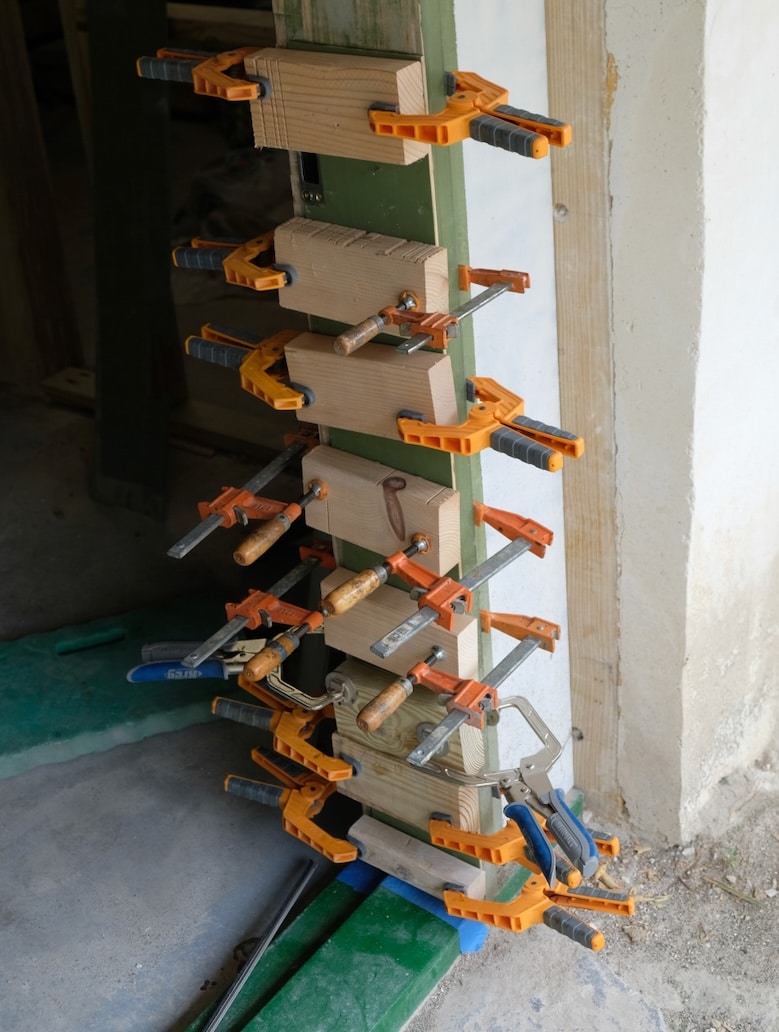
This is why you can never have too many clamps
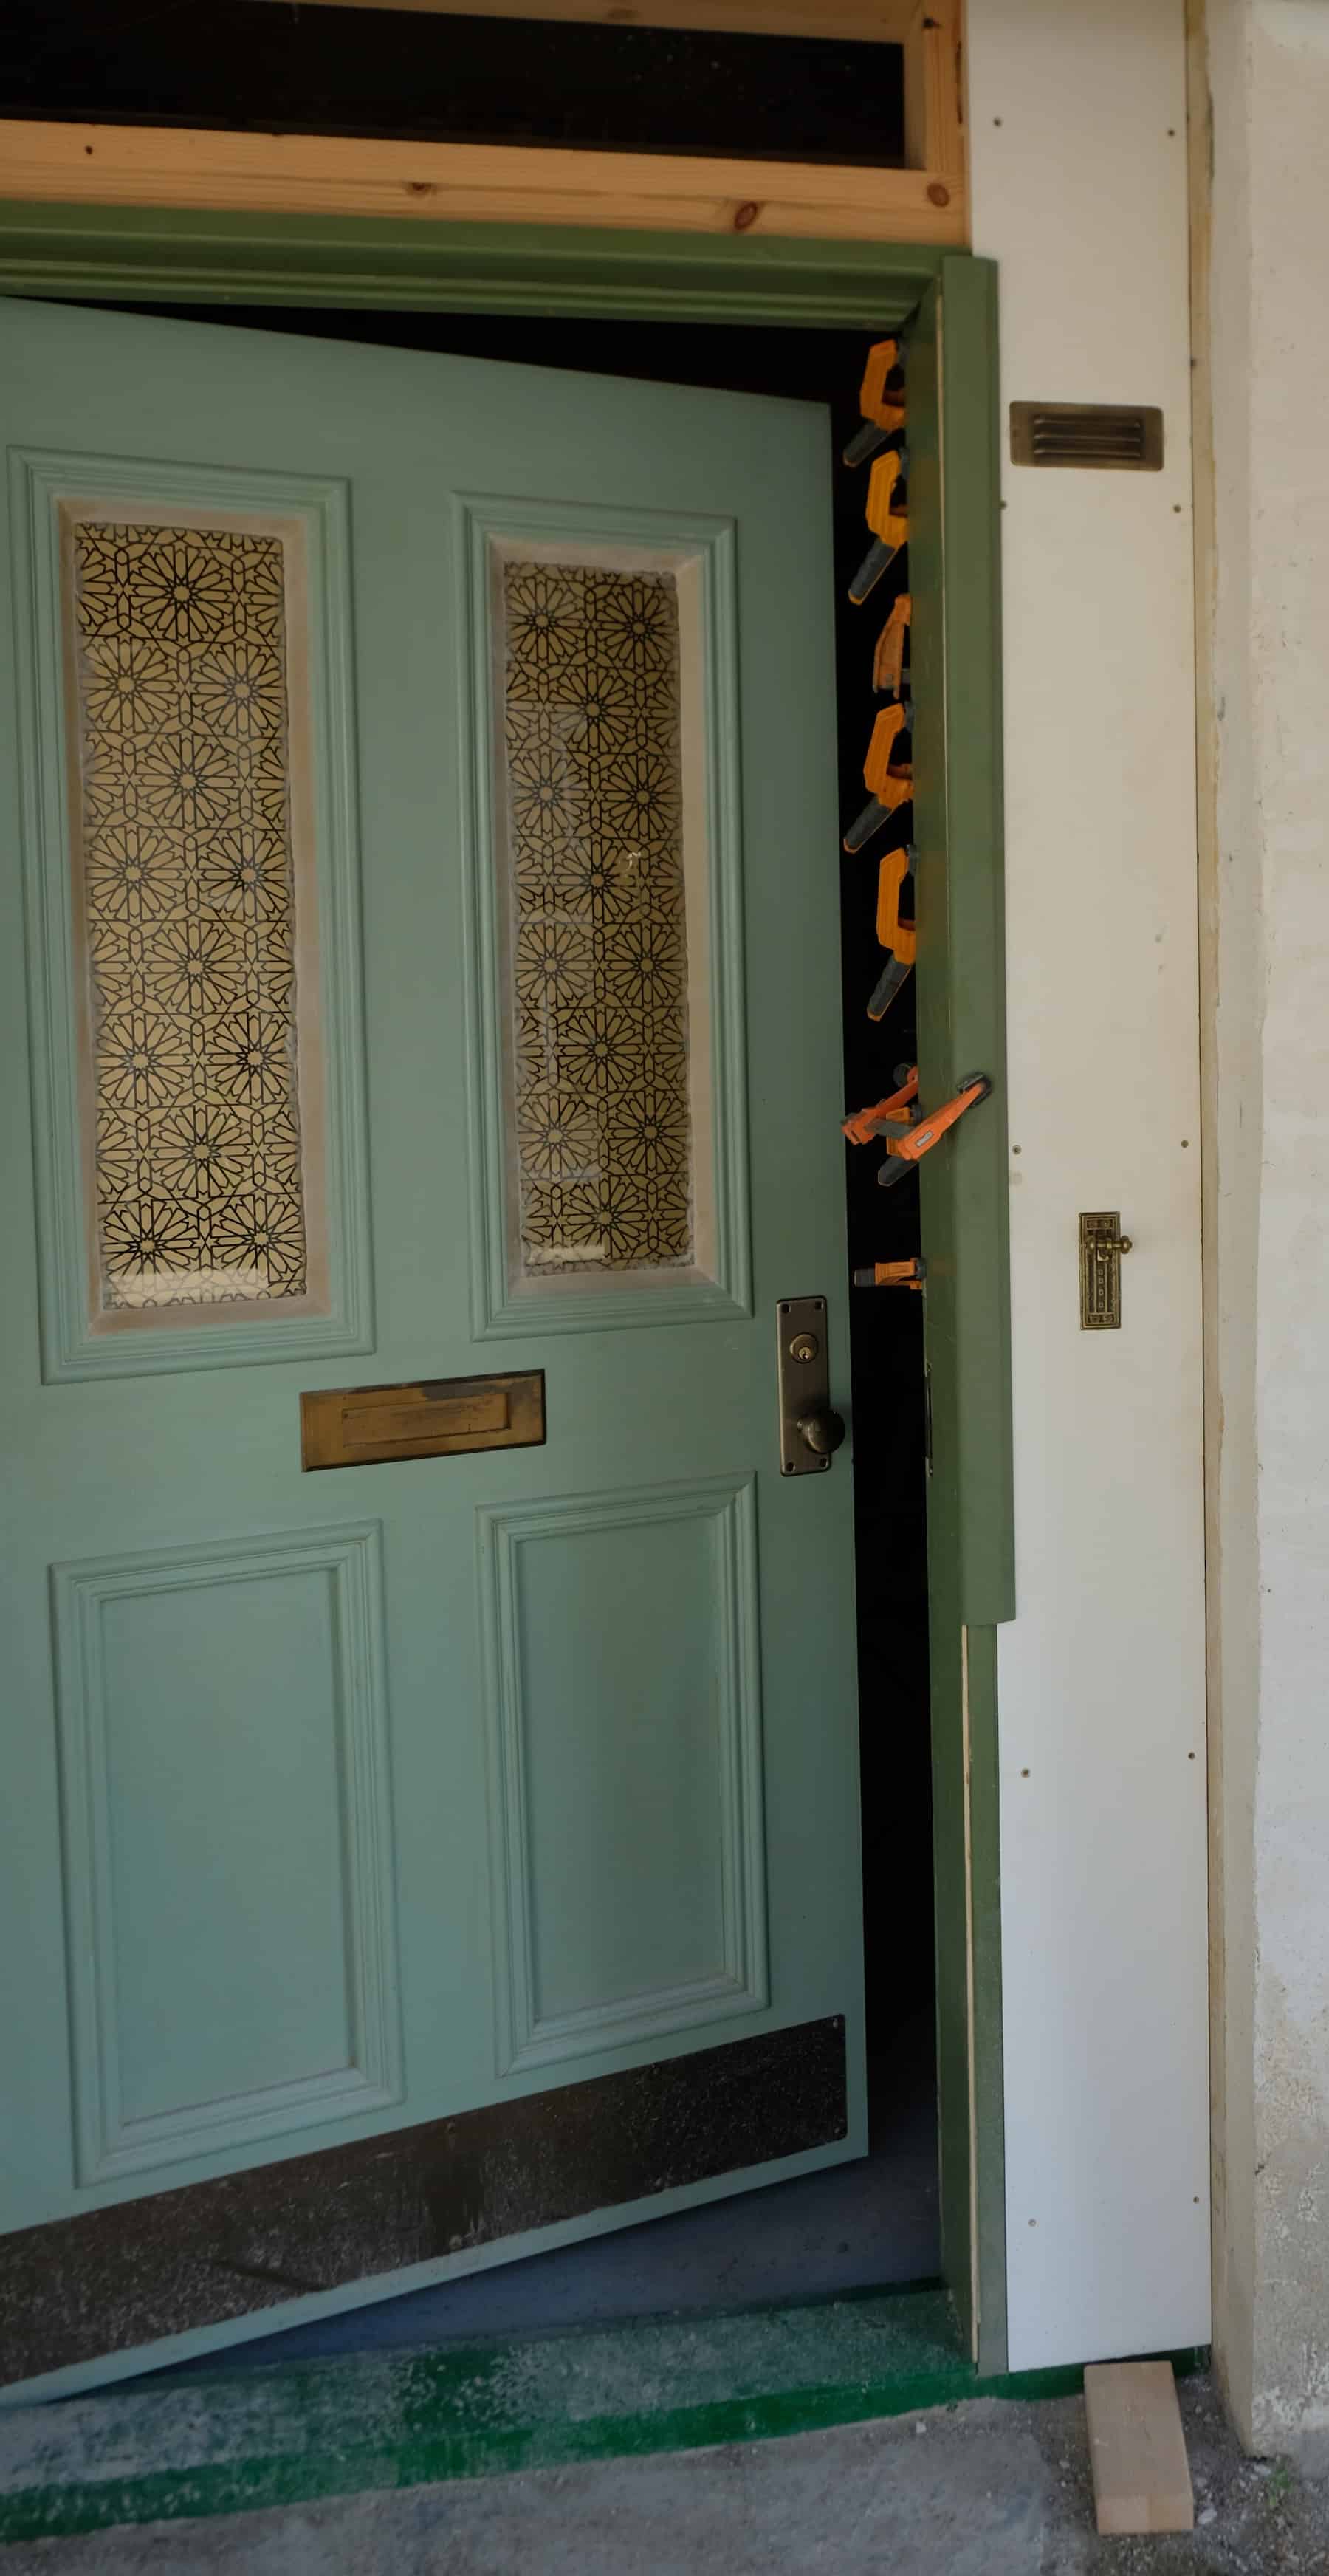
Still on the subject of the door, I just finished painting the side panels which takes a while as linseed paint is slow to cure. I do use UV lights to help speed the process up, but it still takes a few days between coats. Initially the side panels were green but that looks a bit overpowering, so I repainted them white which is now underwhelming and is already showing marks. I am now on my third repaint and they will now be a pale turquoise to match the door. These will be installed, and if we don’t like the color, we can repaint them again later. Note, screw holes will eventually be filled and painted.
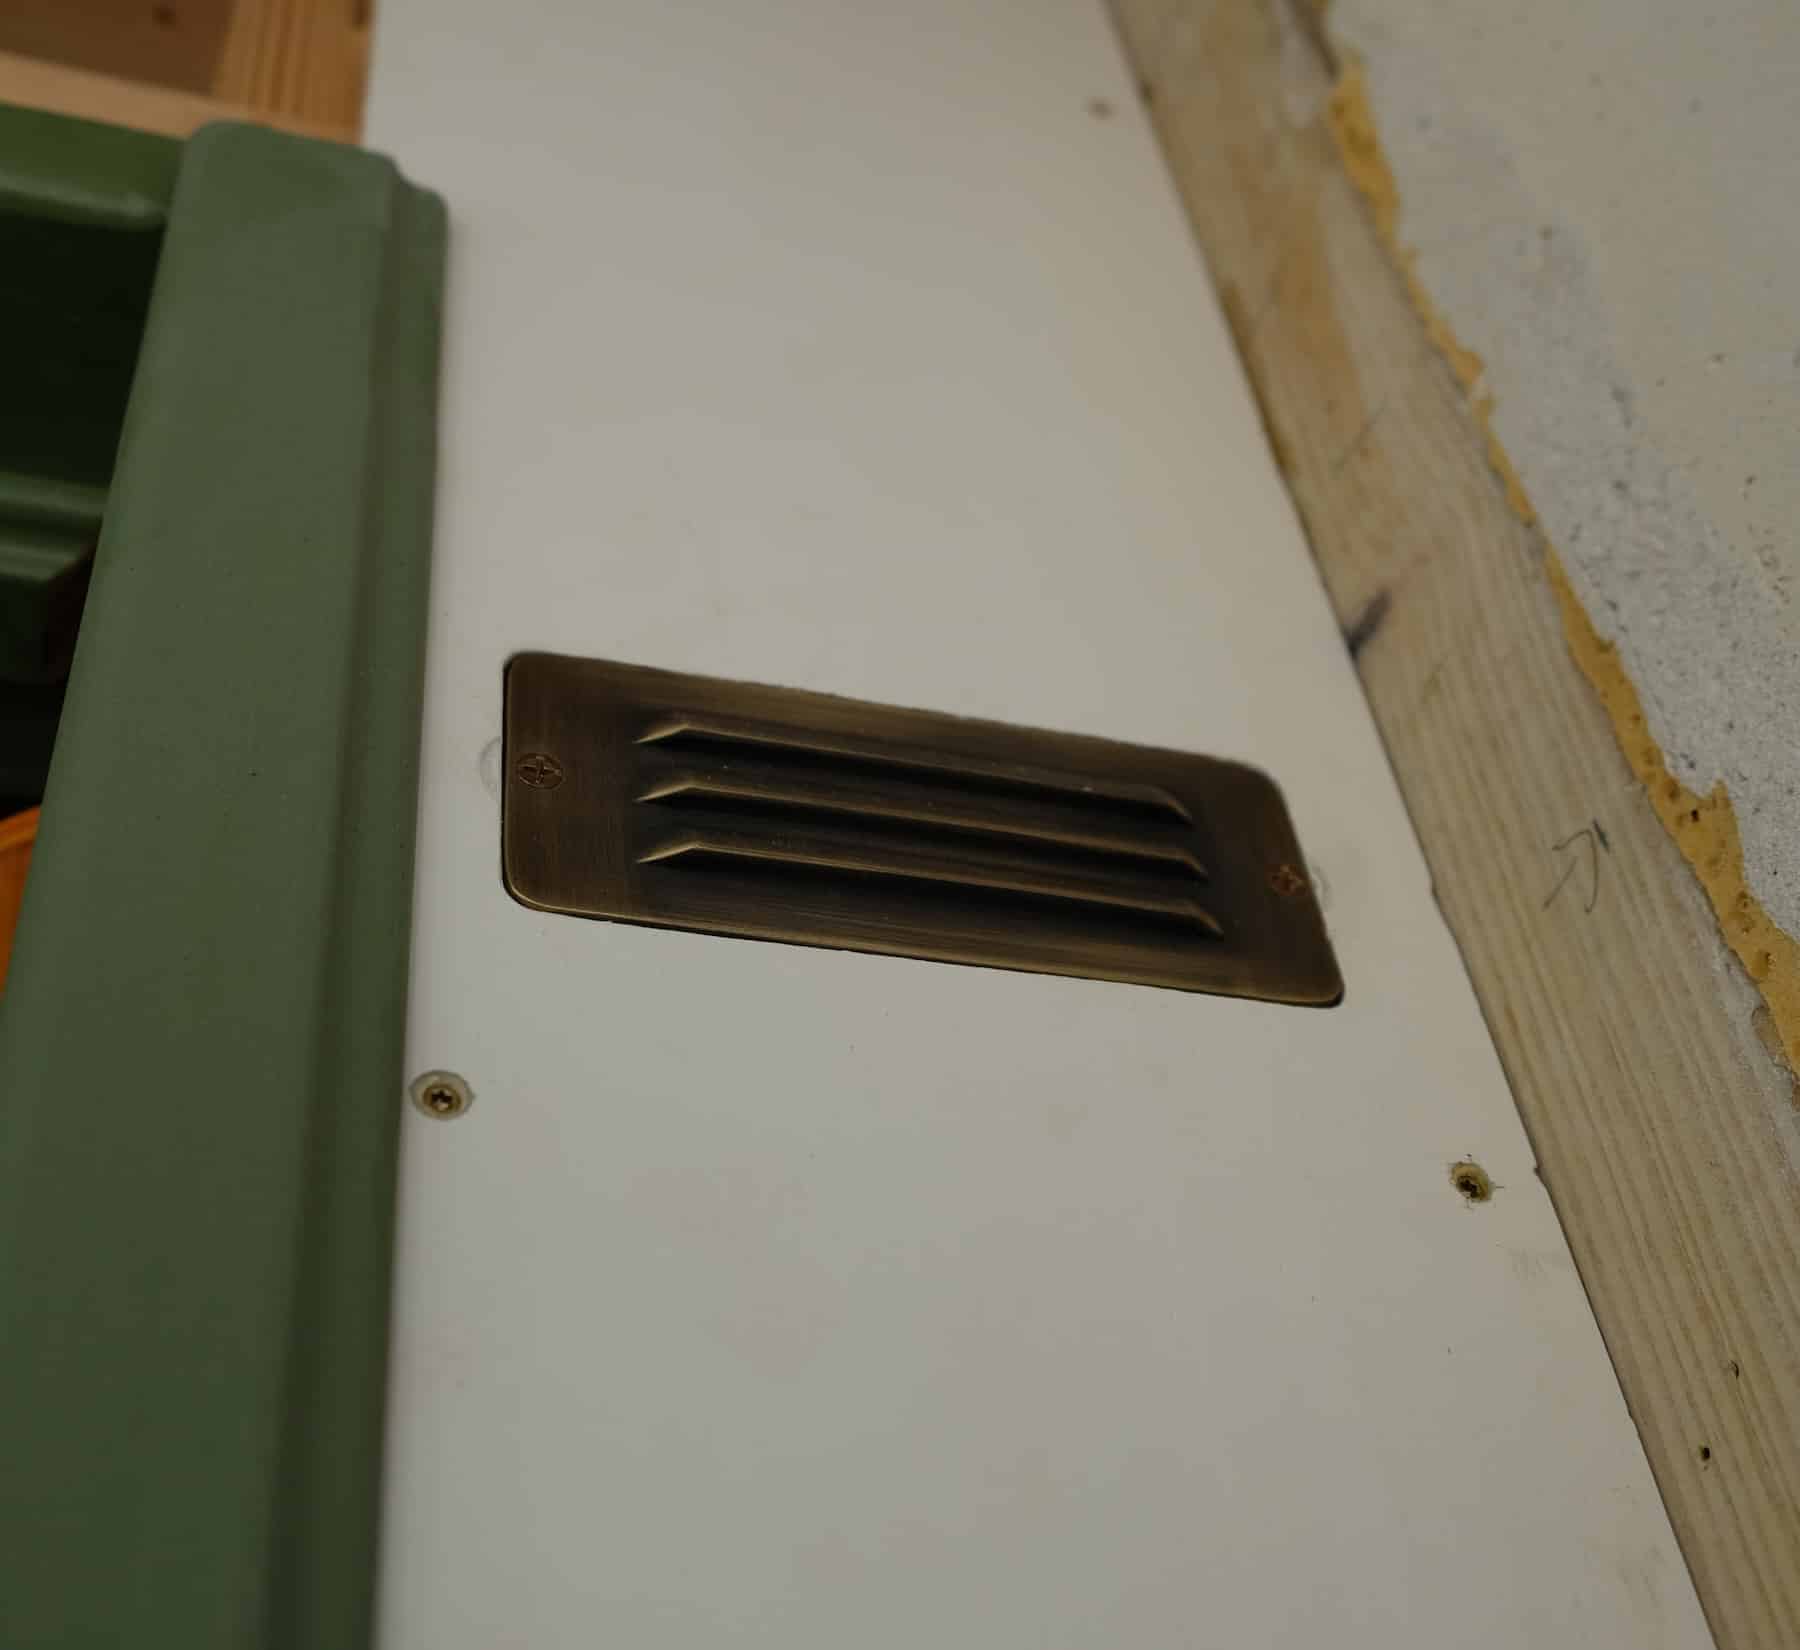
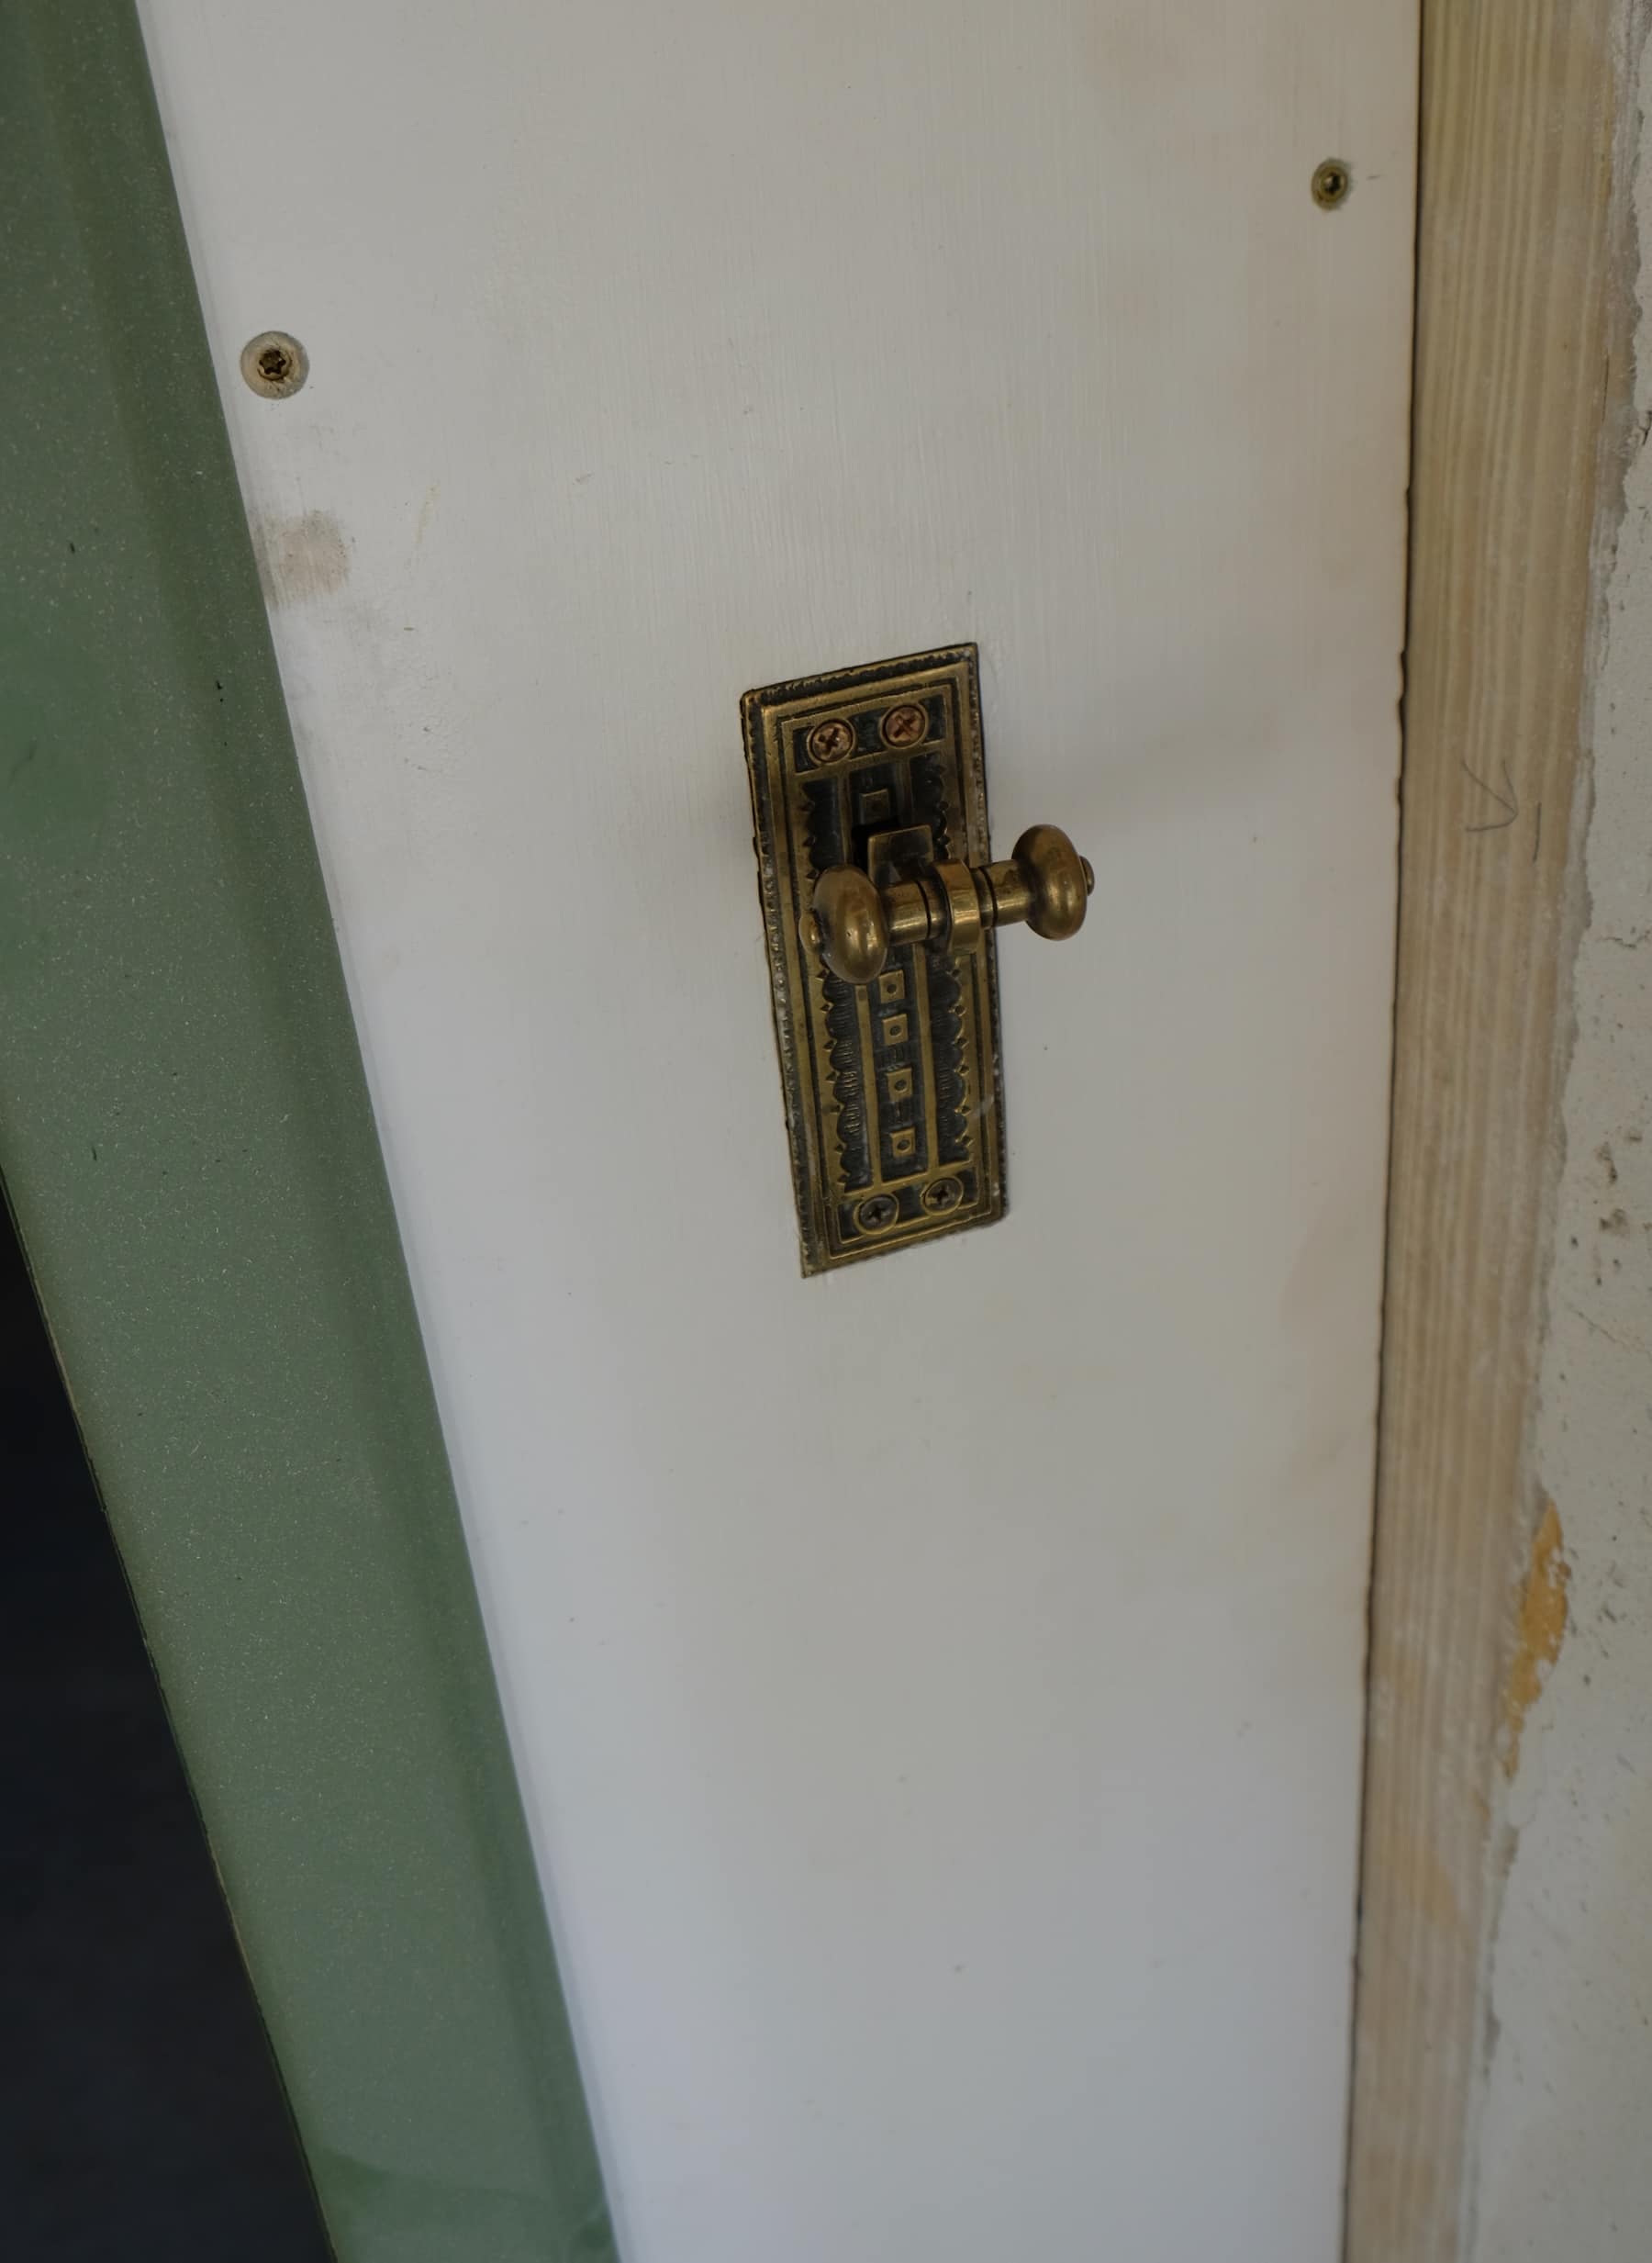
We didn’t want ugly lighting outside, so we added some subtle louvered lights from Volt lighting, which are actually designed for outside step lighting. They won’t be very bright but bright enough to find your keys. They are supposed to be surface mounted but I thought they’d look better flush with the surface. I also added a 19th century door bell pull which I got off ebay in the UK. This will attach via a cable to a spring-mounted bell – may be really annoying or quite charming; time will tell.
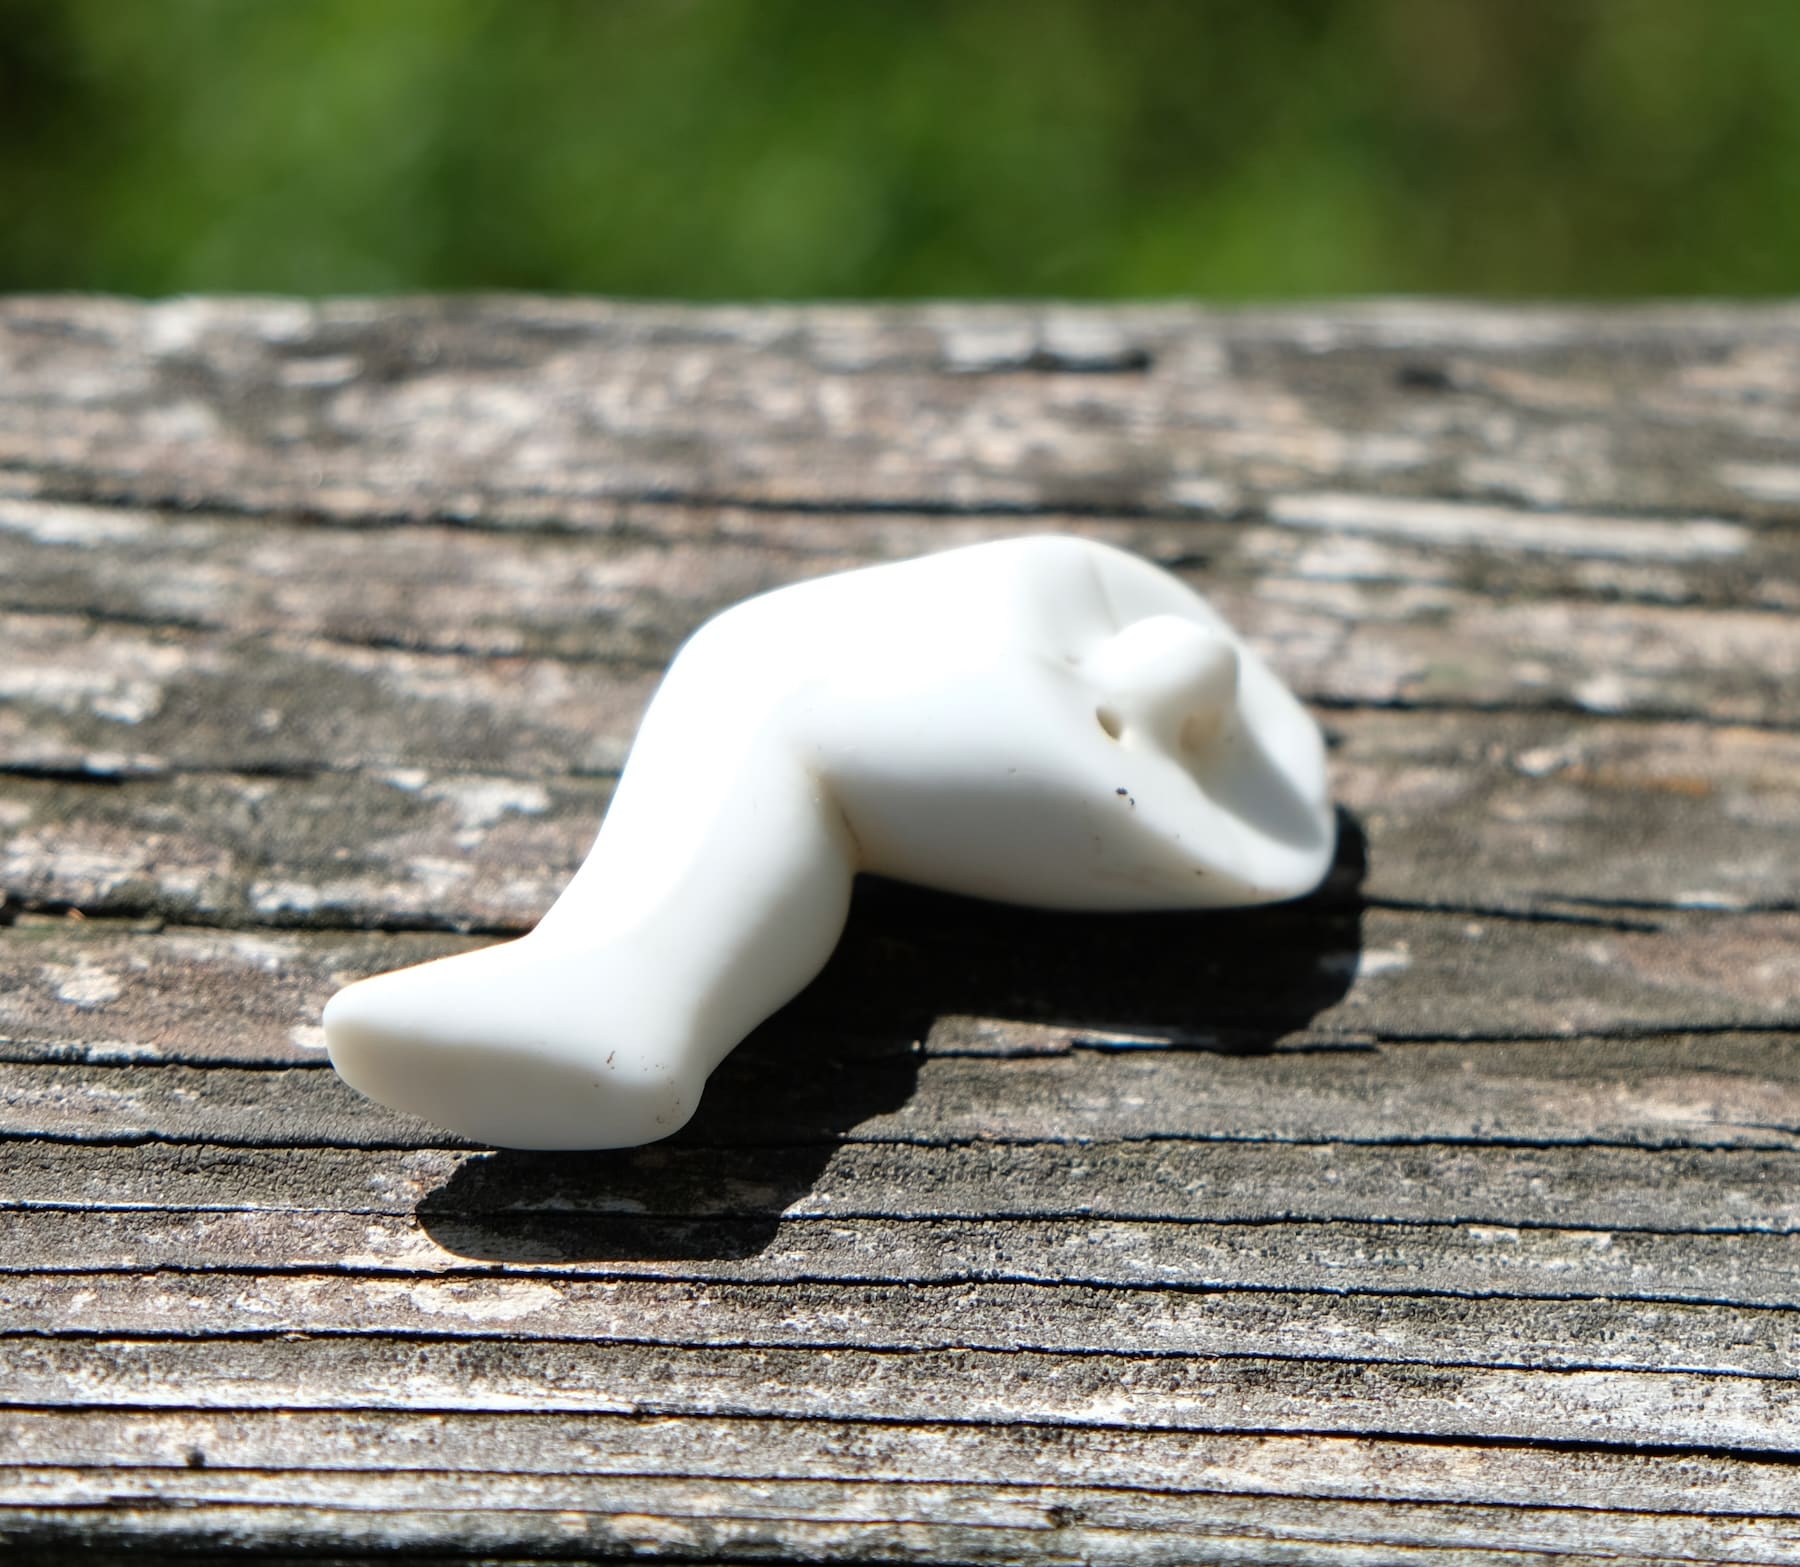
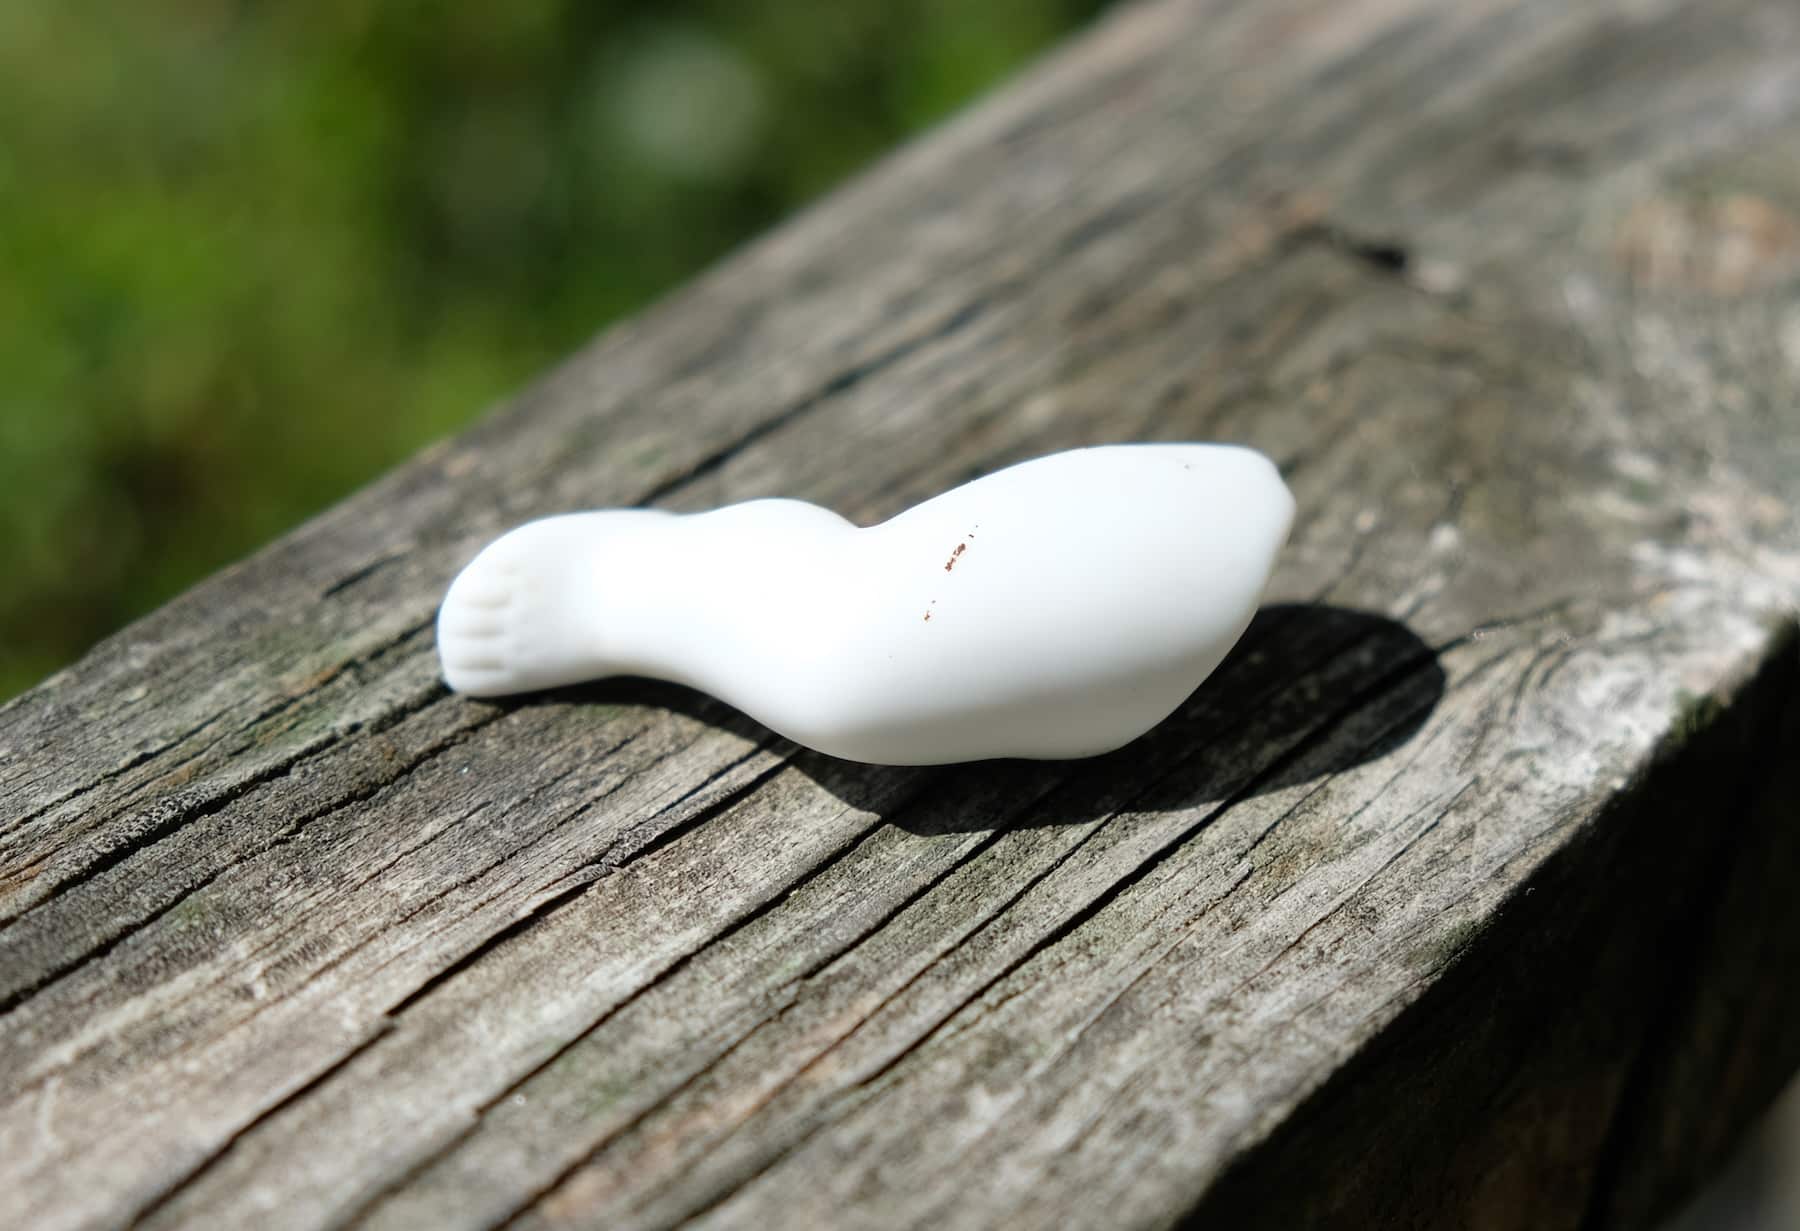
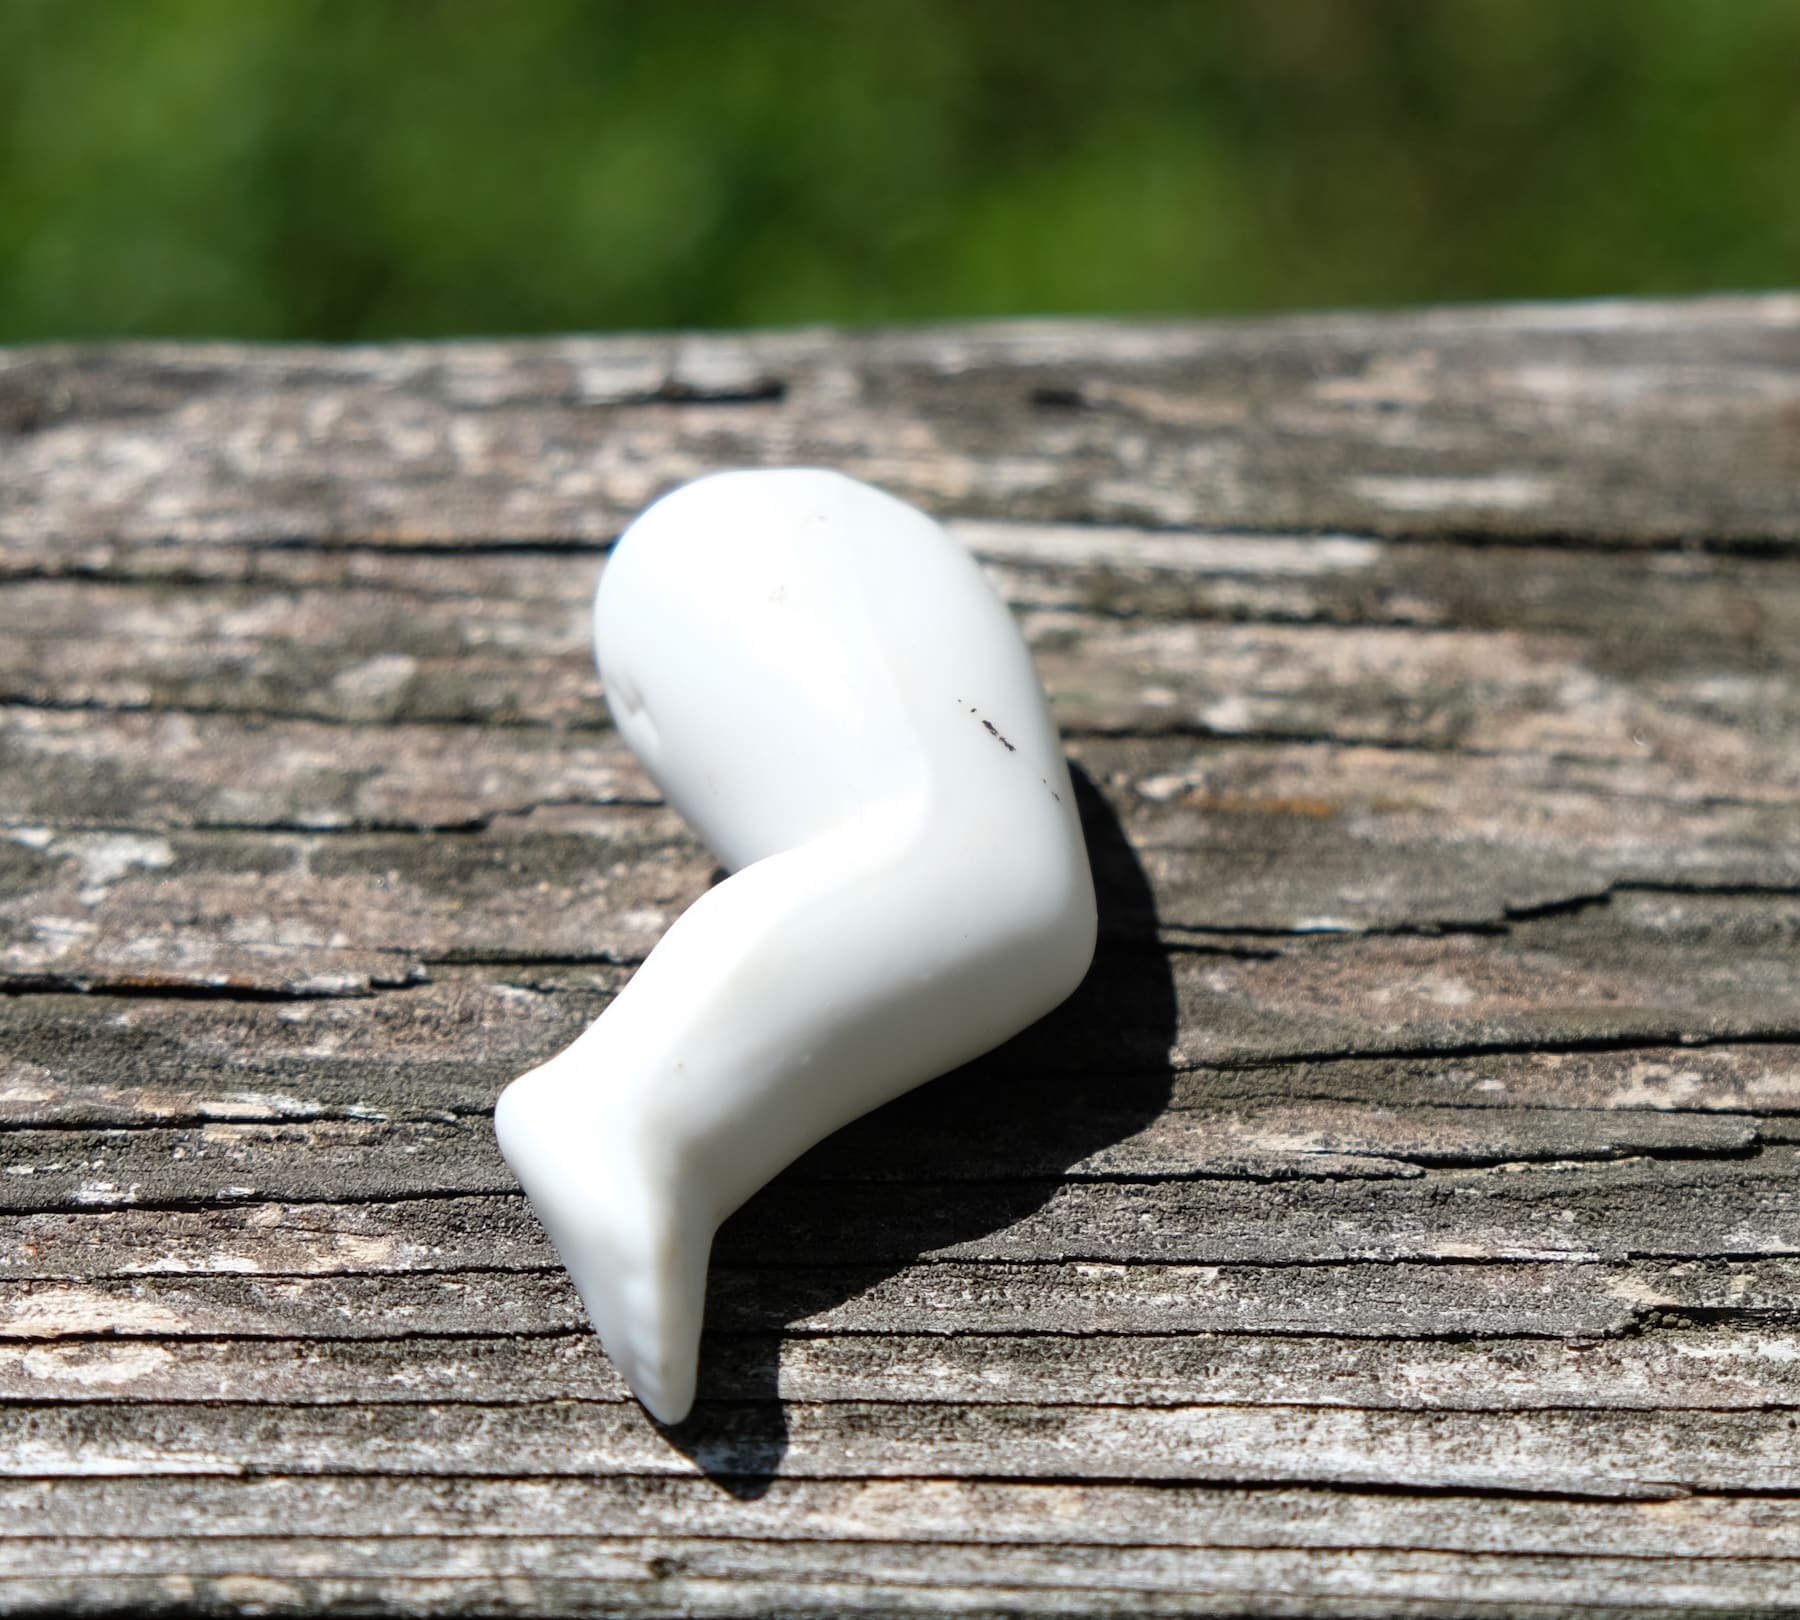
Incidentally, as I was digging about in the garden, as one does, I came across a lovely porcelain doll’s leg. It’s about 2″ long. Shame that is all I found.