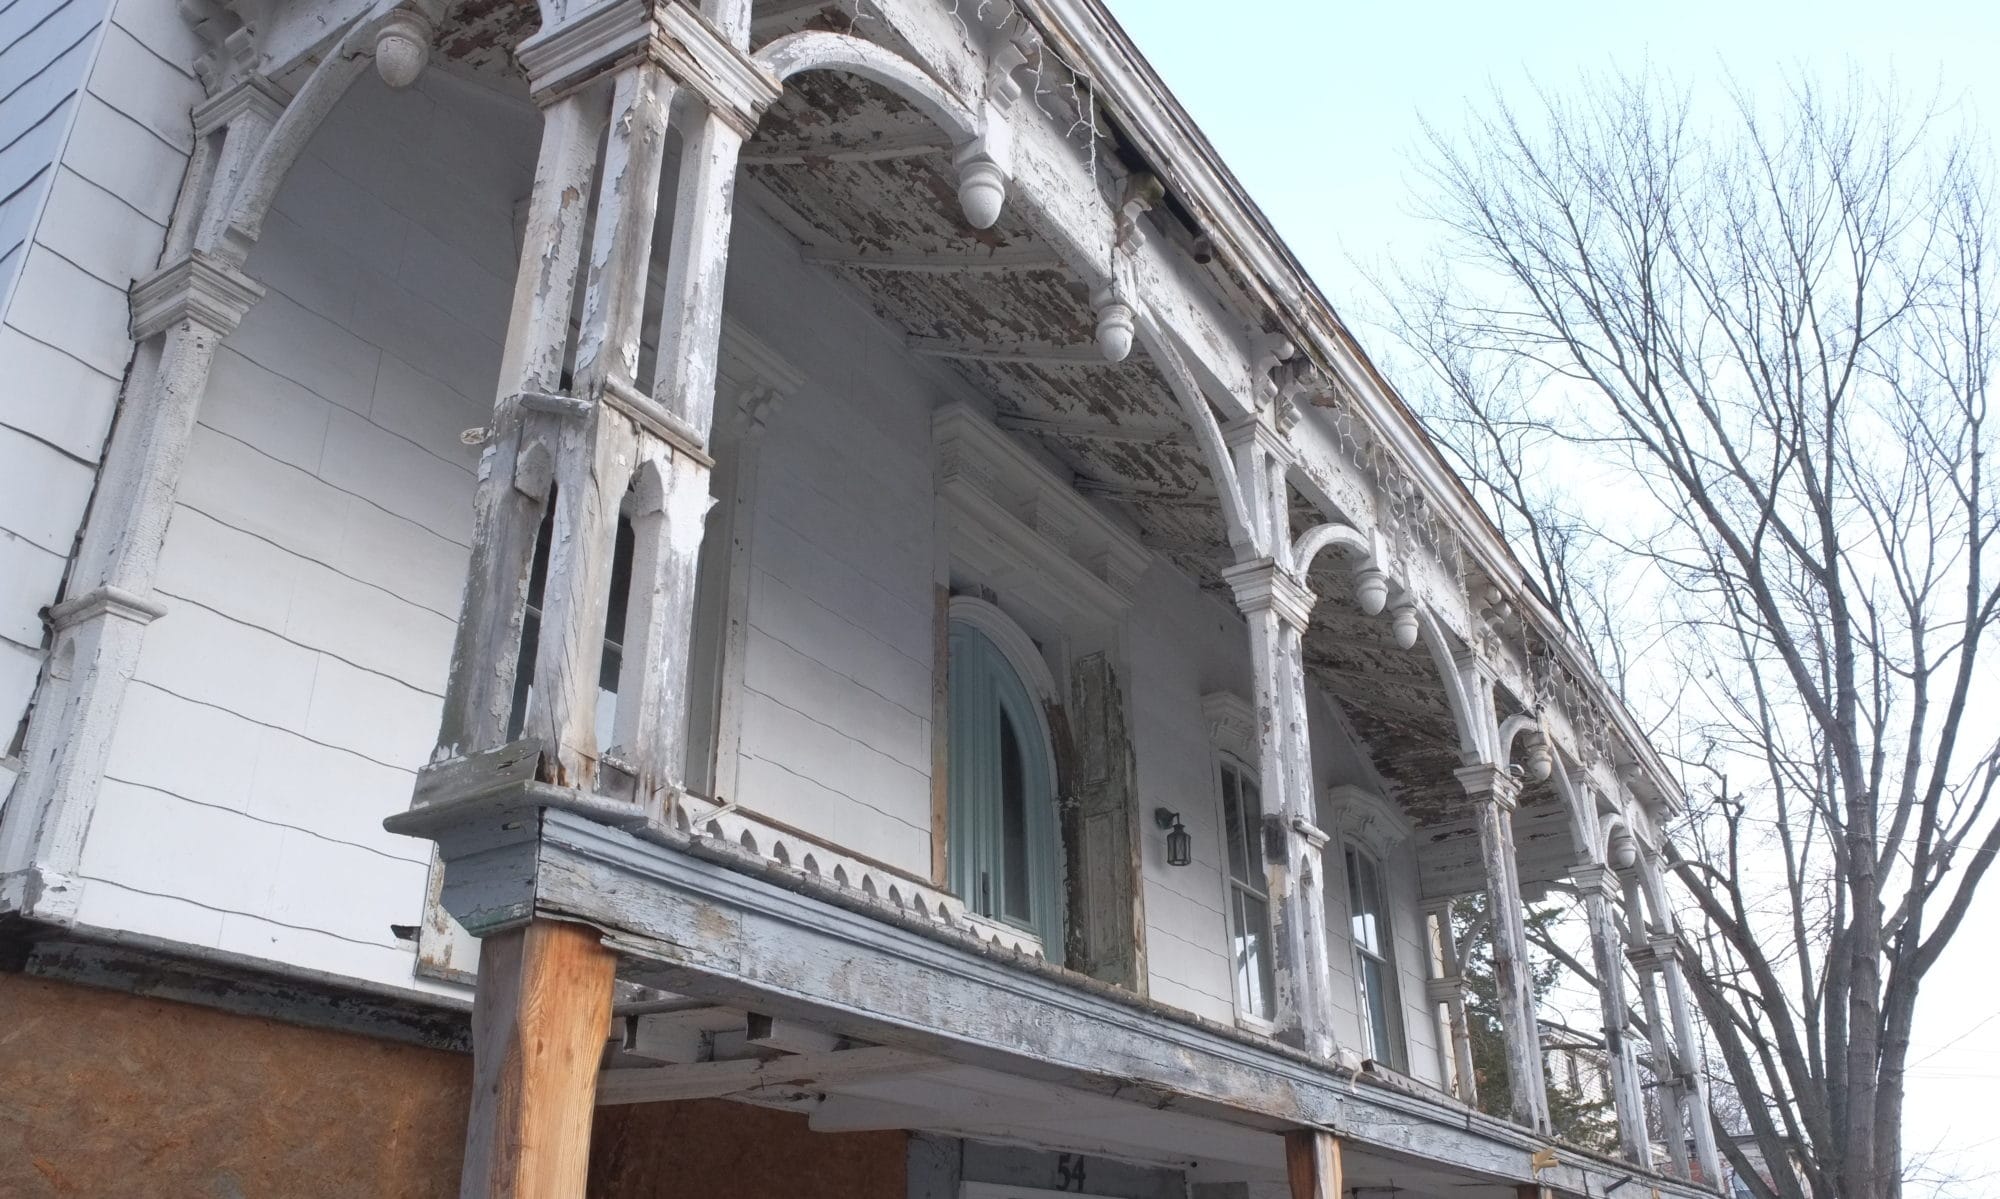
In a previous post I mentioned the rotten sill beams, still haven’t replaced it but the house is still standing. Last weekend I got down to the nitty gritty and started to cut the existing beam to accept the new one. A butt joint probably wouldn’t pass code so I made a staggered cut for more glue area. First I made plywood template and attached them to each side of the beams and then, using a Japanese hand saw, cut away the rotten wood, results were decent enough. There are still a few cracks and splinters in the existing beams but epoxy will eventually fill this. I also applied this treatment to the other end of the beam.
By the way if you’ve never used a Japanese hand saw, check out this introduction video. Very sharp and very useful for some certain cuts.
The replacement beam is made from pressure treated 4×4’s which are roughly the same thickness as the existing beam. I cut these out on my miter saw and trimmed up with a hand chisel. Before I can install them I’ll need to repair the wall such that it presents a smooth surface for the sill plate to rest on and as the weather is getting better I think I’ll be able to do that in a week or so.
Lastly I decided I should support the corner of the house in case it starts to sink, I don’t think it will as the rotten beams were no support, but better be safe than sorry. Not great shoring up but it will do for now but I may improve it and try and jack up the house a bit as it was obvious that this corner had sunk a few inches over the year.

Glad you can find things to do in this unseasonably cold weather. Hopefully it’ll be warm soon!