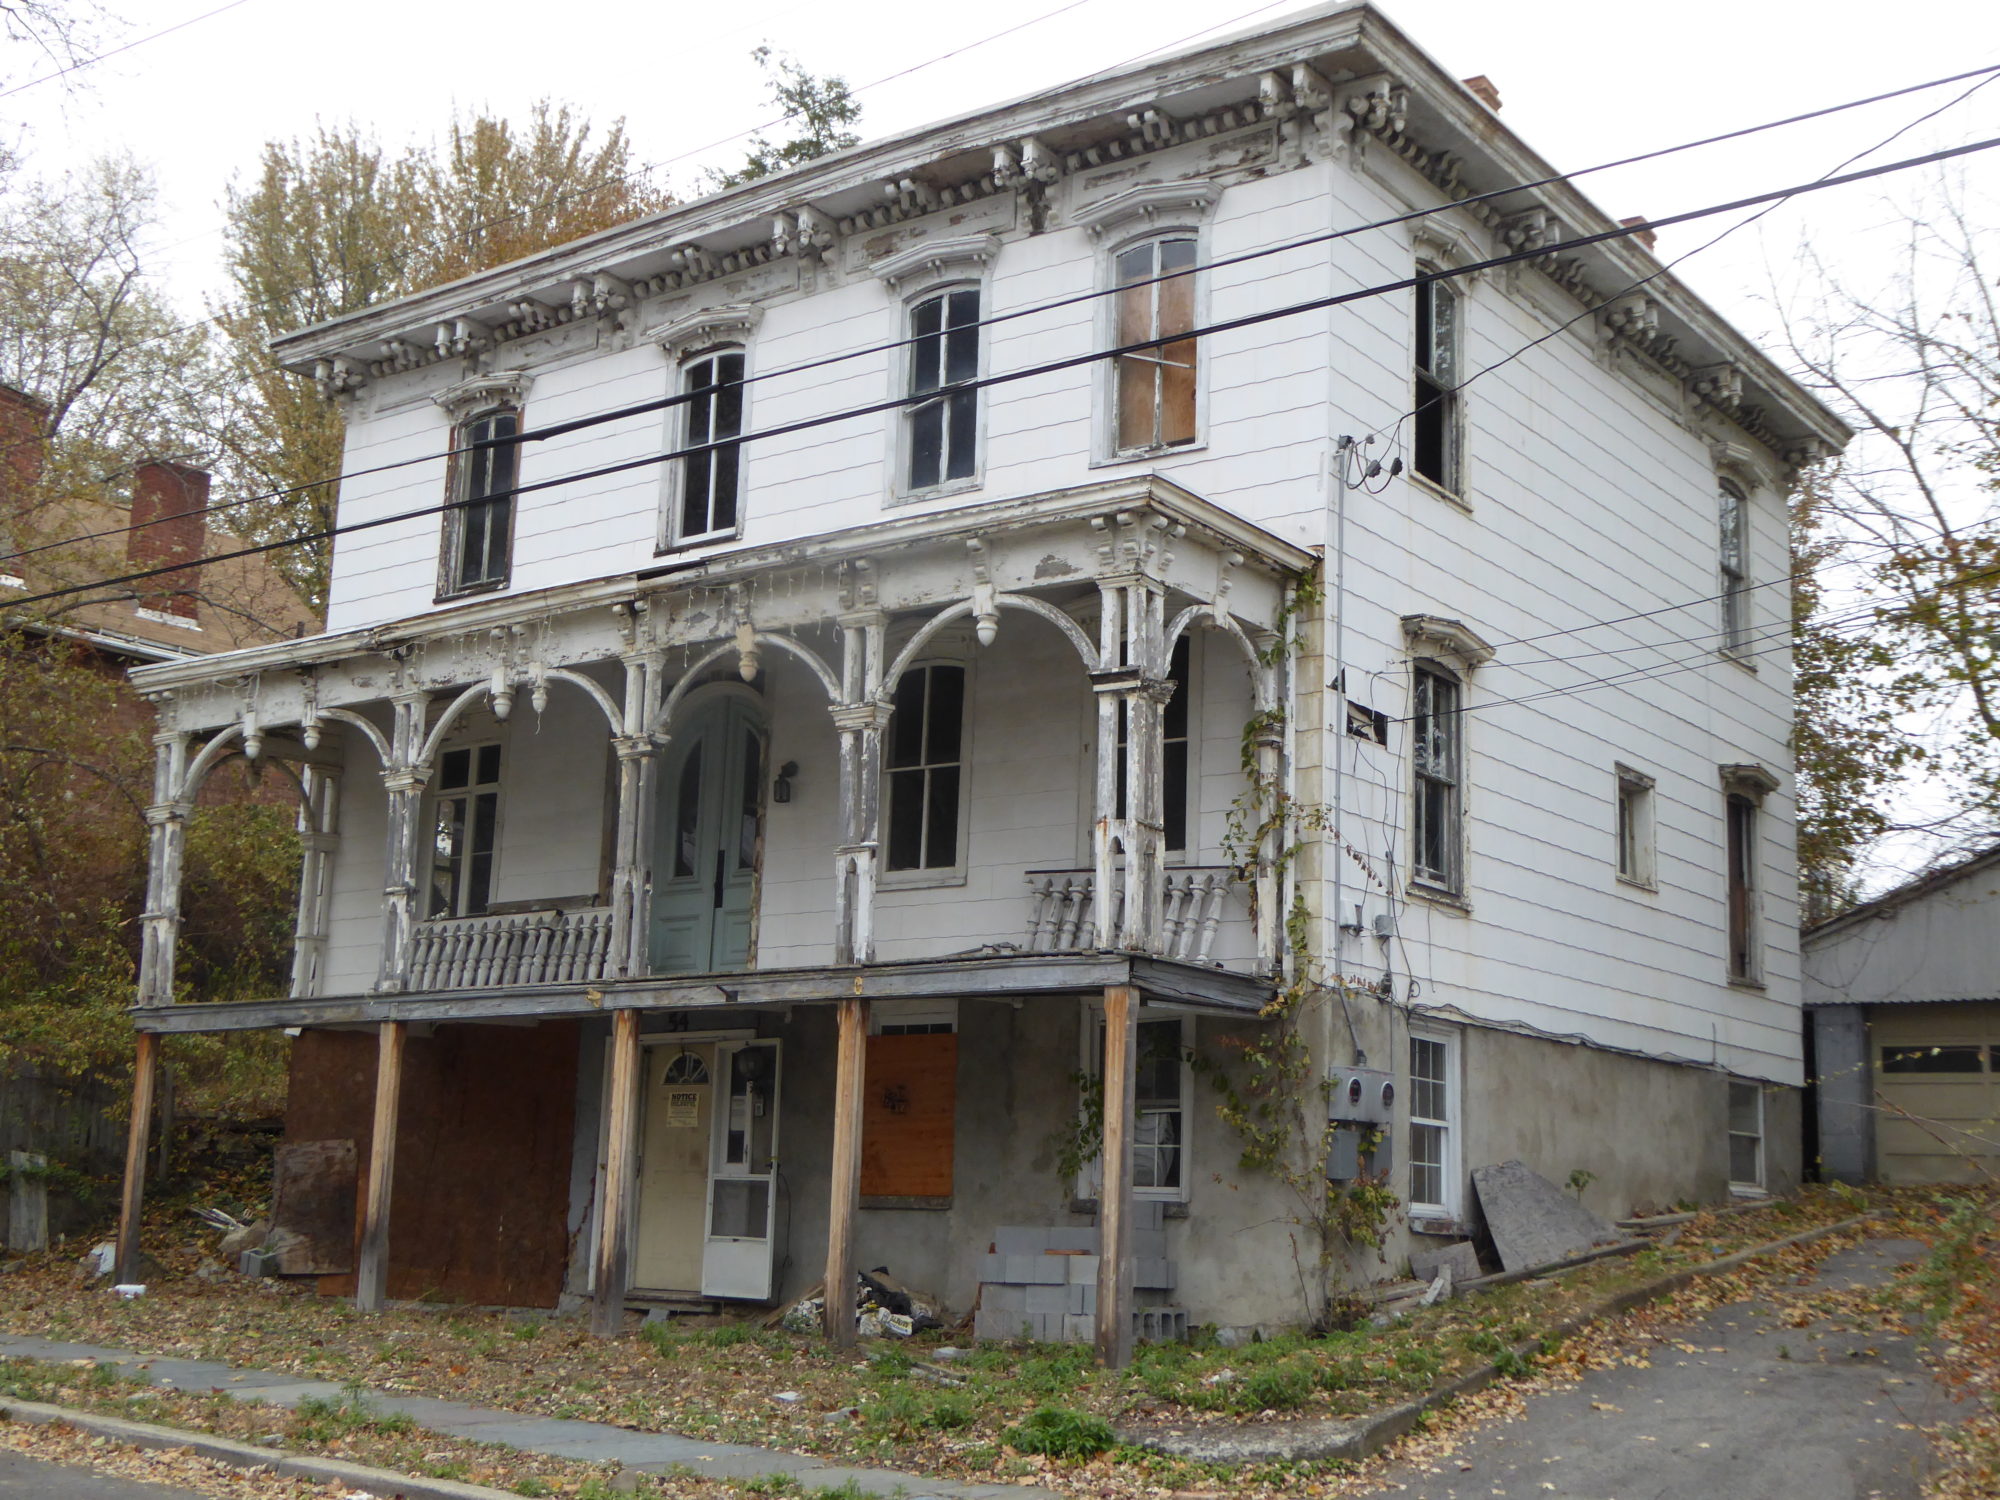
Our latest project has been to fill in the trench behind the house but before we can do this we need to:
- Repair the footings
- Remove flaking lime mortar from wall and replace
- Install foundation drain
This is how we currently stand:
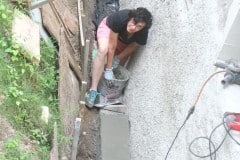
1) Repair the footings. We’ve repaired the majority of the footings but have about five foot to go. The five foot section has some huge rocks in the way and these rocks are part of our footing so can’t be removed completely. I’ve been trying to trim them down with a combination of hammer drill, hammer chisel and diamond bladed grinder. Getting there but it’s slow and uncomfortable work. I’m currently about 4/5 of the way so light at the end of the tunnel 🙂
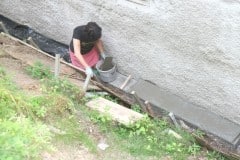
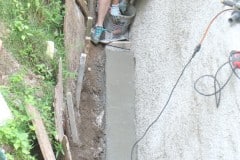
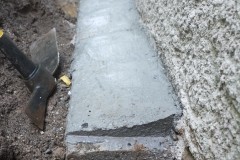
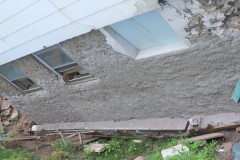
Aimee has been working on adding a concrete fillet/chamfer to prevent any water settling on the footings and to divert it into the yet to be installed footing drain.
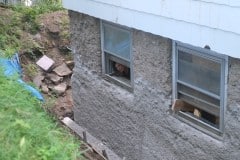
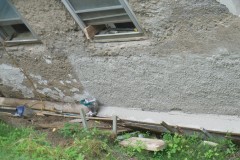
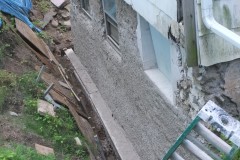
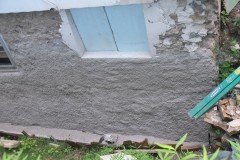
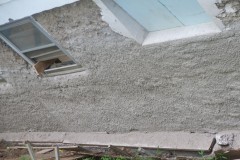
2) Remove flaking lime mortar from wall and replace. We’ve made a lot of progress in the last few weeks, removing loose mortar, repairing holes and cracks etc. This weekend we managed to get a coat of new lime mortar on the wall. One of the traditional methods of applying the first coat is to literally throw it on, hence the name harl coat. If you’re interested this is a good video from Mike Wye explaining the harling process. You might think that just slapping it onto the wall with a trowel would be just as good, but I’ve been told that it isn’t and the bond will be poor and soon fail. We did apply a harl coat earlier this year and we found it pretty slow and hard work.
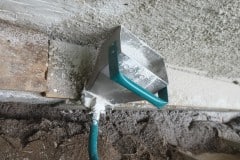
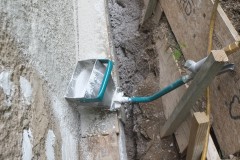
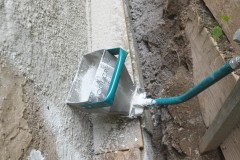
We didn’t fancy harling the back wall as it’s pretty large and the space is a bit confined which would make harling tricky, especially low down the wall. After some research I came across the ToolCrete stucco and plaster sprayer which is sold by Mortar Sprayer. I watching some encouraging videos so I ordered one and boy are we pleased with it. It’s powered by a compressor which we could luckily borrow from Joe and Deborah. The compressor wasn’t as powerful as they recommended (7cfm @ 90psi versus our 4cfm @ 90psi) but the ToolCrete sprayer allows you to block up one of the three nozzles and it worked great. We did make the lime mortar a bit wetter than usual and again added chopped fiber glass strands.
It took us maybe three hours to do the wall but that was because you have to mix lime mortar for about twenty minutes per batch. If we had a continual supply of the mortar I think we could have been done in about 30 – 40 minutes. Compare that to a couple of weekends if we had done that by hand and I don’t think the results would have been as good as with the ToolCrete sprayer.
We’re going to do the rest of the remaining walls with this sprayer both internal and external and this sprayer will save us so much time. Maybe if we can get a third person to help then they can devote themselves to the mortar mixing.
We have to leave this first coat to cure for a week before we apply a second coat and that may be the final coat. As most of this will be underground it doesn’t need to be perfect.
Lastly the sprayer is easy to disassemble for cleaning. Wish the hoper had a small lip so I could have hooked it on the window frame when Aimee was loading up as it does get a bit heavy after a while, that said I can always drill two holes and add two protruding bolts. All in all a great product which is very satisfying to use and it’s made in the USA 🙂
3) Install foundation drain. No progress on this yet but we know what we need to do.
I thought there had to be a mechanical harler rather like a tyrolean render machine.
Truly inspiring I think the both of you are doing a fantastic job.
Thanks Chris, we’re both glad we found this tool 🙂 Hope to have you stay sometime and I promise you we won’t put you to work (too much)
Great work, but knowing you I’m surprised you didn’t make a trebuchet to do the hurling for you. You could have used it afterwards to do your neighbours houses from the safety of your own garden.
Ha ha, very funny Ian!!!! https://www.youtube.com/watch?v=Z9t_KDGqOmE
I liked that.