While our porch is still absent we thought it might be a good idea to parge the ground floor walls as they look a bit of a mess as well as put in a foundation drain to the left of the house. It will be no surprise to long term readers that when we reached the footings, we found another bodge. At the rear there was a 4′ length of wall that in most places you could stick your arm under past your elbow. I’d say that’s not good.
Again this took us a while to fix, mostly trying to stop the bank collapsing and clearing out all the dirt in the cavity. Glad to say that this has all been fixed. This bodge definitely wouldn’t have passed inspection by the building department had they seen it and why they didn’t see it, I’m not sure. Fixed, moving on.


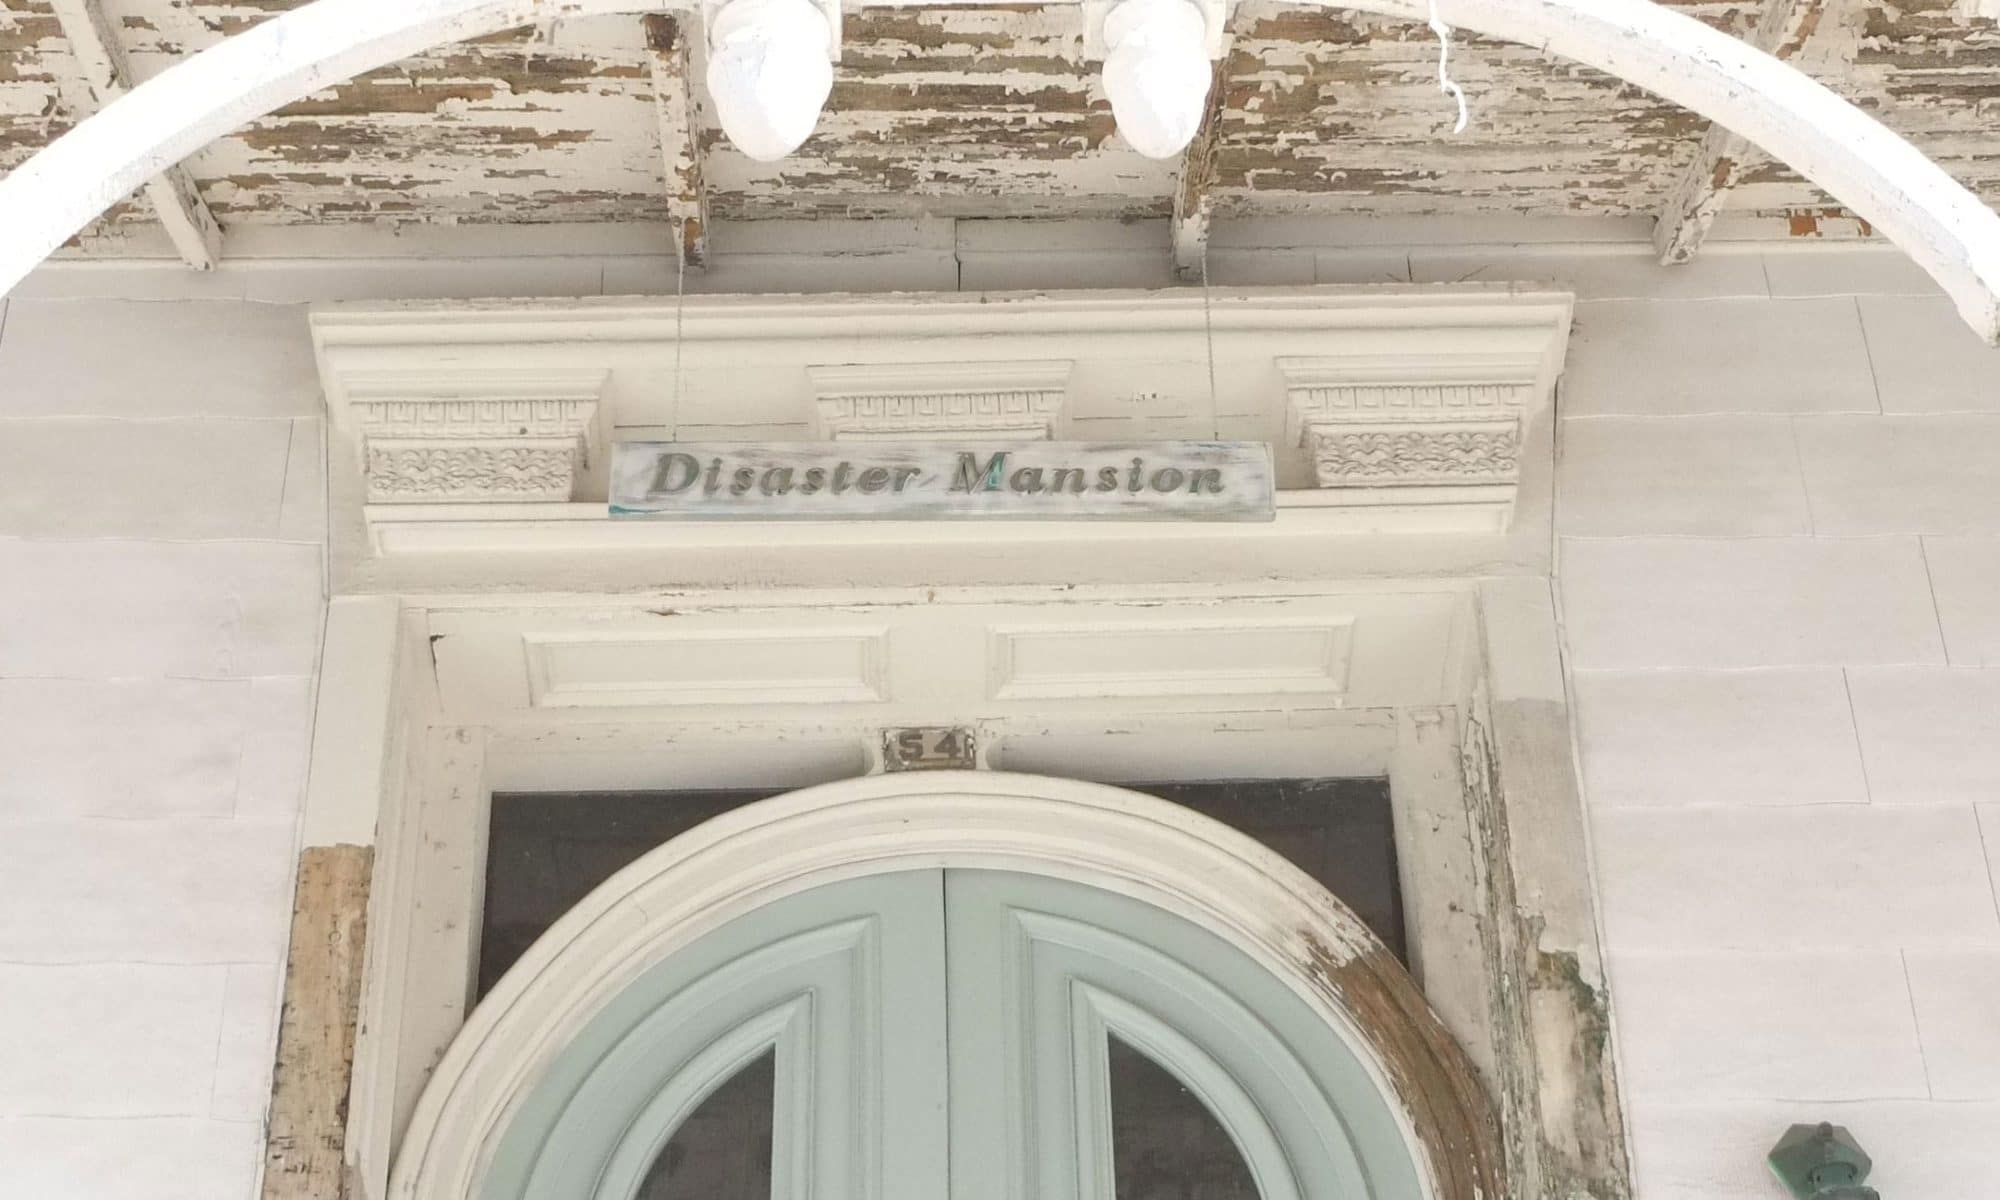
As you can see the outside is a bit of mess. We will be preserving our “Disaster Mansion” plaque and will try and frame it nicely in lime, but for now we’ll just cover it with plastic. Our first attempt at parging the front was last weekend but we didn’t get far as the air compressor we had wasn’t up to the task, but luckily we found a second hand, Honda powered petrol/gas, one for sale from a nice chap around the corner, however, this one in turn broke down after a few hours but that’s another story.


As you can see we first had to remove the cement plastering from the old lime wall. We did tell our old contractor to leave this wall alone, but did they listen, no, so not only did we have to pay for it, we had to spend our time and energy removing it. Fun times. As you can see the wall is a bit rough beneath the concrete but the parging will fix all of that.
By the way, the reason I’m drilling and grinding the wall was becuase it wasn’t flat (+/- 4″) and the membrane we install as part of the foundation drain is pretty rigid so best suited to a flatter surface. The black pipe by the way is connected to our down pipe from the roof.
We need to leave this first coat to cure for a week before applying a second coat, but fast forward a couple of weeks a second coat was applied and I tried to get it as smooth as possible, which isn’t that smooth. Too busy to spend the time learning to plaster so I cheated by going over it with a grinder and random orbital sander with a diamond pad and it comes out great, smooth but not flat to give that “Ye Olde” look, which was all the rage at the time, probably… First pic is my best plastering, second after a bit of elbow grease.


Apologies for the lack of posts, this year has been tough at my day job, new masters, which pretty much sums it up.


