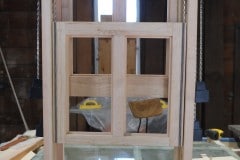
Finally finished (ish) with out test sash window. It took a while but was worth making as we made quite a few mistakes and learnt a lot in the process. I won’t bore you with all the details so here are the basics.
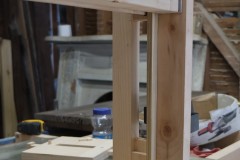
First step was the windows bucks, these frames hold the windows and typically would be installed in a masonry wall. In a wooden structure the framing would form the window bucks. Note the tapered window sill, did we need it, not sure. The bucks, window frames and sashes were all assembled using my Dowelmax.
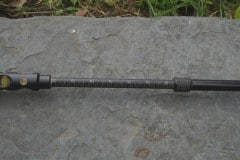
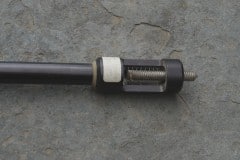
The magnetic sash pockets worked out well and I hope future occupants of the house will appreciate them. In time I’ll probably write a maintenance manual for the house, how to take care of various aspects of it etc.
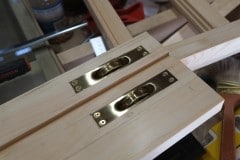
I was quite pleased with the pulley installation. For this I made an adjustable jig which cut both the initial recess so the pulley plate was flush as well as the through cut which the pulley wheel passes through. I used a trim router with bottom bearings and after some minor chisel work to clear the corners everything fitted great.
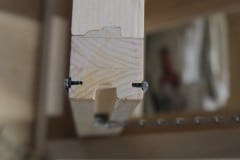
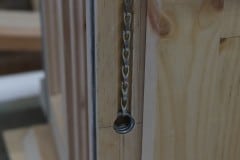
We also added weather stripping to our sashes which will cut down on drafts. I’ll also design these windows to take external storm windows which will be a big help in keeping in the heat during our cold winters. We used a pile weather strip on the side as this can withstand friction while at the bottom and top we’ll opt for tube-seal weather stripping. The weights are attached via chains, and are held to the sashes via spiral springs. If we were using cord then you’d tie a not in the cord and insert that into the hole.
There are a few more things I need to do such as installing it into the window buck, added trim so the sashes don’t fall out and we may even glaze them for practice. Hopefully we can start making the real windows soon.
Quality control of the windows was done by Aimee whilst humming a modified version of the classic American folk song by Verna Hills.
Sashes of the window go up and down
Up and down
Up and down…
I’ll get my coat…

