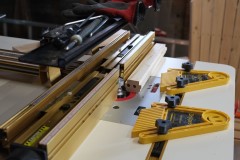
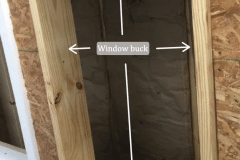
In a previous post I mentioned that we need to make a bunch of windows for the ground floor. We’ve already cut the wood for the window bucks and we’ve now started on the window sashes. For this I’m using the Infinity window sash router kit with our lovely Incra router table.
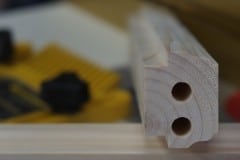
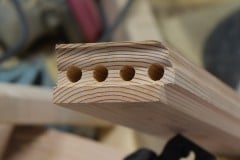
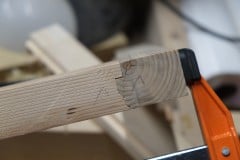
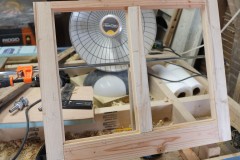
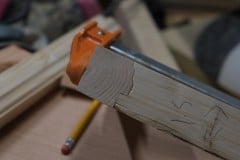
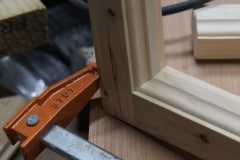
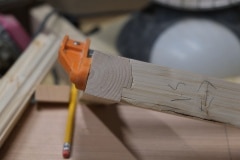
For my first attempt I made a smallish lower sash out of scrap pine. After milling to size and cutting the stock to length I used the Dowelmax to create the dowel joints. You can see in one of the photos that the dowel holes aren’t centered, this is a ‘feature’ of the Dowelmax and is really only noticeable on thin stock. By the way the Dowelmax is a lovely bit of kit, it is pricey but it will outlast me.
The traditional joint in a window sash is the mortise and tenon and this joint probably allows the pieces of the sash to move slightly when the wood changes shape due to differing weather conditions, but as we’ll be using a wood less effected by the weather this probably doesn’t matter. An added advantage to using the Dowelmax is that Aimee is comfortable using it where as the mortise and tenon would require using the table saw.
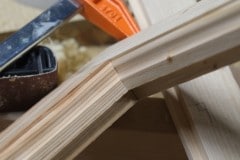
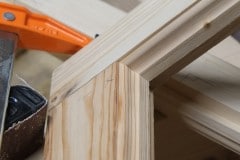
From the photos you can see that on the inside of the window the router bit cut an ogee profile and on the other side a rebate for glass and putty. As a first attempt I was pretty pleased, you can tell that the joint isn’t perfect but I’ll dial that in tomorrow.
Today I worked on getting a single sash joint near perfect and repeatable and I’m happy with how it turned. All we need to do now is to run through making the case that holds the sashes, weights and pulleys as this determines the sash size.
Throughout this work I will be relying on experts to guide us including Bob at ARC, friend Derrick and The Window Sash Bible by Steve Jordan.
