Spoke to our concrete guy, Al Riozzi (AJR Masonry), a few weeks and he said he could get the pour within a few days of us getting a pre-pour inspection. We’re over the moon with this news as the construction industry is booming in the Hudson valley due to an influx of people from New York city and a lot of contractors are booked up till next year, plus prices have gone way up due to the bad state of the supply chain.
Concrete needs a temperature of 50° or above to cure properly and if you don’t hit this range for 24 hours then the concrete looses a substantial amount of strength, hence why we are anxious to get it done before winter. Al seemed pretty impressed with our prep work and semi-seriously asked us if we wanted to do some more prep work for him, nice of him to say that.
The concrete I had to remove from the footing probably took me about 30 hours in total (over a few weekends and many evening) and I’m really glad that is over. In total I removed about 5″ from the top of the footing. These were additional footings that I added and they were at least 18″ deep so even with the 5″ removed there is a still a substantial amount left. Lesson learnt.
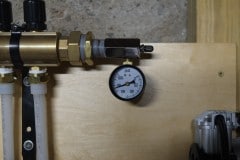
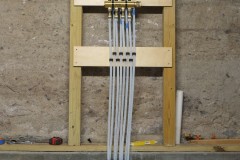
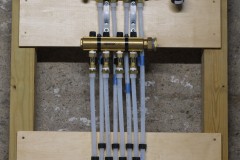
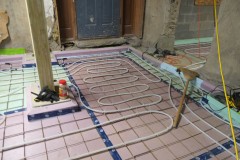
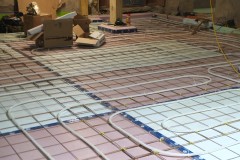
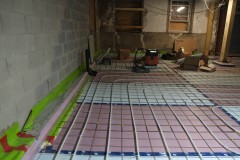
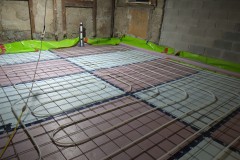
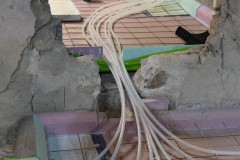
We are now at the point of laying down our pex tubing for the radiant heating. We have most of the parts and have worked out the layout of the loops will go. It was great talking to our friend John Paul who suggested that we just have one zone for the ground floor. Zones allow you to customize your heating, for example you may want your bathroom warmer to drive away condensation, while you may want your bedroom cooler. John Paul said that as the ground floor is so small zoning wouldn’t be that useful, hence we have one zone which will consist of four loops (bedroom, bathroom and two for the main room). In addition the manifold (used to connect all the tubes in the slab to a hot water supply) will have balance valves so we can achieve the effect of zones by tweaking these if we need to.
We went with the Uponor brand (they have great Youtube videos and have been in the business since the beginning of PEX) for our supplies . Incidentally, John Paul, went with Uponor for his new house and if it’s good enough for John Paul it’s good enough for us. The nice thing about the Uponor tubing (Pex type A) is that if you kink it by bending it too much then you can remove the kink with a heat gun and the pex is as good as new and we did kink it twice.
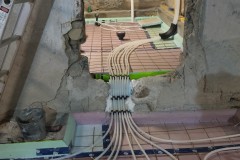
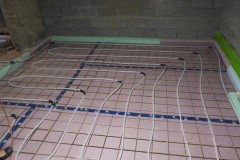
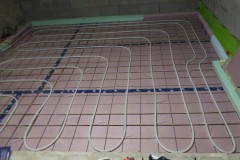
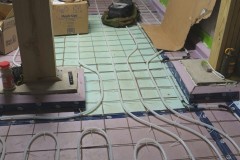
We weren’t happy with the pex layout in the bedroom so re-did, didn’t take long, an hour max. See before and after pictures below.
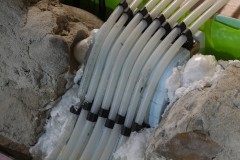
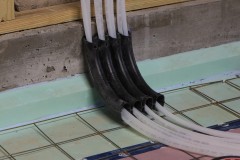
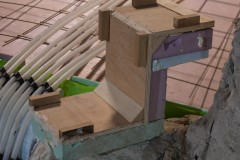
Next steps is to sort out the pex as it transitions up 10″ into the boiler room. That’s going to take some thought to do it nicely as it needs to be hidden after the pour, plus insulated. After that we can start working assembling and attaching the pex to the manifold and pressure test the system.
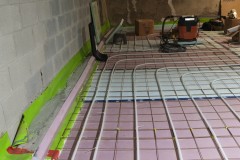
You’ll note that in cold areas (exterior walls and the front door) the pex spacing is halved to give those regions a bit more warmth. I think we used over a 1000 zip ties to attach the pex to the rebar mesh, which will all get cut back so they don’t stick out of the concrete.
