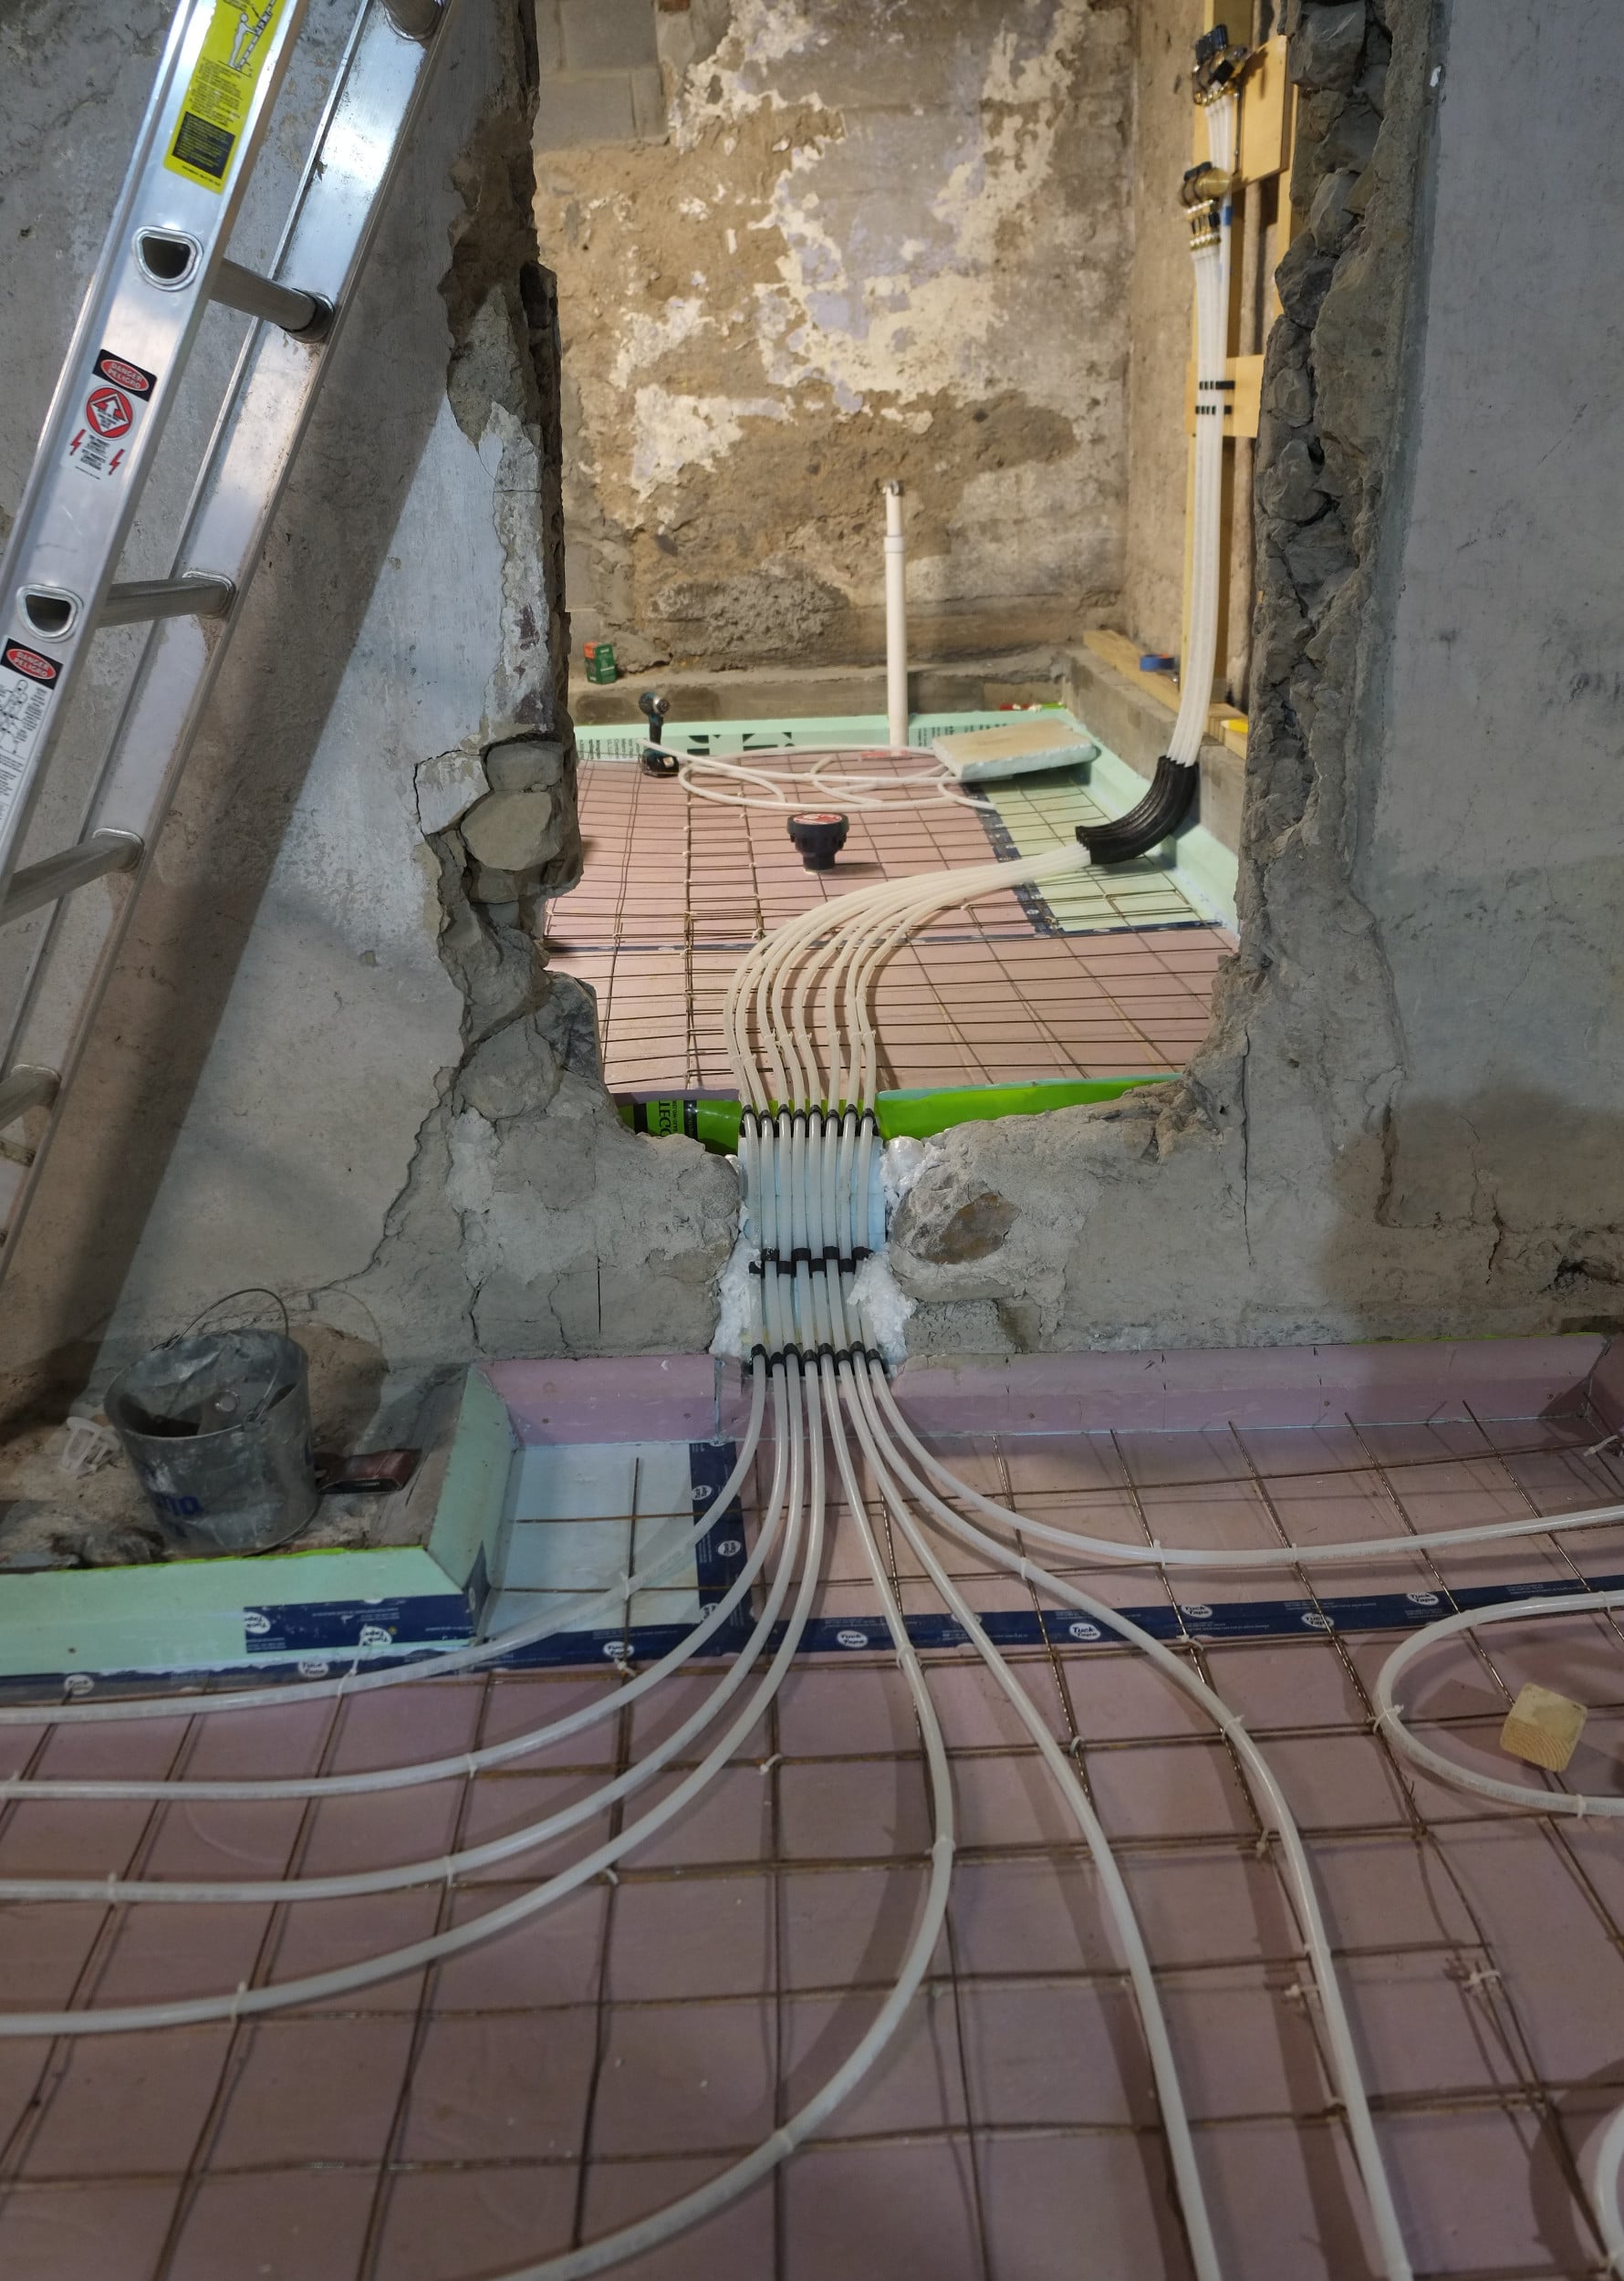
Glad to say that the radiant heating pex has finally been completed and connected to the manifold. I was hoping to pressure test the system this evening but our inflator only has a cigarette style power input.
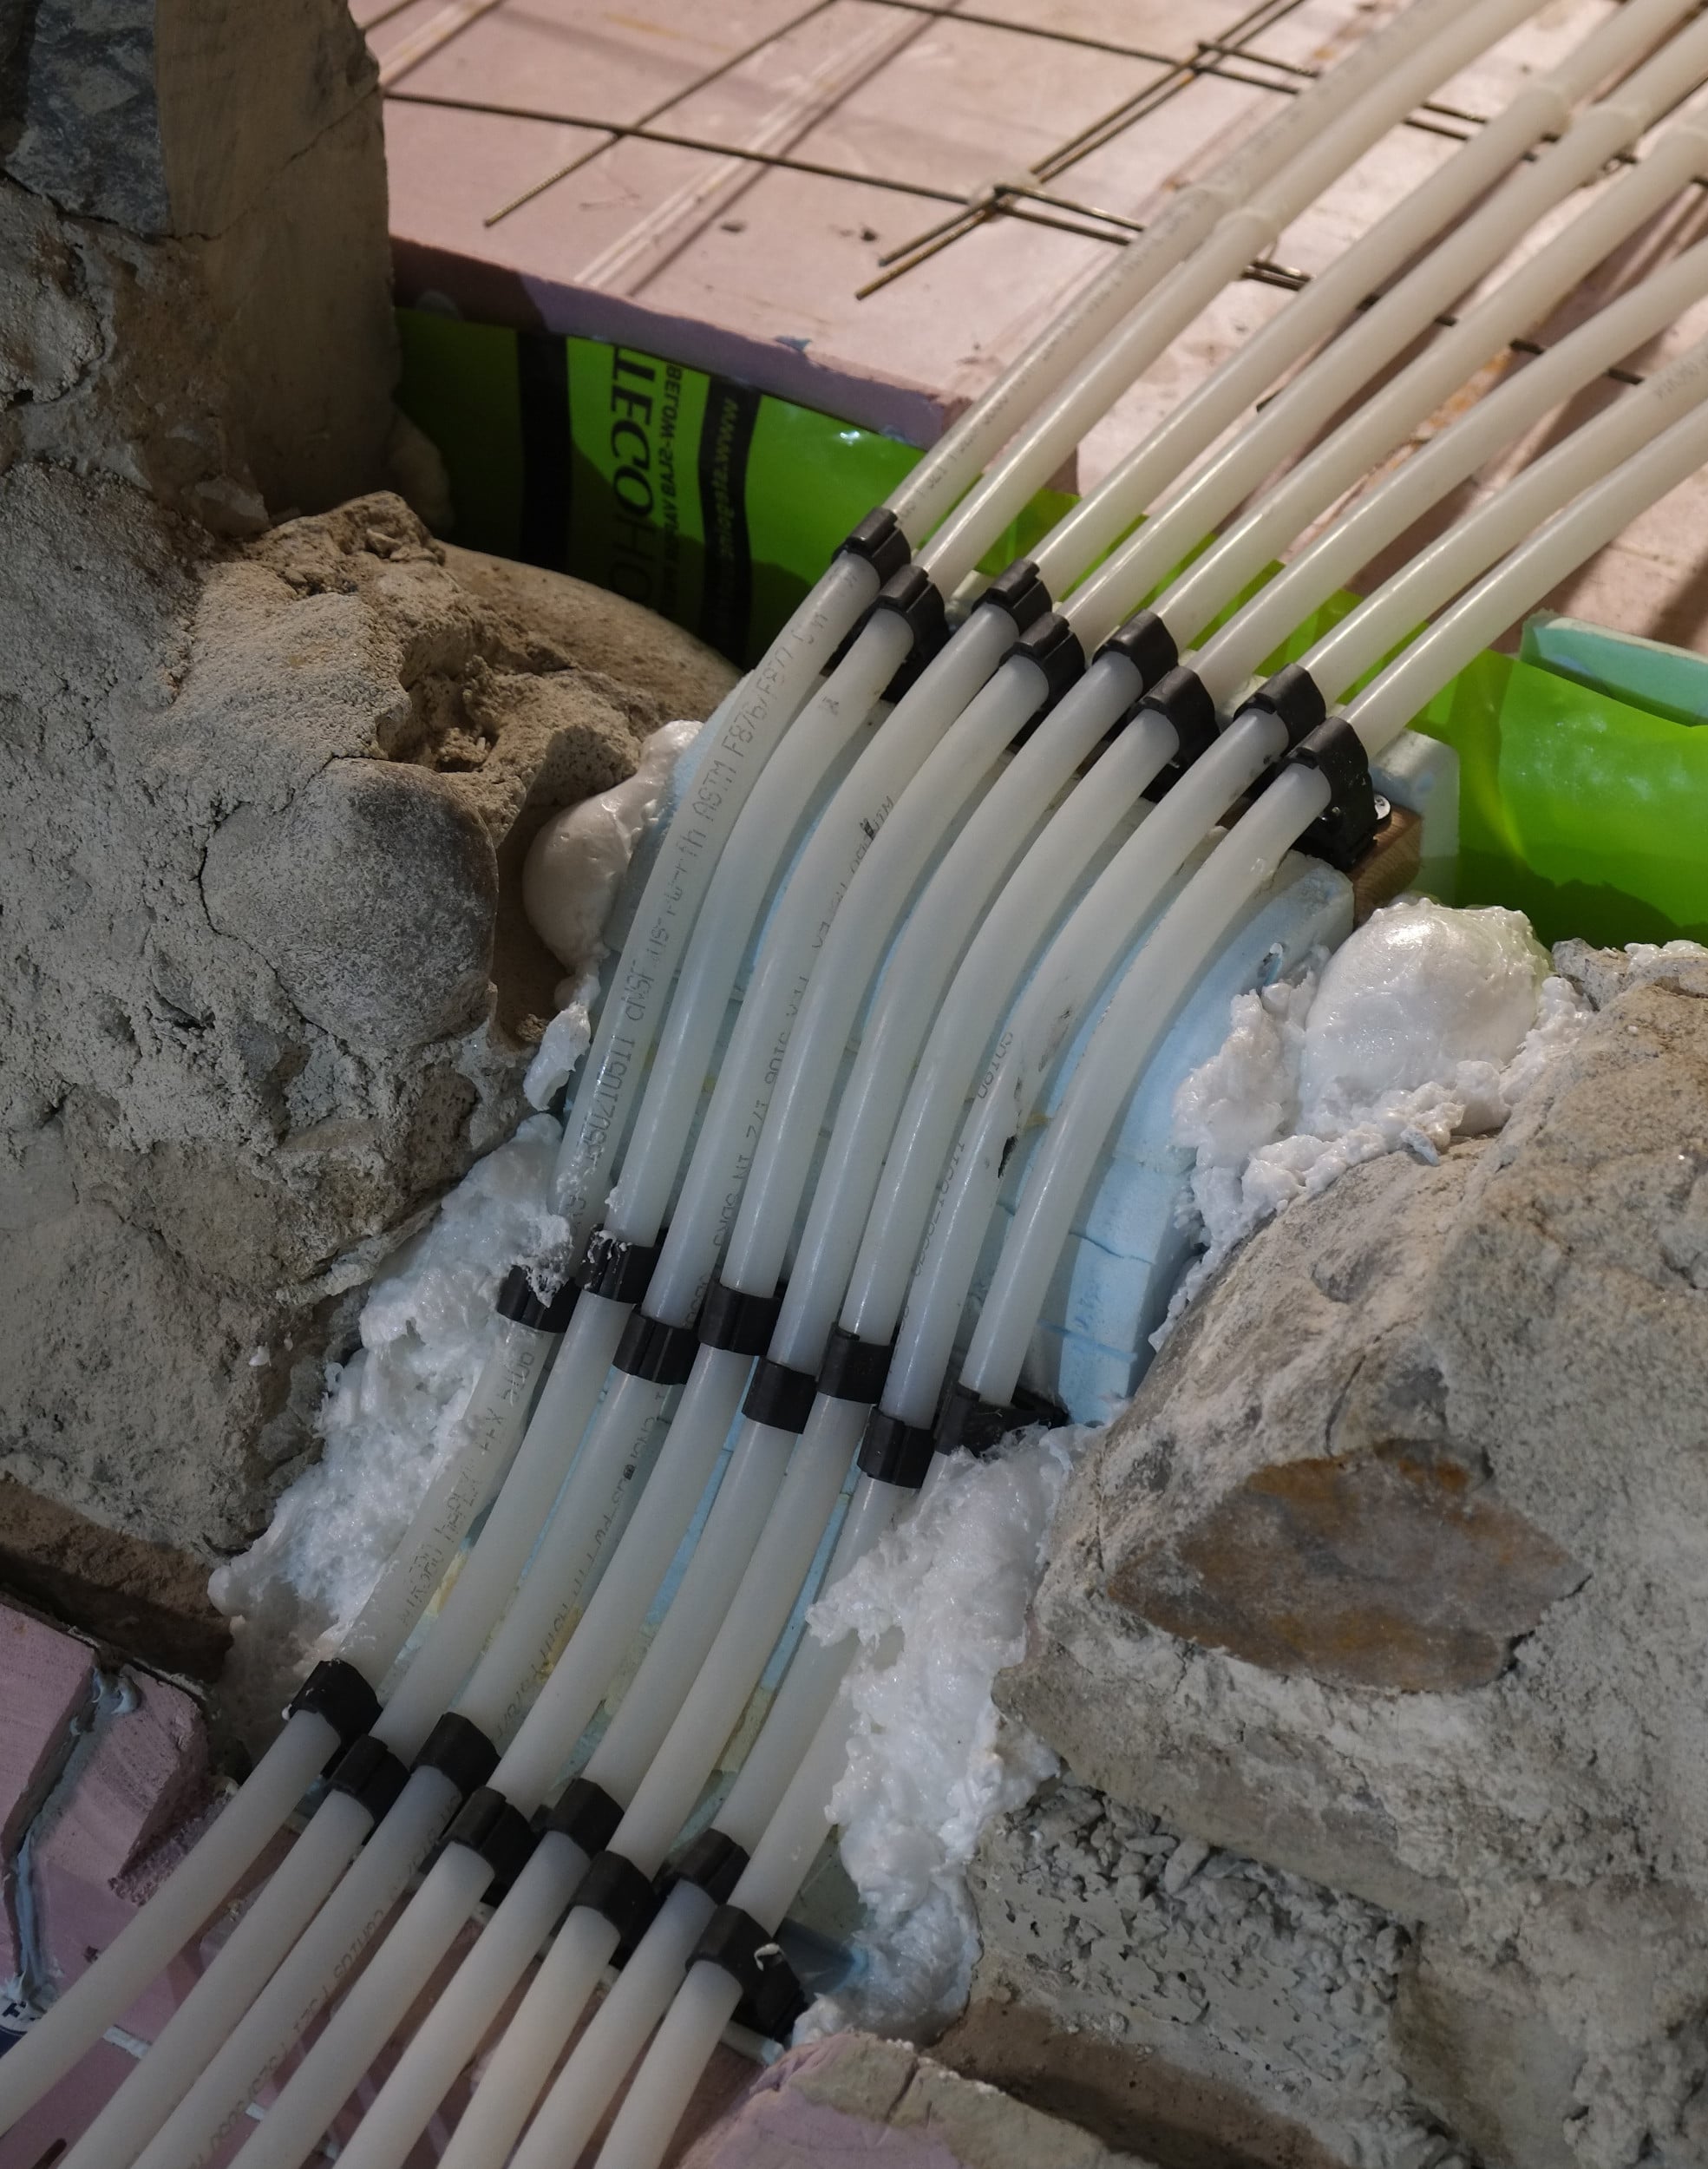
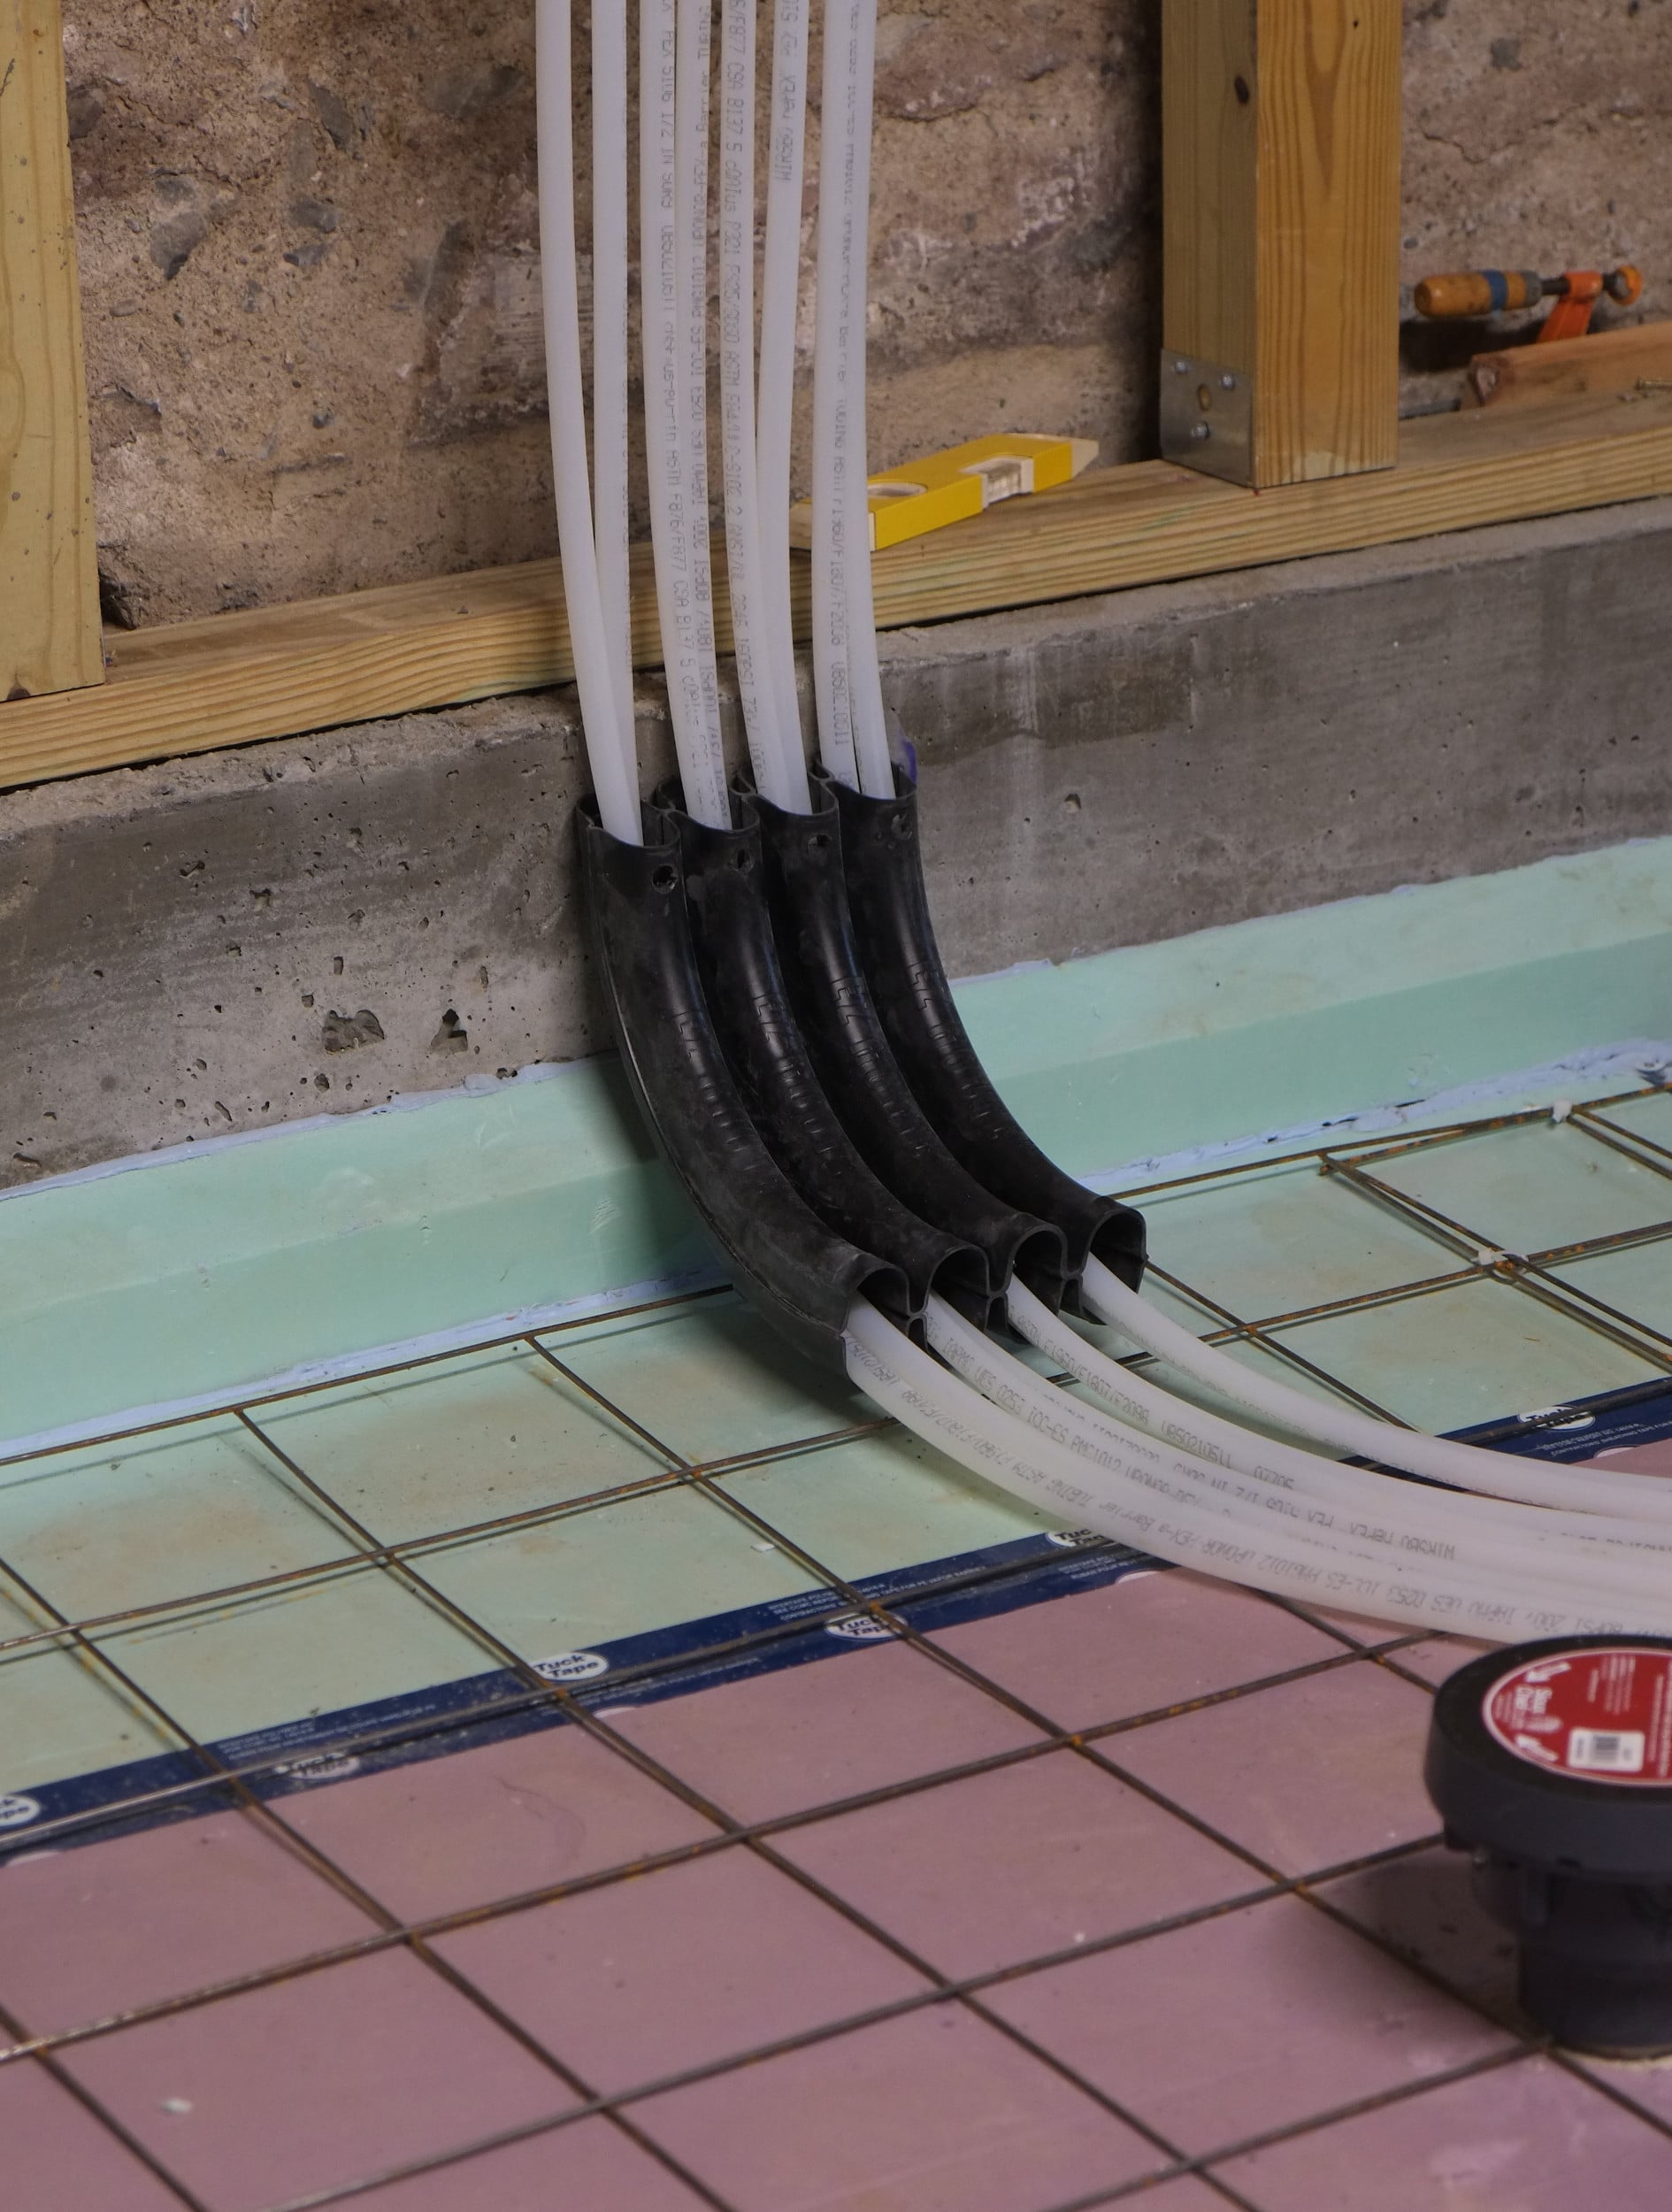
What took us so long was the transition from the main room into the boiler room which is about 12″ higher. The pipes have to be concealed in the 12″ wall as well as being insulated so they don’t loose heat to the ground. I’ve been trying to work how to do this for ages and my first solution (last image) was a plywood step with insulation below it. That didn’t work as it exceeded the bend radius of the pex and it was kinking. Kinks are not good as it restricts the flow of water, however, a great advantage of PEX A is that you can restore the pex to its original shape with a heat gun. That saved my bacon a couple of times and you can see a demo below.
Second attempt at a step was a success, similar plywood step, but this one had the foam insulation glued to the top so I could carve it into a slow “S”. I also added three rows some great pex clips to hold the tubing in place and they worked a treat. I filled up some of the gaps with expanding foam and in the next couple of days I will concrete this up. All in all I’m pretty pleased with how this went.
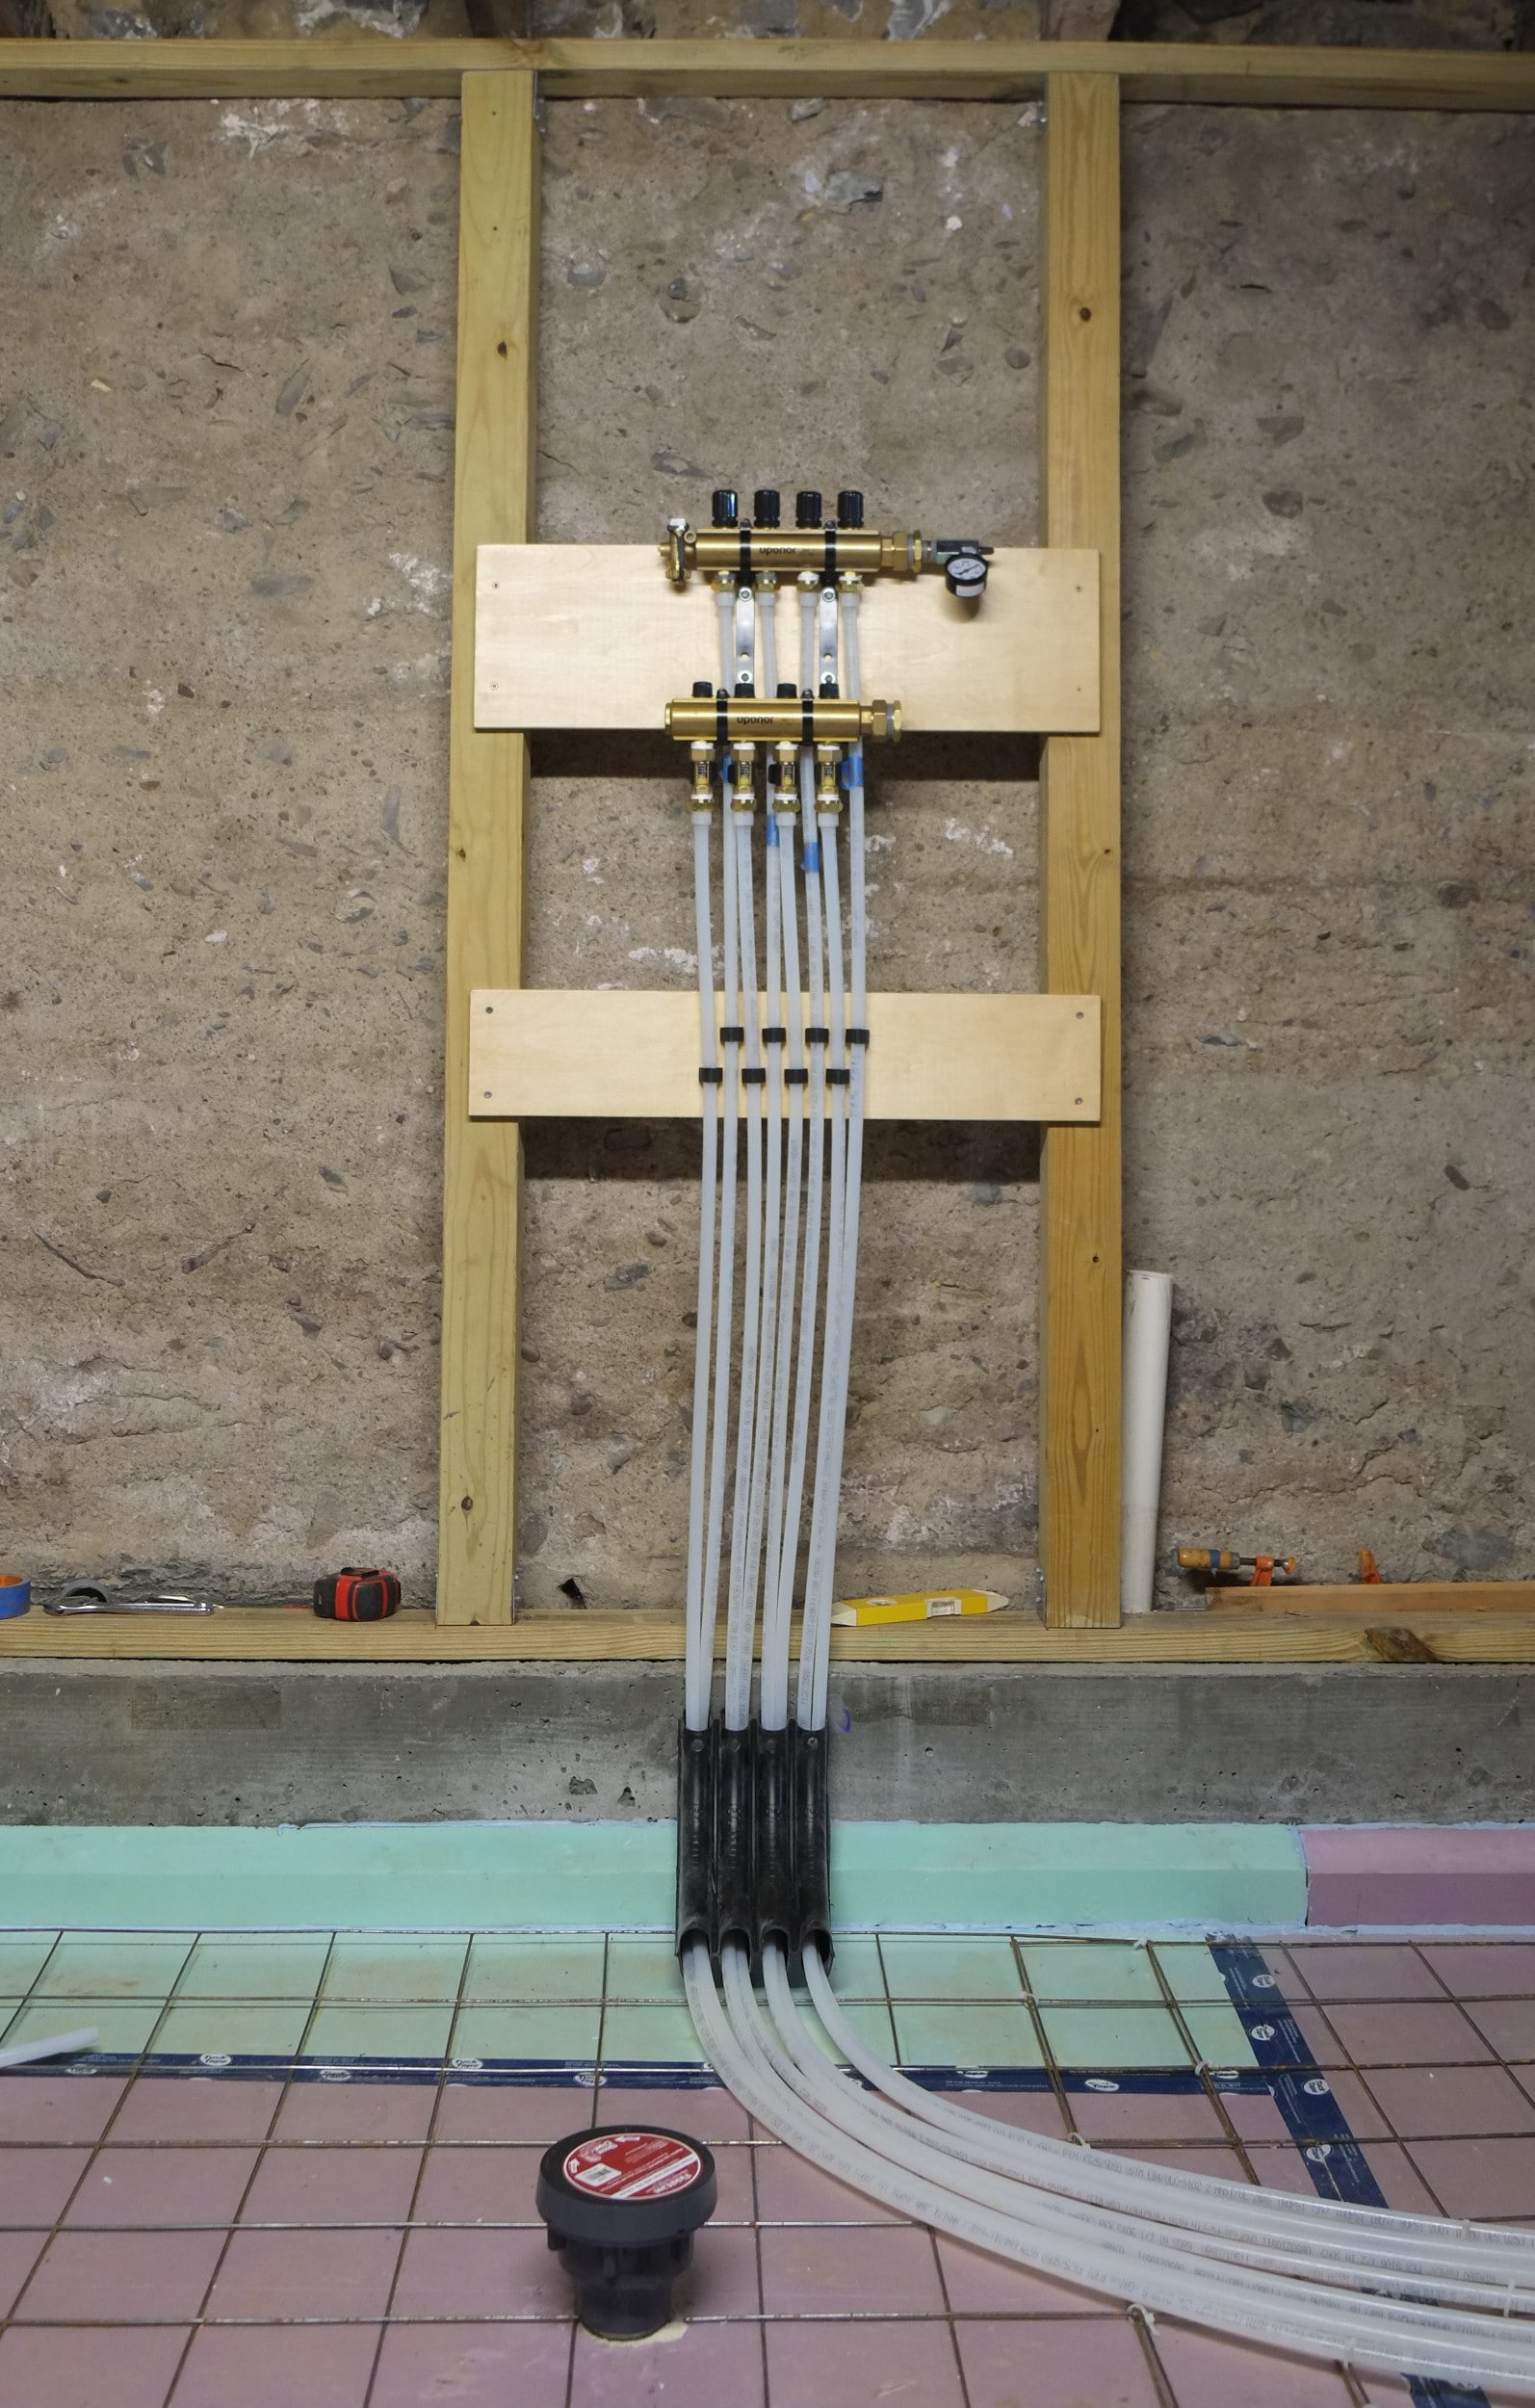
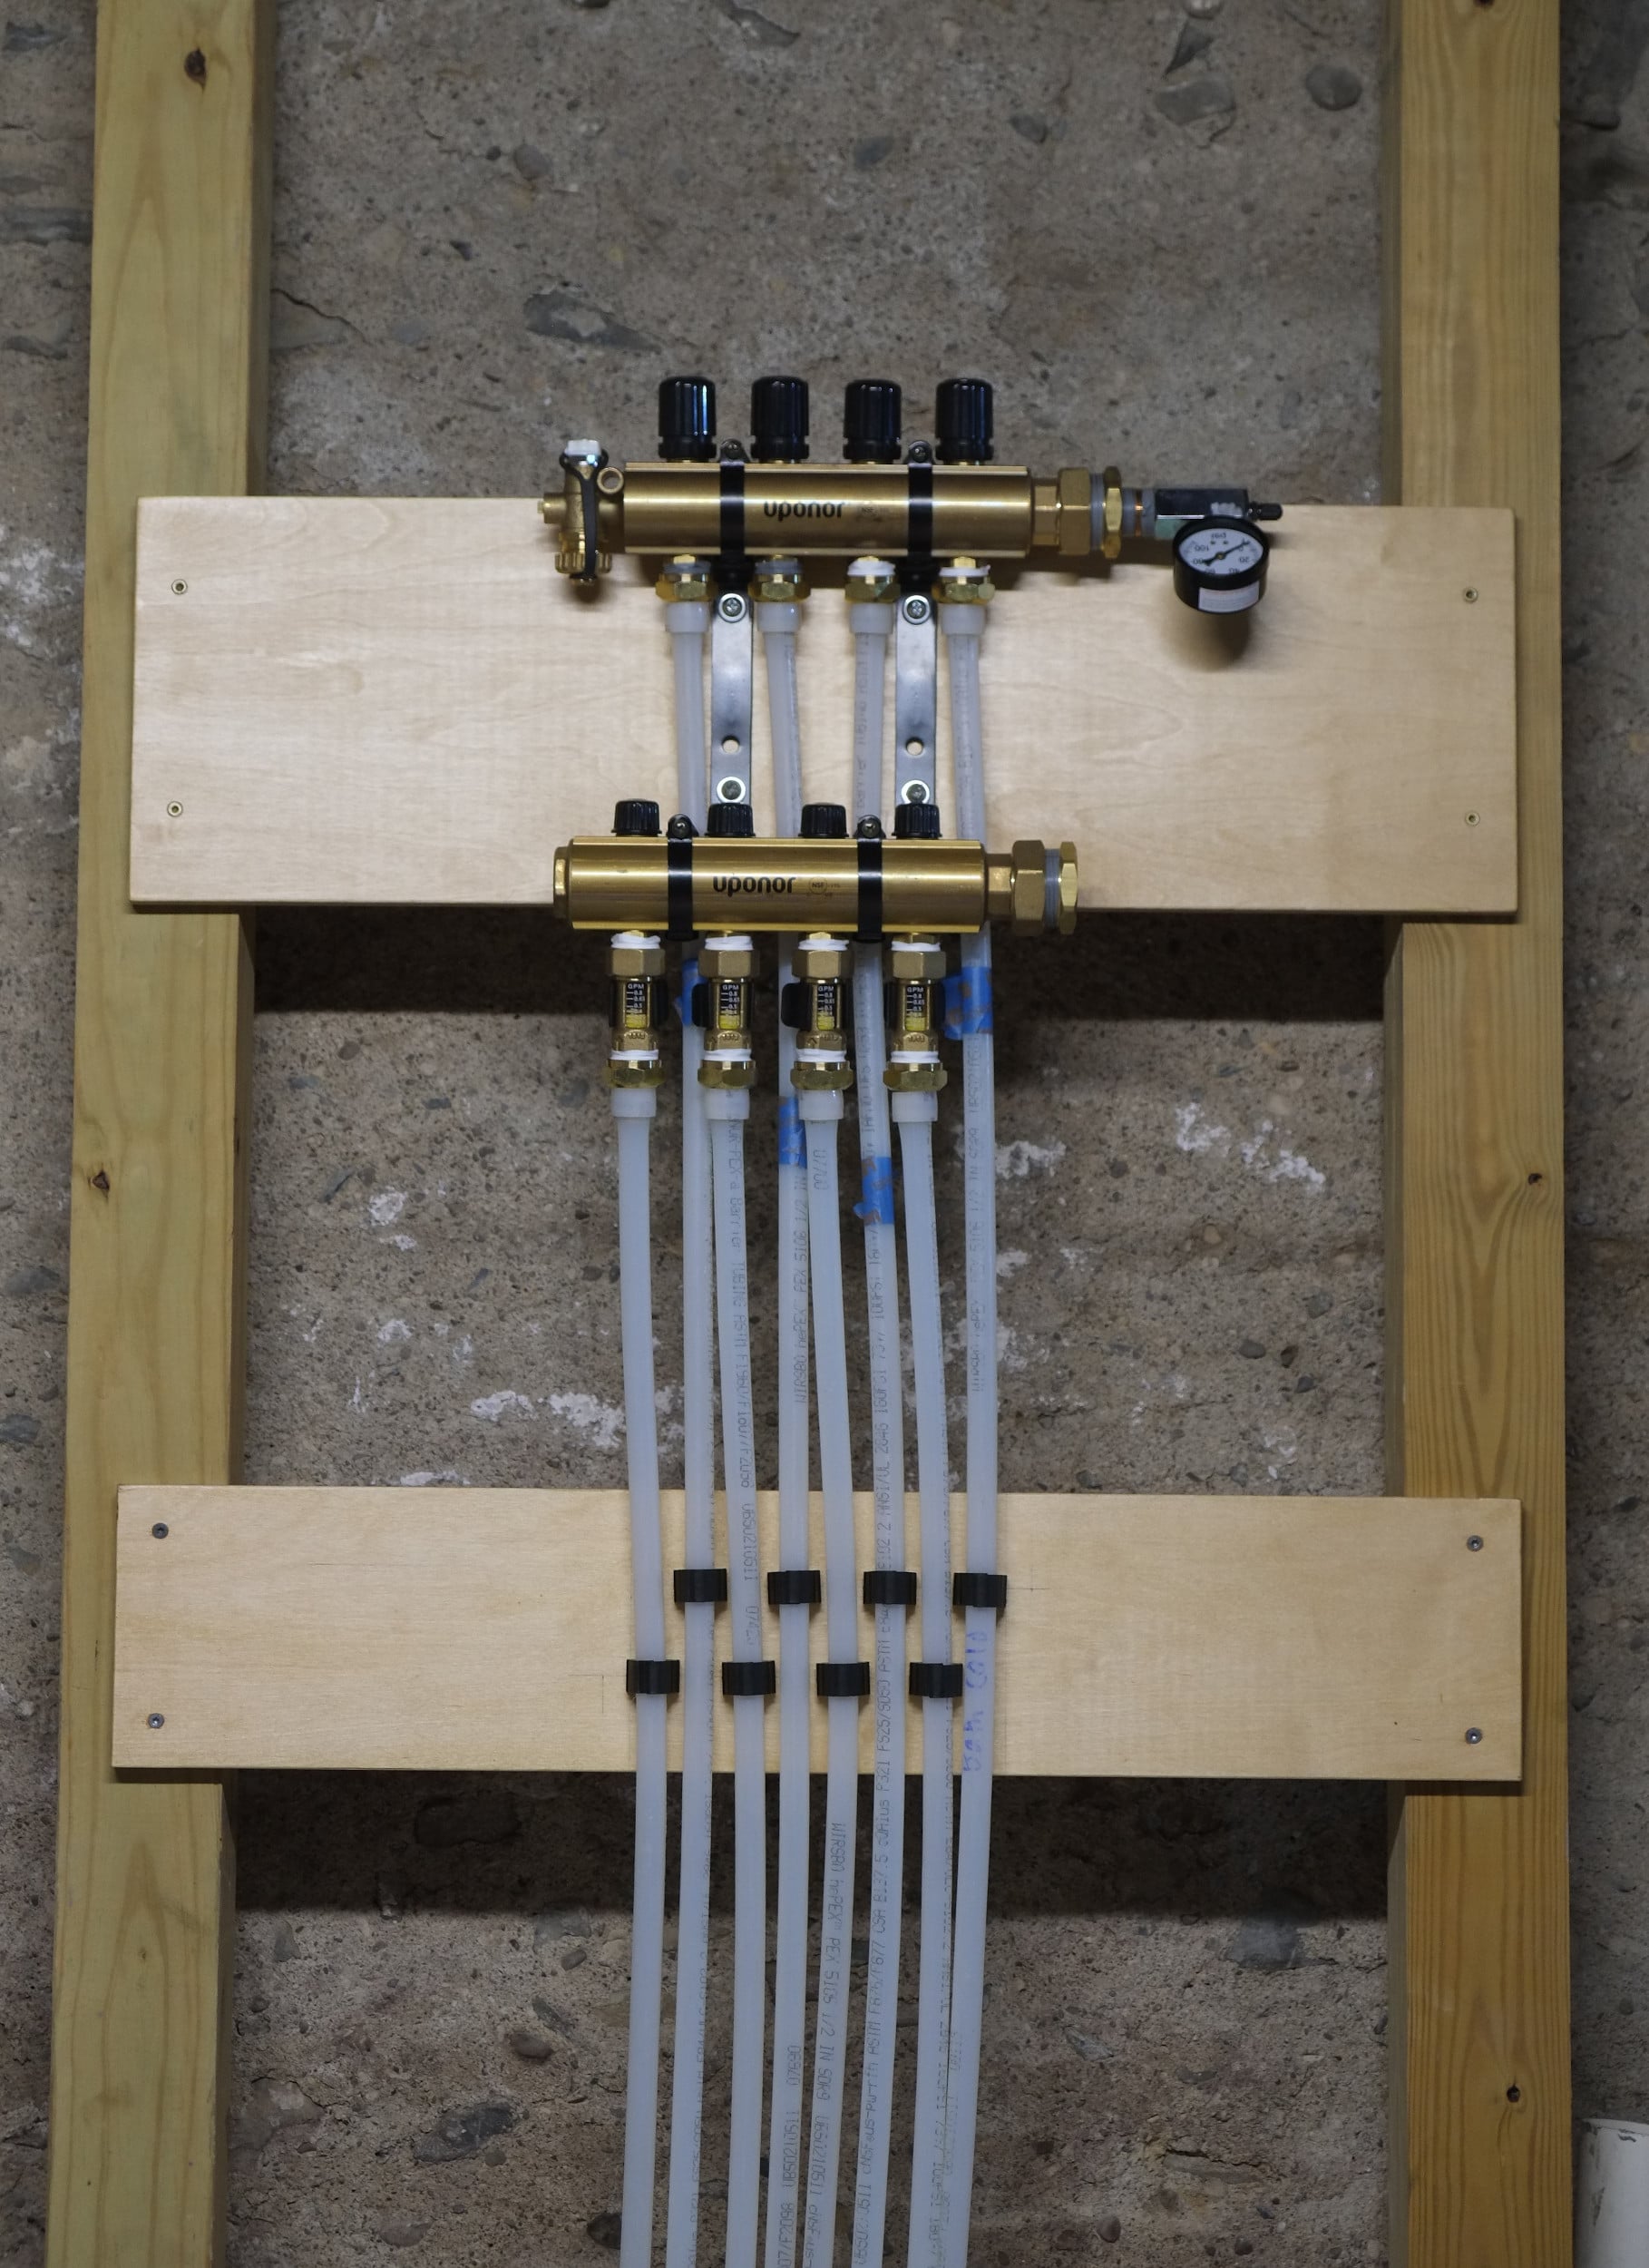

To connect the pex to the manifold you have to use a special and expensive tool (about $600) which expands the pex. Luckily our friend John Paul lent us his. It’s pretty cool how it works and I recommend this video.
Tomorrow I will try and pressure test the system and if that is a success then we can get an inspection from the local building department.
It’s a real shame my parents and Aimee’s Dad aren’t still with us as I think they would have got a thrill from all of this.
Brilliant yet again and those final words are so true but they can see!
Thanks Chris and I like to think that they can see 🙂