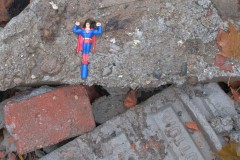
Superman breaks free from captivity

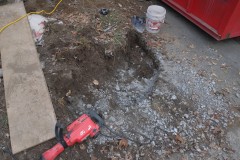
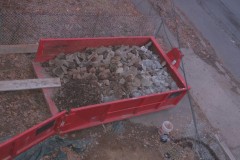
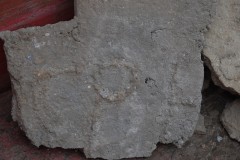
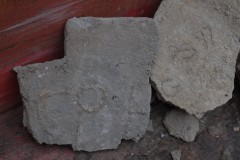
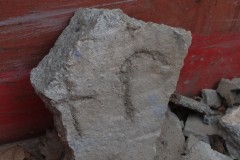
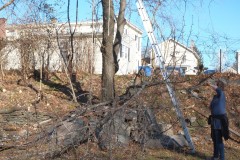
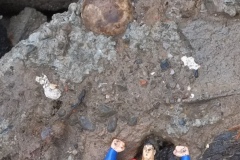
I found him while I was jack hammering up the hearth of the chimney we recently removed. I’ll probably chisel him out completely from the concrete tomorrow. There’s also a small ball which you can see in the last photo. I wonder how many decades he’d been trapped?

Note “Hutton” in reverse, this was the local brickyard for which Ponckhockie residents provided a lot of the workforce.

So if you’ve ever wondered where some of your favourite childhood toys went, your parents buried them under a concrete slab, probably …

Lawn gets its first cut

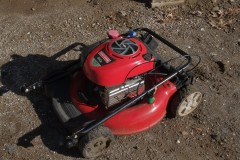
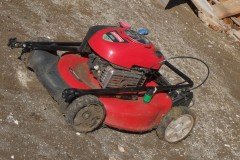
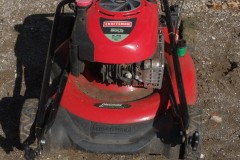
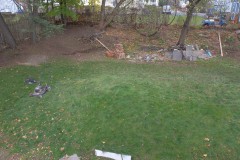
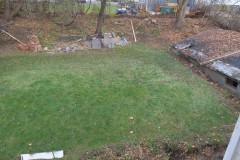
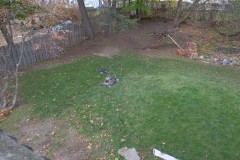
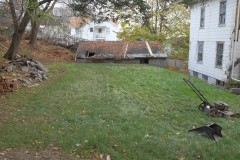
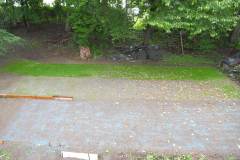
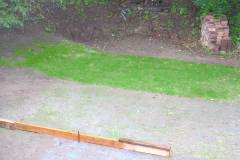
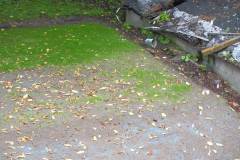
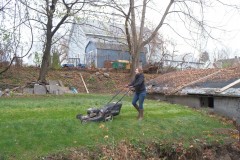
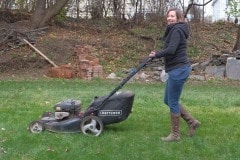
Managed to get the grass cut before winter sets in – we expect snow tomorrow. We borrowed the mower from our great neighbours Justin and Laurie. It should have been cut earlier and next year we’ll do a better job especially as one of Aimee’s friends is going to give us an old mower.

Over the following months I’ll trim back some of the tree limbs overhanging the grass so the lawn will get a bit more light and in the spring we’ll add a bit more grass seed as the lawn is still a little patchy.

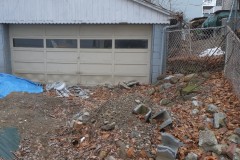
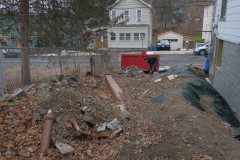
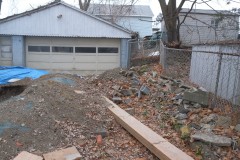
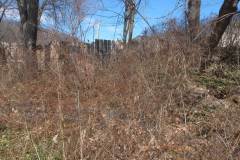
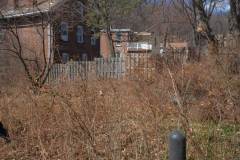
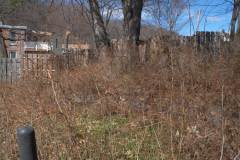
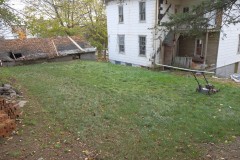
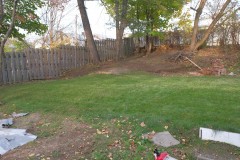
It’s nice to see at least one thing looking decent at DM. The last picture is how we found the garden when we bought the house.

P.S. It did snow in the night.

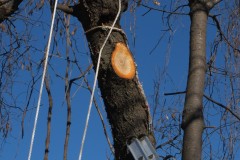
Tree stump removal

It wasn’t a huge stump, the tree was probably forty foot high, but all tree stumps are a pain to remove. I remember working on removing tree stumps from two hundred year old oaks at my parents and that was an ordeal. It took weeks, digging a trench around the stumps, deeper and deeper, cutting the thick roots with axes until you could get a hand cranked chain winch to pull the bugger out. This wasn’t a weekend event, rather a multiple weekend event. Compared to those old stumps this was an easy one.

That said I’m not as young as I used to be and in the heat and humidity it was a pain getting it out, luckily it was on a slope so one side of it’s roots were easy to get to. We wanted this stump out as we want to put French drains down the side of this wall, plus the roots were coming into the basement.

We had a small fire tonight and started on burning the roots and stump 🙂

New lawn

We finally have a lawn. It doesn’t look much yet as we still have new grass growing but at least it’s no longer an impenetrable mass (see last handful of photos). We still need to work on the lower section which will require weeding, digging, tilling, getting the correct gradient and then sowing. We may start some of this over the next couple of months or failing that we try and get it done early spring. In the meantime we’ll probably just cover it in plastic sheet to kill the weeds.

Still need to buy a mower and debating whether to go petrol (which I’m used to) or electric. In the meantime we may see if our kind neighbours will lend us theirs.

Grass three weeks on

It’s now been three weeks since we planted the first band of grass and it’s coming on nicely and the second band is also showing signs of life as well. We’ve been very lucky with the weather and the rain looks like it will continue into next week. Luckily it looks like we’ll have good weather for Aimee’s birthday bbq this Saturday 🙂

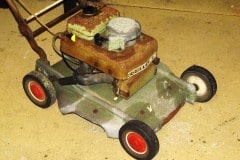
We’ll soon be looking for a mower, probably get a Honda, either one that collects the grass like this or one where you have to rake it up like this. Raking up grass is a bit of a pain but I like the simplicity and it reminds me of my Dad’s old Victa mower (looks not to unlike the mower pictured below) which incidentally is now under the stewardship of my friend Martin Winchester in Dinas and is still going strong after 50 plus years.

New Grass Cometh

At last we have some new grass!!! We didn’t mange to get a hose from our neighbours yet but we we’ve been lucky with wet weather which looks like continuing.

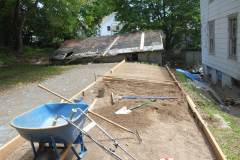
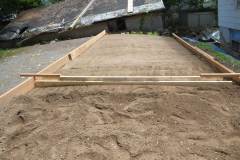
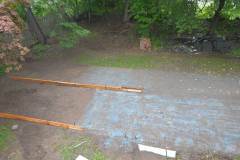
We managed three strips, though in pictures three and four it looks like the guide rail to the left is rising up at the end. Next time I’ll tie a line between the two ends to check. This can always be corrected at a later date. 

The third segment slopes down towards the house and you can see from picture five that I made a new form for this section which has a curve to it. At some point this will be supported near the house by some sort of wall but we haven’t worked that out yet.
The section at the back was planted two weekends ago, next section last weekend and the closest yesterday. There is still work to be done at the upper left of the garden but is was raining today (Sunday) so we worked in doors.

I think my dad would have been quite pleased with how we did 🙂

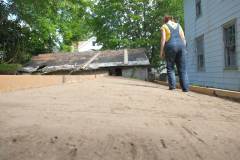
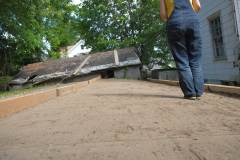
In pictures three and four Aimee is doing a penguin walk over the area before seeding which helps to compact the loose soil. By the way the landscaping rake (the blue one) is very useful for putting down new lawns.

You reap what you sow and water

Last weekend we dug, tilled and raked the soil but then got frustrated working out the levels. This time we made a decent leveling gig which spanned a good portion of the garden. The first strip was quite a bit of hard work as it required a fare amount of soil to be shifted but the second strip proved to be a lot easier. We did manage to sow grass seed on the first strip and we used a combination of Scott’s Kentucky bluegrass and Perennial ryegrass. That added up to a total of 14 lbs of grass seed which does seem a lot, however we followed this lawn sowing video and I think visually we got the same spread of seeds. We also applied some lawn fertilizer in the process. By the way the grass seed is blue in colour and I have no idea why.

We didn’t sow the second strip as we had run out of grass seed and also the light was failing. We also need to go back next week and grade the bank to the left and the section by the garage before we sow.

We timed packing up our gear on Sunday pretty well as the sky opened as we were putting away the last tools. If you read our last post you’ll know that we don’t have any running water and that means we can’t water the seeds so we are hoping that we will get enough rain for them to germinate. We are also hoping that one of our neighbours will let us run a hose from their house, so fingers crossed on that weather/neighbour front.

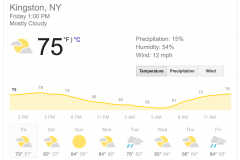
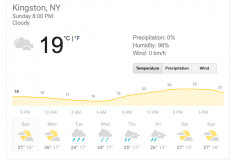
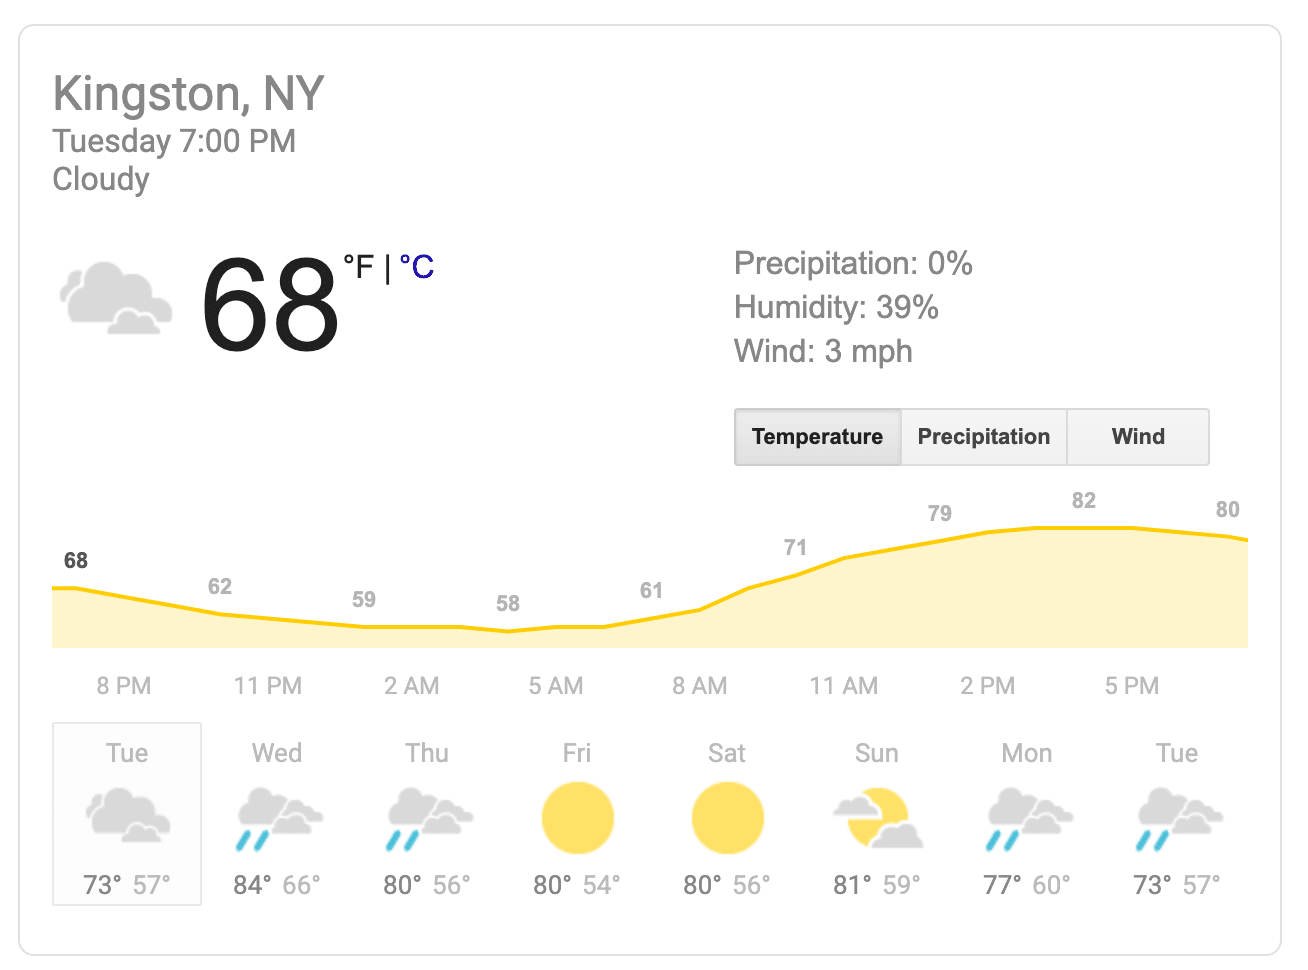
This is the current weather forecast for the week.

Rain on Wednesday, Thursday and the following Monday and Tuesday.

Lawn preparation. 8th – 9th June, 2019

Lawn preparation. 23rd June, 2019

Lawn preparation

Out of the many, many things that need to be done on house and garden we decided that we would try to put part of the garden to grass. Main reason for this is that we don’t want to have to weed it a third time and we were also planning a Disaster Mansion party for Aimee’s birthday in June (anyone reading this is invited †) so we thought it might be nice to get the garden looking a bit better. Alas the grass won’t be ready by then, but at least it won’t be some huge mass of weeds.

We plan to do the lawn in two parts, the first will be the flatish area at the back and the second will be the sloping side area.

It’s not the best time to sow a lawn, but we’ll have to make do, also we don’t have any running water in the house so watering it will be either an act of God (i.e. it rains lightly every day) or we’ll see if one of our adjacent neighbours will lend us a hose and water. I’m hoping a neighbour can help us out as we have already forked out $90 on grass seed and fertilizer and it would be a shame if it came to nothing.

I had laid lawns from scratch at my parents house years ago so it took me a while to remember what to do. The rough steps that we will take are:

  • Weed the entire area to be grassed.
  • Dig over the area by hand.
  • Till the area.
  • Rake over the area to start to get an idea of grading.
  • Decide on the levels and set up some level lines.
  • Make a leveling jig and get to work leveling.
  • Penguin walk over all the leveled soil, rake lightly to remove foot prints.
  • Sow seed and rake lightly again.
  • Water regularly.

Each of the above steps is also accompanied by, removing old roots and stones as you go along and we have lots of stones and roots.

A few weeks ago we placed one of our old roof tarps over a patch of garden to kill the weeds. This is a great way to kill the weeds if you have the time and three to four weeks later the tarp was removed and everything was dead. We dug that patch last weekend which took us pretty much both Saturday and Sunday, albeit having a latish start on both days.

We didn’t have time to tarp the rest of the garden so we used our Dragon weed torch which is basically a small propane flame thrower. It seemed to do the trick and I did keep my eye out for poison ivy, which incidentally seems to have been pretty much eradicated from our garden :-).

Next was the tilling and a tiller is such a great piece of garden equipment and within a few minutes, hand dug soil becomes beautiful loose soil. My Dad had a Mantis tiller which was a real trooper, light weight, easy to handle and start so we picked up one on Craigslist last year for a little under half price.

This past weekend was Memorial day (three day weekend) and by the end of Sunday we had weeded, dug and tilled all that we had planned. By the way the pile of bricks to the left are old Hutton bricks which are from our old chimney stack. We’re saving them for something, perhaps a fire pit.
Doesn’t freshly tilled soil look good? It even smells good!

I have to say that the work was pretty hard, lots of bending etc. and by Sunday we were feeling pretty beat. Picking up stones was my least favourite. Luckily, in addition to swimming I had started Crossfit at Aimee’s gym, Kingston Athletics and that really kicks your butt!
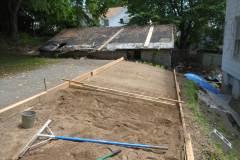
Monday came and it was time to start grading it. First off we sat for a while and looked to see what were the natural gradients of the garden, which was sloping towards the garage as well as towards the house. We faffed about trying to rake but it was hard to read level of the land, which I think was due to the surface being roughish soil and half was in shade. In the end I remembered what my dad used to do:

  • Setup some level lines (taught strings between hammered in posts).
  • Install a couple of guide rail planks (placed 10′ apart) which lay just underneath the string and are parallel to the string and themselves.
  • Drag a plank over/between the two guide planks to pull away the excess soil, giving you a pretty decent level (think of it as scraping the froth off a beer).

We started with 10′ guide planks, but it was frustrating work, the planks were really too short and the wooden stakes to hold them up kept breaking from all the hammering in. In the end we maybe did 3 sections before giving up and going to buy better supplies.

Our new guide rails will be 24′ long and possibly longer. Ideally our guide rails would span the whole width of the lawn so in two to three passes we could get that section beautifully leveled. I also bought twenty 24″ metal stakes to hold the guide planks in place. I really wanted to buy these square stakes which were US made, but shipping was over $100. Instead I ordered some round ones from the local box store, which I think are also US made.

Our plan eventually for the garden is all about having beautiful lines and gradients, something like Opus 40 but 75% lawns/flower beds and 25% stone walls and paths and maybe a hint of Lombard Street (San Francisco). We are in the early stages of the design but we hope this will be a masterpiece. Currently we are collecting ideas.

The video is a bit long. I did put a clock in the back so you could judge time passing, but it was too far away for the camera to read, next time, I’ll place it nearer.

By the way we didn’t dig up anything interesting and the only things of interest was one small plastic t-rex and elephant, two glass marbles and one old brass hose nozzle which may be useful.

We’ll continue with the lawn next weekend. Shame we didn’t manage to get the grass seed down last weekend as the weather has been pretty damp this week.

Party warnings:

  • Please do not fall:
    • through the floor
    • off the balcony
    • down a ditch
    • off the roof
  • We have no loo, but have a bucket and spade and soft loo paper

The Daffodils are out

Last week was a bit of a stressful roller coaster, but luckily things are now settling down and the house is reasonably safe.

The daffodils we planted last year with friends Colin, Tim and Lauren are now out and more are sprouting. Later this year we will plant even more and add some clumps of tulips to the mix as well.

By the way, after a long absence, the ground hog is back, I saw him last week disappear into a new hole he/she made.

A foundation wall collapses

I didn’t think it could get worse but I think it has, but we should get used to future disappointments and keep a stiff upper lip, right Winston?

This happen a while back and maybe something I didn’t want to post right away. If you can remember the portrait that our builder Thomas found, see Our last great find.

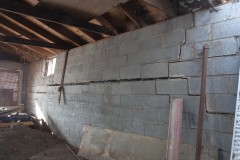
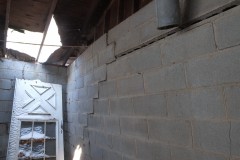
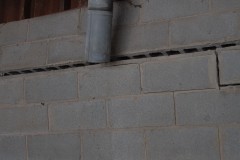
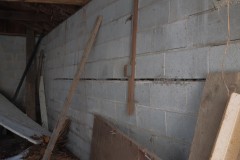
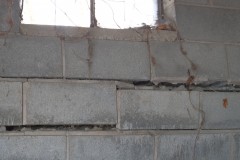
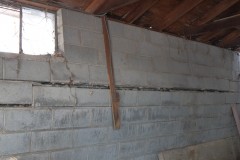
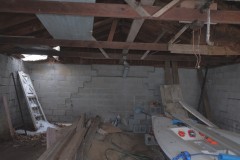
Aimee was taking  our photograph with us either side of the portrait when the wall behind collapsed. Luckily it just dropped and didn’t topple. It felt like an earthquake was happening, strange noises like rain drops hitting glass and a shower of dust from the roof. Aimee and I were a bit shocked and I think Thomas was a little too. Luckily the ceiling above had been shored up, otherwise it could have been a lot worse.

There were numerous reason it collapsed:

  • There are no footings on this house, just foundation walls.
  • This was mud room and the previous owners had removed all the soil so exposing the bottom the foundation walls and as the soil is very sandy, it tended to fall away, leaving the foundation walls unsupported in places.
  • Our groundhog had made a few tunnels under the walls.
  • Thomas and Matt had removed further soil to enable then to underpin these walls.

This gallery doesn’t really do a good job at showing all the above but hopefully it gives you a taste. Note that the bottom of the wall is where the wall ends, no footing underneath just sitting on soil and you can see that the earth is very, very sandy, in fact it’s almost sand. At one point the wall was unsupported for about 6′ with no support at all at one end. The first shot show the chimney stack.


These are the photos of the collapsed wall, luckily it didn’t topple.