Sistering the floor joists

A while back we were discussing some joist repairs I was doing with our carpenter, Andre, and he thought the original floor joists over the main span of the ground floor probably wouldn’t be up to modern building code, especially as in places the joist had been badly butchered with 3-4″ notches cut out of them.

We could have left it as it was, and building inspectors would have probably grand-fathered it in etc, but then someone, maybe Derrick, John Paul or Andre mentioned that houses now have to carry a greater load, basically because we cram in more physical stuff, just look around and imagine how sparse your place would have been a century ago. In addition people socilaised differently a century ago, what may have been a tea party for ten could now be a party for forty, anyway you get the idea. So if you’re doing a major renovation of an old house it’s probably wise to think of what loads the house was designed to bear and plan for what you expect the new loads to be.

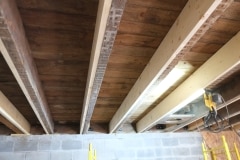
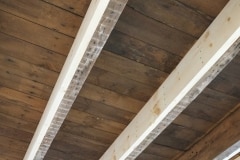
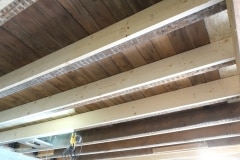
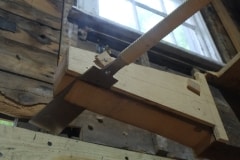
To cut a long story short Andre thought that it would be a good idea to strengthen these floor joists by adding extra wood along the whole length of them, a process known as “sistering”, why that name, I have no idea and a google search wasn’t conclusive but it does reminds me of the bill board on the show, Schitt’s Creek, “Welcome to Schitt’s Creek Where everyone fits it“. If you know, you know.

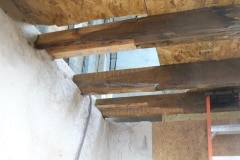
Our floor joists are about 8 – 9″ tall so Andre did a good job of cutting 2×10’s back to size, plus any necessary shimming. It does take a lot longer but now the new sistered joists are flush top and bottom with the originals. I’m pleased with the work Andre and Jerrid did, thank you. This is another job off our hands.

We really only had one shot to do this work before the electrician and plumber starts pulling wires and pipes through the joist so I’m glad we did it. This work will benefit the house and occupants for decades if not centuries. I appreciate you bringing this up Andre.
Painting the floor

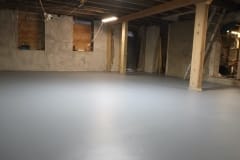
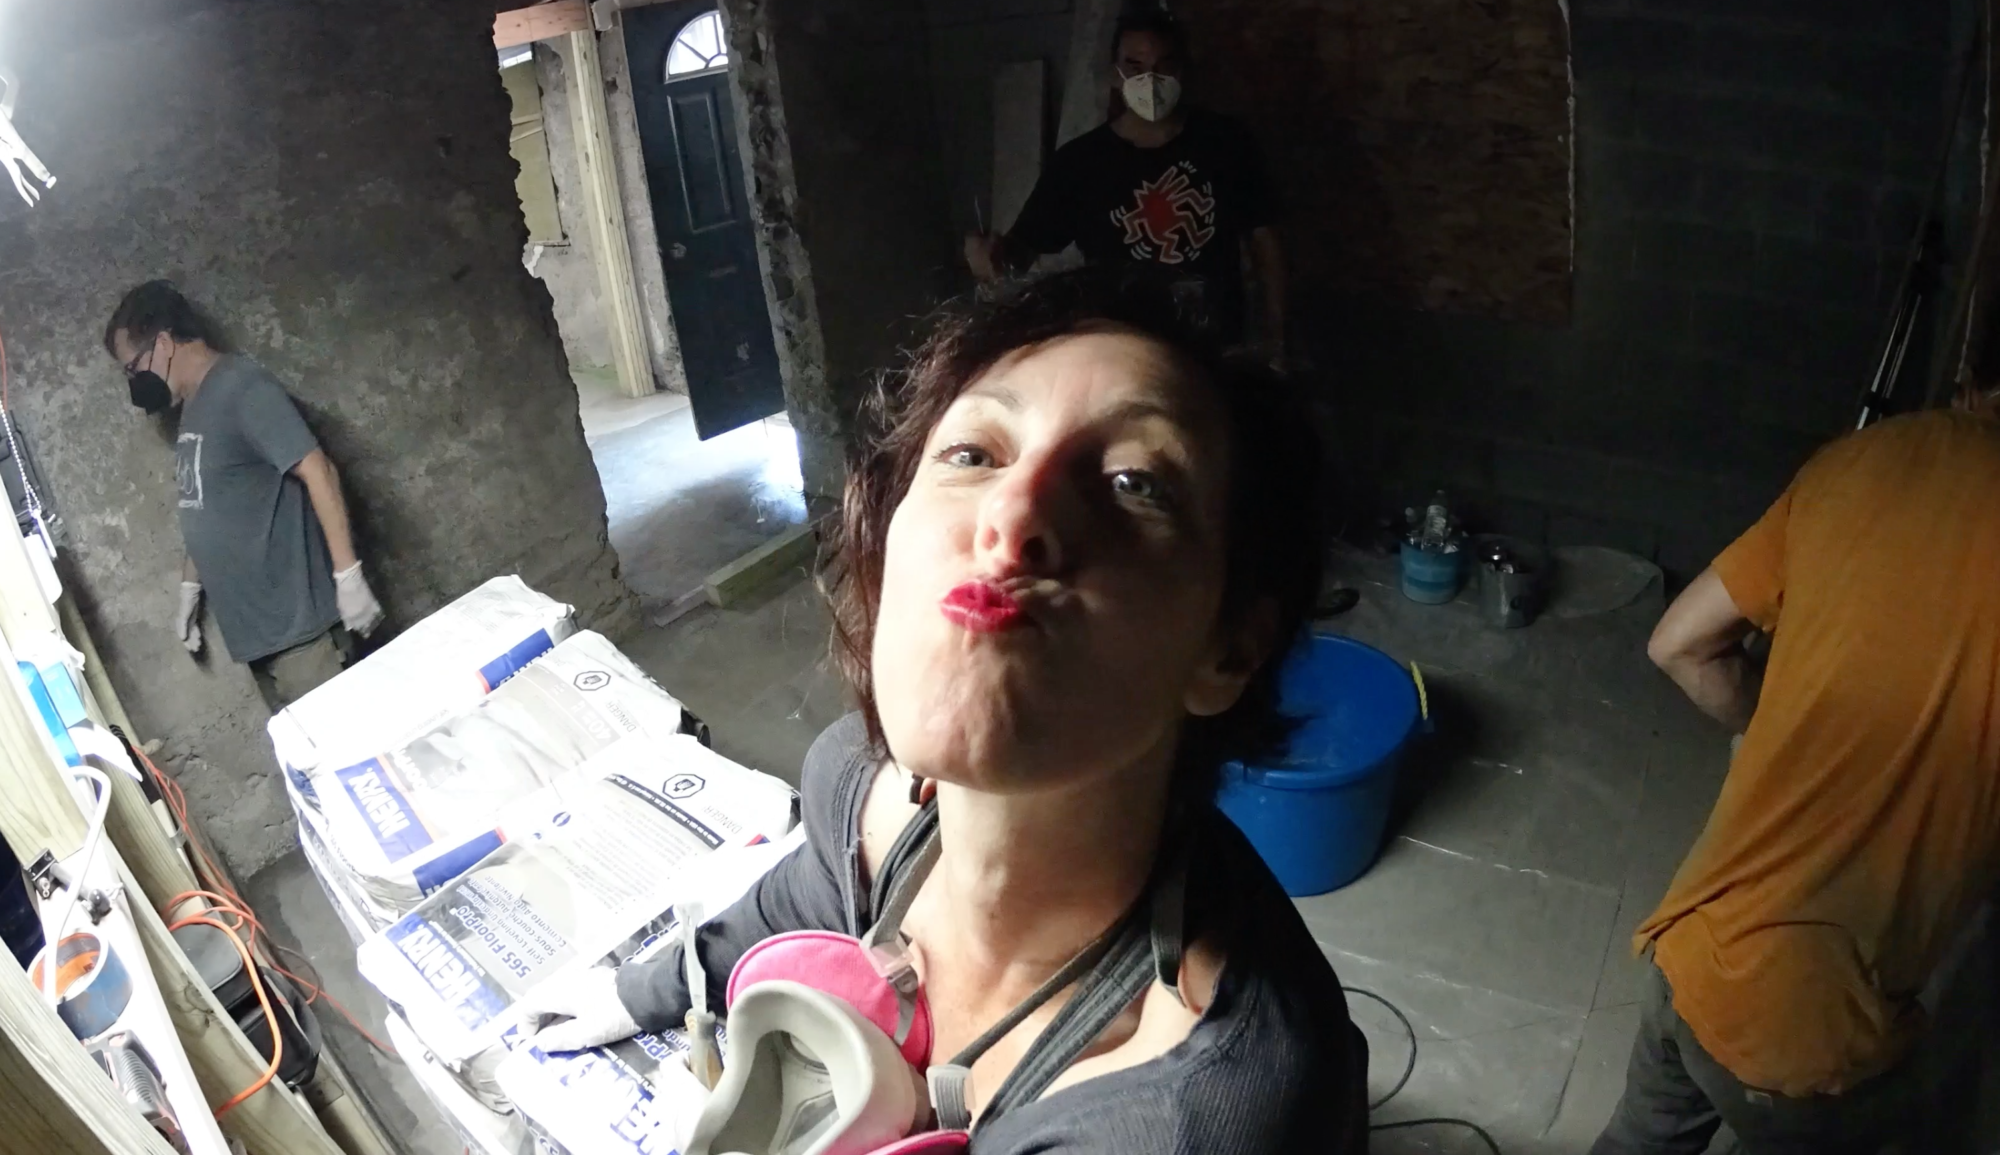
Back in August we painted the ground floor bedroom. This last week we managed to paint the rest of it. Like the bedroom we used a one-part water based epoxy and then finished it off with a coat of textured clear topcoat. The topcoat has anti-slip additive so there’s a bit of grip so people won’t slip if it gets wet. The paint is supposed to be rated for garages, but I doubt it could stand up to too much rough treatment. I’m glad we got this done as soon it’ll be too cold to do it.

We first had to roughen up the surface of the floor with a diamond pad on our orbital sander, took a while and luckily I forget camera on second day so most of that isn’t in the video which is fortunate and it’s almost as exciting as watching paint dry! Note, if you ever encounter sanding pads not sticky well to your sander then that is probably because the plastic velcro hooks on the sander have softened due to heat build up, this can easily be fixed as most manufactures sell replacement pads for about $10.

To make cleaning easier we plan to tile the areas that will receive the most abuse, such as the entry area, kitchen and bathroom. Not sure what we will cover the remaining floor with, possibly wood but for now we’ll just carpet these as we have a few of them in storage.

The ground floor will probably never be as clean as this!

A big welcome to our latest subscriber, Lynn from Dinas Powys. Looking forward to a tour of your interesting property one day!

Repairing floor joists

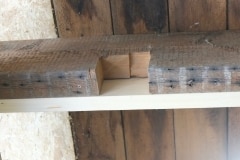
So having just repaired the rim joist, it’s now time to replace the rotten floor joists, three to be precise. Due to rot, none of these attached to the rim joist and were just hanging mid air and two of them had huge chunks cut out of them, possibly for duct work so they were severely compromised.

Like most projects on the house I wanted to do a respectful job so instead of butt jointing in a new piece and sistering on a 2×8″ (adding extra wood to strengthen a damaged beam), I thought I’d do some joint work. I’ll still add a 2×8″ but only on one side as my joint will be stronger than a butt joint. I’m not sure this joint has a name, it’s slightly similar to a scarf joint.

I probably would have done a fancier job if it wasn’t so difficult to cut, standing on a ladder is not the easiest position to cut from. For the first beam I made some templates which I attached to the beam and used a Sawzall to rough cut, finishing off with a hand saw and plane – that was hard work. I then had the idea of using a trim router and that worked out great. I did have to to do multiple passes as a trim router as the name suggests isn’t supposed to remove a lot of wood in one pass. It probably took me about 3 – 4 hours to cut a single joist like this, luckily I only have three.

As I didn’t have any wood with similar dimensions to the joist, I laminated three pieces of old growth lumber together. I used West System epoxy so this will be a stronger than wood bond, plus I’m running 3/8″ bolts vertically through the joint as an extra safe guard. The reason the center piece is lighter is because I planed it down.

And this is how they finally turned out and I will secure these floor joists to the rim joist with 3/16″ thick steel angle brackets. I know these aren’t the finest or strongest joints, but I think they are decent, plus the addition of another sistered 2×8″ will make every rock solid.

This whole job, repairing wall, replacing rim and floor joists has taken me a few months – I wasn’t expecting it to take this long, but in most endeavours the first time you do something there’s a learning curve.

Bedroom floor coating

We’re really not sure what we will do with our floors, possibly wood, tile, linoleum, but what ever we chose the priority is low, so in the meantime we thought we would seal the floors to give them a bit of protection.

Initially I wanted to do a two part epoxy over the whole of the bottom floor, but in the end I decided it wasn’t necessary in rooms that would have flooring added, plus my previous experience with two part epoxy was a bit of a disaster.

I prepped the floor by going over it with a hand held random orbit sander with a diamond pad, followed by a thorough vacuuming. Base coat was “Rust-Oleum 1-part Battleship Gray Satin, Concrete and Garage Floor Paint” followed a day later by a coat of “Rust-Oleum Satin Textured Clear Topcoat“. The topcoat had anti-slip additive so there is a bit of grip so people don’t slip if it gets wet. We’re eventually get around to painting the rest of the floors like this.

Mistakes were Made

We decided a while back that utility room floor would remain un-tiled but we’d add a coat of epoxy for protection and to make it easier to clean. This weekend we thought we’d tackle this project so Saturday was spent prepping, I went over the whole floor with a random orbital sander with a diamond pad to scuff up the surface and to remove any dirt, then swept and vacuumed a few times.

Sunday was the application of the epoxy and it didn’t go as well as I had wished. I’m hoping it’s not a disaster, but we’ll see. Main issue is that the epoxy still hadn’t cured after 24 hours and was sticky in parts. 48 hours later it did seem a little less sticky. This epoxy should have cured in about 6 hours.

So what went wrong, well lots of things really and in order of most severe to least:

  • I usually weigh my resin and hardener on a gram scale† to get the correct ratio, but this time I used the dispensing pumps which should supply the resin in the correct ratio. I’m using West Systems which has a resin to hardener ration of 5:1. One press of each pumps should deliver that ratio and to be fair the instructions do tell you to check this which I didn’t.
  • Didn’t tighten the screw caps on the pumps and one of them came apart, fixable but I had to guess how much resin was dispensed whilst trying to fix it.
  • I should have mixed the resins in larger batches, using a drill/paddle mixer. This would have helped in the color matching as I was tinting each batch.
  • I probably should have used some sort of primer as the porous concrete produced loads of bubbles.
  • I should have mixed downstairs so I didn’t have to carry everything down the ladder.
  • I didn’t calculate the the correct amount of resin for the job so I had to leave it incomplete. I did manage at least to cover the whole floor but half of this was a very thin coat and you can see the concrete through it.

So what’s next? I’m hoping the epoxy will cure in time and if not the un-cured portions will have to be removed. If it does cure then I’ll go over it again with my diamond pad and knock down all the air bubbles and the re-coat and this time I will mix the whole gallon of resin in one go.

† I did have my scales at hand but they only go up to 500g and I was mixing more than that until the end when the resin was running low and then I used the scales, so at least some of it cured correctly.