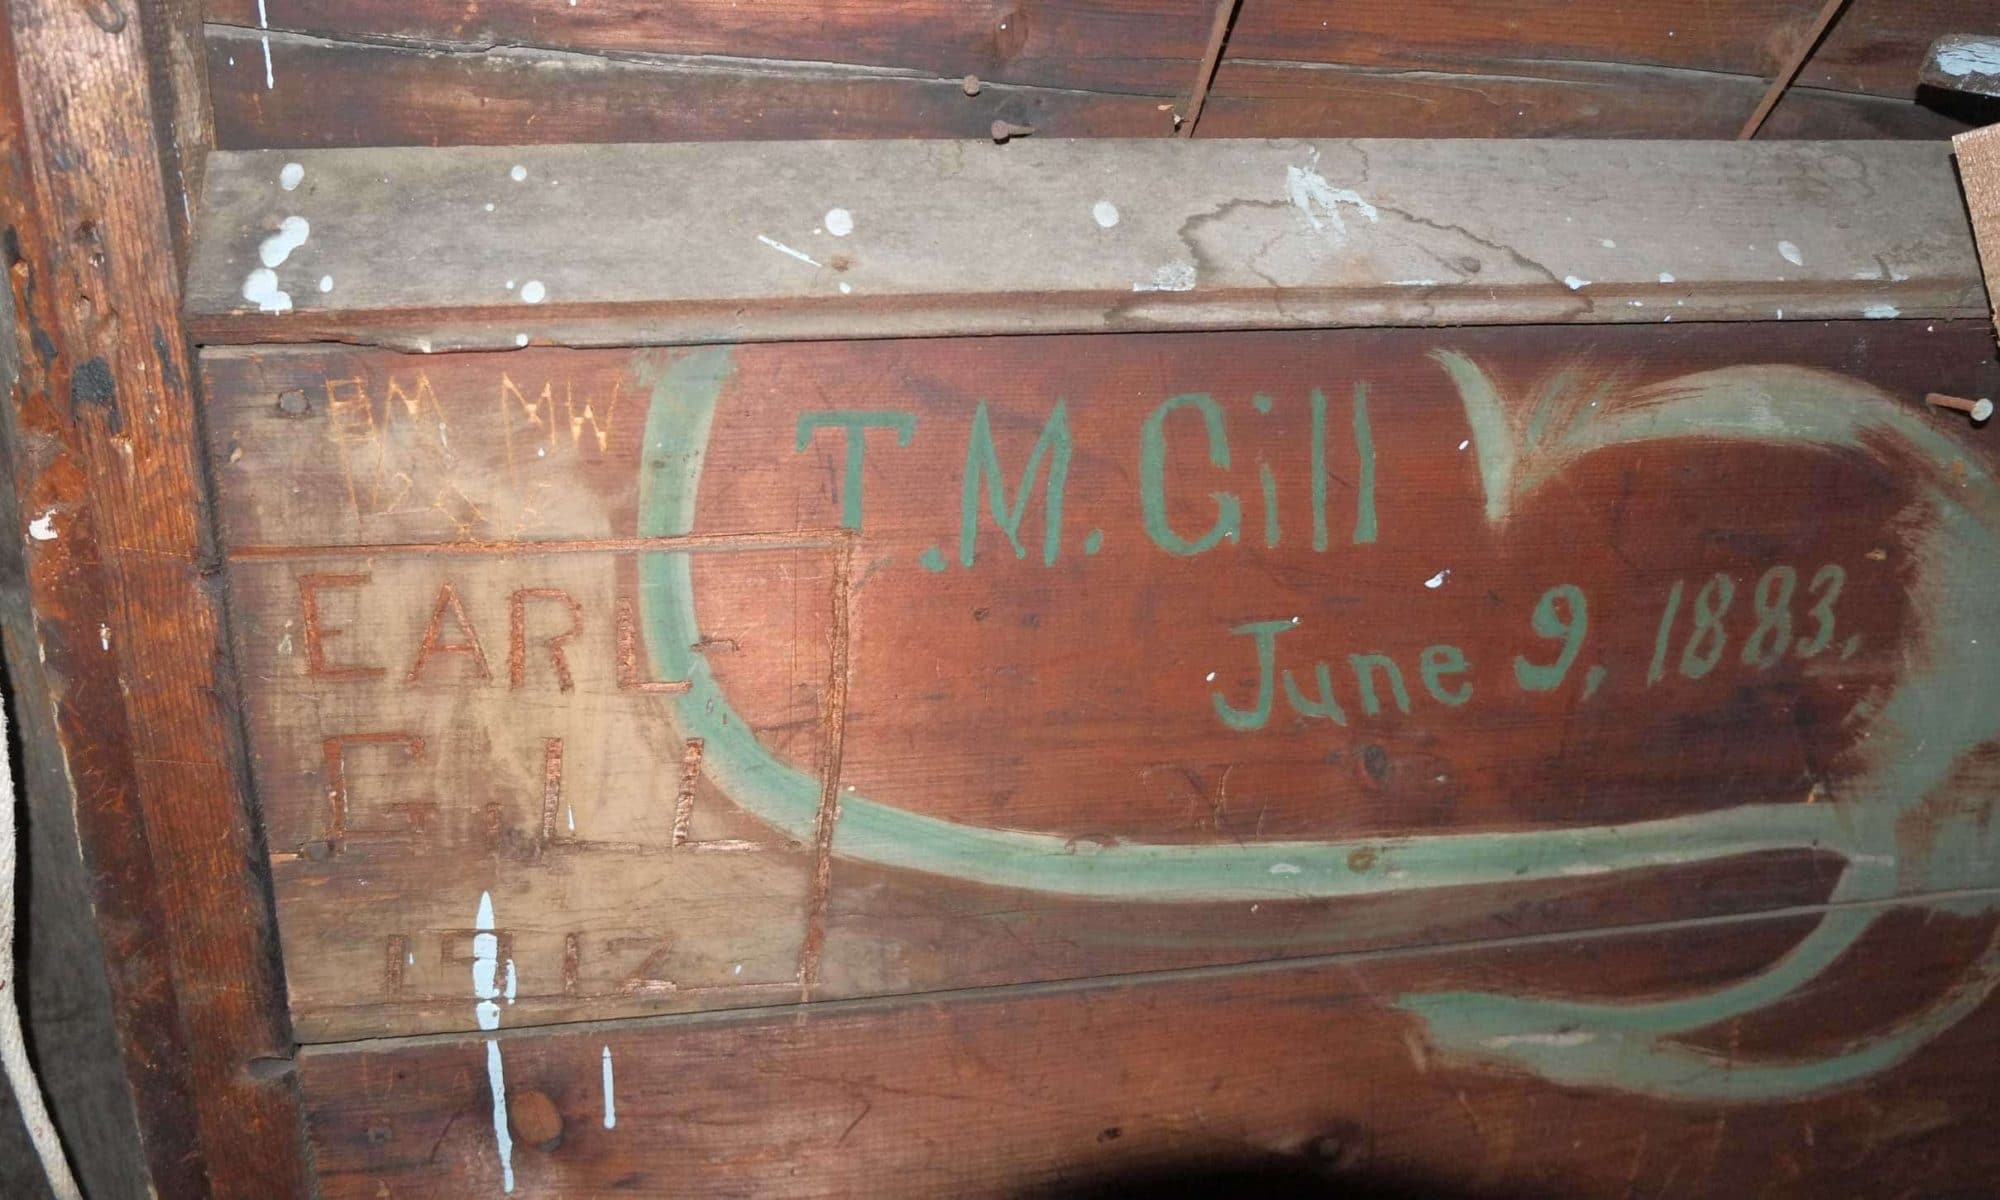
New Concrete Columns for the Porch

And what a pain this has been. If it wasn’t for the fact that I’ve been crazy busy at work and this is the second set of moulds I’ve made this project would have been fun.

Stepping back, I’ve been making moulds to form short concrete columns for the ground floor porch posts to sit on. Our existing ground floor porch posts were in contact with the ground which could lead to rot, hence the idea to add short concrete columns. Size wise they are about 17″ high by 7″ x 16″, wide enough to fit double columns on, with the corner columns able to fit three columns.

The idea was to design the columns so they’d blend in with the existing architecture, not sure I achieved it but I think we’ve done a decent job and once painted and weathered, they’ll probably look as though they’re original, which is of course what I will tell everyone, hand chiseled over a century ago from the finest Kingston stone! First set of moulds were made of wood and ply and I made the parts at different times so when I went to fit everything together there were small gaps here and there which I wasn’t happy with.

The second set of moulds were made from MDF and I tried to make all the matching pieces at the same time so everything would fit. Downside of MDF is that the dust from cutting it is terrible, unlike cutting wood, the particles left from cutting MDF is like flour so full respiration mask and vacuums are required. MDF is a versatile material but has its draw backs. If I were to do this again, I’d use pine again but back it with a sturdy baltic birch ply. MDF makes such a mess.

Everything was made using router table, table saw and miter saw.

I coated the finished pieces with a penetrating epoxy and once set I applied a liberal coating of furniture wax. The last release coat will be cooking oil which Andre will apply on the day. I’ve only made two moulds one for the double column and one for the triple column so they need to be reused.

We’ll need to fix a few small blemishes and also add a slight chamfer to the top so water drains away from the wooden post. Eventually we’ll get around to painting them.

Because the temperatures are now dipping below freezing (which can be disastrous for curing concrete), Andre constructed a 2″ foam box, which was then wrapped in shipping blankets along with a small heater on a thermostat. When I checked the temperature one night, the reading was about 12.5C/55F, which is great. In most cases the majority of the cure happens within the first 24 hours after which you are pretty much in the clear.

Finally fixing our concrete pour

If you remember last year we had a concrete pour that didn’t go so well. Al Riozzi (AJR Masonry) admitted it wasn’t acceptable but wouldn’t fix it. We could have left it as it was but I felt that it might cause problems in the long term and if we were going to level it, now was the time.

Unfortunately for us we couldn’t fix it until now as self-leveling concrete can’t be used when it’s cold. It’s now warm enough, so today we took a stab at it. I wouldn’t say it’s a hard job but you have to be prepared. I’ve been watching youtube video and reading up about it since last year, but I was still a little nervous as most of these products have a very short flow time (10 minutes in our case). Luckily it went well, I had all the tools, buckets, product lined up etc. but most importantly I had a great team of volunteers helping me, so a big shout out to Joe, Deborah, Rob and Aimee. Every one was assigned a different task and everyone preformed flawlessly.

Music was requested by Joe.

My goal was to fix the floor in two passes, first pass was to fill in all the deep areas (shown as the darker areas in he contour map) and the second pass was to cover the complete floor with a final skim coat, re-priming between coats. My only mistake was not ordering enough product. I ordered 17, 40lb. bags of Henry 565 ($40 a bag, so not cheap) and I thought that would be enough – no where near and I think it covered about half of the first pass. I just ordered another 46 bags so hopefully that will be enough. Thanks for picking it up Joe 🙂

Contour map of our ground floor concrete pour.

Even though we didn’t get as much done today as I expected it was a great trial run and everyone now knows what their tasks are and are willing to help us again. Incidentally all the mixing and product were laid down in under an hour, which was pretty quick. I think we all felt we could have easily have managed twice or three times that amount.

Returning to examine the floor on Sunday we noticed some wrinkling in some areas. Not sure what caused this but will ask the manufactures if they know. Second picture shows how it should look, nice and smooth.

Thanks again team!!!

Contour map of ground floor

With the help of old college friends, Paul and Sue, we surveyed the height of the ground floor. I was taking samples every foot, but that was taking too much time so I enlarged to a 2′ grid. Using Surfer, a plotting app, I was able to produce the following contour map (contours are at 1/16″ increments and the higher the number the lower the floor is). Although it might not be obvious from this chart, the largest deviation we found was 1 & 1/8″ (not 1 & 3/8″ that I mentioned in a earlier post).

Contour plot of ground floor

We’ve just reached out to Al Riozzi (AJR Masonry), who we hired for the pour and look forward to his reply. Researching into a solution, looks like our only option is to use a self leveling compound, though you have to be quick and have a decent sized crew to help mix and pour as you only have about 20 minutes working time.

If you look at the contour map, you’ll see low spots top left, bottom left and top right so we may be able to three separate pours of the self leveling compound and live with the slight deviation in the center.

This is an amusing video on the pitfalls of self leveling compound, How not to level a floor, though my brother Ian did point out that the chap isn’t laughing.

They Came, They Poured, They Concreted, They #@$&ed Up

What went wrong Al Riozzi (AJR Masonry)?

Seems we have some height issues with our pour and we have areas which differ in height by at least 1 & 3/8″. It doesn’t seem that we have a single isolated high spot, rather we have low and high areas. This week I’ll do a more detailed survey and take readings every foot or so in a grid fashion.

We spoke to some knowledgeable friends about this deviation and they said it was unacceptable, so we’ll contact Al Riozzi (AJR Masonry) in the week and see what he has to say and hopefully they can take care of it with self leveling compound.

So I didn’t didn’t have to keep checking that my measuring stick was completely vertical I made a 2-axis gimbal out of pvc pipes, some machines screws, part of a sewing reel and a dowel rod. Using this I can just place it and the dowel rod is always vertical.

I marked the deviations on a piece of paper and the higher the marker the lower the floor is etc.

So if you’re looking for a mason or concrete firm look NO further than Al Riozzi (AJR Masonry).