A Porch is Reborn

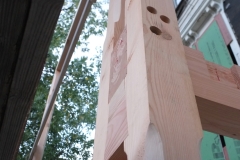
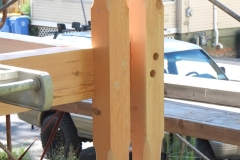
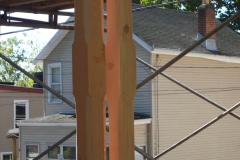
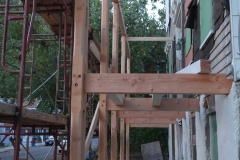
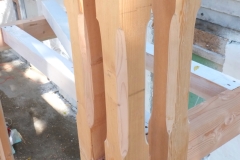
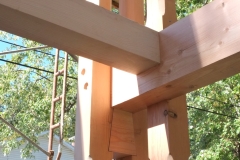
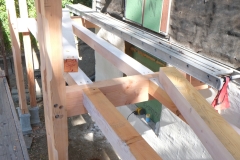
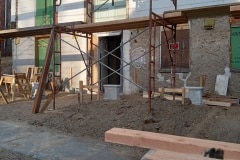
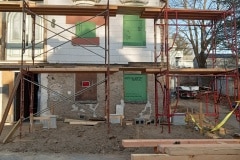
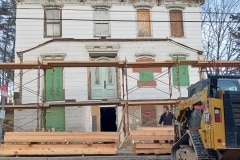
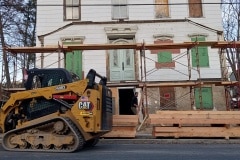
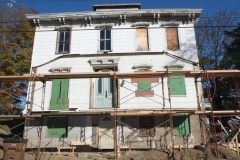
After some setbacks and delays our porch has finally been raised and how majestic it looks. Craftsmanship is top-notch. From the amount of comments from passers-by, I think we have achieved our goal of re-creating the original porch. It’s not an exact replica as by modern standards the old porch was under-engineered but I think we’ve managed to strengthen the structure a lot, whilst still retaining the original aesthetics.

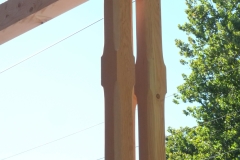
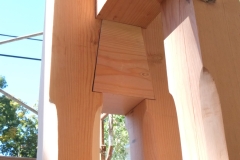
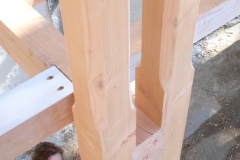
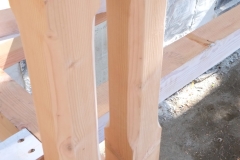
The construction techniques used were similar to the original porch, with some lovely pocket tenons, pinned in place with hardwood dowels. There are a few heavy-duty galvanised bolts here and there but they will be hidden by wooden plugs. It is a delight to look at.

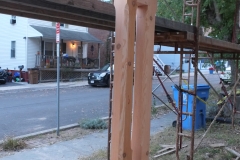
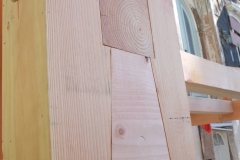
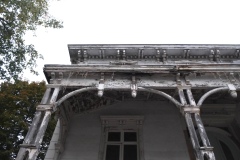
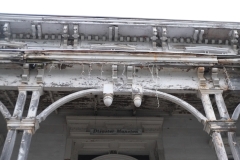
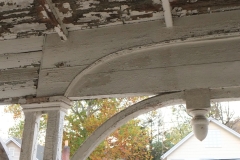
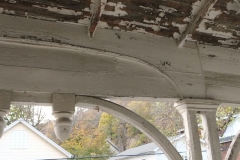
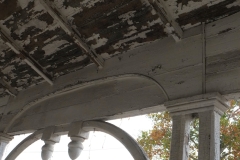
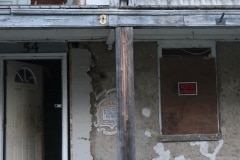
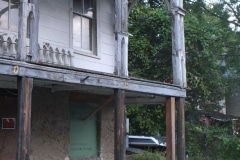
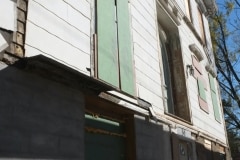
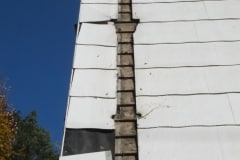
The porch is far from finished as the original had a lot of detail which you can see in the following. We’ve kept most of the original pieces, some we’ll restore and some we’ll remake. I’m glad that we’ve finally replaced the single ground-floor post (last photo) with double posts. I’m sure the porch originally had double columns on the bottom but they probably rotted away to be replaced with the single columns.

Currently, we’re prepping the wood for paint, sanding it, filling in any blemishes, etc., and then we will give it a few coats of primer, for which we will be using linseed oil paints.

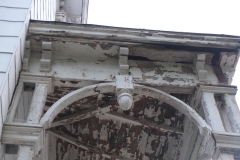
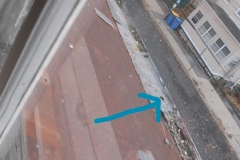
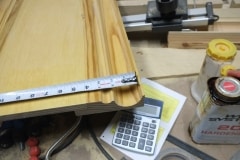
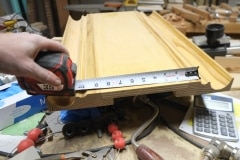
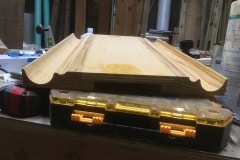
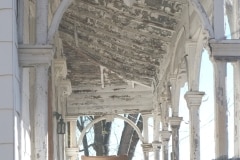
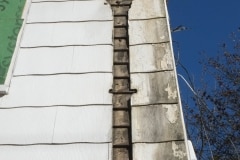
The porch roof, which had a beautiful concave structure made of laminated beams will be untaken next year as we’ll need to save up for that. It was a complex roof and the gutter was built into roof contour which I thought was very clever. You can see the hole for the down pipe in the last photo. Trick will be to hide the pipes.

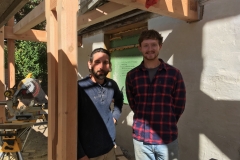
Thank you to Andre and Brian of Hudson Valley Timber Frames, you were the best people for this job.

Wood for the porch rebuild has arrived

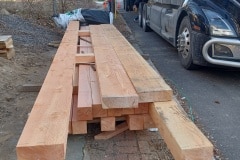
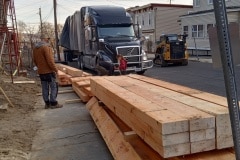
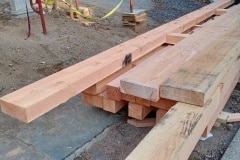
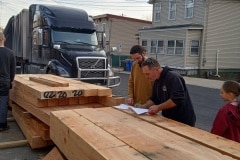
The wood for the porch rebuild has finally been delivered and it’s pretty impressive. I think the porch will out live the house.

Andre has spent a lot of time finding good wood at a good price and in the end we ended up with Douglas Fir from Quebec which is where a lot of the wood in the US comes from anyway, so by ordering direct from the timber yard we will have saved. It was still expensive though and we’re talking 5 figures. The order also included some lovely camura wood for the decking.

Incidentally Douglas Fir isn’t a fir tree, it get its name from  David Douglas, a Scottish botanist who first reported the species and what a tree it is. Grows up to 300′ tall and very much reminds me of the Californian Redwoods.

As mentioned in a previous post we plan to rebuilt the porch as close as possible to the original, notable exception being that we are making everything a little bit stronger, for example, the vertical posts are being upgraded from true 4×4’s to 5×5’s and hopefully it won’t be too noticeable.

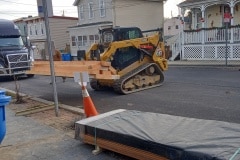
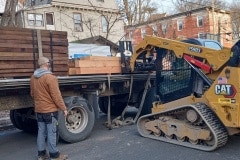
Delivery day was a bit of shambles, the wood was supposed to be delivered between 8am and 12 noon but didn’t turn up until a little after 4pm due to custom holdups, during which time we had four people hanging around, including Aimee. Sucks that in this world of instant communication that the delay couldn’t have been passed on. Andre did try and call the shipping company but no joy. On top of this we had to hire a bobcat skid steer so overall quite an expensive day.

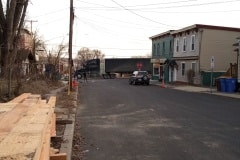
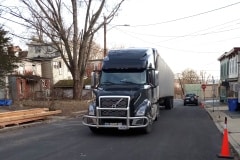
The lorry from Canada has numerous stops on its way, ours was the first and then down to Long Island and then the Carolinas. Aimee said that it was the longest lorry that she’s ever seen and it took quite a while to negotiate the turn at the bottom of the road. Cute that driver took his two young kids along for the adventure.


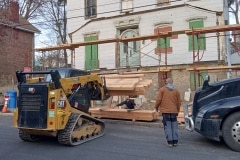
I couldn’t be there for the unloading but Aimee and Andre snapped a good number of pictures. I didn’t realise what a big operation it was, so in no particular order, voila!

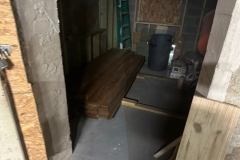
These timbers are huge and the majority of these timbers have been stored indoors. Being a timber frame builder, Andre had a clever way to move them about, once on the ground, using a bunch of heavy duty rollers so carrying was down to the minimum.

It was dark by the time everything was tucked away.

Old details revealed

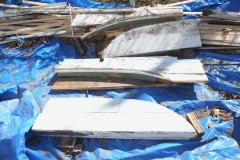
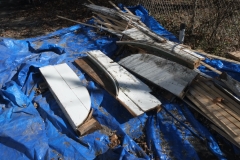
As you may know we’ve just had our porch removed for reconstruction. As for the old porch it’s sitting in a huge pile on our drive awaiting a trip to tip. We have kept all the fancy bits such as the acorns, cornices, arches, pillars and some of the main heavy beams, the rest wasn’t worth saving.

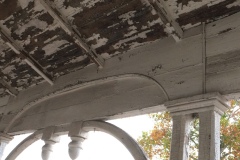
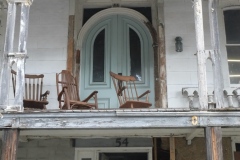
The last few weekends we’ve been taking it to the dump and it was when we were going through the pile that I noticed a hidden arch.  I had previously noticed a curved relief on the inside of the porch (see photos below) but always thought it was an odd, but nice bit of detail.

As you can see in the picture below the arch pieces just came apart when I was moving them. I think they’re original to the house as we’ve seen the green paint everywhere. I do like this old arch, seems grander that what they replaced it with but I think we’re stuck with the current design. Maybe I’ll re-add the arch trim inside the porch.

One day I hope to find some old, old photos of the house. I think the oldest we have are probably from the 50’s or 60’s.

On a different topic, we’ve been granted permission by the City of Kingston, Building Department to install traditional sash windows with period wavy glass (we have a lot of this glass), combined with winter storm panels for additional insulation. Now we just have to start making them. That’s nice windows so better get cracking.

For the last coupe of years the rough openings for windows have been boarded up so it will be lovely to see what it’s like with a bit of natural light.

New Concrete Columns for the Porch

And what a pain this has been. If it wasn’t for the fact that I’ve been crazy busy at work and this is the second set of moulds I’ve made this project would have been fun.

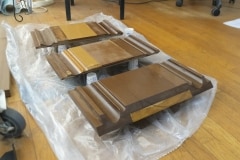
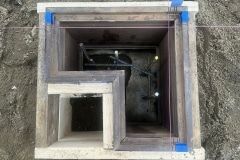
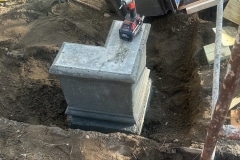
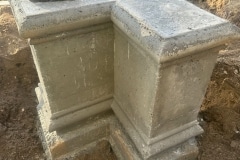
Stepping back, I’ve been making moulds to form short concrete columns for the ground floor porch posts to sit on. Our existing ground floor porch posts were in contact with the ground which could lead to rot, hence the idea to add short concrete columns. Size wise they are about 17″ high by 7″ x 16″, wide enough to fit double columns on, with the corner columns able to fit three columns.

The idea was to design the columns so they’d blend in with the existing architecture, not sure I achieved it but I think we’ve done a decent job and once painted and weathered, they’ll probably look as though they’re original, which is of course what I will tell everyone, hand chiseled over a century ago from the finest Kingston stone! First set of moulds were made of wood and ply and I made the parts at different times so when I went to fit everything together there were small gaps here and there which I wasn’t happy with.

The second set of moulds were made from MDF and I tried to make all the matching pieces at the same time so everything would fit. Downside of MDF is that the dust from cutting it is terrible, unlike cutting wood, the particles left from cutting MDF is like flour so full respiration mask and vacuums are required. MDF is a versatile material but has its draw backs. If I were to do this again, I’d use pine again but back it with a sturdy baltic birch ply. MDF makes such a mess.

Everything was made using router table, table saw and miter saw.

I coated the finished pieces with a penetrating epoxy and once set I applied a liberal coating of furniture wax. The last release coat will be cooking oil which Andre will apply on the day. I’ve only made two moulds one for the double column and one for the triple column so they need to be reused.

We’ll need to fix a few small blemishes and also add a slight chamfer to the top so water drains away from the wooden post. Eventually we’ll get around to painting them.

Because the temperatures are now dipping below freezing (which can be disastrous for curing concrete), Andre constructed a 2″ foam box, which was then wrapped in shipping blankets along with a small heater on a thermostat. When I checked the temperature one night, the reading was about 12.5C/55F, which is great. In most cases the majority of the cure happens within the first 24 hours after which you are pretty much in the clear.

I’d like to report a missing porch

Yes officer, it’s gone!!!!

Repairing the porch has been on the books since early this year. It has never been safe to walk to the far ends of the porch and it was starting to pull away from the house a bit. The idea was to replace the lower single supports with double supports and then working upwards, replacing the deck, then upper supports etc. It would have been a big job, possibly beyond our skill level and taken us ages, so Aimee suggested we look to see if we can find someone competent and passionate about this kind of work to undertake this project and not make a bodge out it. Fortunately a partner of one of Aimees work colleagues was a timber frame carpenter which seemed the right sort of skill set and his name was Andre Ernst.

We met Andre a few months ago, explained how we didn’t want a pressure treated nail-gun porch, but more of a hand crafted, near exact replacement, whilst beefing up the strength slightly where possible. Andre definitely knew his stuff and understood what we wanted, but I think what sold it for me was seeing the artistry of his work, see Hudson Valley Timber Frames for some examples of his work. That to me showed me he took pride in his work.

The initial plan was to break the project into two phases, phase one would be to rebuild everything up to the the porch roof and phase two would be to rebuild the roof. During phase one the roof would be supported.

Once the scaffolding went up and a more thorough inspection was carried out it was deemed that the whole porch was in danger of collapse with the ends of the roof rafters rotten and pulling away from the house and the second floor vertical columns bowing out with barely any solid wood connecting them to the roof, so the decision was made to remove all of the porch as part of phase one. Historical society and building department were informed of this decision. I didn’t expect it to come down so quickly, but if it’s unsafe, why wait. Andre did save a lot of the wood so we could recreate the new roof exactly and you can see that the rot is major.

Sure the porch could have lasted for maybe months or years longer, but maybe not. Reminds me of a sad tale of students losing their lives across from where I used to work when their balcony collapsed, Berkeley balcony incident, all very sad and I still feel for all those victims.

Obviously it would have been great if we could have just replaced the odd bit of wood here and there in order to keep the originality, but the decay at the base of the roof was pretty bad. The porch roof gutters had long gone so any rain water would have just been soaking the base of the roof, probably for decades, so the rot is not surprising.

We asked Andre to save all the detailed bits such as the corbels, arches, acorns, curved roof rafters and first floor vertical supports, and we’ll restore a lot of this and if we can’t then they will be used as templates. We won’t reuse the vertical supports for the front porch but I might see if they can be restored and used when we rebuild the rear balcony which is not original and damn ugly.

We did inform the City of Kingston’s, Historic Landmarks Preservation Commissions that the roof needed to be removed and we are appreciative of their support.

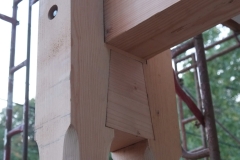
On deconstruction, I did like the way that the concrete tiles were trimmed nicely around the profile of the columns, nice touch, however an even nicer touch was how the vertical columns were notched out to fit the original wooden sidings so they sat flush with no gaps, that’s pretty impressive. I’m going to want the new pillars to be the same. No one would bother with that sort of detail nowadays, hence why I think it’s important for the houses originality, sure it’s new wood, but installed the original way.
A Virtuoso Performance…

Whatever …

From the Hudson Valley One

Kingston’s Wilbur and Ponckhockie neighborhoods rise out of obscurity

Kingston’s Wilbur and Ponckhockie neighborhoods have long been overlooked. Insufficient attention has been paid to how improvement and investment could enhance the architectural richness and historic heritage of these Rondout Creek communities.

No more. The City of Kingston has just released a draft architectural and archaeological sensitivity report that surveys each neighborhood’s buildings to determine their suitability for designation in historic districts or as individual landmarks.

The report’s public release in late June marked a first step in getting segments of the two neighborhoods or individual buildings on the National and New York State Registers of Historic Places. Residents have had an opportunity to learn about the initiative this month.


The survey of 246 properties in the Ponckhockie neighborhood revealed an abundance of valuable historic structures, for possible individual listing on the National Register or as contributing properties within a potential historic district. Ponckhockie has a potential historic district of 184 contributing properties, built from circa 1856 to circa 1940. Twenty-one of the 184 may be eligible for individual listing on the National Register. The neighborhood has a high concentration of notable examples of Italianate buildings and early vernacular interpretations of the Federal style, plus a lesser number of examples of Queen Anne, Gothic Revival, and Second Empire styles.


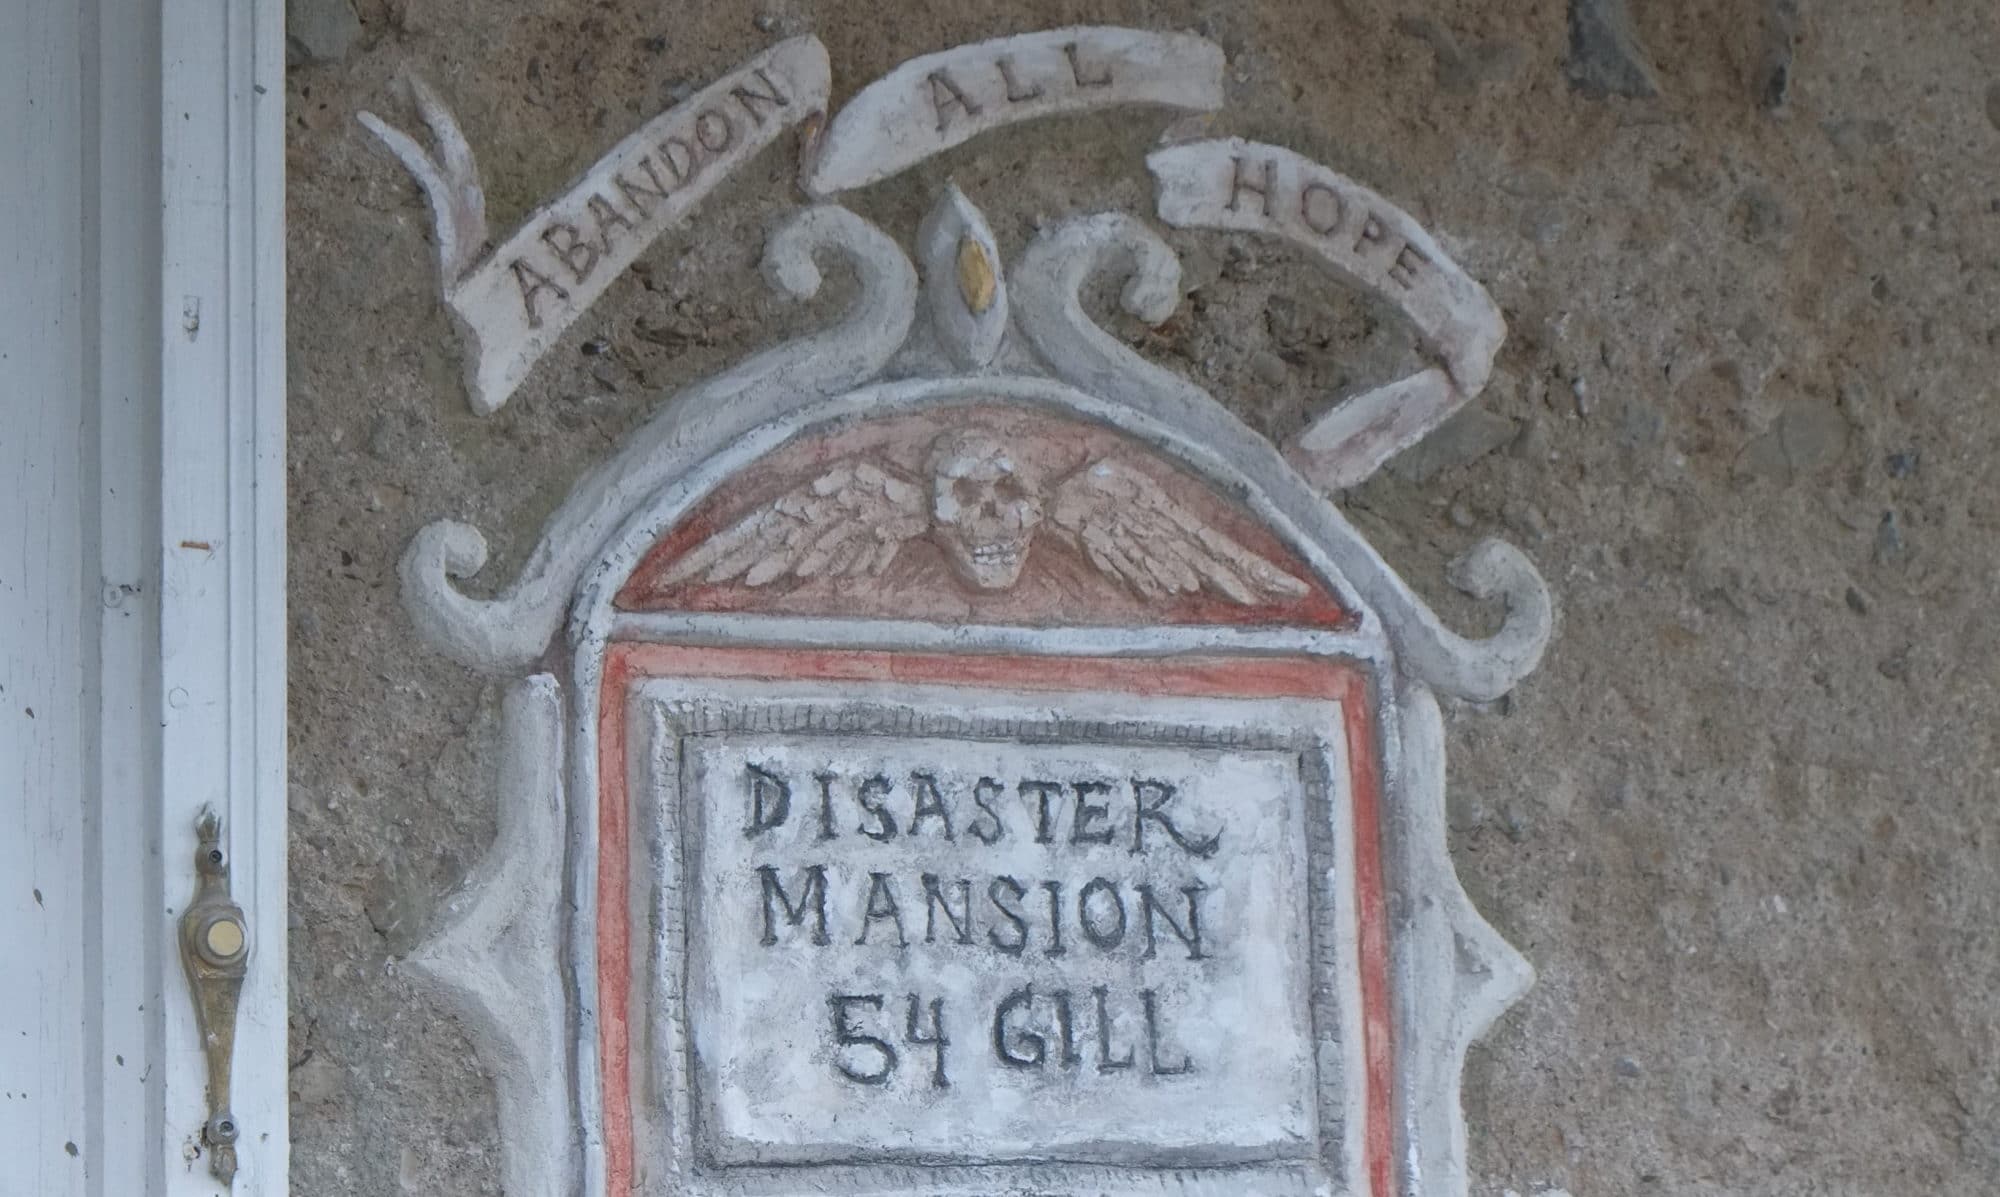
Potential candidates for a historic district include 1 Ponckhockie Street (c. 1870), which the survey calls “the finest and largest brick example of an Italianate house” in Ponckhockie; 9 Grove Street (c. 1880), one of the few high-style Queen Anne houses in the neighborhood and one of two executed in brick; and 54 Gill Street (c. 1869), the former home of David Gill Sr., for whom the street is named and possibly the largest wooden Italianate house in Ponckhockie. Rhoads wrote in his Kingston architectural guide that the owner of 54 Gill accomplished “a virtuoso performance with Italianate paired brackets supporting the projecting eaves ….” Its rehabilitation is being documented online at the Disaster Mansion website.

Not sure what this will mean to us and big shame that we missed the public meeting. Hopefully they will have recorded it.

Personally I think the only reason that Kingston politicians are interested in Wilbur and Ponckhockie is pure financial. These areas have been around for centuries and it seems a coincidence that now Kingston is deemed desirable that these areas are gaining interest.

If any historical branch starts telling us what to do they can shove it up their a#@s. We’re doing the best we can do to restore this grand old house and we need help not barriers or regulation.

Look familiar?

Our neighbour down the street in Ponckhockie received this flyer through the mail.

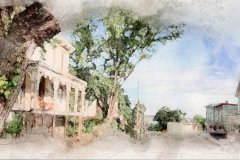
At first I thought it was a water colour but we were told by a friend that this was done using a standard photoshop filter.

Everyone, please find yourself a chair…

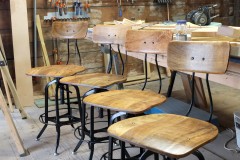
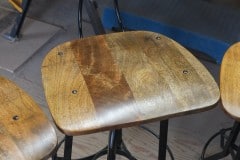
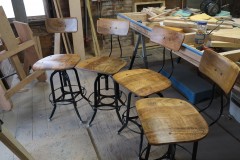
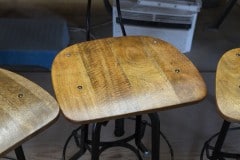
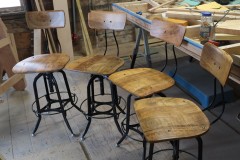
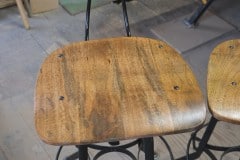
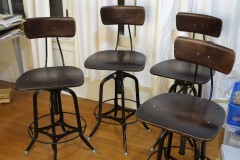
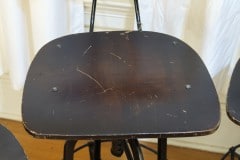
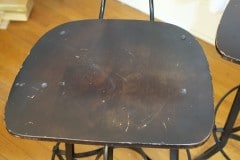
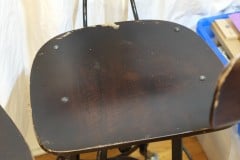
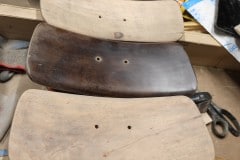
If you read our previous post you’ll know that we got these great workshop/drafting chairs for a good price from Amenia Station. They didn’t look in great shape but we sanded them down, filled in the big chips with epoxy putty, stained and varnished them and I have to say that we are rather pleased with the results.

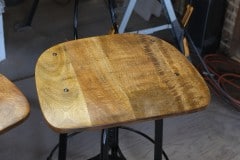
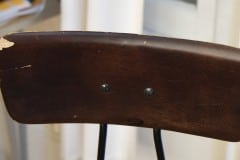
After removing the paint/satin it was obvious that the majority of wood used lacked any luster. It was a hodge podge of different woods, most of them were gray and bland, but a few were really nice. I can see why they were painted. We bought about three different types of stains to test out, including blending colours. In the end we went for “Golden Sunset” from Zar. When I mixed and colored the epoxy to repair the large chip I thought we were going to keep the dark look, hence it’s colour. I could remove the epoxy and redo it but I feel it adds to their story.

As you can see from the photos there is a quite a variation in colour but all in all I think we’ve made a big improvement and I think they’ll fit in with the house. As a comparison I added a picture of how they used to look. They are comfortable and I hope in the future that some of you readers will be able to plop your posterior down on one and enjoy a nice cup of tea or a cocktail.

Aside, preparation. Sanding down twice, one coat of Minwax Pre-stain, one coat of Zar “Golden Sunset” and two coats of Zar semi-gloss polyurethane (sanding back after first coat). We also re-drilled the holes in the wood slightly as the bolt heads were sitting a little proud. All in all we probably spent about 8 hours working on them.

Happy Birthday Martin, I know you would have loved these chairs

Recently we’ve been thinking that it might be nice to sit down whilst doing some work at DM. Our work bench is higher than most tables so chairs don’t cut it. What we need are some workshop chairs or stools. I did have a few workshop swivel stools with back rests but we sold them when we left Oakland, sigh. By the way we’re looking for something that fits the aesthetics of DM, so no chrome or thick vinyl clad foam seat .

I was toying with the idea of making some but adding a swivel seat put me off the idea. For some time I was looking on craigslist and ebay for stools but nothing ever decent came up, but then I came across something called a “Toledo” drafting chair which looked exactly what we wanted, seat was at a good height with foot and backrests and it also swiveled. My mistake was that I had been searching for workshop stool when I should have been searching for drafting stool. Since I discovered the Toledo I’ve spoken to a few friends about it and for most this chair was already on their wish list. Aimee and I had never heard of it.

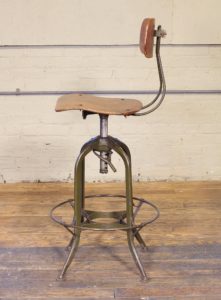
Below is a vintage Toledo and these sell for $300 – $1,000 per chair so we we aren’t going ‘chic vintage’.

Vintage Toledo drafting chair

A got this snippet about the history of these chairs from industrial furniture:

What came to be known as the Toledo Metal Furniture Company was started as Uhl’s Cycle Emporium at 1021-23 Monroe Street in Toledo, Ohio in 1898. Philip E. Uhl (president) and Clement Richard Uhl (VP/supt) founded the company on $85. Others of the 10 Uhl brothers joined the firm, including Joseph Ferdinand Louis Uhl (secretary/GM), Otto G., Charles, Henry and Robert Uhl. Joseph, a 1-legged concert violinist, also directed the family Concert Band and Orchestra.

As the popularity of automobiles reduced the market for bicycles (1900-1910), the Uhls shifted their focus to manufacturing ice cream parlor furniture, renaming the company Uhl Art Steel, and in 1904 incorporating as the Toledo Metal Furniture company. By 1920 capital stock reached $300,000, there were over 150 employees and the product mix had been expanded to include office and classroom furniture.

Fortunately for us we found that there are modern day reproductions of these chairs, the most popular being from Restoration Hardware. The hunt was on! Luckily these chairs seem to be pretty popular and they come up often on ebay and facebook. Most people seem to use them as kitchen or bar stools which is fine for us as once we’ve finished with them in the workshop, we’ll use them in our kitchen or close by.

The best deal I came across were these. They did look a bit beat up with scratches, chips, a broken lift mechanism and the backs looked bent. I offered the seller $160 which was accepted and we went to pick them up last weekend, a 50 minute drive.

The sellers were a lovely couple, Michael and Patty, who run an antiques and furnishing store, called Amenia Station. If you’re ever in the area I recommend popping in for a browse, you never know what you might find, plus there is a lovely cafe next door. Back to chairs, yes they did look beat up, but they felt rock solid and the backs weren’t bent, just the way the adjustable back rests were set. We agreed to buy them and Michael kindly let us have them for $150 for all 4!!! Luckily they did fit in the car.

Back home we decided to sand all the paint off and repair the chip with epoxy and it so happened that the lift mechanism was also fixable.

We’re in the process of sanding and refinishing these chairs and we’ll post an update when they are finished. They won’t be perfect but we love them. We have a chair always for you Martin.

A stroll through Disaster Mansion

No awards for this video, but it gives you an idea of where the house is situated and how it’s laid out. I’m sorry I moved the camera so much and next time I’ll be steadier.

If you haven’t visited the house in person this will help you understand what needs to be done. It’s a huge job as everything needs to be fixed.

We are planning to move into the ground floor while we work on the rest of the house and as you can see even the ground floor needs a lot of work. Slow and steady are our deep breathing exercises when we get too stressed. That said it’s not always stressful and it gives us the perfect escape from our rented apartment.