National Gravel Day

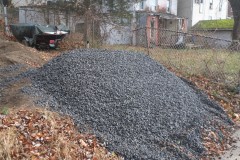
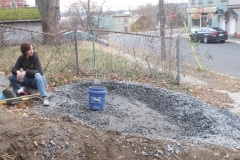
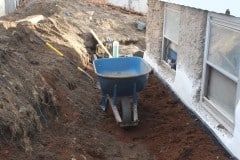
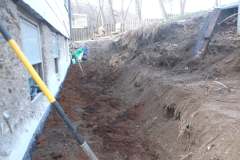
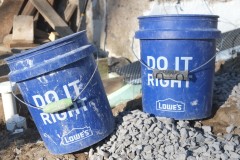
Did you know that 16th October is National Gravel day – that’s news to me. First off a big thank you to Giovanna and Derrick who helped us shift gravel for a few hours. That was a huge help and thank you. It’s amazing how much difference a couple of extra people can make.

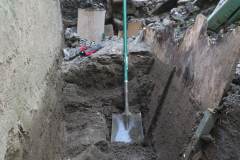
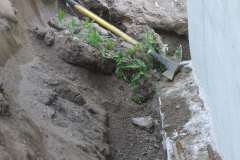
We probably removed about 3 cubic yards of gravel which is half of what we ordered. We’ll probably need to order more and I’ll do the calculations so we’re not left with much over.

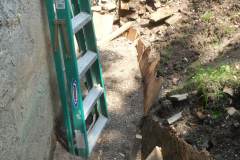
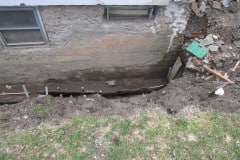
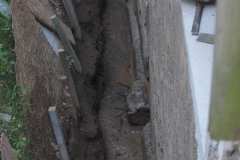
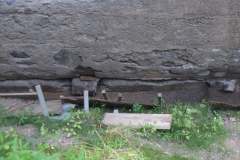
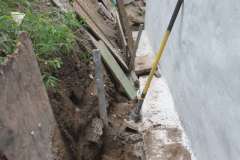
My plan was to pull the plywood shuttering up as the level of gravel increased but I didn’t and now it won’t budge. I should of also paid attention to the metal spikes holding up the shuttering – I managed to rescue all the long 4′ ones (that’s what I’m doing at the end of the video), but the shorter 30″ spikes got buried which is a shame but I don’t want to dig up the gravel again – lesson learnt.

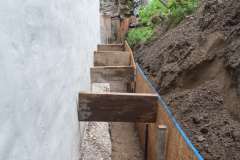
We bought 6 more sheets of 4’x8′ OSB which we had cut lengthwise and that will provide the next layer of shuttering. I’m thinking that as the weather is getting colder this weekend we may spend plastering the inside walls as this can’t be done when it gets too cold and gravel can be shifted in most weather conditions.

The camera decided to stop working halfway through so apologies for the discontinuity and I’m sorry I didn’t get Aimee and Giovanna on film as they did a great job shoveling the gravel into the buckets.

Dimple Board

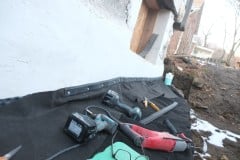
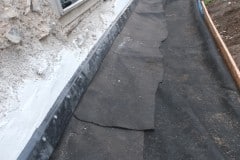
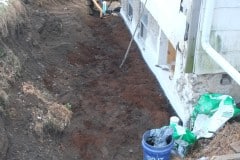
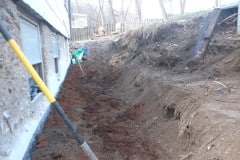
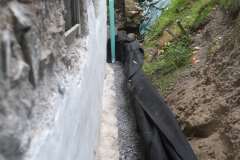
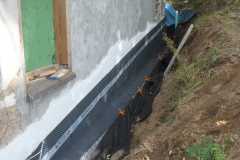
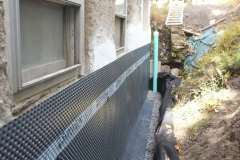
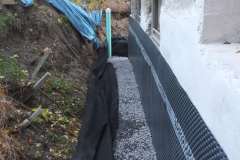
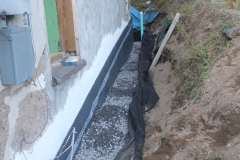
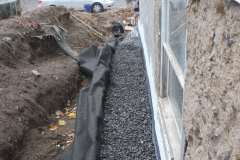
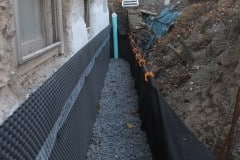
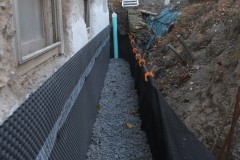
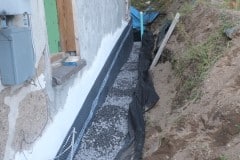
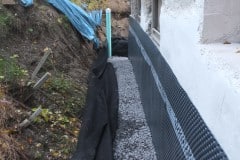
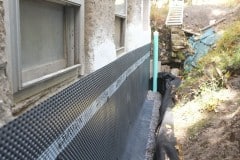
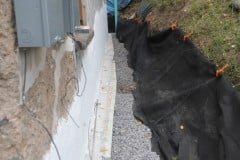
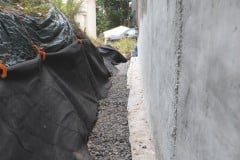
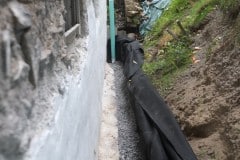
This weekend we finally got to install the dimple board and started to fill in the trench. This job has been going on for over a year so it’s fantastic that it’s finally coming to an end. It will be great to get our driveway and path around the house back again!

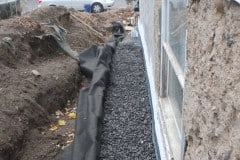
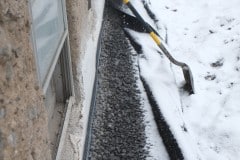
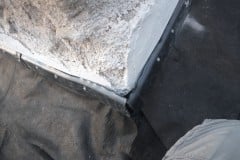
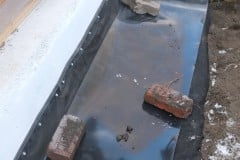
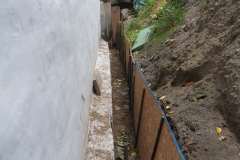
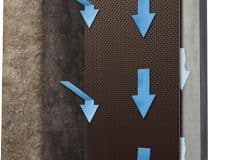
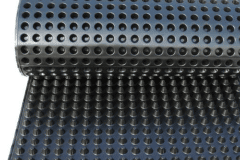
The dimple board being plastic protects the wall from moisture in the ground and its 5/16″ dimples, which face towards the wall, allow the wall to breathe (important for our lime mortar walls) and moisture to condensate outwards so it falls by gravity to our foundation drain.

I’m really pleased I came across this product as it’s the perfect solution for our house. We bought ours from the fine people at DIY Basement Solutions who provided excellent customer service on numerous occasions, thank you Andy.

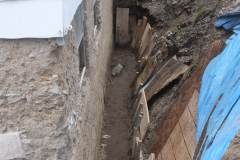
Before we could add the dimple board I realised that we needed shuttering around the side of the house to contain the gravel. This meant removing a decent amount of gravel so I could pull back the geo-textile fabric, hence why the video is rather long.

Warning: may contain butt crack.

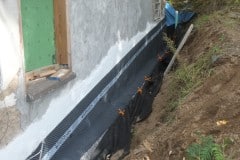
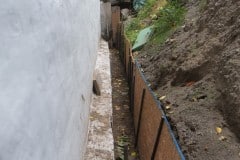
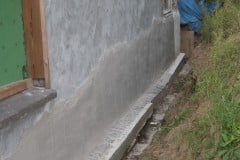
I had planned on wrapping the dimple board around the house horizontally and then trimming it to hight once we had backfilled but on the day for some reason I changed my mind and added a slope to it, bit risky as we’d only know if I got the angle right once it had been fully installed and if I got it wrong we’d have to take it all off and re-position it. As it turned out I think we were lucky and we got it right the first time. We’ll still have to trim it back in parts but it’s easy to cut with scissors. You’ll also noticed that we wrapped the board over the footings to further direct water away from the wall. To seal the top edge of the board we also bought some top caps which we’ll add towards the end.

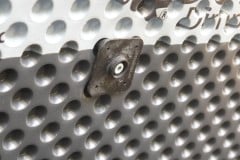
All in all a great product and easy to install and I doubt we’ll ever have any issues with damp in the future. Loved the attachment plugs. Huge physical job overall but this will help keep the house dry for another century.

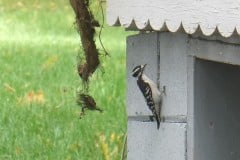
Last picture is of a female Downy woodpecker, there were two of them playing a few feet away but I couldn’t get a good shot of both of them.

Foundation drain update

I’m getting a bit tired of this drain, as must you readers, but it would be a shame to stop reporting on it now. It’s taken us ages to get where we are today, but we’re not cutting corners and we had a lot of things to deal with such as:

  • Dig out trench – no mean task, especially as it kept collapsing
  • Repair poor footings and add bevel
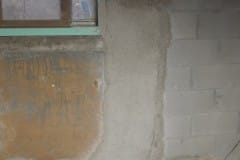
  • Remove old wall plaster, repair wall, re-plaster and white wash
  • Remove old cast iron sewer pipe
  • Grade channel to correct depth
  • Install geotextile, gravel, pipe and dimple board etc …

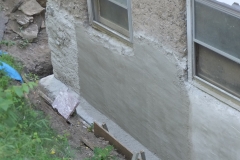
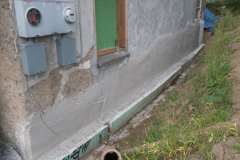
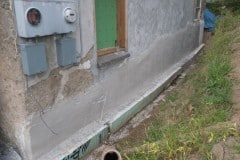
So a few weeks ago we parged the side wall, we only did the lower half as once we have filled in the trench it will be easier to do the top half. Again the ToolCrete sprayer was invaluable and I can highly recommend it, okay cleaning it is a bit of pain, but then cleaning always is. Last week we limewashing the plaster, cleared out the trench after another landslide and started to grade it.

This last weekend we pretty much finished preparing the trench for the pipe which involved getting the slope right so when we added gravel, the pipe would have a gradient close to 1/8″ per foot (0.6°).

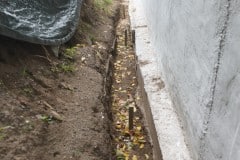
We couldn’t find the pre-drilled pipe locally so we had to drill about 50 3/8″ holes in each pipe. We assembled most of it on the lawn and then dragged it into the trench. The vertical pipes you see are clean out points in case the pipe ever gets clogged. I’ll probably bury these a few inches below the surface but mark their locations somewhere.

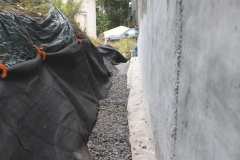
So first down in the trench was the heavy duty geo-textile fabric, this will help keep the gravel from getting clogged up with fine particles and this will wrap around both pipe and gravel. Next down was 2″ of gravel followed by the pipe which was set a gradient of a little less than 1°. And now at last we can start to fill in the damn trench!!!

We bucketed in the gravel as it was tricky to walk down the trench with the pipe there, but as we start to fill it up we may be able to get a wheel barrow down there. Luckily we weren’t alone in this task and Aimee’s friends came around to help, wow, what a difference a few more hands make.

I can’t thank Kerry, Rich, Jesse and T-E-A-L enough for their help, in addition to which, Kerry and Rich brought over the most delicious food and wine, incredible!!!! Unluckily for us we had less gravel than we thought so worked stopped on the early side, that said, people said they’d help again and we already have a fresh pile of gravel sitting on the drive, just waiting for you all! I can’t thank you enough and I was touched by your help and enthusiasm.

Kingston is having it’s yearly O+ Festival this coming weekend so there won’t be much happening at the house. The following weekend however we’ll be installing the dimple board and then continue to fill up with gravel.

P.S. In case you’re interested in what the back of the house looked like before we dug this trench, check out these old posts:

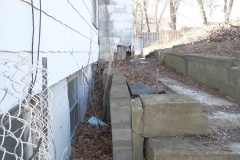
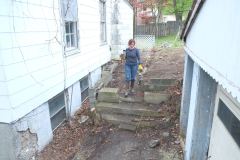
And also some photos, we almost forget we have a drive!!! Sometimes all this work seems a step back, but at least we’ve got rid of that horrible wall behind the rear windows, now hopefully you’ll be able to see the garden from the ground floor.

This coming Sunday (13th October) we’re hosting another gravel moving party so if anyone has any spare time please consider helping us out for an hour or two, it would be a huge help to us 🙂 We’re still bucketing it in and we’re filling the buckets to about a 1/3 full so we’re talking maybe 15lbs.

Back to work

Just got back from a lovely vacation to the UK and now we’re full of vigor and a positive attitude to get stuff done on the house, probably…

It’s still our aim this year to fill in the trench behind the house and although we’re getting closer we keep coming across additional tasks that needs addressing before we can lay the pipe and start filling. Today it was to remove our old sewer pipe as it was in the way of where the foundation drain will be. The wall of this 5″ pipe are 1/2″ thick so it’s very heavy which is why I’ve been cutting it in 5′ – 6′ lengths and I think removing two such lengths will be enough.

Cast iron is pretty tough stuff and it probably took me about 40 minutes to cut through one completely. I used a Sawzall with a 9″ diamond blade (thank you Jude and Kadidja for the Home Depot gift card, it pretty much paid for the saw!).

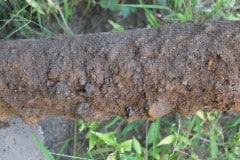
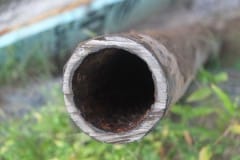
From the photos below you can see the rust nodules that have formed over the years, some of which are at least an inch high. You’d probably think that the pipe was junk if you looked at it, however, after cutting the pipe you can see that it’s still pretty much intact, not bad for a pipe that’s been underground for probably half a century at least and I bet it could survive another half century. So next time you pull up an old rusty cannon from the depths, just go over it with a grinder and it will be as good as new 🙂

This coming weekend we plan to finish off all the remaining tasks such as adding a angle to the footings (to drain water away from the house) and to add lime plaster to the side wall. Temperatures here are starting to cool here so this is great timing as in few weeks it might not be possible to plaster.

Almost Ready to Lay Down Pipe

We’ve almost finished excavating the rear for our foundation drain. It did collapse in parts so I cleared that up and spent some money on some semi-decent shuttering to hold back the soil. We’re away at the moment but we couldn’t have started to fill the trench in anyway as the lime paster needs to cure for about a month.

So before the drainage pipes go in and we start to fill etc we have to consider what treatment we should apply to the wall. If the wall had been Portland based then we would have added some sort of membrane to keep the moisture from permeating into the wall, this could have been something we painted on combined with a plastic membrane. Because our lime walls need to remain porous the former option was out leaving us with the membrane. I was going to use our leftover Stego 10 mil vapour barrier plastic which is pretty tough, however after further investigation into foundation drains I came across a product called dimple board. (Note: I had been previously searching the web for French drains whilst in reality ours is a foundation drain).

The dimple board seemed to be the perfect solution and the reason it’s called dimple board is because it has 5/16″ dimples which provide an important service. The dimples protrude towards the wall and leave an air gap for any moisture against the wall to trickle down by gravity. These dimples can withstand the pressure of the soil so remain intact when the trench has been filled. If we had gone with a flat plastic membrane, that would have been pressed flat against the wall and any water behind it would have been held there due to surface tensioning things and wouldn’t have drained.

We got our dimple board and accessories from the nice people at DIY Basement Solutions who provided one stop shopping for the system plus the product looked to be of good quality and was available in a variety of widths.

So next steps on our return is to:

  • Do a bit more digging to achieve the 1/8″ fall per foot for the pipe
  • Lay down a geotextile membrane*
  • Add a couple of inches of gravel
  • Lay the pipe and check the levels etc and then fill around the pipe with gravel
  • Attach dimple board to wall and wrap over footings

* The geotextile membrane surrounds the gravel and the pipe and it’s purpose, especially in sandy soils like we have, is to keep the sand out of the gravel which would slow the drainage of water through the gravel. Once all that is done we’d attach the dimple board to the wall, bending it over the footings and then start to fill up the trench with gravel.

One thing that might cause a problem is around the corner we have the old cast iron sewer pipe and it seems to be right in the way of where we want the foundation drain to be. When the plumbers removed a section of this a few years ago the pipe wall was about 1/2″ thick so that will be a challenge to cut off.

I hear you Tom

Tom appeared on the sidewalk with a bucket of whitewash and a long-handled brush. He surveyed the fence, and all gladness left him and a deep melancholy settled down upon his spirit. Thirty yards of board fence nine feet high. Life to him seemed hollow, and existence but a burden.

Mark Twain, Tom Sawyer, Chapter Two, 1876

I have to say that as a kid I would have felt exactly the same as Tom and did so on many occasions, especially when my dad would order tons of soil/gravel or sand and we’d (myself and brothers Ian and Matt) wheel barrow it away to the project site. Having been through that as a kid I don’t seem to mind tedious tasks as long as I can take my time and I don’t include whitewashing as such a task. My Dad wasn’t a task master, he was the best Dad I could have wished for and looking back, these were just jobs my Dad needed help with. So in retrospect I don’t think I would have been able to tackle this house without having spent part of my youth shoveling huge mounds that never seemed to go down with my Dad and siblings.

So back to whitewash, rather than it we made our own, as suggested by our local expert, Derrick McNab. There are lots of recipes out there but this is the one we choose and is based on a recipe by Andy deGruchy of Limeworks.

Our lime whitewash recipe:

  • 10 lbs St. Astier Natural Hydraulic Lime (NHL 3.5)
  • 2 gallons of water
  • ½ cup of Borax (Won’t allow mold & helps repel insects along with the lime)
  • 3 lb common table salt (Salt is proven to harden lime whitewash.)
  • ½ lb of titanium dioxide pigment for a bit of extra whiteness
  • 1 oz Alum to help make the pigment become more colorfast

Before the whitewash went on I sprayed down the wall with water and then ran over it with my random orbit sander to remove any over spray etc. which worked great and in future I may use the sander technique to remove any blemishes. You’ll notice that the whitewash doesn’t look very white, in fact it looks like we are brushing on water. This is normal and it takes a few hours for the chemical reaction to take effect which I think is crystalline in nature which in turn increases its opaqueness. Aimee is working right to left and it’s difficult to tell the difference.

We’ll probably apply a three coats leaving each coat 24 hours to cure. If we were using regular paint then we would have had to wait a month for the lime mortar to cure but as whitewash is a watered down mortar it can be applied immediately.

By the way we will plaster the top section but are waiting until we can back fill the trench a bit so it’s easier to get.

Plastering Continues

This Saturday I continued plastering. I was on my own as Aimee needed to help prepare for an O+ benefit show (Amanda Palmer and friends). I was a lot slower as I had to mix and then go inside every time the hopper was empty (every couple of minutes) but still managed to do 8′ or 9′.

I was hoping to finish it off today (Sunday) but developed a bad sore throat last night and haven’t felt that great today. I tested -ve for Covid but will retest in a few days. Hopefully we can finish it off in the next few days and once that is done we will whitewash it and then leave it for a few weeks to fully cure. We’re going to the UK for two weeks at the end of August so that’s ideal timing and on our return we can start on the foundation drain and start to fill in the trench.

Today Tuesday we finished off what we wanted to do and that was to plaster around the corner a few feet. The corner was in pretty bad shape and in places it was pitted by at least 3″ and as the mortar is weak compared to stone I added extra stones in these areas.

In the beginning of the video I spray some mortar on these spots, push selected stones in and suction does the rest and by the time I got around to plastering that section, the plaster had semi set and the stones were holding well.

As you can see from the video, the corner could do with a little tidy up but since that will be beneath ground I may just leave it.

Again the ToolCrete sprayer is a great asset.

The plan for tomorrow is to make some whitewash and start applying it as that also needs time to cure.

It’s a Cover Up

This weekend we fixed up the remaining footings and tried our hand at plastering.

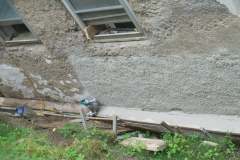
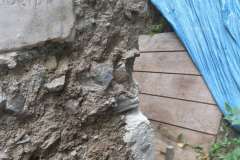
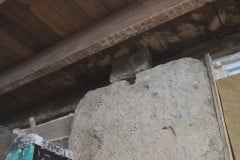
On Saturday I finished off chiseling away the huge stones that were preventing me from continuing the footings repair at the rear. I added extra rebar and again rust treated the existing rebar. Around the corner we discovered huge gaps (you could put your arm in up to your elbow) between the wall and the footings so we filled these in and added a chamfer.

On Sunday we tried our hand at plastering and we think it went pretty well. Adding this coat was a lot slower as the wall undulates quite a bit and in parts I was probably spraying over an inch thick of the lime mortar, troweled it flat after I emptied each hoper. It’s not perfect but it’s a great thick coat which will be underground anyway. This now has to be left exposed to the air for a month to allow it to cure but after that we can start to fill up the trench. We’ll probably apply a coat or two of lime wash which we’ll do once we finish the whole wall.

Again, so pleased we found the mortar sprayer, what a mess it would have been without it and the time….

Should have worn a long sleeve shirt as I was splattered with a lot of lime which gave me some irritating burns on my arm, also the temps were in the triple digits so I was perspiring profusely whilst Aimee was glowing.

We returned on Monday night and managed to do another 6′ or so. We’ll complete it by the weekend.

ToolCrete to the Rescue

Our latest project has been to fill in the trench behind the house but before we can do this we need to:

  1. Repair the footings
  2. Remove flaking lime mortar from wall and replace
  3. Install foundation drain

This is how we currently stand:

1) Repair the footings. We’ve repaired the majority of the footings but have about five foot to go. The five foot section has some huge rocks in the way and these rocks are part of our footing so can’t be removed completely. I’ve been trying to trim them down with a combination of hammer drill, hammer chisel and diamond bladed grinder. Getting there but it’s slow and uncomfortable work. I’m currently about 4/5 of the way so light at the end of the tunnel 🙂
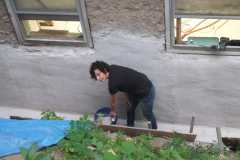
Aimee has been working on adding a concrete fillet/chamfer to prevent any water settling on the footings and to divert it into the yet to be installed footing drain.

2) Remove flaking lime mortar from wall and replace. We’ve made a lot of progress in the last few weeks, removing loose mortar, repairing holes and cracks etc. This weekend we managed to get a coat of new lime mortar on the wall. One of the traditional methods of applying the first coat is to literally throw it on, hence the name harl coat. If you’re interested this is a good video from Mike Wye explaining the harling process. You might think that just slapping it onto the wall with a trowel would be just as good, but I’ve been told that it isn’t and the bond will be poor and soon fail. We did apply a harl coat earlier this year and we found it pretty slow and hard work.
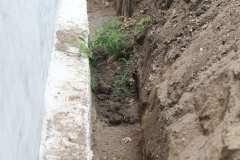
We didn’t fancy harling the back wall as it’s pretty large and the space is a bit confined which would make harling tricky, especially low down the wall. After some research I came across the ToolCrete stucco and plaster sprayer which is sold by Mortar Sprayer. I watching some encouraging videos so I ordered one and boy are we pleased with it. It’s powered by a compressor which we could luckily borrow from Joe and Deborah. The compressor wasn’t as powerful as they recommended (7cfm @ 90psi versus our 4cfm @ 90psi) but the ToolCrete sprayer allows you to block up one of the three nozzles and it worked great. We did make the lime mortar a bit wetter than usual and again added chopped fiber glass strands.
It took us maybe three hours to do the wall but that was because you have to mix lime mortar for about twenty minutes per batch. If we had a continual supply of the mortar I think we could have been done in about 30 – 40 minutes. Compare that to a couple of weekends if we had done that by hand and I don’t think the results would have been as good as with the ToolCrete sprayer.

We’re going to do the rest of the remaining walls with this sprayer both internal and external and this sprayer will save us so much time. Maybe if we can get a third person to help then they can devote themselves to the mortar mixing.

We have to leave this first coat to cure for a week before we apply a second coat and that may be the final coat. As most of this will be underground it doesn’t need to be perfect.

Lastly the sprayer is easy to disassemble for cleaning. Wish the hoper had a small lip so I could have hooked it on the window frame when Aimee was loading up as it does get a bit heavy after a while, that said I can always drill two holes and add two protruding bolts. All in all a great product which is very satisfying to use and it’s made in the USA 🙂

3) Install foundation drain. No progress on this yet but we know what we need to do.

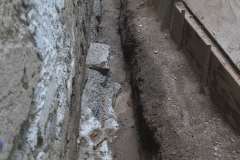
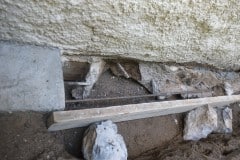
Repairing the footings

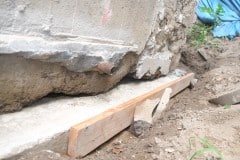
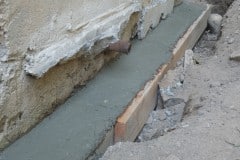
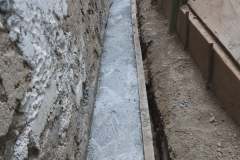
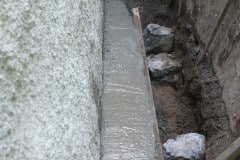
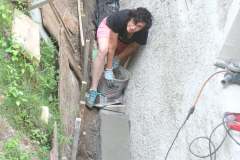
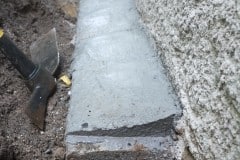
If you read the previous post you’d know that our rear wall footings weren’t up to scratch and needed repairing. It was a bit tricky as the space was limited but passing buckets of concrete out of the window worked well. We prepped well and I rust treated the existing rebar, added new rebar and pressure washed it a few times. After the concrete had set I did go along the bottom of the wall and filled up any gaps that still existed and as suggested by a few, I might seal the joint at the bottom.

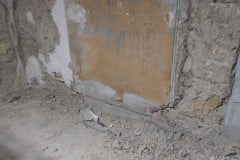
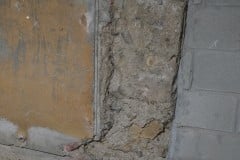
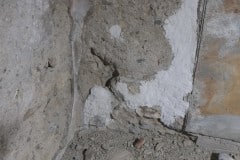
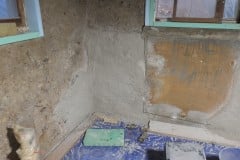
We’re pretty pleased with how it worked out and it’s a major improvement over what Thomas Motzer left us with, see below. Just a shame we had to spend the time and energy to correct this mistake. With this done we can move on to apply a new parge coat of lime to this wall which we will probably start this weekend.

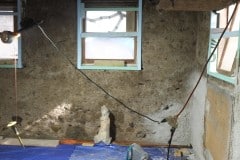
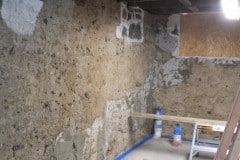
P.S. the white stuff on the walls is new lime mortar and as this will be hidden or white washed we didn’t bother color matching it.

P.P.S. Hope you’re feeling a bit better Chris 🙂