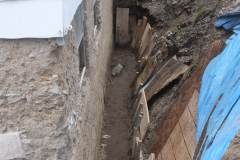
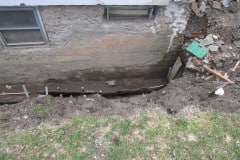
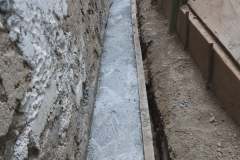
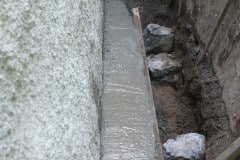
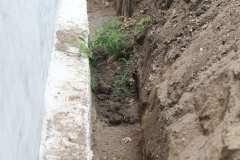
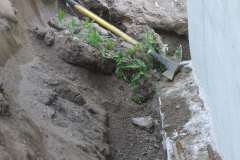
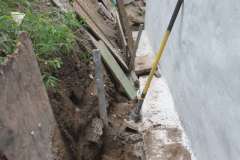
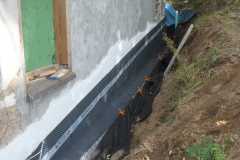
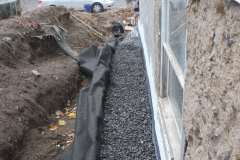
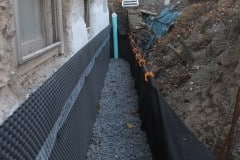
It almost seems a shame that we are finally covering up all our hard work but at least we know whats down there which is:
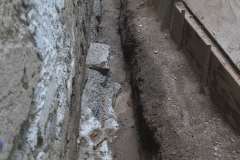
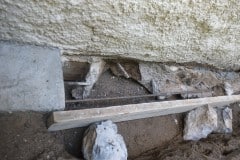
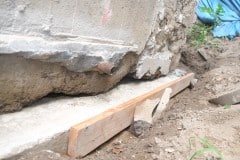
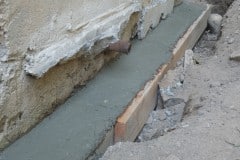
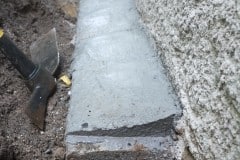
- Repaired foundations
- Chamfer on footings to direct water away from wall
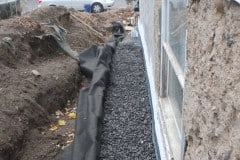
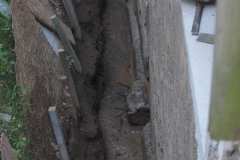
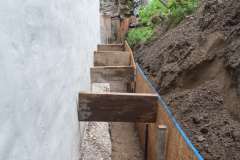
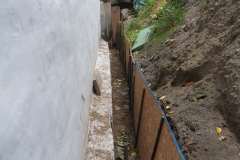
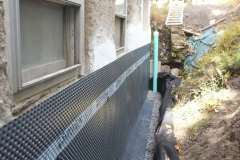
- Dimple board to allow any trapped water to seep away
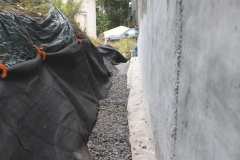
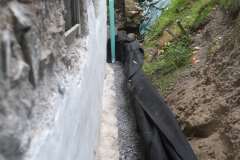
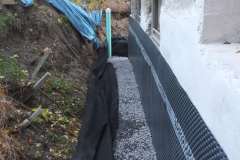
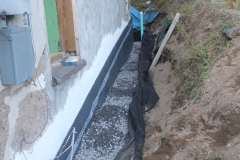
- Geo-texitle fabric to keep the dirt from blocking up the gravel
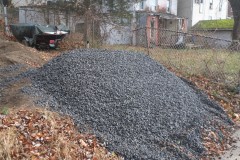
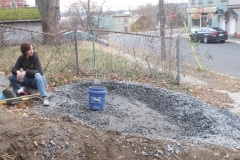
- Tons of gravel
- Pipework with two clean outs
- Chamfer on the top level of gravel
- Sloped top layer of gravel and added on top a thick plastic top layer to again divert water away from house
- 5″ of soil with a few bags of peat mixed it
It is a relief to finish this job as it’s taken many months and lots of of grunt work.
We do have a bit of gravel left over but we’ll find a use. In total I think the three deliveries dumped about 25 cubic yards of gravel which equates to around 60,000 lbs, no wonder it took us weeks to shift it. Again a big thank you to all who helped.
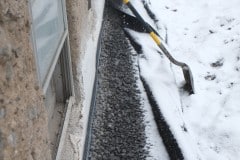
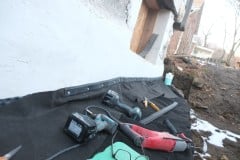
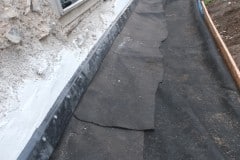
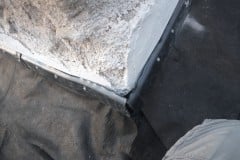
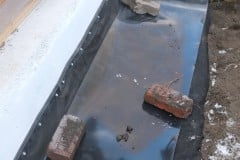
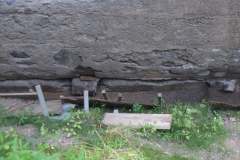
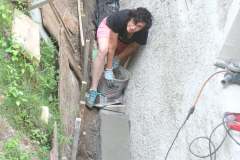
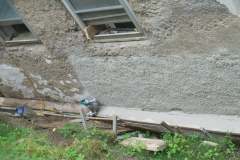
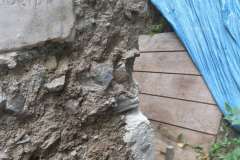
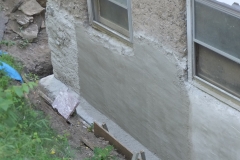
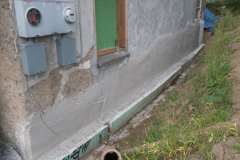
This weekend I added the capping strips to the dimple board, thanks again Andy from DIY Basement Solutions for your kind donation. These strips help seal the top of the dimple board to the wall. I used the white Tapcon screws with stainless steel washers to attach the caps. I will have to tweak some of these as in places more lime plaster needs to be added, including the corner, but that can wait to spring. We also have some Stego mastic left over, so I may add a bead along the top. You’ll notice in the pictures that the capping strips hold in place an apron of the geo-textile fabric, this covers the edge of the wrapped around fabric to fully encapsulate the gravel.
After smoothing down the fabric and apron I added the plastic membrane, for this I used an 18″ wide roll of rhizome barrier which is used to prevent bamboo rhizomes from spreading. This is tough stuff and I got it in 40 mil (a little over 1mm) and it would be hard to puncture this stuff with a shovel. As I had previously sloped the gravel away from the house the membrane is similarly sloped to help divert ground water away from the house. Once this was down, it was time to cover up everything.
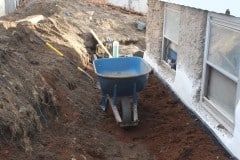
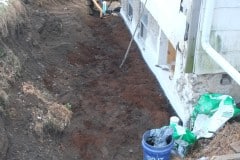
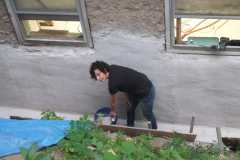
It was nice to to get the wheelbarrow down there as it made it easy to move soil around. I also added quite a bit of peat and bio-char to improve the soil quality and in the spring we’ll also mix up some of our kitchen compost.
I still have to finish off the drain on the side of the house but that can wait until after Christmas now and will only take a day.
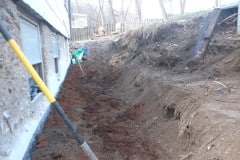
We want one access route to the house that is step free and this route will be up the drive and around the back of the house. In the last photo the flat area to the right will be the start of our path. It will be about a foot higher than the ground outside our rear windows which we plan to plant plants that do well in the shade like ferns. The transition from this lower level to the path (12″ higher but increasing) will be via a rock garden as we have many huge stones laying around in the garden. This will be a fun project to work on and we’re both looking forward to.
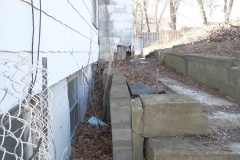
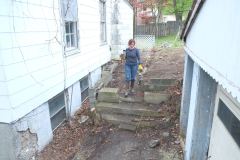
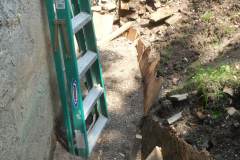
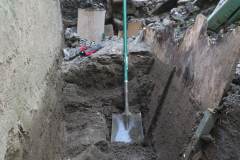
Below I’ve ordered a few images chronologically so you can see how we progressed through the year. I’ve included some pictures of the rear so you can see how it looked when we bought it.
Part 1. Digging the trench, fixing footings, plastering and whitewashing.
Part 2. Fixing more trench collapses, installing dimple board, geo-textile cloth, piping, gravel, caping strips and finally soil.
Lastly if we had paid someone to do all this I think we would have probably had to pay in excess of $30,000 and possibly double that.
By the way Kingston (and similarly the Hudson Valley) have experienced a housing boom and earlier this year Kingston supposedly had the hottest real estate market in the country, hard to believe until you look at housing pricing.
See Why Kingston’s real estate market is the hottest in the country
and
As home prices soar in unlikely places, the most vulnerable residents pay the price
I bring this up as it’s difficult to find contractors, who can now pretty much charge what they like. It’s certainly great to have the energy of new people moving into the area but it is sad to see people being evicted and rents increasing sharply.
All in all I think we added quite a few defences against damp and I don’t think we could have done a better job. If my Dad was still alive today he would definitely have approved of the work.
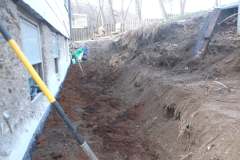


I think you dropped a really expensive screwdriver, so might want to consider digging it up to find it.
Second thought, is it reminded me of a WW1 trench, and was probably about as much fun.
Keep up the good work, and remember, this time next year you’ll be living in the house.
Ha ha, yes that would be nice if we could move in net year. Certainly getting closer!!!!
I said some time ago that I had run out of words to use but this is truly inspirational. What you have achieved since day one is brilliant but this year is just wow wow wow. Cannot wait for the spring.
All I can say now is Nadolig llawen a blwyddyn newydd dda.
Thank you Chris, your kind words keep us going!!!! Nadolig Llawen a Blwyddyn Newydd Dda back to you!!!!