Under pressure

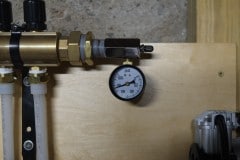
Bought an air inflator today and started pressure testing the pex system. There were a few obvious leaks and they were fixed by tightening some fitting. Pressurised the system to 75 psi which is a lot more than the operating pressure but is what’s recommended. I’ll check back tomorrow and fingers crossed it will be at the same pressure give or take a few psi to account for changes in ambient temperature and pipe expansion.

I’ll update this post tomorrow evening with the results. Fingers crossed.

Radiant heating pex installed

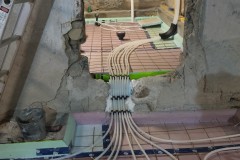
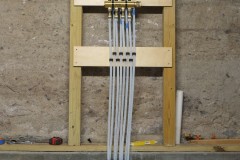
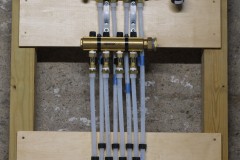
Glad to say that the radiant heating pex has finally been completed and connected to the manifold. I was hoping to pressure test the system this evening but our inflator only has a cigarette style power input.

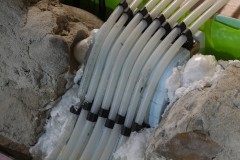
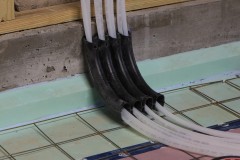
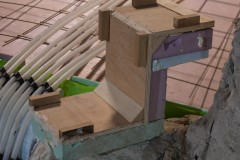
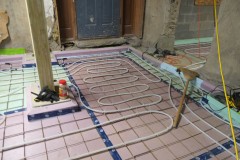
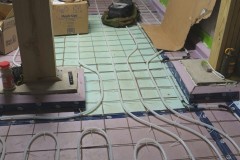
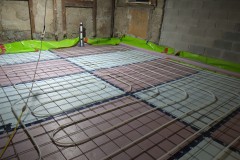
What took us so long was the transition from the main room into the boiler room which is about 12″ higher. The pipes have to be concealed in the 12″ wall as well as being insulated so they don’t loose heat to the ground. I’ve been trying to work how to do this for ages and my first solution (last image) was a plywood step with insulation below it. That didn’t work as it exceeded the bend radius of the pex and it was kinking. Kinks are not good as it restricts the flow of water, however, a great advantage of PEX A is that you can restore the pex to its original shape with a heat gun. That saved my bacon a couple of times and you can see a demo below.

Second attempt at a step was a success, similar plywood step, but this one had the foam insulation glued to the top so I could carve it into a slow “S”. I also added three rows some great pex clips to hold the tubing in place and they worked a treat. I filled up some of the gaps with expanding foam and in the next couple of days I will concrete this up. All in all I’m pretty pleased with how this went.

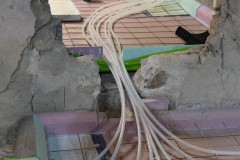
To connect the pex to the manifold you have to use a special and expensive tool (about $600) which expands the pex. Luckily our friend John Paul lent us his. It’s pretty cool how it works and I recommend this video.

Tomorrow I will try and pressure test the system and if that is a success then we can get an inspection from the local building department.

It’s a real shame my parents and Aimee’s Dad aren’t still with us as I think they would have got a thrill from all of this.

Pour in a week or so

Spoke to our concrete guy, Al Riozzi (AJR Masonry), a few weeks and he said he could get the pour within a few days of us getting a pre-pour inspection. We’re over the moon with this news as the construction industry is booming in the Hudson valley due to an influx of people from New York city and a lot of contractors are booked up till next year, plus prices have gone way up due to the bad state of the supply chain.

Concrete needs a temperature of 50° or above to cure properly and if you don’t hit this range for 24 hours then the concrete looses a substantial amount of strength, hence why we are anxious to get it done before winter. Al seemed pretty impressed with our prep work and semi-seriously asked us if we wanted to do some more prep work for him, nice of him to say that.

The concrete I had to remove from the footing probably took me about 30 hours in total (over a few weekends and many evening) and I’m really glad that is over. In total I removed about 5″ from the top of the footing. These were additional footings that I added and they were at least 18″ deep so even with the 5″ removed there is a still a substantial amount left. Lesson learnt.

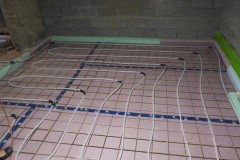
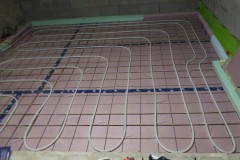
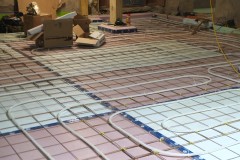
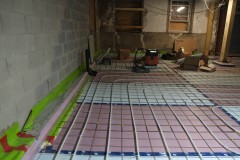
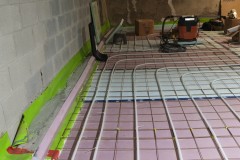
We are now at the point of laying down our pex tubing for the radiant heating. We have most of the parts and have worked out the layout of the loops will go. It was great talking to our friend John Paul who suggested that we just have one zone for the ground floor. Zones allow you to customize your heating, for example you may want your bathroom warmer to drive away condensation, while you may want your bedroom cooler. John Paul said that as the ground floor is so small zoning wouldn’t be that useful, hence we have one zone which will consist of four loops (bedroom, bathroom and two for the main room). In addition the manifold (used to connect all the tubes in the slab to a hot water supply) will have balance valves so we can achieve the effect of zones by tweaking these if we need to.

We went with the Uponor brand (they have great Youtube videos and have been in the business since the beginning of PEX) for our supplies . Incidentally, John Paul, went with Uponor for his new house and if it’s good enough for John Paul it’s good enough for us. The nice thing about the Uponor tubing (Pex type A) is that if you kink it by bending it too much then you can remove the kink with a heat gun and the pex is as good as new and we did kink it twice.

We weren’t happy with the pex layout in the bedroom so re-did, didn’t take long, an hour max. See before and after pictures below.

Next steps is to sort out the pex as it transitions up 10″ into the boiler room. That’s going to take some thought to do it nicely as it needs to be hidden after the pour, plus insulated. After that we can start working assembling and attaching the pex to the manifold and pressure test the system.

You’ll note that in cold areas (exterior walls and the front door) the pex spacing is halved to give those regions a bit more warmth. I think we used over a 1000 zip ties to attach the pex to the rebar mesh, which will all get cut back so they don’t stick out of the concrete.
Prepping for parging

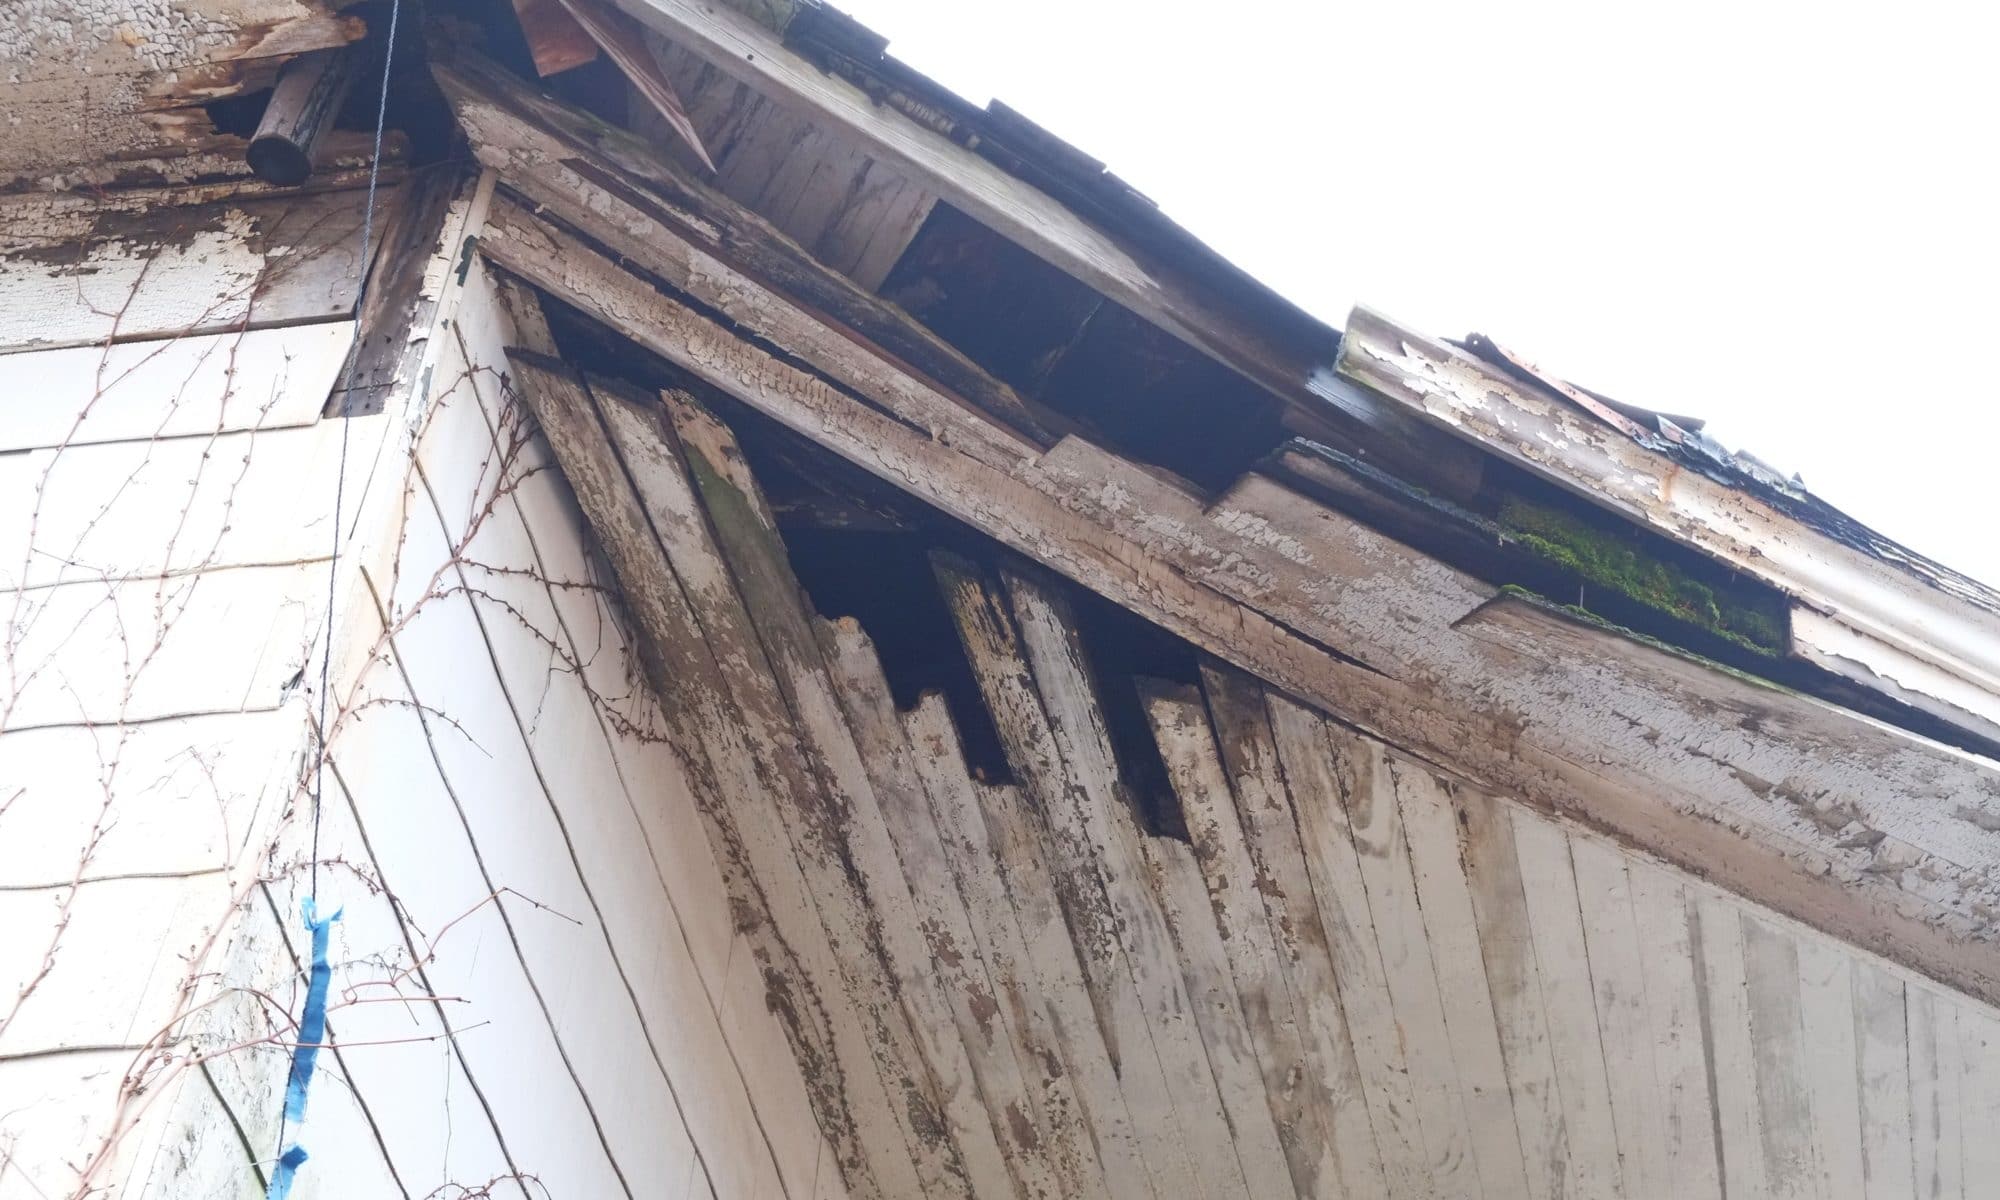
Apart form the concrete pour, another task we are trying to get done before it gets too cold is to apply a parge coat/plastering of lime mortar to our outside walls, reason being we are fed up of the huge trenches and not being able to walk around our house. The old mortar has flaked off and as we had new footings added to the rear walls it meant that the normally sub-terrain walls were fully exposed. Alas we were busy doing other tasks so over the last year or so three foot of sandy sold has been washed back against the back wall.

This weekend we started to dig out the sediment. It’s too steep to wheel barrow so it was shoveling into buckets. We did hire a friend of ours to help us out but he bailed after about 1 & 1/2 hours, shame. We have, however, enlisted the help of some other friends Cari and George.

As we dig, more soil collapses back into the trench. It’s annoying as you think you have finished and then bam, another couple of wheel barrows needs to be removed, but I hoping that once the soil reaches an angle of 60 – 70° it will become stable.

We don’t have any video of Georges work but he’s made good progress, again more land slides after he left but we’ll remove them.

After some research it looks like we may need three coats of lime mortar, a first or bonding coat which is usually thrown on, then a scratch coat (called a scratch coat as it’s usually scratched or scored with a comb to give it a rough texture). followed by a finish coat, with each coat getting progressively thinner. Unfortunately each coat takes about a week to partially cure before the next coat can be applied, so it looks like we won’t have enough time this year. Bit of a shame as we really wanted to fill in these damn trenches around the house.

We will complete the digging out this year and then and add tarps so the bank doesn’t get washed down again and then wait for spring, which here is April/May.

Look familiar?

Our neighbour down the street in Ponckhockie received this flyer through the mail.

At first I thought it was a water colour but we were told by a friend that this was done using a standard photoshop filter.