You may have noticed that we haven’t done much work on the house recently. That’s because it’s been so cold here. With temperatures generally below freezing it’s not very inviting especially when it’s dark outside. We have been working on some side projects such as the toledo chairs, a bird table and our test sash window, for which I’ve been working on the sash/weight pocket.
So what is a sash/weight pocket?
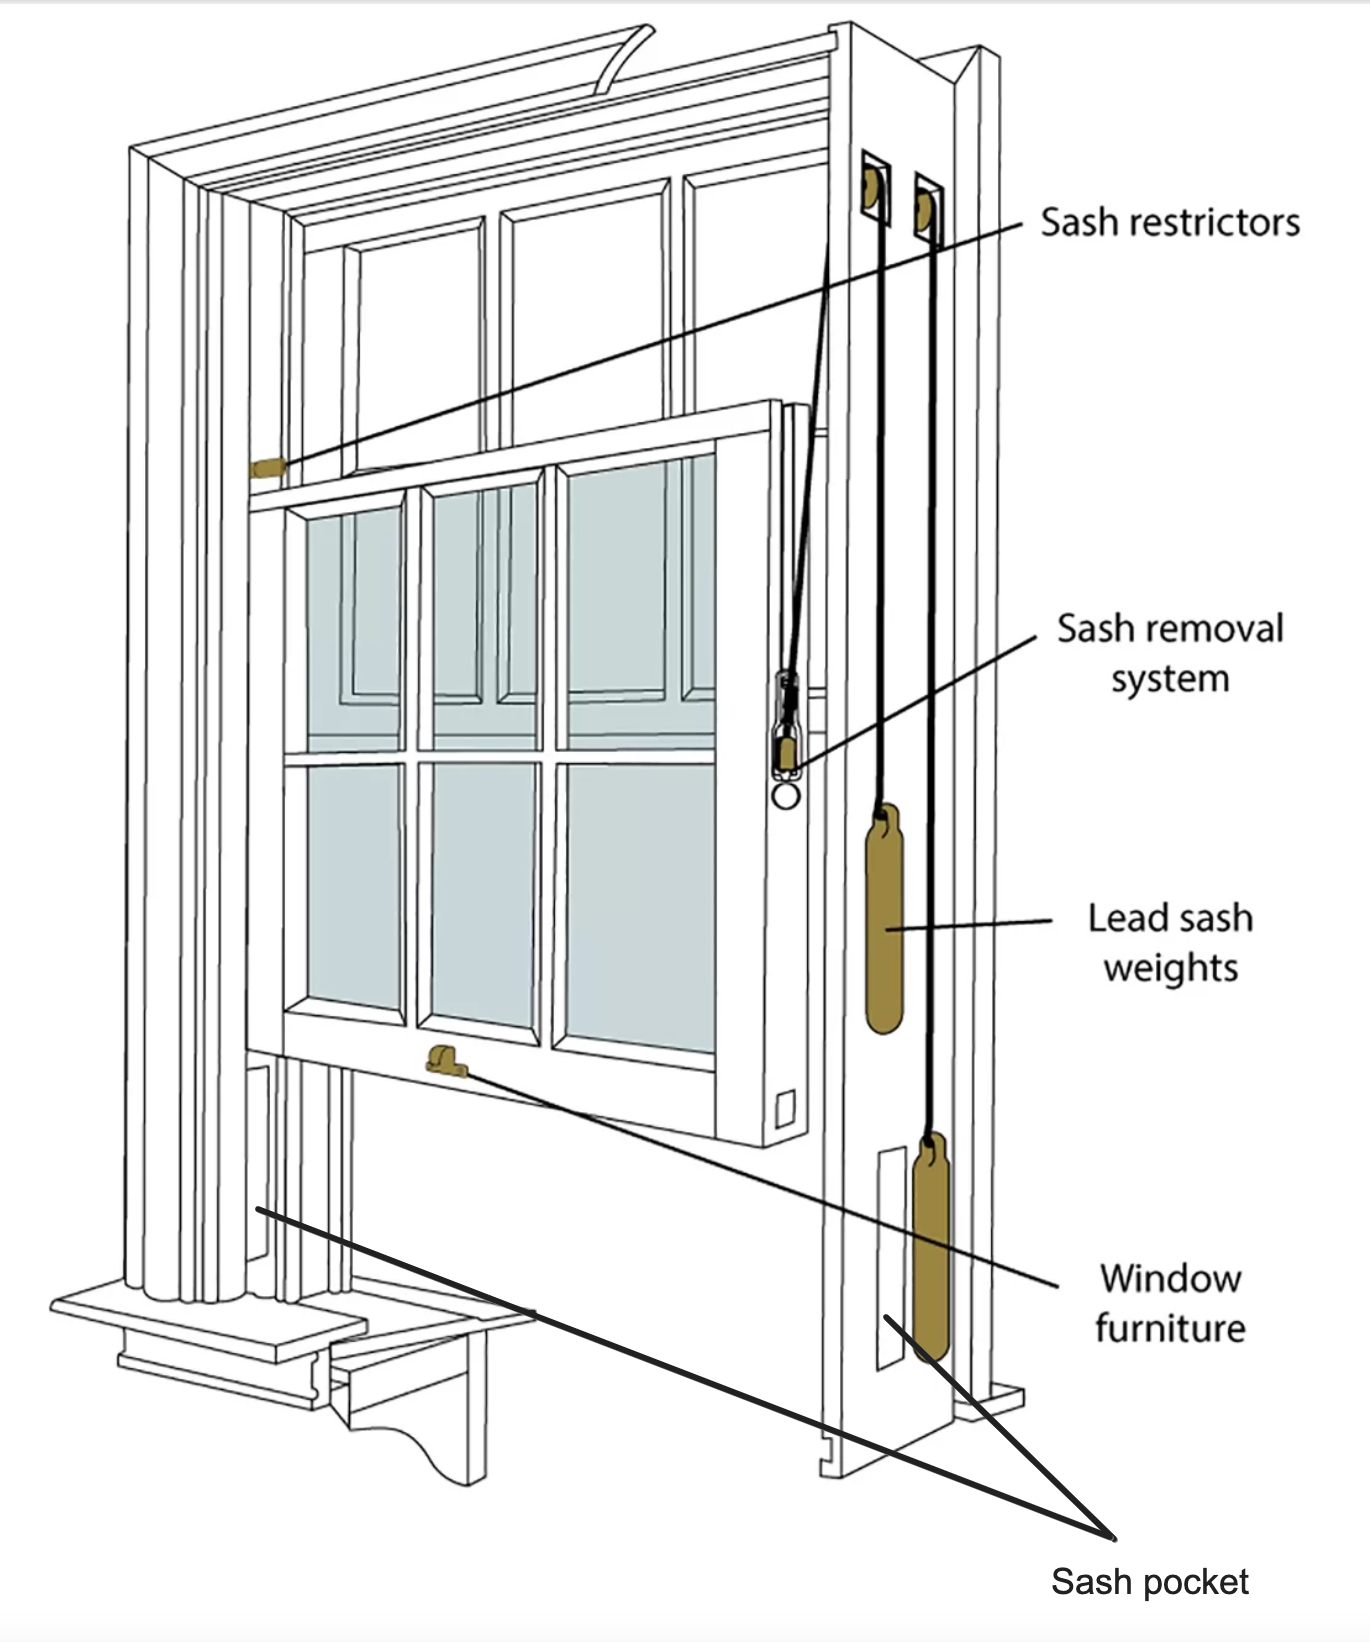
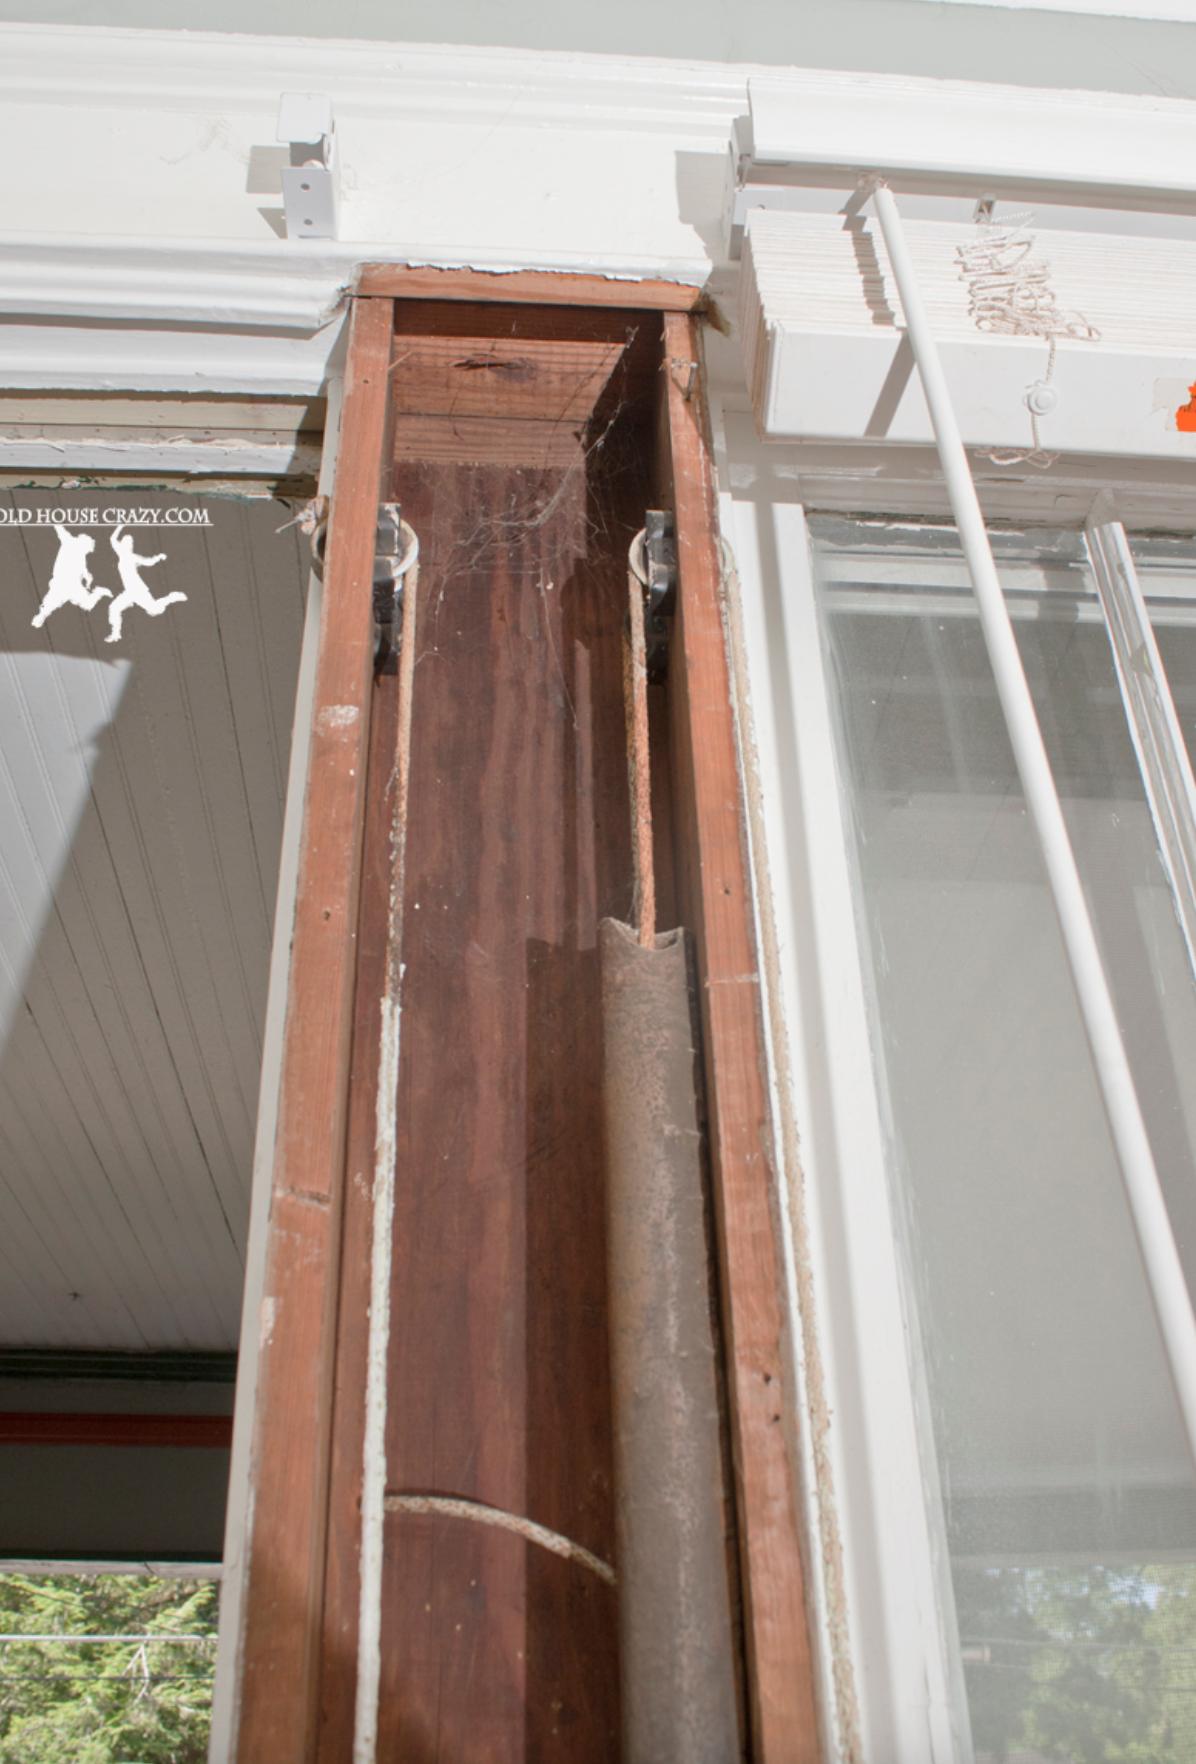
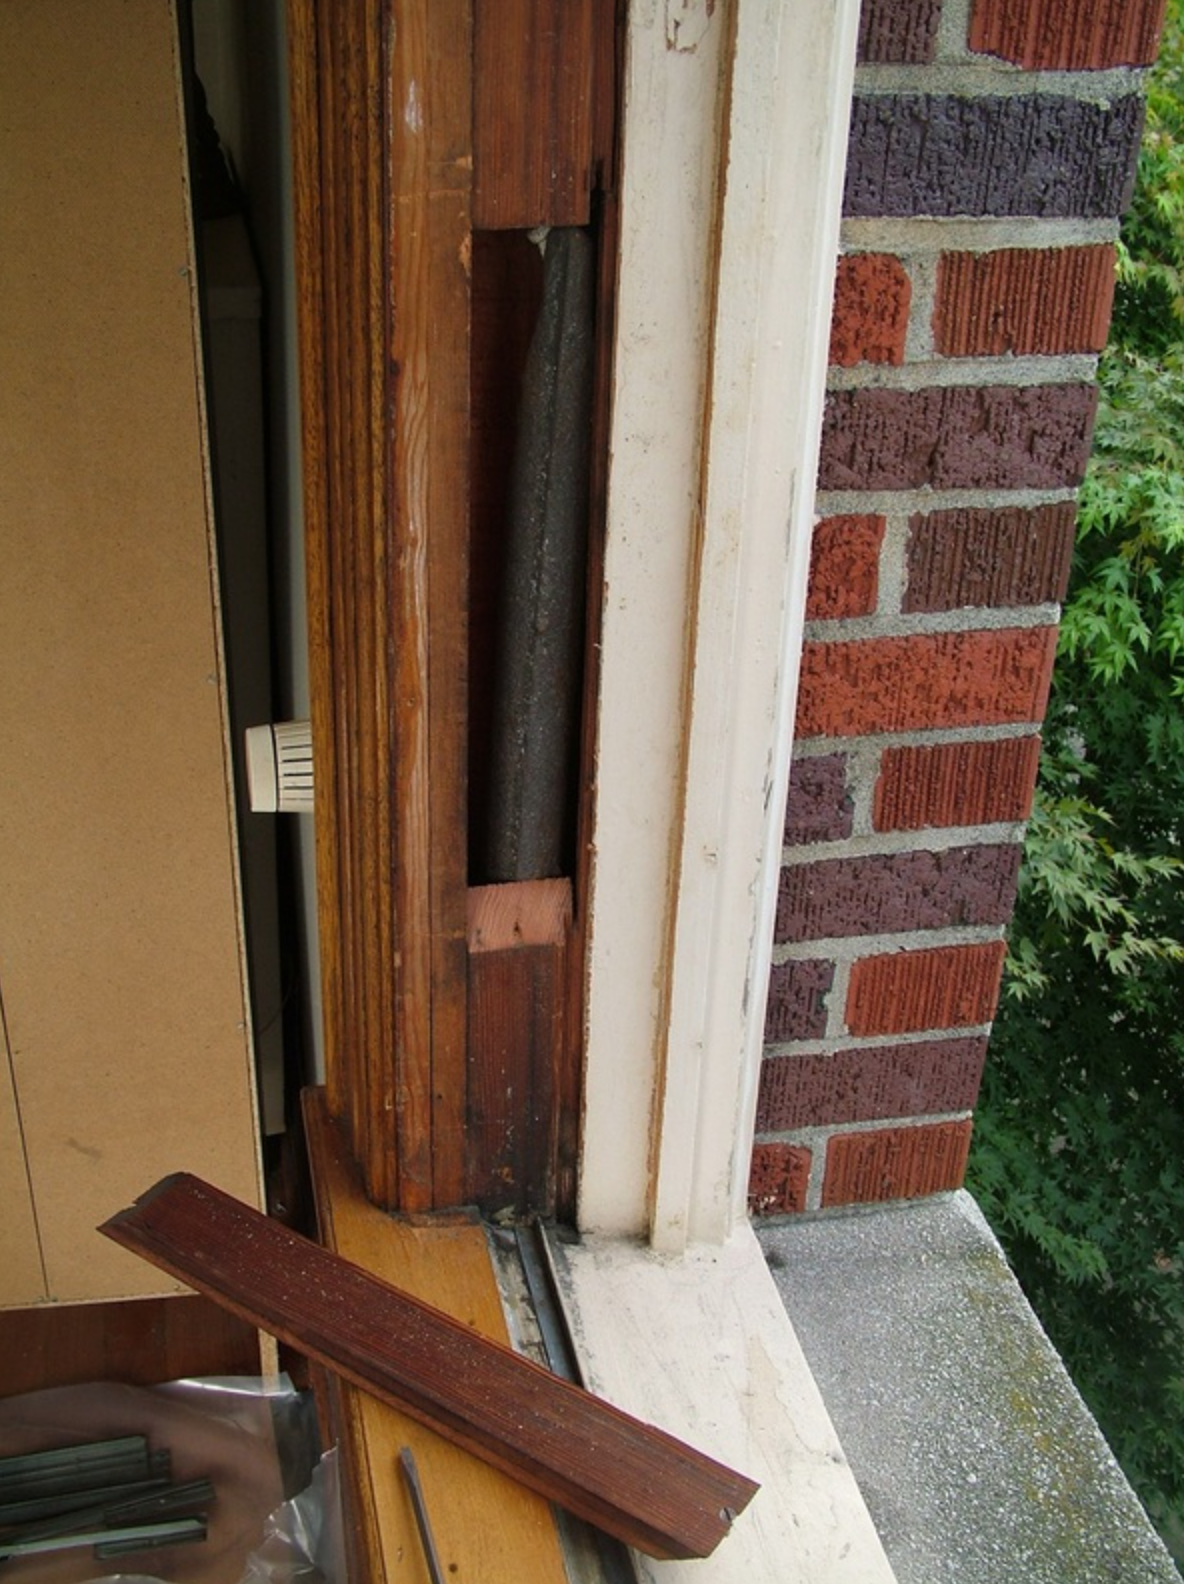
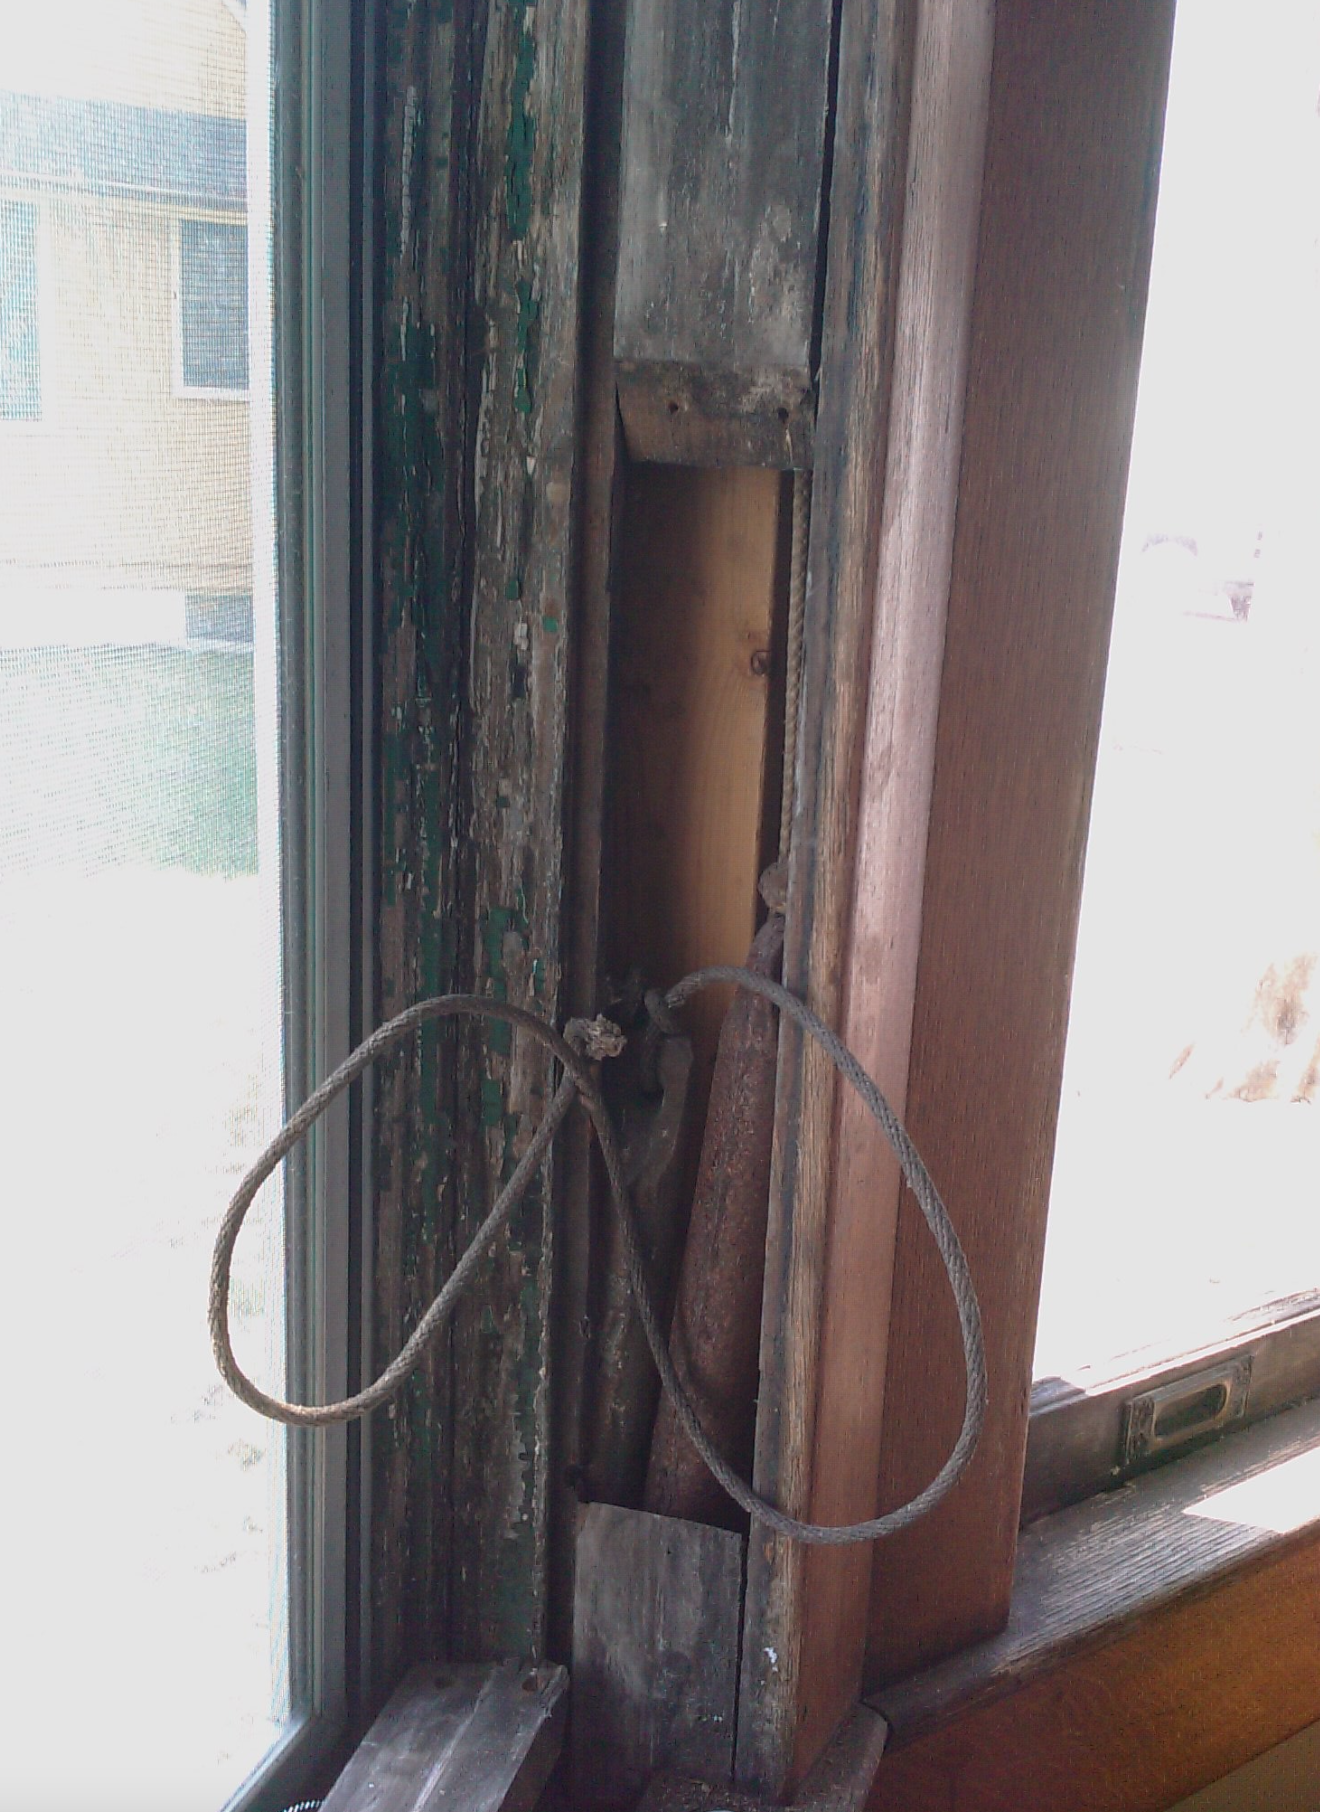
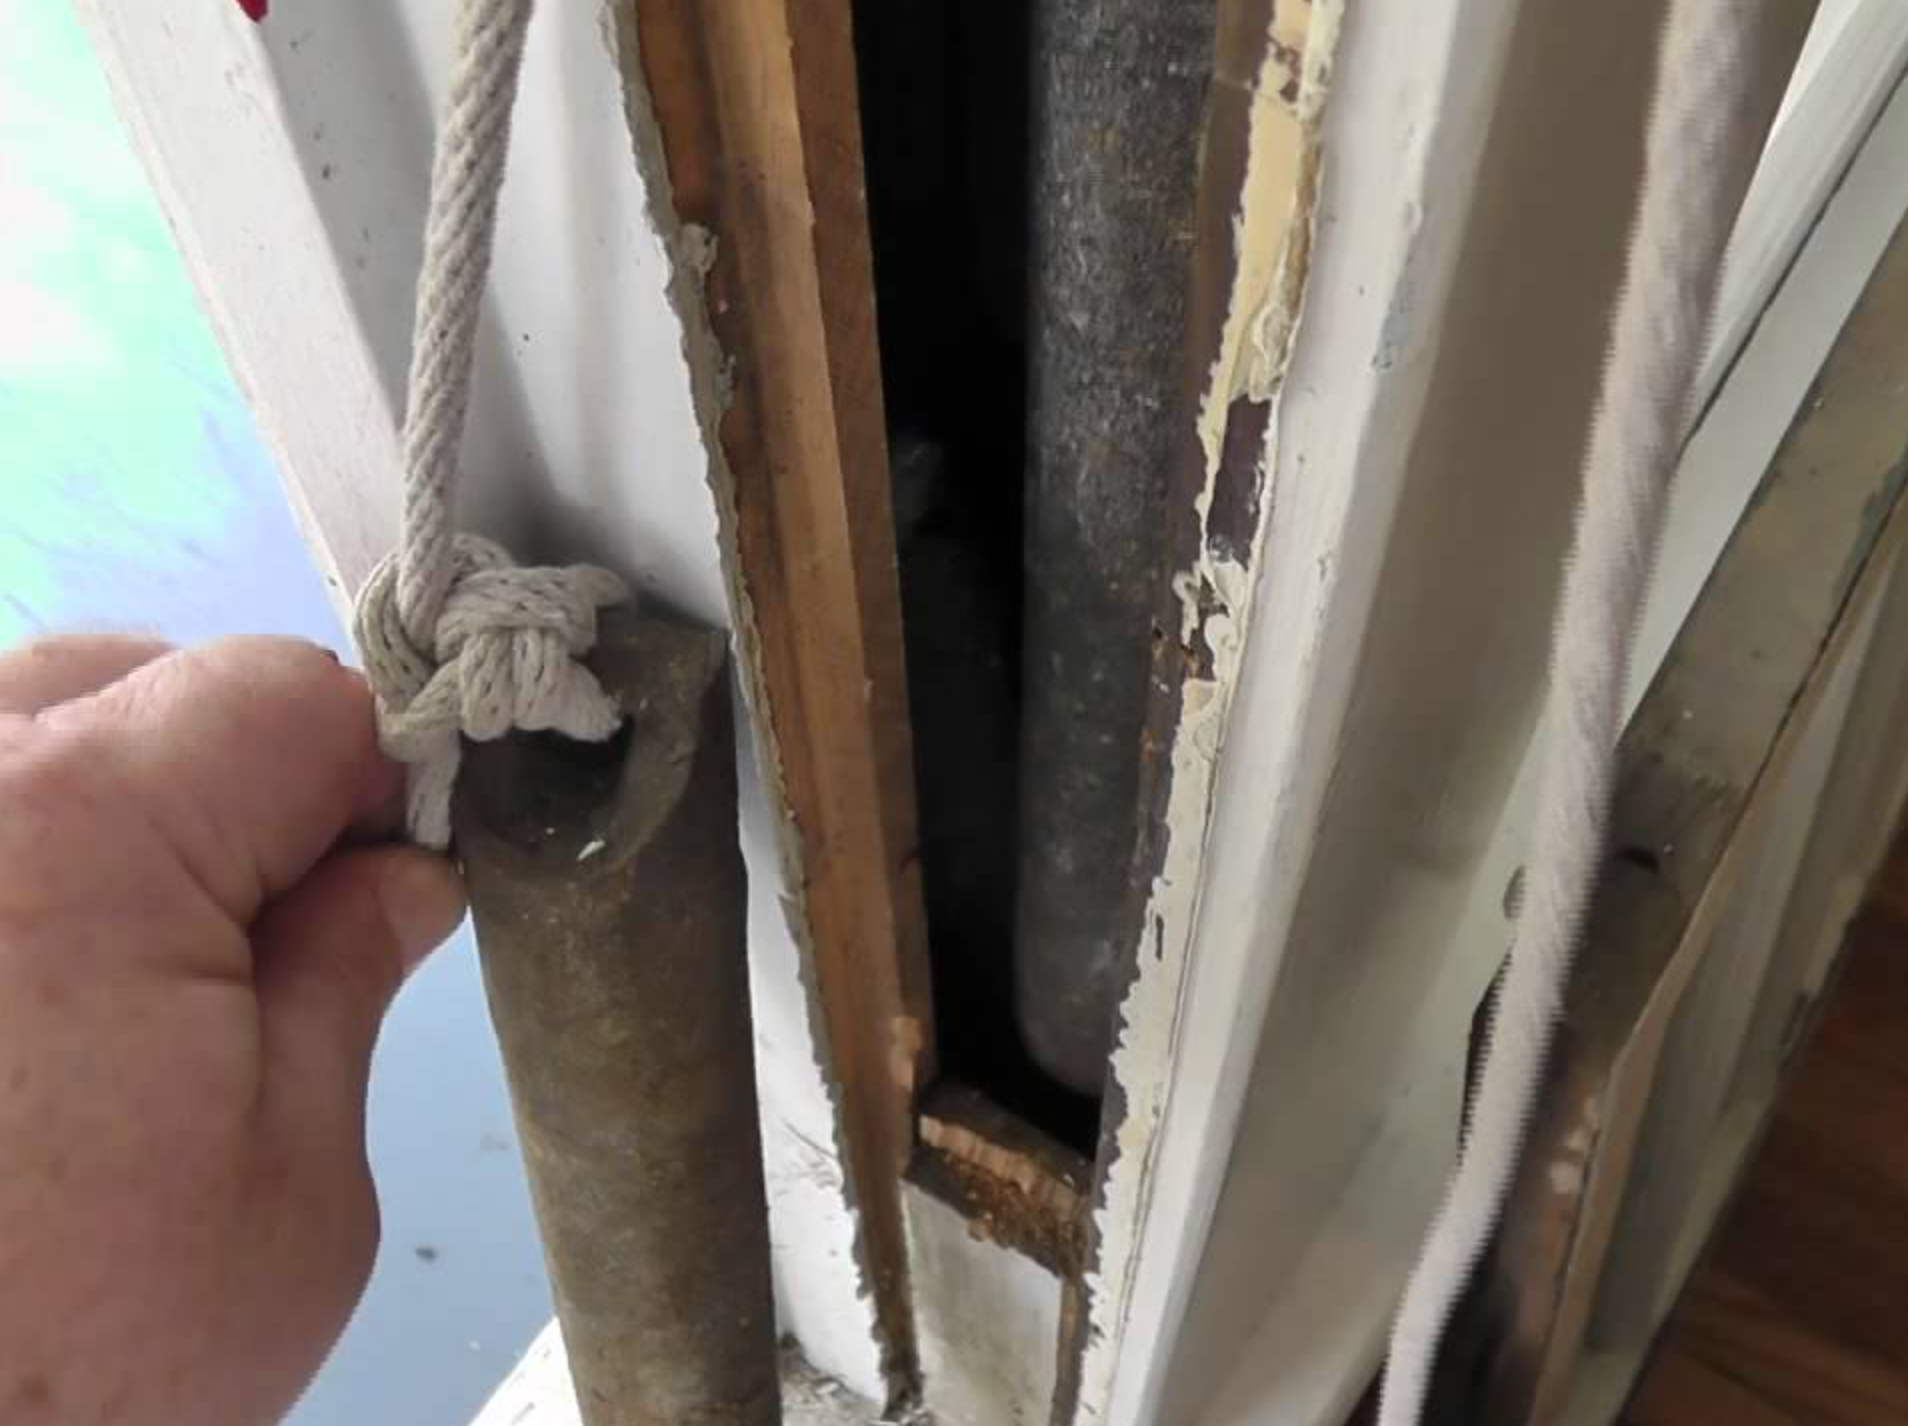
If you look at the anatomy of a sash window (see first picture below) you’ll see counter weights on either side of the window. These weights are of a similar weight to the sashes they’re connected to thus making the windows easy to open and close. Sash pockets are the small removable panels on the lower jambs that allow you to access the weights for both sashes.
So why do you need them? You’ve built and installed your windows and they work great, what could go wrong? Probably nothing for many decades, but one day you may have a problem, your sash cord may break or you maybe you decide to reglaze with heavier glass and need to add additional weights? This is where sash pockets come in handy as they give you access to the sash cord and weights. If you don’t have these pockets you’re going to have to use a pry bar to remove wooden trim which will take some time patching up.
Next time you’re in an old house with sash windows, open up the lower sash and see whether you can see the sash pocket, it will probably be painted over but you may be able to see the joints underneath the paint. Note, not all sash windows will have pockets but you can dig further yourself if you’re interested.
As you can see from the following videos making these pockets is a skill and if you get it wrong your sash pocket will look ugly. I’m not sure I have the skills to make these cuts accurately, so I decided to find an alternative method.
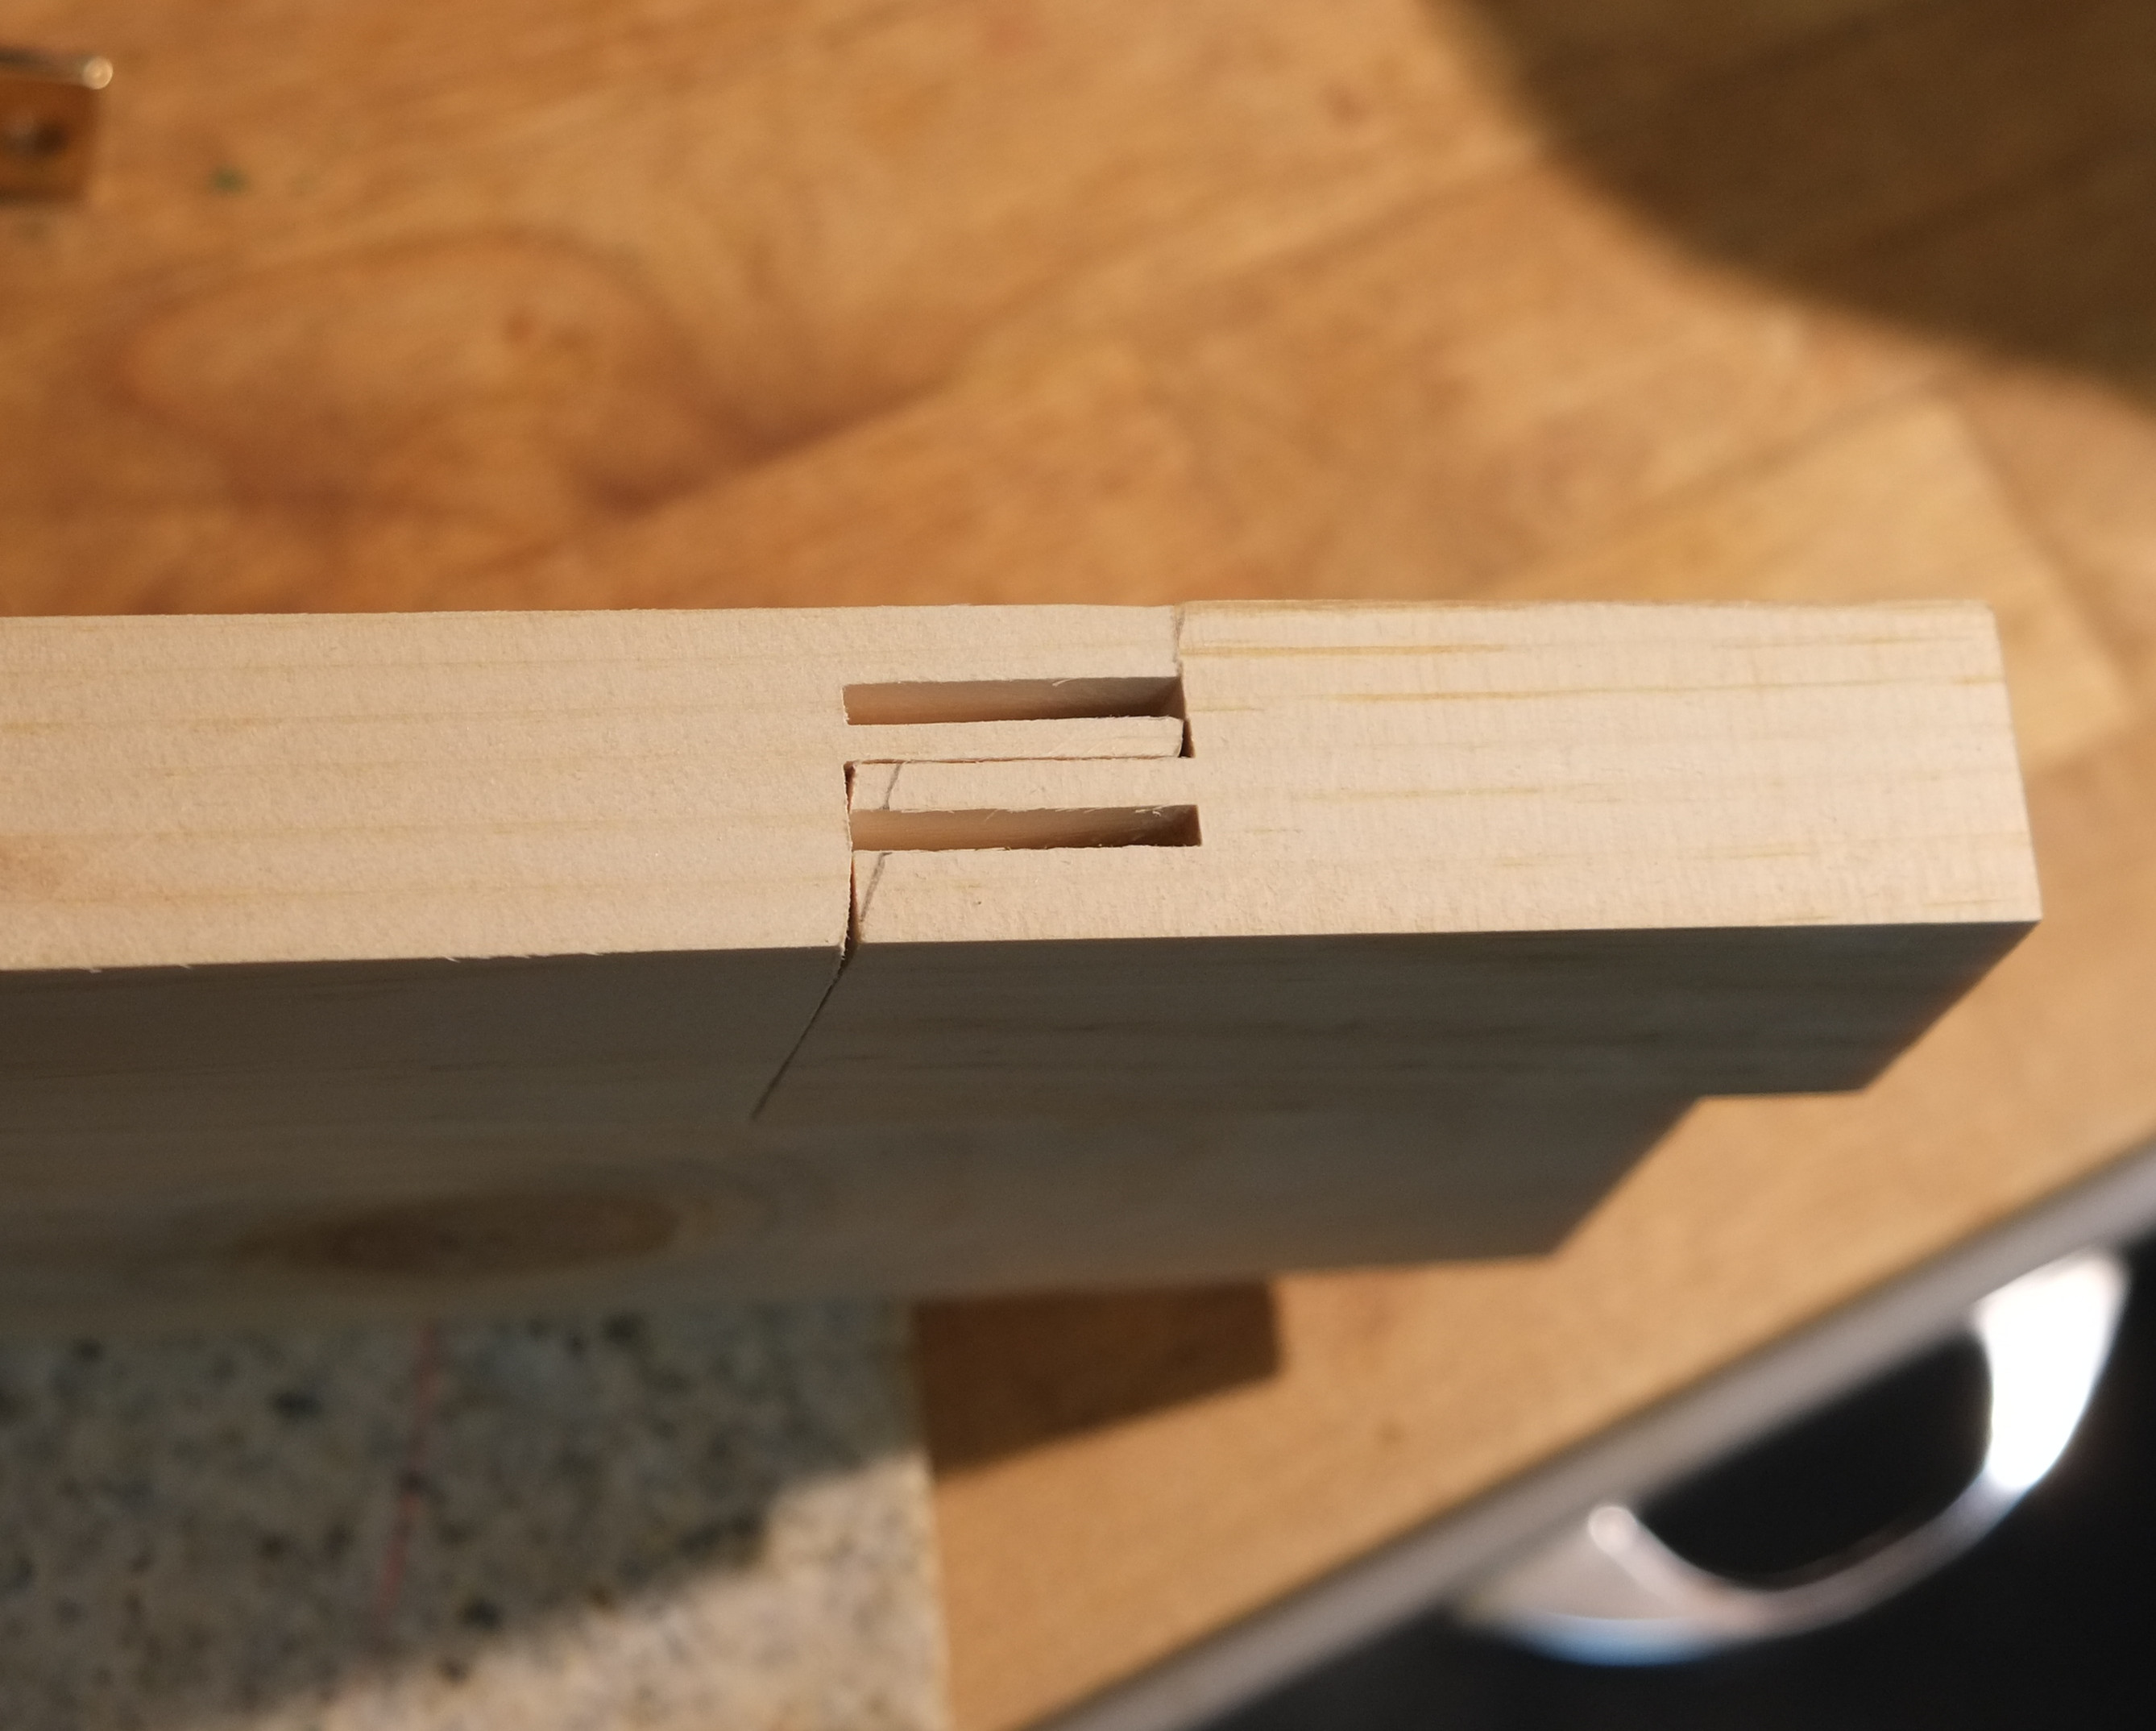
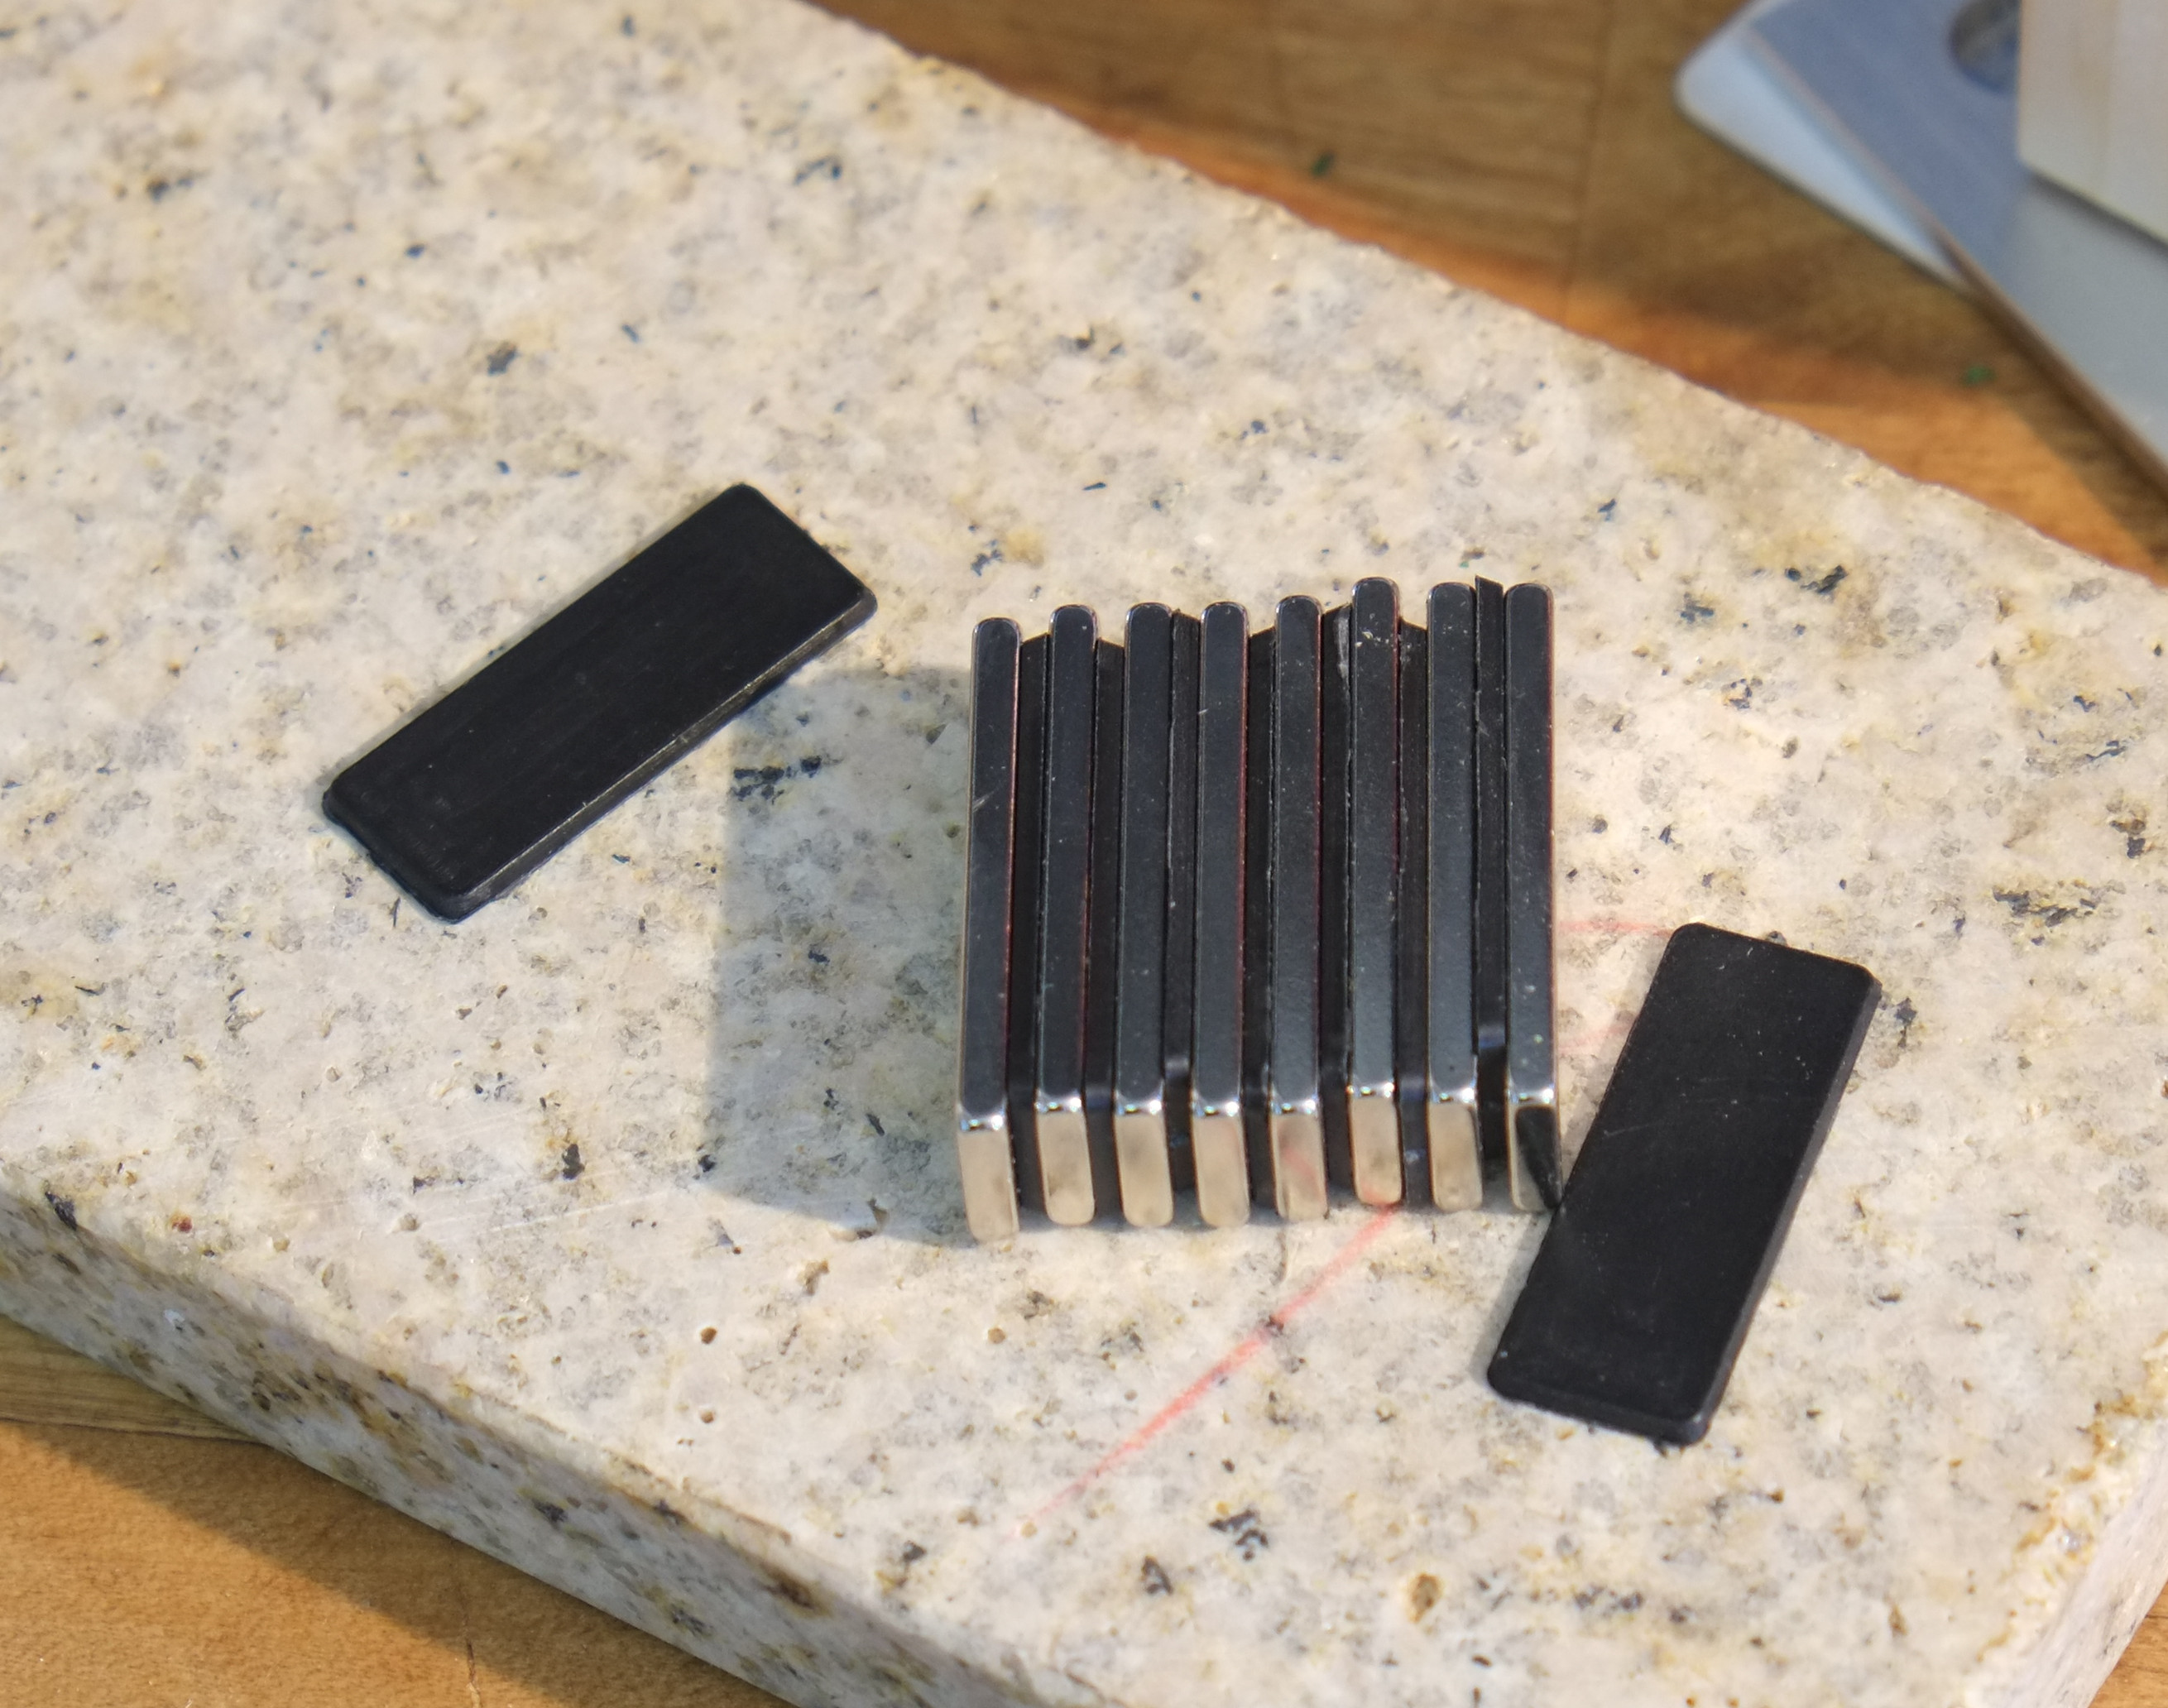
The method I decided upon was to make the window jamb from multiple pieces, this allowed me to create the sash pocket separately and use magnets to hold the pocket closed so I don’t have to use a screw. As we’ll be making these windows out of a dark coloured wood, you probably won’t even notice the pocket and all you need to open the sash is another strong magnet. All these joints were cut using a table saw and tenoning jig. When we are ready to start production of the real windows I’ll set up a production line and make a bunch of these at one time.
The only down side of these sash pockets is that the jambs need to be assembled from three pieces of wood instead of just the single bit. It’s a bit more effort but I feel the results are worth it as these pockets work and look great.
I think I will name these DM sash pockets.
I got the magnets from KJ Magnetics which has been my go to place for strong neodymium magnets for years. What’s nice is that they have a pull force calculator so I knew that my two magnets placed 1/4″ apart would have a pull force of 1.7lbs which is more than I really need. I only have magnets at one end and these are held in place with West epoxy, again my go to for epoxy for decades. For small amounts I always use a gram scale to get the correct ratio.
The equipment and stuff you have is brilliant and the skills. Love these updates still hoping we can see it for real one day.
Thanks Chris and we’ve saving some jobs for you so you better make it over here 🙂