We have an Income on our Doorstep

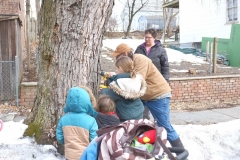
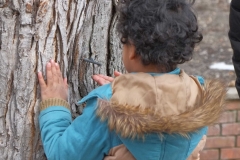
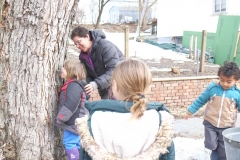
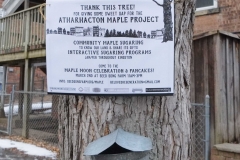
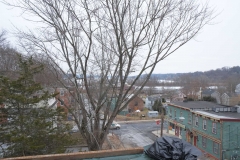
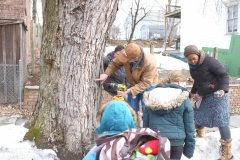
We were working on the house this weekend when we saw a lot of people walk up the street and gather around the tree outside our house. Turns out it was a demonstration of how to tap a maple tree for it’s sugary sap and part of the Atharhacton Maple Project (see below). It was pretty cool to see them doing it, especially to see how easy it was to do, though I think the work is in the refining of the sap.

We joined the group and were told of the old Native Americans practices of asking the tree for permission, thanking the tree and offering the tree roots tobacco leaves. They also told us that this tree is a silver maple tree and not a red maple as we thought, even though it does have red blossom.

Silver maple isn’t the best tree for syrup as the sugar content is lowish but we do hope to try some next weekend on pancakes.

Atharhacton is the Lenape tribe name for the Kingston area. This project honors our native “first people” and one of their gifts to all future settlers: the wisdom, method, and gratitude for making Maple Sugar. (from: https://www.seedsongfarm.org/maple.html)

Too Cold to do Much

Thomas and Matt have been plodding on through the recent extreme cold, but we haven’t been up to much down the house. We normally go down for a few hours each day at the weekend but when the sun goes down the temperatures really drop. I wear three pairs of socks and two pairs of gloves and my extremities still get cold, though we have discovered these chemical heat pads which really seem to work. They are a bit tight trying to get them into your boots but they do work. I dread to think what’s inside them.

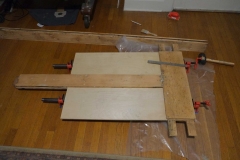
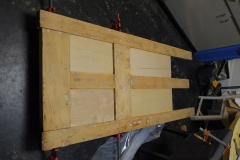
When down the house Aimee usually continues stripping our many window sashes etc. which is a slow process. I’m sort of all over the shop, but mainly working on restoring the old back door we found in the garage. In a previous video we stripped and dismantled the door and now we are are filling all the many holes etc. with System Three epoxy. The nuisance with the weather is that we can’t do any gluing (or painting) down the house as the temperatures are way to cold (last week it got down to -4F/-20C) so we have to do all the gluing in our apartment and then cart everything down to DM to do all the sanding and table saw work which is a real pain as the door parts aren’t small.

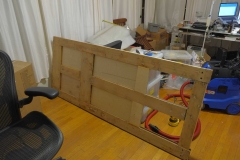
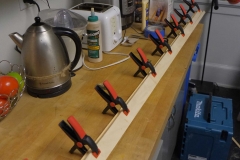
In the original video you can see that the door had four wooden panels. We decided that the two smaller top panels should be glass and the bottom panels need to be replaced as they were cheap ply and looked they had been replaced after some door incident. Poor door, it had been through a lot of abuse. Anyway to cut a long story short I am trying to reassemble the door.

Incidentally I almost hung the upside down. If you look at the original video of the door,

you will see two large and two small panels. I naturally thought that the larger panels would be on the bottom and the smaller on the top, which I was going to replace with glass. When showing Aimee progress on the door lock mortise, Aimee pointed out how high the door knob would be and suggested that I had it upside down, and bingo the door was upside down. We looked at all the old panel doors in our apartment and yes the smaller panels are on the bottom. I had already glued in the replacements for the large panels but I was able to cut these back so all is good now.

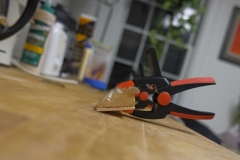
The panels and the glass on the door all will have fancy mouldings. We did manage to get some of the original mouldings off, but a lot were missing. I was going to get the mouldings made up but a quote of $300 for about 30 foot made me think again. In the end I created the mouldings out of three separate pieces, one moulding from the local hardware store Herzog’s, one from Home Depot and then some nice ply from Midwest. I think they worked out quite well.

I managed to cut the glass myself without incident, but I now realise I may have to trim 1″ off one side which maybe a little tricky, though I do have a fancy glass cutter from Toyo so fingers crossed. The glass we got is some nice 1/4 inch glass from Zaborskis, a rather interesting industrial salvage place in Kingston.

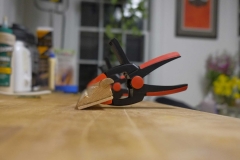
We plan to etch the glass with some design, probably something from nature, such as trees or ferns. I’ll post a design once we’ve tested it out. I have been practicing cutting glass on random pieces of broken glass and my $10 cutter does worked fine for the thinner glass, just not on the 1/4″ glass. One secrets is apply just right amount pressure wheel, not too, not much little. What worked me was when wheel made a sound like tearing a sheet paper.

The edges of the door were all looked bad, crowbar damage etc and all sorts of gunk etc. so I trimmed all that off and will be replacing that with 1/4″ – 1/2″ strips of oak.

When it comes to painting Derrick and Giovanna, our local restoration experts, recommended a first coating of boiled linseed oil (cut with turpentine), followed by an oil based primer “Fresh Start” from Benjamin Moore and topped off with a couple of coats of “Duration” from Sherwin-Williams.
Stair way to the stars

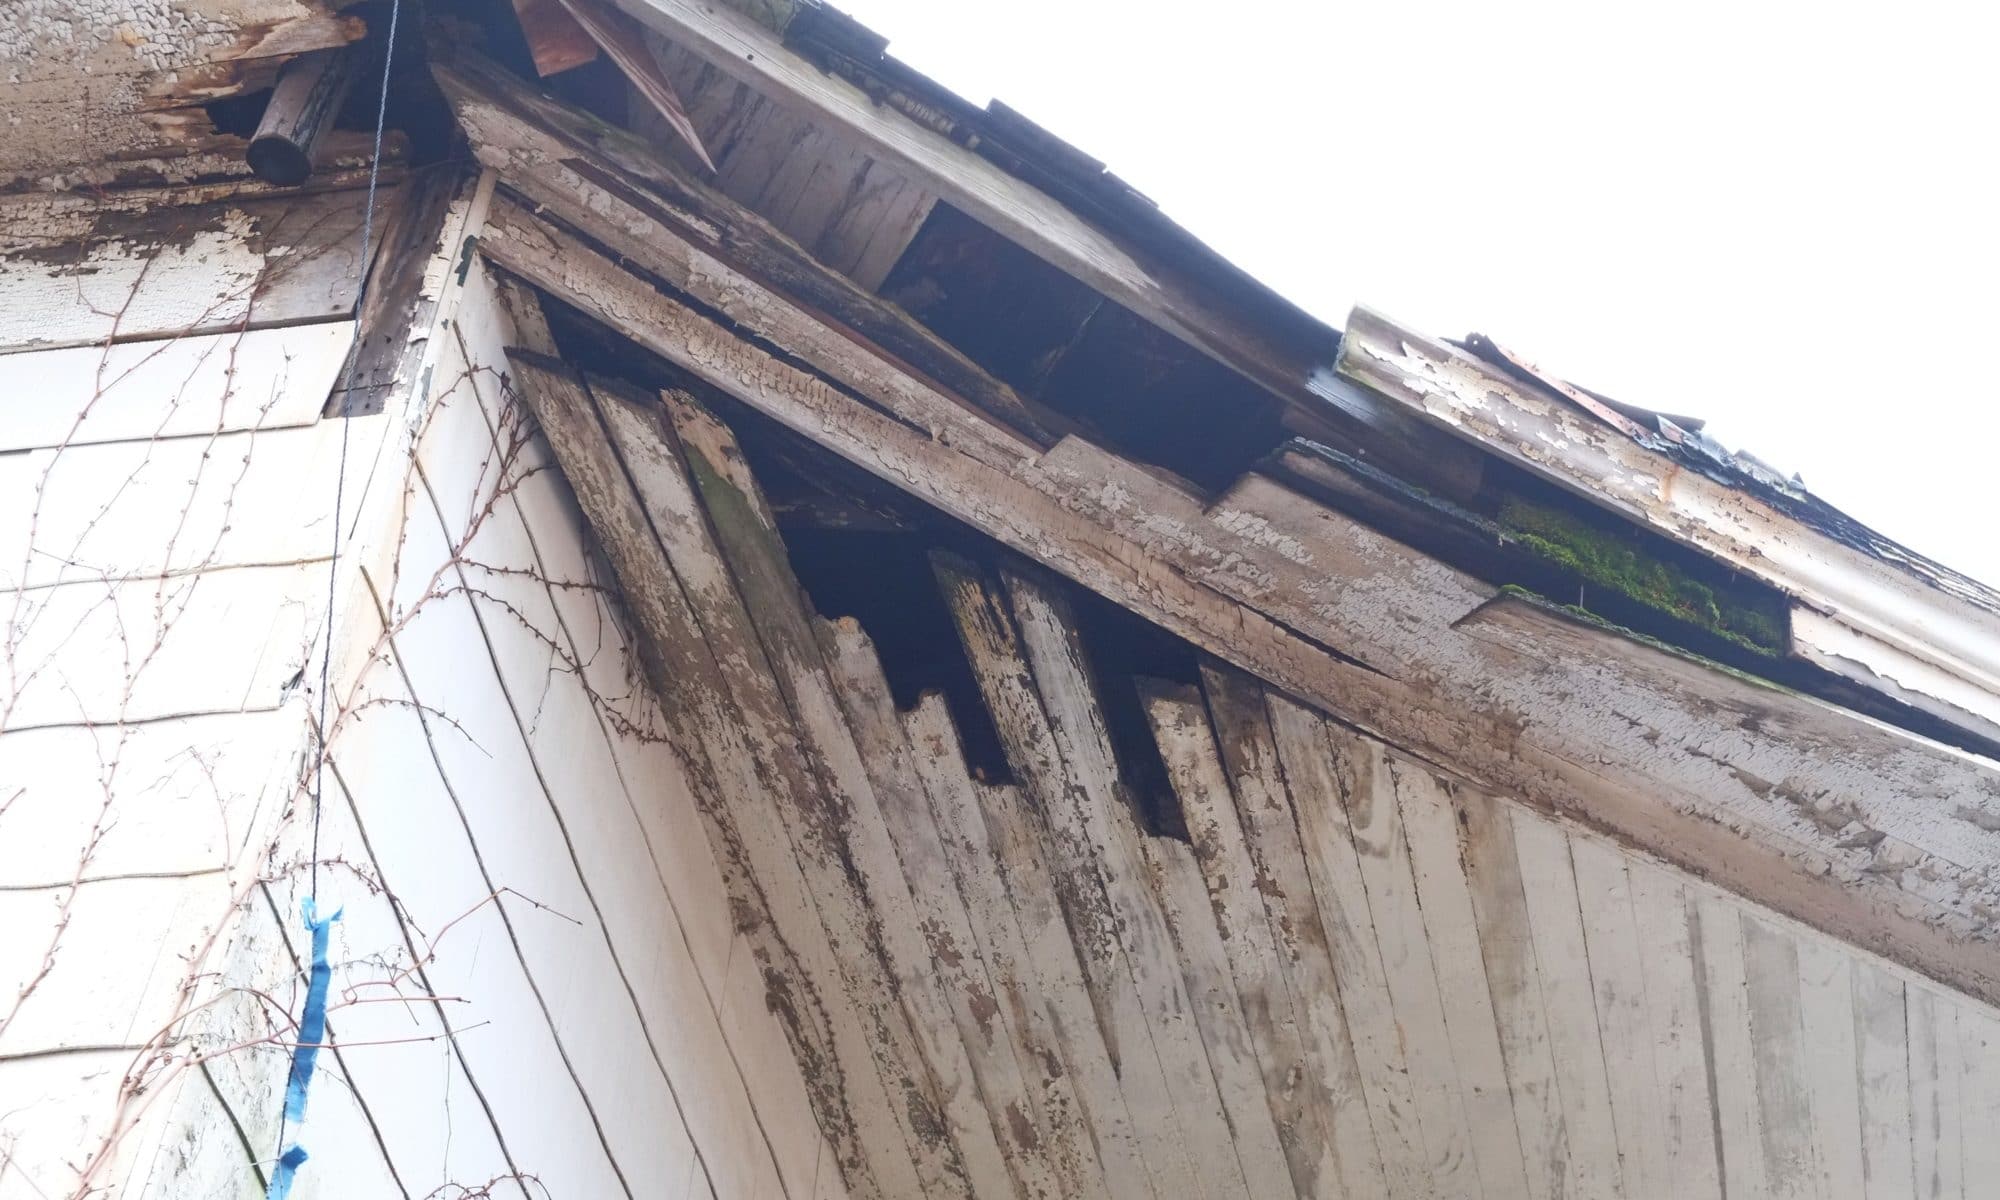
Out with our small steep stairs and in with a proper staircase that will continue off where the old ones finished. The stairs lead to the new cupola which accounting for a loss of 30% floor space due to the stairwell is still about three times larger than the old one. There should be enough room for a sofa/bed etc. or store our antique teak deck chairs when they are on our roof deck. We really only have one old teak deck chair which has brass plates on it, “Queen Elizabeth” and “First Class only” which we bought in Long Beach, California, it’s pretty cool and I wonder how many famous derrières blessed it.

You can see the old stairs on the right and also Thomas’s Mum who helps clean up after her son.

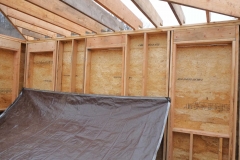
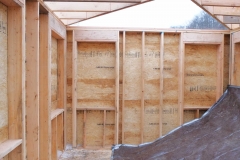
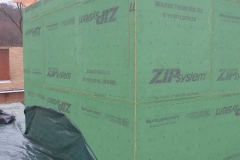
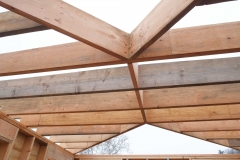
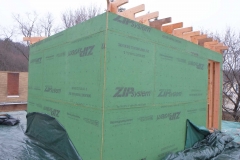
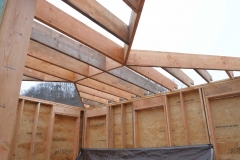
The new cupola admittedly looks ugly but it won’t be green when finished and will have lovely windows and similar decorative styling to the rest of the house. I do like what Thomas and Matt did with the roof beams and although it looks flat it does have a shallow gradient.

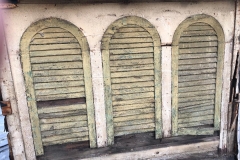
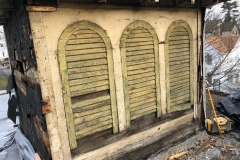
Our plan is to make the cupola look like it’s always been there and we may add arched features to the windows, just depends on whether I die of old age first. In case you didn’t know in the summer a cupola would let warm air escape up high up while bringing in cooler air from below, hence creating a cooling breeze for the occupants.

New Roof Covering

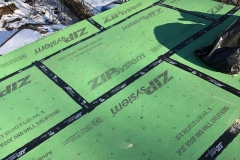
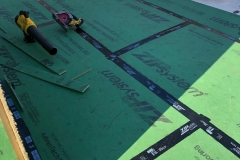
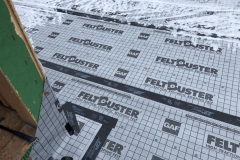
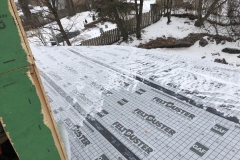
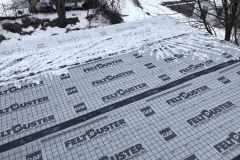
New roof covering went on just before the recent snow storm. Substrate of tapped water resistant 3/4″ OSB covered in a synthetic overlay. I understand it was pretty hard work getting the 4×8′ sheets of OSB up to the roof as the lift couldn’t get close enough to the house so they had to be carried and those sheets aren’t light.

When it gets warmer we will have a layer of EDPM which is a synthetic rubber roofing membrane. The latex glue used with EDPM requires a minimum temperature of 50F/10C for a couple of days so it will be a few months before that happens. We will get the thickest membrane we can to help it last which is 60mil (1.5mm or 1/16″).

This new roof sheathing has stopped 90% of the leaks which is good news. The remaining 10% of leaks will be stopped when they fix up the sheathing in one last corner.

A Good Mortising

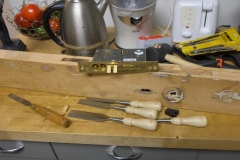
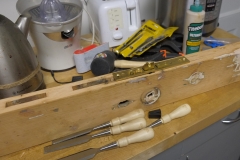
… is all a kitchen table needs and who said romance was dead.

It’s still too cold to do much down the house, hence lack of posts. Last week it got down to -4F/-20C and there was a sheet of ice on our wooden floor! This week though is a lot warmer but the temperatures are still too low to epoxy or paint etc. so I try and do some work at home, plus it’s a lot nicer to work in our cosy apartment 🙂 At home I can fill all the dents and holes etc. with System Three epoxy as it looks like the door has had a couple of different style locks and taken a good lot of beating over the years with at least one good kicking and crowbar attack 🙁

Current project is to replace the old and broken mortise lock with a high quality mortise lock. There are plenty of options out there but we eventually went for a Baldwin mortise kit which comes with everything, the actual lock, strike plates, door knobs, etc. etc. Not cheap though.

My Stanley Sweetheart which my brother Ian brought me for Christmas was perfect for the job. The door already had a mortise in it, but the new lock required I widen it and extend it by a couple of inches. Next step is to rebate the side of the door so the lock plate is recessed, but I’ll use a router for that.