Painting the Porch

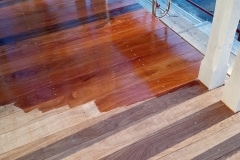
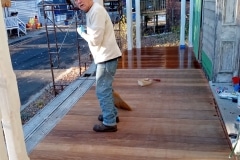
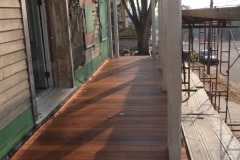
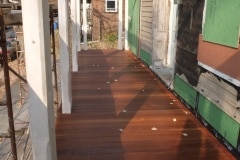
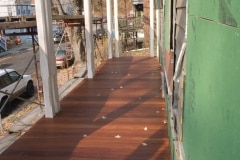
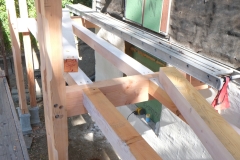
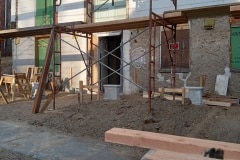
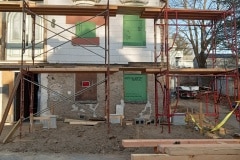
These last few weekends have been spent painting the porch to give it a bit more protection over the winter months. It doesn’t look like we have a lot of surface area but it will easily take two people a weekend to apply a single coat. We still have some blemishes to fill with epoxy filler and we’ll do that once the paint has dried.

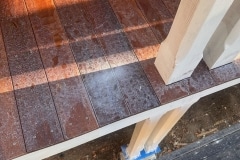
I must say that the decking, which is made with Camura (also known as Brazilian teak), has come out looking great, especially after a single coat of Ipe oil, which I believe is linseed oil based. We probably should have specified coloured deck screws but we can live with the stainless ones.

It did rain one evening after we had painted, which messed up our deck a bit, but I’m sure it can be sanded off and another coat of Ipe oil applied.

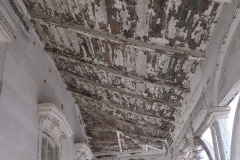
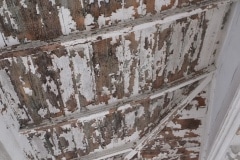
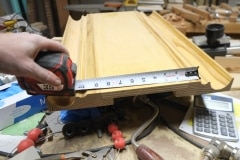
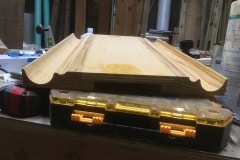
Looking forward to having the roof installed, but that will have to happen next year. The roof will be a little complex as the original had a lovely concave curve to it and built-in gutters. We’ll try and reproduce the old roof as much as possible, but we’ll probably beef it up a little. 

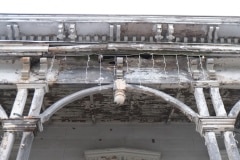
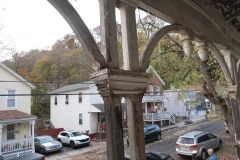
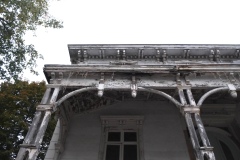
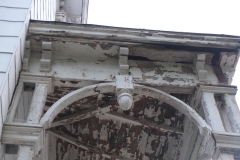
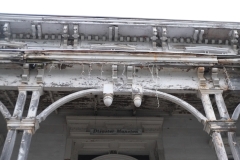
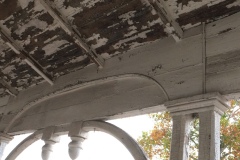
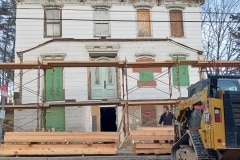
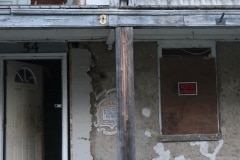
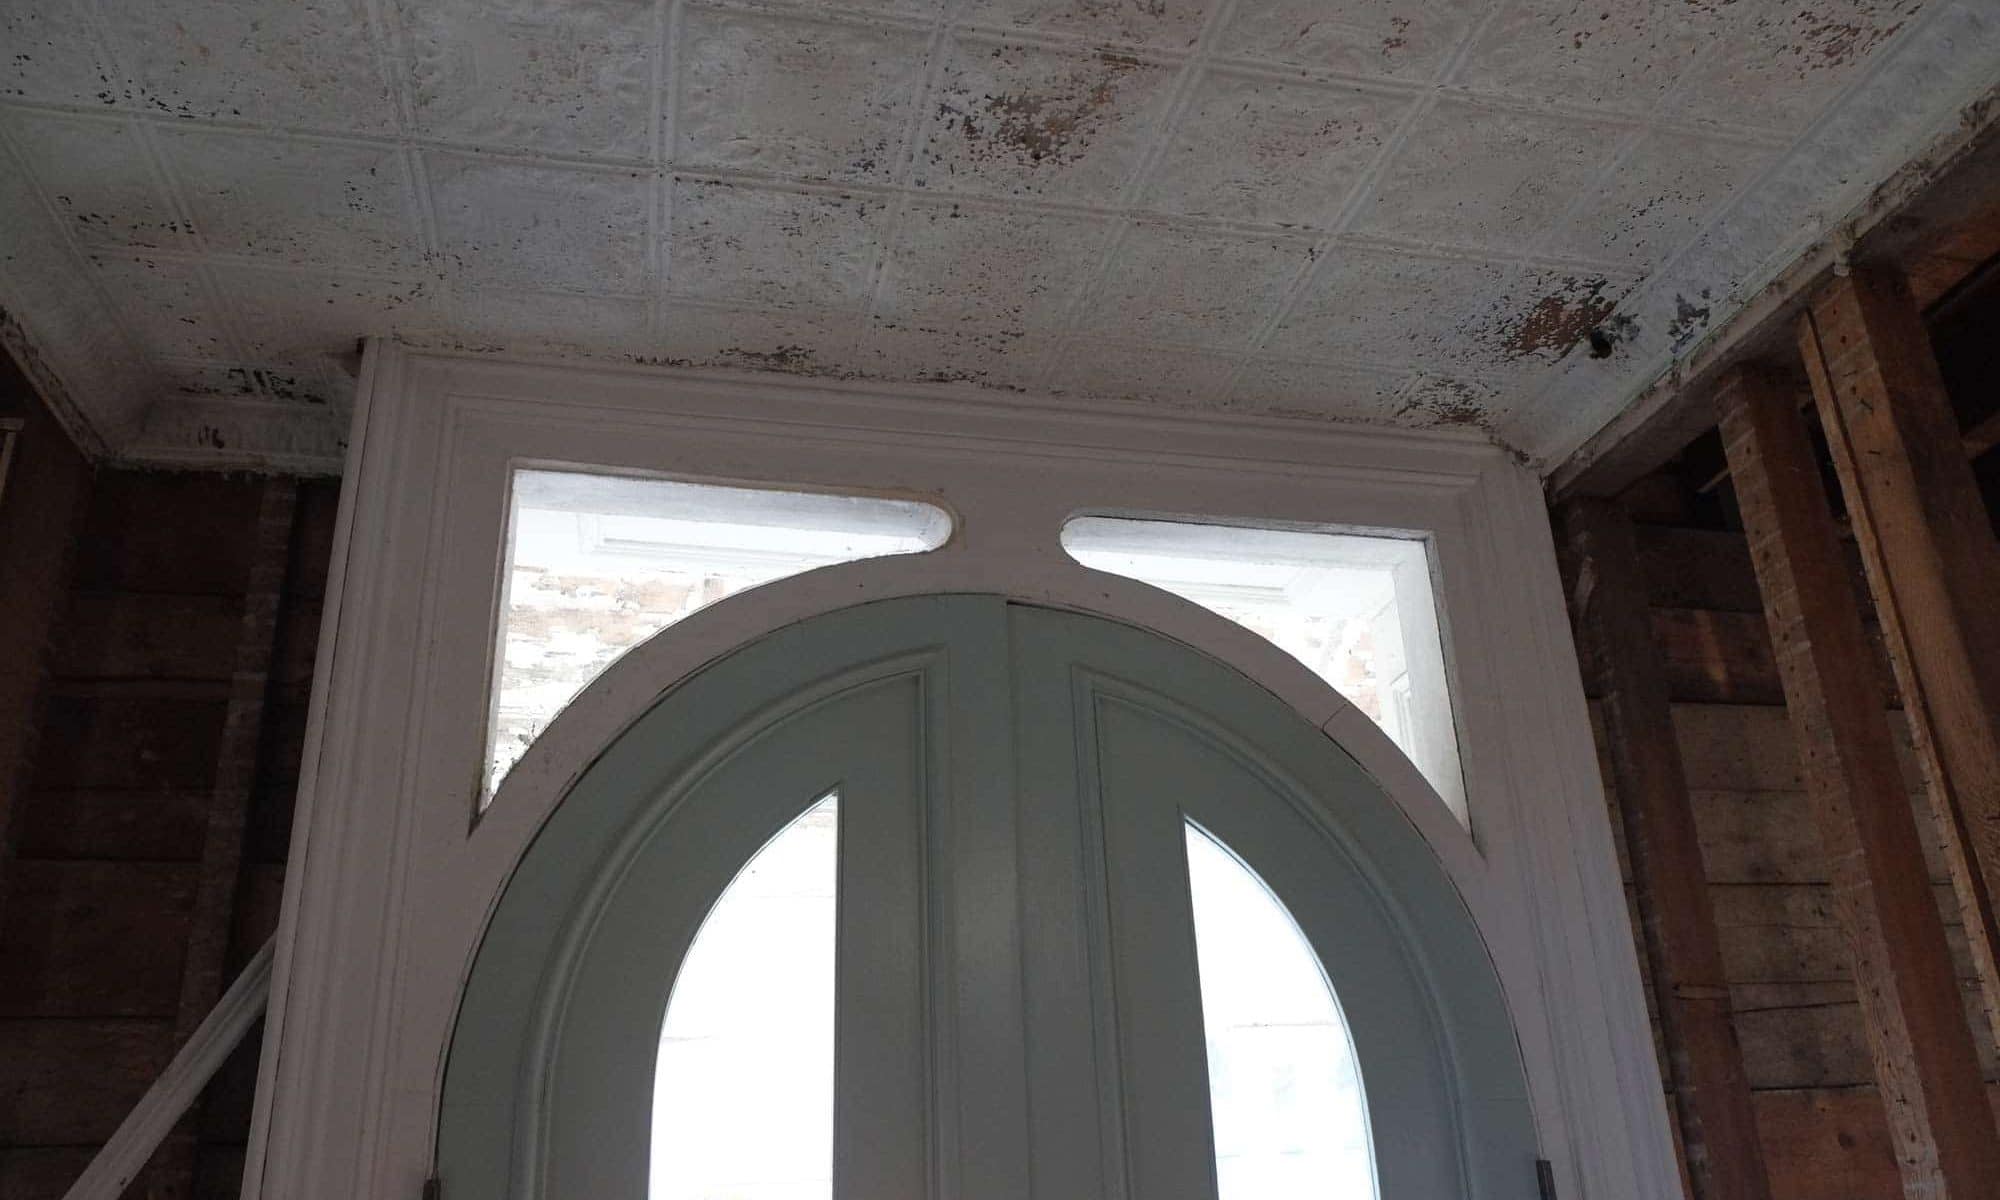
We will still need to add all the fancy trim such as the arches and cornices, but these will have to wait. It will look pretty fancy with all the trim back on. You can see from the photos that there was a lot of trim. We did save all the old trim and will re-use some of it and fabricate the rest. Still crazy busy at work so haven’t been putting in as much house work as usual.

Lastly, a big thank you to Paul, Sue, Don and Vicky for their help painting. Thank you.
A Porch is Reborn

After some setbacks and delays our porch has finally been raised and how majestic it looks. Craftsmanship is top-notch. From the amount of comments from passers-by, I think we have achieved our goal of re-creating the original porch. It’s not an exact replica as by modern standards the old porch was under-engineered but I think we’ve managed to strengthen the structure a lot, whilst still retaining the original aesthetics.

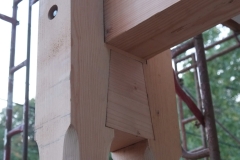
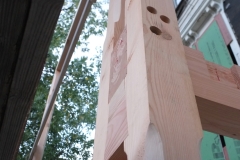
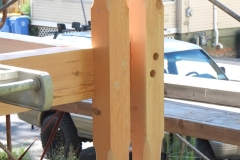
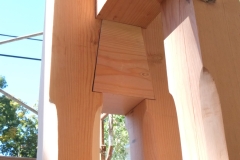
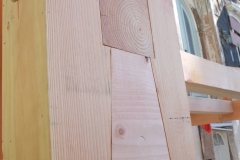
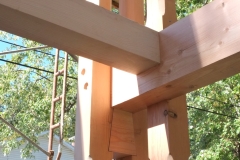
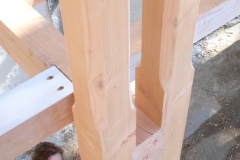
The construction techniques used were similar to the original porch, with some lovely pocket tenons, pinned in place with hardwood dowels. There are a few heavy-duty galvanised bolts here and there but they will be hidden by wooden plugs. It is a delight to look at.

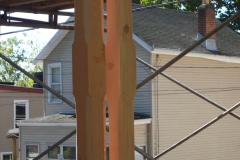
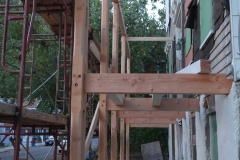
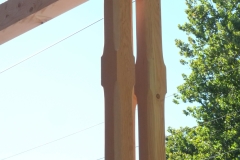
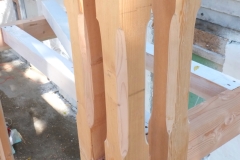
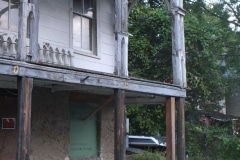
The porch is far from finished as the original had a lot of detail which you can see in the following. We’ve kept most of the original pieces, some we’ll restore and some we’ll remake. I’m glad that we’ve finally replaced the single ground-floor post (last photo) with double posts. I’m sure the porch originally had double columns on the bottom but they probably rotted away to be replaced with the single columns.

Currently, we’re prepping the wood for paint, sanding it, filling in any blemishes, etc., and then we will give it a few coats of primer, for which we will be using linseed oil paints.

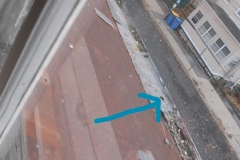
The porch roof, which had a beautiful concave structure made of laminated beams will be untaken next year as we’ll need to save up for that. It was a complex roof and the gutter was built into roof contour which I thought was very clever. You can see the hole for the down pipe in the last photo. Trick will be to hide the pipes.

Thank you to Andre and Brian of Hudson Valley Timber Frames, you were the best people for this job.

Work Resumes on Porch

I’m happy to say that work has now resumed on the porch. Delay was caused by a labour shortage but now Andre has employed a new apprentice, Brain. Over the last few weeks Andre and Brian have been cutting all the joints for the porch and I must say they look very nice. Apart from some bolts holding the porch to the house and the post bases I think it will all be pegged so possibly no nails involved – old school and I love it.

We were hoping to get a lot of these timbers painted or at least have a primer coat before they got erected, but all the wood was pretty much cut in the last week or two and we just didn’t have the time, Aimee has O+ fast approaching and I have tight deadlines at work which means I have to do day job work most evenings and a bit at weekends, yes it sucks. We did manage to get some timbers painted but the rest will have to wait.

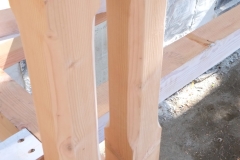
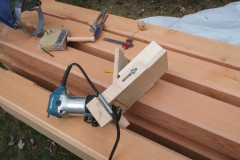
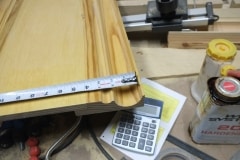
We promised the city historical officials that we’d rebuild the porch as close to the original as possible.  Original pillars were true 4″x4″ with a chamfer width of 1″, new pillars are being beefed up to 5″x5″ so scaling up the chamfer we were looking at a width of about 1.25″. The ones Andre made were 3/4″ and although done well, they just looked underwhelming. In all fairness to Andre, he was using the largest chamfer bit he could safely use with a hand held router, any larger and it starts to get dangerous. Obviously I wasn’t happy, so last weekend I devised a jig (based off this jig), trouble was we had until Thursday (3rd Oct) to complete them as that was the day that Andre had hired extra hands to help raise the porch.

It took me half a day to make the jig and then an hour or two extra to refine it after initial test cuts. By the way, for situations like this I pretty much rely on Cyanoacrylate glue (super glue) as you have a strong bond in a few minutes.

Apart from the ends of the chamfers, which needed to be finished by hand, the results were surprisingly good, only issue was it was time consuming. The router used a 1/2″ bit and due to the jig design you had to make maybe 5 to 6 passes. I timed making the chamfers for one edge and it took about 45 minutes and an extra 20 minutes to clean up the chamfer ends by hand. So for one pillar we’re talking about 4 1/2 hours and we had 12 pillars to do. Ouch!

There was no way that we were going to finished them in time so I spoke with Andre and he kindly took over the task, which I think took him and Brian probably two days. I definitely think it was worth the extra effort, so thank you Andre and Brian.

Wood for the porch rebuild has arrived

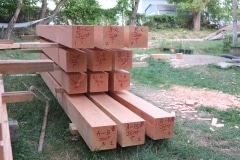
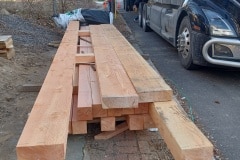
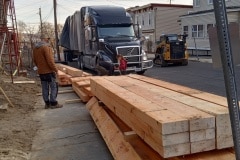
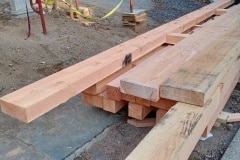
The wood for the porch rebuild has finally been delivered and it’s pretty impressive. I think the porch will out live the house.

Andre has spent a lot of time finding good wood at a good price and in the end we ended up with Douglas Fir from Quebec which is where a lot of the wood in the US comes from anyway, so by ordering direct from the timber yard we will have saved. It was still expensive though and we’re talking 5 figures. The order also included some lovely camura wood for the decking.

Incidentally Douglas Fir isn’t a fir tree, it get its name from  David Douglas, a Scottish botanist who first reported the species and what a tree it is. Grows up to 300′ tall and very much reminds me of the Californian Redwoods.

As mentioned in a previous post we plan to rebuilt the porch as close as possible to the original, notable exception being that we are making everything a little bit stronger, for example, the vertical posts are being upgraded from true 4×4’s to 5×5’s and hopefully it won’t be too noticeable.

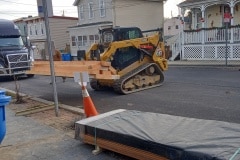
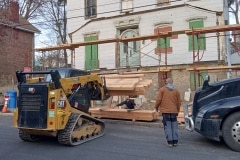
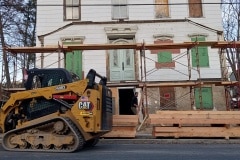
Delivery day was a bit of shambles, the wood was supposed to be delivered between 8am and 12 noon but didn’t turn up until a little after 4pm due to custom holdups, during which time we had four people hanging around, including Aimee. Sucks that in this world of instant communication that the delay couldn’t have been passed on. Andre did try and call the shipping company but no joy. On top of this we had to hire a bobcat skid steer so overall quite an expensive day.

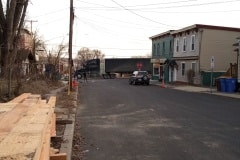
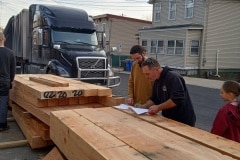
The lorry from Canada has numerous stops on its way, ours was the first and then down to Long Island and then the Carolinas. Aimee said that it was the longest lorry that she’s ever seen and it took quite a while to negotiate the turn at the bottom of the road. Cute that driver took his two young kids along for the adventure.


I couldn’t be there for the unloading but Aimee and Andre snapped a good number of pictures. I didn’t realise what a big operation it was, so in no particular order, voila!

These timbers are huge and the majority of these timbers have been stored indoors. Being a timber frame builder, Andre had a clever way to move them about, once on the ground, using a bunch of heavy duty rollers so carrying was down to the minimum.

It was dark by the time everything was tucked away.

New Concrete Columns for the Porch

And what a pain this has been. If it wasn’t for the fact that I’ve been crazy busy at work and this is the second set of moulds I’ve made this project would have been fun.

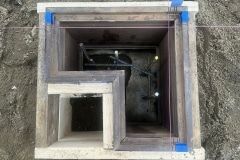
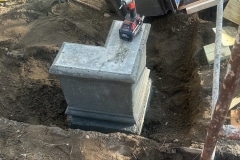
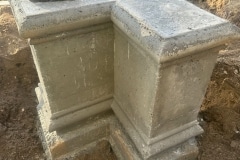
Stepping back, I’ve been making moulds to form short concrete columns for the ground floor porch posts to sit on. Our existing ground floor porch posts were in contact with the ground which could lead to rot, hence the idea to add short concrete columns. Size wise they are about 17″ high by 7″ x 16″, wide enough to fit double columns on, with the corner columns able to fit three columns.

The idea was to design the columns so they’d blend in with the existing architecture, not sure I achieved it but I think we’ve done a decent job and once painted and weathered, they’ll probably look as though they’re original, which is of course what I will tell everyone, hand chiseled over a century ago from the finest Kingston stone! First set of moulds were made of wood and ply and I made the parts at different times so when I went to fit everything together there were small gaps here and there which I wasn’t happy with.

The second set of moulds were made from MDF and I tried to make all the matching pieces at the same time so everything would fit. Downside of MDF is that the dust from cutting it is terrible, unlike cutting wood, the particles left from cutting MDF is like flour so full respiration mask and vacuums are required. MDF is a versatile material but has its draw backs. If I were to do this again, I’d use pine again but back it with a sturdy baltic birch ply. MDF makes such a mess.

Everything was made using router table, table saw and miter saw.

I coated the finished pieces with a penetrating epoxy and once set I applied a liberal coating of furniture wax. The last release coat will be cooking oil which Andre will apply on the day. I’ve only made two moulds one for the double column and one for the triple column so they need to be reused.

We’ll need to fix a few small blemishes and also add a slight chamfer to the top so water drains away from the wooden post. Eventually we’ll get around to painting them.

Because the temperatures are now dipping below freezing (which can be disastrous for curing concrete), Andre constructed a 2″ foam box, which was then wrapped in shipping blankets along with a small heater on a thermostat. When I checked the temperature one night, the reading was about 12.5C/55F, which is great. In most cases the majority of the cure happens within the first 24 hours after which you are pretty much in the clear.