A window shrinks

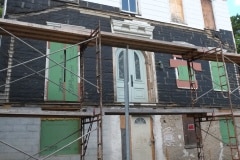
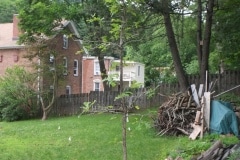
For some reason, when they built the new concrete block wall on the left side of the house, they left a window gap of about 5′ wide, which would be a huge window and not in proportion to the rest of our windows. I’ve probably got better pictures somewhere, but these are the best I can currently find.

To narrow the gap, I used 8″ square concrete blocks, tied into the existing wall with thick galvanised wire and filled internally with concrete and rebar. My brick-laying skills are poor, but after a light pass of the grinder it was perfect! The new width is now comparable to that of the other windows. I intentionally left a gap above the blocks to install a lintel, as the window couldn’t go that high.

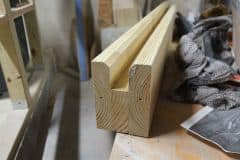
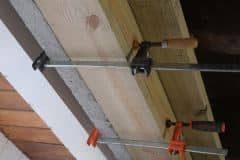
Regarding the lintel, I couldn’t find the right size locally, so I made one myself. To ensure I could lift it, the inner side was pressure-treated wood, and the outer side was concrete, reinforced with rebar. That said, it was still too heavy to install safely from the top of a step-ladder.

The make the lintel, I first made the wooden section, applied masking tape as a release layer, added shuttering and rebar, and then poured in the concrete. Once the concrete was cured, I prised the two apart so I could lift them separately.

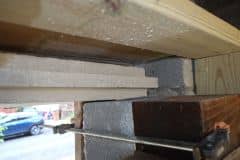
First to go up was the outer concrete part, and for this, I had to add a series of blocks so I could gradually get it to the correct height and then slide it into place.

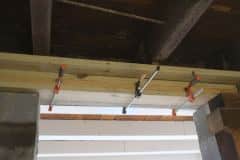
With the concrete section part in place, I bonded the wooden section to the concrete section. I know it doesn’t look much, but I’m pretty pleased with how it looks, all in all a good job, without any mistakes 🙂
Fixing a hole

We recently had our plumber over to assess our needs, and while he was there, he took a look at our tub and said that we’d need to drill through our concrete floor so that the water supply lines for our rim-mounted faucets could go down into the concrete and across into the framing. I’m not sure why this wasn’t considered before we had the concrete pour.

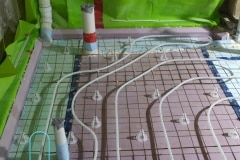
To keep the cost down a bit, I volunteered to remove the concrete as I had a good idea where all the PEX pipes for our radiant heating lay. I don’t have a detailed map of where the radiant pipes go, but I did take a lot of photos before the concrete was poured. When cutting into such a floor, there is always the worry that you’ll damage the PEX and you can probably guess where this post is going.

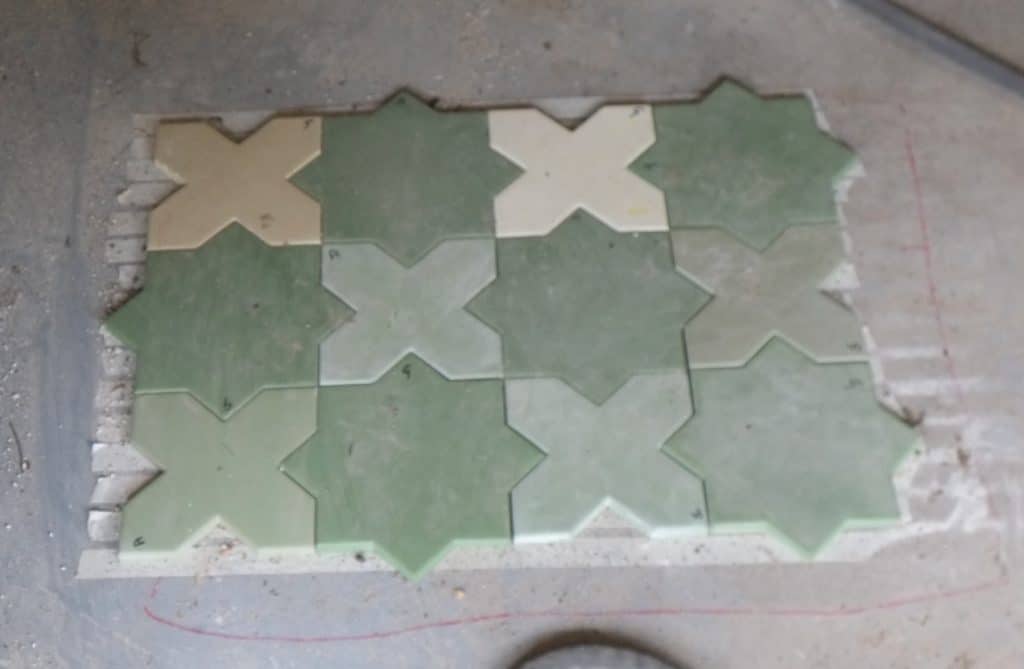
I’ve highlighted the section of Pex that I had to be careful of.

I marked with a Sharpie where not to drill and then went to work with my big jackhammer, which was a mistake. The jackhammer makes easy work of breaking up concrete, the downside is that it bounces about a bit,  accuracy isn’t its forte. When I did uncover the pipe, I noticed one dent and one hole in it, definitely my fault, as that hole would have been discovered during the pressure test.

Replacing the damaged pipe meant exposing more of it, and for this, I used a smaller hammer drill to first drill a series of holes and then a bunch of different chisels. Once I got the hang of where to chisel, it was pretty easy, and 30 minutes later, I had exposed enough pipe to cut the bad section out.

We’re using PEX A (Uponor) in the house, and I’d like to thank John Paul for letting us use his PEX expander tool. The expander tool is pretty neat, and if you’ve never seen one in action, here is a quick video of how it works. PEX A always wants to return to its original shape, so a joint is never going to loosen.

The actual repair took less than 5 minutes, and I’m glad I’ve been through the process of making such a repair, just in case another pipe gets damaged in the future.

Bathroom fixtures and tiles

Following up on our last post, these are the projects that we’ve been working on.

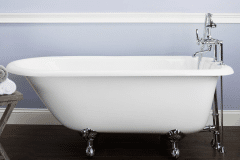
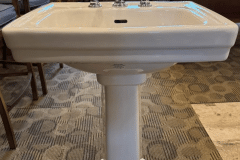
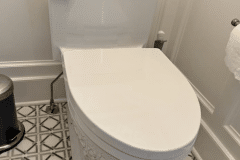
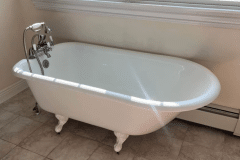
As we get closer to hiring the plumber, our friend John Paul suggested that we purchase the bathroom fittings, so we can determine exactly where the water pipes need to go. To this end, we’ve been scouring Facebook Marketplace. First thing we got was a lovely sink by Toto from Scranton, PA, bit of a drive, but the seller and the sink were both lovely and you couldn’t tell that it wasn’t new. Second purchase was a nice Toto Toilet, second hand, but never installed and still in the cardboard crate, thank you James. Lastly, we picked up a great cast-iron bath from Jake. It is 3″ shorter than my ideal length (based on my parents bath), but I’m sure it will be fine, and if it isn’t, we’ll get a longer bath for upstairs.

A few posts back, I mentioned we were casting concrete tiles. We been a bit amiss of late, and haven’t made any recently, however, we have been testing the tile sealers. The candidates are from Green Building Supply and Tile Armor. With double sided tape we stuck down a bunch of them in our entrance way and marked which primer we used. They’ve been down now for about six weeks, and I have to say that they have stood up well to some harsh, abrasive conditions, sand, grit, mortar etc. Testing continues.

I’m still struggling with health issues, which is slowing me down a lot. Dr. said that my medication is likely to contribute to my fatigue and general sense that my body is feeling sour, difficult to describe, but that is the best I can do. When I’m on steroids I’m great, but when I taper off them, the condition returns. I’d love to stay on steroids but the side effects are bad and can be permanent. Condition is extreme eczema, which came out of the blue. Do an image search and you’ll get the idea. I’m pretty much seeing the Dr. every week to two weeks.

We’re still here

Apologies for the lack of posts, I’ve been having health issues, which have slowed me down. Still not fully recovered, but hoping I’m heading in the right direction.

All that said, we have done some work on the house, and I’ll lump these smaller tasks into the next few posts.

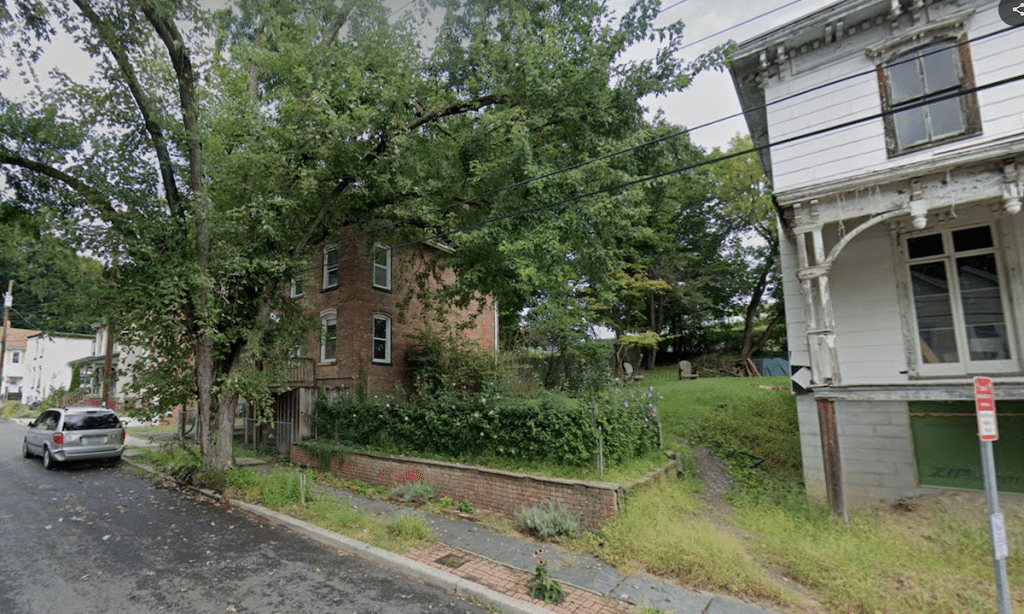
Some of you may know that we have a large silver maple growing on our pavement/sidewalk. Our neighbor wanted it removed due to safety issues and although we partially agreed with them, we’d rather the tree remained, possibly with a good pruning as it gave us shade and privacy.

In the end, the tree was sadly removed, and what a difference its made to the street. All of a sudden, the street looks very open and plain, and we have lost privacy and shade.

To help compensate for this, we’ve been planting replacement sidewalk trees, yes, they will take years to mature, hence the haste. We planted three trees, a dogwood, a redbud, and a hawthorn (in that order), which are all native NY trees. The hawthorn is a spiky bugger and was donated to us at short notice. The root system had been severely cut back, but we dug a large hole and filled it with high-quality potting soil. That was probably a month ago, and since then, all the leaves have turned brown, which is to be expected; the tree is in shock, and we’ve been experiencing a bad heat wave. We have watered the tree on every non-rain day, so although the tree looks dead, I have confidence that it will spring back next year. It’s a pretty righteous with huge 2″ spikes, so I do hope it recovers. We also planted a second dogwood at the bottom of the garden, which is the last photo.

All that said about us being against trees removal, we did get the arborists, Limber Tree Services, to remove our walnut tree as neither of us liked it. At the same time, the arborist trimmed our Box Elder and removed one of our diseased Hemlock trees. I have to say that Limber Tree Services did an excellent job and didn’t trash any of our plants, so thank you very much.

Here are before and after shots.

The replacement for the Walnut tree is a Bur oak which should grow into a mighty tree and be around for a few hundred years. It’s probably 5 years old already and could grow up to 1 1/2 feet a year, so hopefully in another 10 years it will start to give us a bit of shade. A big thank you to Catskill Native Nursery who delivered the tree and even carried it to where we wanted to plant it. I highly recommend this nursery.

Elsewhere we’re trying to finish off the parging, testing out some of our concrete floor tiles and we’re collecting bathroom fittings so the plumber will know where to put all the pipe-work. I’ll cover these in the next post.

Welcome to the Bishop

We’ve had a flat arch doorway into our utility room, and it was very dodgy. If it fell, it would have dropped a couple of hundred lbs. of rock and mortar on your head. As we’re are gearing up to get the plumber and electrician in, we thought we’d better fix this.

The picture below is after patching the arch up quite a bit, and even then, I’d never stand under it for long.

As you can see we added a fair amount of rebar and, because lime is caustic, I degreased, de-rusted and coated the rebar in epoxy, yes a pain to do, but this is a house we want to last.

Constructing and setting up the form took a few days, but I think we got it almost right. One thing I wished I had done was to get a better curve when I bent the rebar, if I had, it would have given us an extra 1.5″ in height to the already low doorway. Aimee will be able to pass through it unhindered, and I may scrape my head, but old age and gravity, in time, will allow us free passage with ease 🙂 I will round the corners on both sides so if you do bonk your head, you won’t hit a sharp edge.

Sorry I ran put of disk space. Yes, current results are rough, with low and high spots, but that will be fixed.

We left form and mortar to cure for a week, spraying with water, every day, to help the cure. That done, we applied another scratch coat of mortar which which filled in the majority of the undulations. The following day, it was time to remove the form.

Overall we like the arch, it matches the arch of our front door. Small subtle details like this add up to the overall experience, I think at least.

A few odd jobs

Aimee and I are slowly getting back in the swing of things. In the evenings we’ve been painting and glazing windows and hope to get the first one installed within the next few weeks.

During the last couple of beautiful weekends we’ve been doing a bit of work in the garden and the first task was to complete the foundation drain to the left of our house. Last year we repaired the poor foundation work, done by our previous contractor, patched up the wall and gave it a nice fresh coat of lime plaster, then came porch painting followed by winter, so the trench was left unfilled. Come spring, we did have to dig out a fair bit of soil, that had collapsed into the trench, but now we have the pipe bedded in gravel, wrapped in geo-textile fabric (to keep the dirt out of the gravel) and we had just enough dimple board left over from our previous foundation drain project.

I think the dimple board combined with the foundation drain is a perfect solution for the damp issues we were having. Since we installed this system at the rear of the house, and back filled to a 4′ depth, we have seen absolutely zero damp in that wall, bone dry and I can’t think of any reason why this system should fail, at least not in the next couple of hundred years. Dimple board, geo-textile, gravel, foundation drain is a great solution, which I highly recommend.

Second task was to plant a fruit tree. We both decided we wanted a peach tree. The variety we bought was a cold-hardy Frost peach, and it already has blossoms, which we hope will develop into fruit this year. My Dad, Colin, was a keen gardener, and often wished that he could step out into the garden and pick a fresh peach, alas, the UK is a bit challenging for peach trees, so that never happened. In memory of my Dad, the tree has been named Colin and sits near our Magnolia, Big Nan.

Continuing on the tree theme, we recently heard that our neighbour would like to remove the large maple tree that sits on the edge of our sidewalk/pavement, due to liability issues. I’d rather the tree stays but, I’ll await the verdict of tree surgeon and Kingston Tree Commission.

In my opinion a tree canopy on a street is beautiful, and as it is Gill street doesn’t have many such trees left, we thought we should act, so this weekend we purchased two native dogwood trees, Cornus Florida. It’s an elegant, modest sized tree with an amazing show of flowers and berries for the birds. Our trees are about 5′ high and they grow 1-2′ a year. We placed them so they could be viewed from inside. We think they will look magnificent in years to come.

In our tradition we have named one of the Dogwoods, Mama Dot, our beautiful, 94 old year Gill Street guardian who lives across the street. I will ask permission to post a picture of Mama Dot the next time I see her. By the way, one of previous owners had named a Japanese Maple, “Tiny Tim”, hence the start of the naming tradition. It’s also a good way of specifying areas of the garden, “you know, just around Tiny Tim” etc.

By the way, we do plan to remove a black walnut tree from the rear of our garden, replacing it, possibly with an oak, so there will still be food for critters.

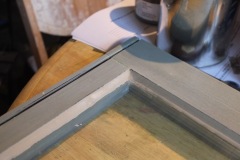
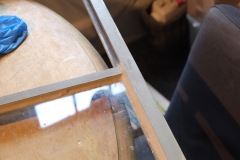
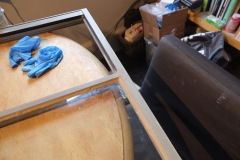
Glazing is hard!

The other day, we glazed our first window pane, and boy was it hard. I’ve watched plenty of videos on the subject, and yes, it looks hard, but I wasn’t expecting it to be this hard.

In the videos, the putty seemed like plasticine or play-doh, but out of the tub it was very sticky with hard lumps in it. I tried to break the lumps up by hand, but it was taking ages and getting very messy, so I checked online, and people suggested microwaving it, which did the trick. Then it seemed even stickier and I couldn’t get it off my hands. Luckily I had some chalk powder at hand (which is one of the ingredients of putty), and that got me to the consistency I wanted.

First task was to get the glass bedded down onto the rebate, to ensure a good fit and seal. A bead of putty is added to the rebate, the glass is inserted and pressed down to squeeze out any excess, which is trimmed off with my fancy putty knife. After a dusting with pumice powder, to remove any excess oil from the glass, it did start to look okay.

Back to the glass side again, I made a mess of applying the bead of putty, but I know this will clean up. The problem I had was having was getting a nice chamfer on the putty, which seems to come down to getting the right pressure and angle of the knife. The corners took me a while but eventually I had it complete.

On the videos, the experts glaze a pane in about 10 minutes, it took me well over an hour but in the end it looked pretty decent. As recommended when using linseed oil, putty and paint, I immediately dusted the putty with chalk and then painted it. You’ll see that I painted on the glass as well, this is to give the putty a good seal against the glass, with any excess removed with a razor blade once the paint has cured.

Overall I think I scored a ‘C’ on my first attempt and no doubt I’ll get better and faster,
though today I couldn’t get the chamfer correct at all and had to scrape off all the putty, very frustrating. Not sure I like glazing.

Welcome to the Vibra-Tron©

As I’ve had some interest in the concrete tiles we’ve been making, I made a small video explaining the process, it’s rather long and lo-fi but it covers all aspects of making a tile.

Star of the show in my eyes is the Vibra-Tron©, which isn’t at all necessary but it’s fun and does make the make the process slightly faster.

The Vibra-Tron© is driven by a vibration motor we bought online and the adjustable feet came from FireflyInnovations.

Moulds and pigments have links in this previous post.

We’re also considering replacing the cream crosses with a pale green for the bathroom, but we’ll see.

Currently, we’ve made about 70 tiles.

To Jess

I dedicate this post to Jess Graves, who left us, far too early. Jess you were a very special person and will be missed so very much. Our thoughts go out to Luke and family.

Apologies for the lack of posts. This is due to a combination of demanding day (evening and weekend) job and cold miserable weather. Until the weather gets a bit better, jobs around the house will probably be limited to gardening and interior design, in particular tiles for the downstairs.

A while ago, we decided to have a tiled floor in the bathroom and hallway and after shopping around we found these lovely cement tiles from Zia Tiles, in particular the Star and Cross tiles. We ordered some samples and they looked lovely, only snag was the price, $17 a sq. ft. which, including shipping and tax from Los Angeles, would have cost around $6,000. If this was the only expenditure on the house, we would have probably just bought them but alas it’s not.

We searched for alternatives but we didn’t really find anything else we liked. So then the idea of making some tiles, came to us. We consulted with my cousin Judith, a ceramics expert, and Judith thought it was definitely something we should try, so we started looking around for tutorials. We did find a few and in a nutshell cement tiles start off with a mould to which you first add an 1/8″ layer of pigmented mortar, followed by regular mortar, with chopped fiberglass added for strength.

First step was finding some moulds and I was lucky to come across Athena Molds who could kindly made us some custom “Star and Cross” moulds of the same dimensions as the Zia tiles. The Zia tiles were about 5/8″ thick but I thought 1/2″ deep moulds would be sufficient, time will tell. In total we have four stars and four crosses, so we can make a bunch at a time.

For the pigments we settled on Direct Colors, as they offer a great range of colours, they’ve been about for over twenty years (i.e. they know what they’re doing) and they manufacture in the US.

Initial results were promising but it got tricky when it came to deciding the final design. First we fancied terracotta, then greens, then green and terracotta, then black and white etc. you get the idea. As we’re using these tiles downstairs, which will be fairly shaded, we wanted something that would lighten up the place a little, but at the same time not be garish and jarring to the eye.

After much tile making and debate we decided on cream crosses and green stars (and that may change!) and as the tiles are individually made they’ll have an interesting color variation. Possible we will may change the colours subtlety as we move from hallway to bathroom.

This is roughly how they’ll look. We’ll drop some of the tiles if we don’t like the shade etc., for instance some of the crosses below are too white.

And now for some technical stuff, boring unless you want to make your own.

  • Mortar (cement, water and sand). Because we’re using pigments, I initially looked for a white mortar mix, my favourite was Rockite, which was fast setting and gave a beautiful, void free finish, only downside was the cost, $15 for a 5lb bag, which didn’t go far. I also experimented with using Rockite purely for the pigment layer and regular fast setting mortar for the remaining. This seemed to work, but, for a few tiles, the pigment layer didn’t bond well and started to show signs of delamination. Due to this and the high cost I decided to look at a few other mortars, eventually settling on the ‘RapidSet Mortar Mix’, which costs about $18 for a 55lb bag. When using this I used pigment throughout the thickness of the tile.
  • Pigment. I’ve been happy using the pigments from DirectColors. I did try some from Amazon, which were lovely and vibrant, but which also made me suspicious of how long they would last. In the end I’m sticking with DirectColors as they’re made in the US and I trust them. Your choice of pigment and final colour really dictates what colour mortar you need to use, if you’re after light colours then you’re best off starting with a whitish mortar, however if you’re after more earthy colours then you can get away with the regular grey mortar mixes.
  • Sealant. Cement tiles need to be sealed as they’re porous, spill some Chateau Lafite, Rothschild and you’ll stain them. For our sealant I’ve chosen Penetrating Concrete Sealer from Green Building Supplies. What I like about this water based sealant, is its low viscosity, it needs two or three coats before being fully saturated, so the sealant is going deep into the tile as opposed to a lot of other sealers which just seem to sit on the surface.
  • Reinforcement. I’m adding chopped fiberglass to the mortar mix to increase it’s strength.
  • Anti-slip. The last thing I want are the tiles to become an ice skating rink when wet, so I’ll be applying a final top coat sealer with an anti-slip additive.

† We heard back from someone that ours are not ‘cement tiles’ like the Zia tiles – those are subjected to immense pressure in a hydraulic press and thereby undergo a chemical transformation which hardens them. Ours are cast concrete and we’re hoping they will be hard enough.

Painting the Porch

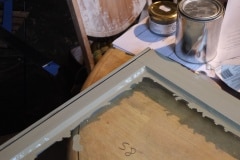
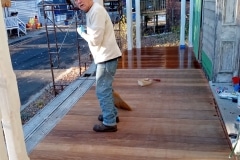
These last few weekends have been spent painting the porch to give it a bit more protection over the winter months. It doesn’t look like we have a lot of surface area but it will easily take two people a weekend to apply a single coat. We still have some blemishes to fill with epoxy filler and we’ll do that once the paint has dried.

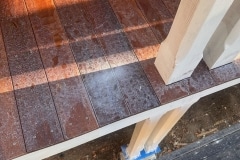
I must say that the decking, which is made with Camura (also known as Brazilian teak), has come out looking great, especially after a single coat of Ipe oil, which I believe is linseed oil based. We probably should have specified coloured deck screws but we can live with the stainless ones.

It did rain one evening after we had painted, which messed up our deck a bit, but I’m sure it can be sanded off and another coat of Ipe oil applied.

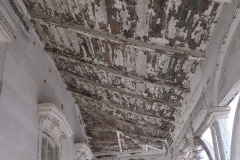
Looking forward to having the roof installed, but that will have to happen next year. The roof will be a little complex as the original had a lovely concave curve to it and built-in gutters. We’ll try and reproduce the old roof as much as possible, but we’ll probably beef it up a little. 

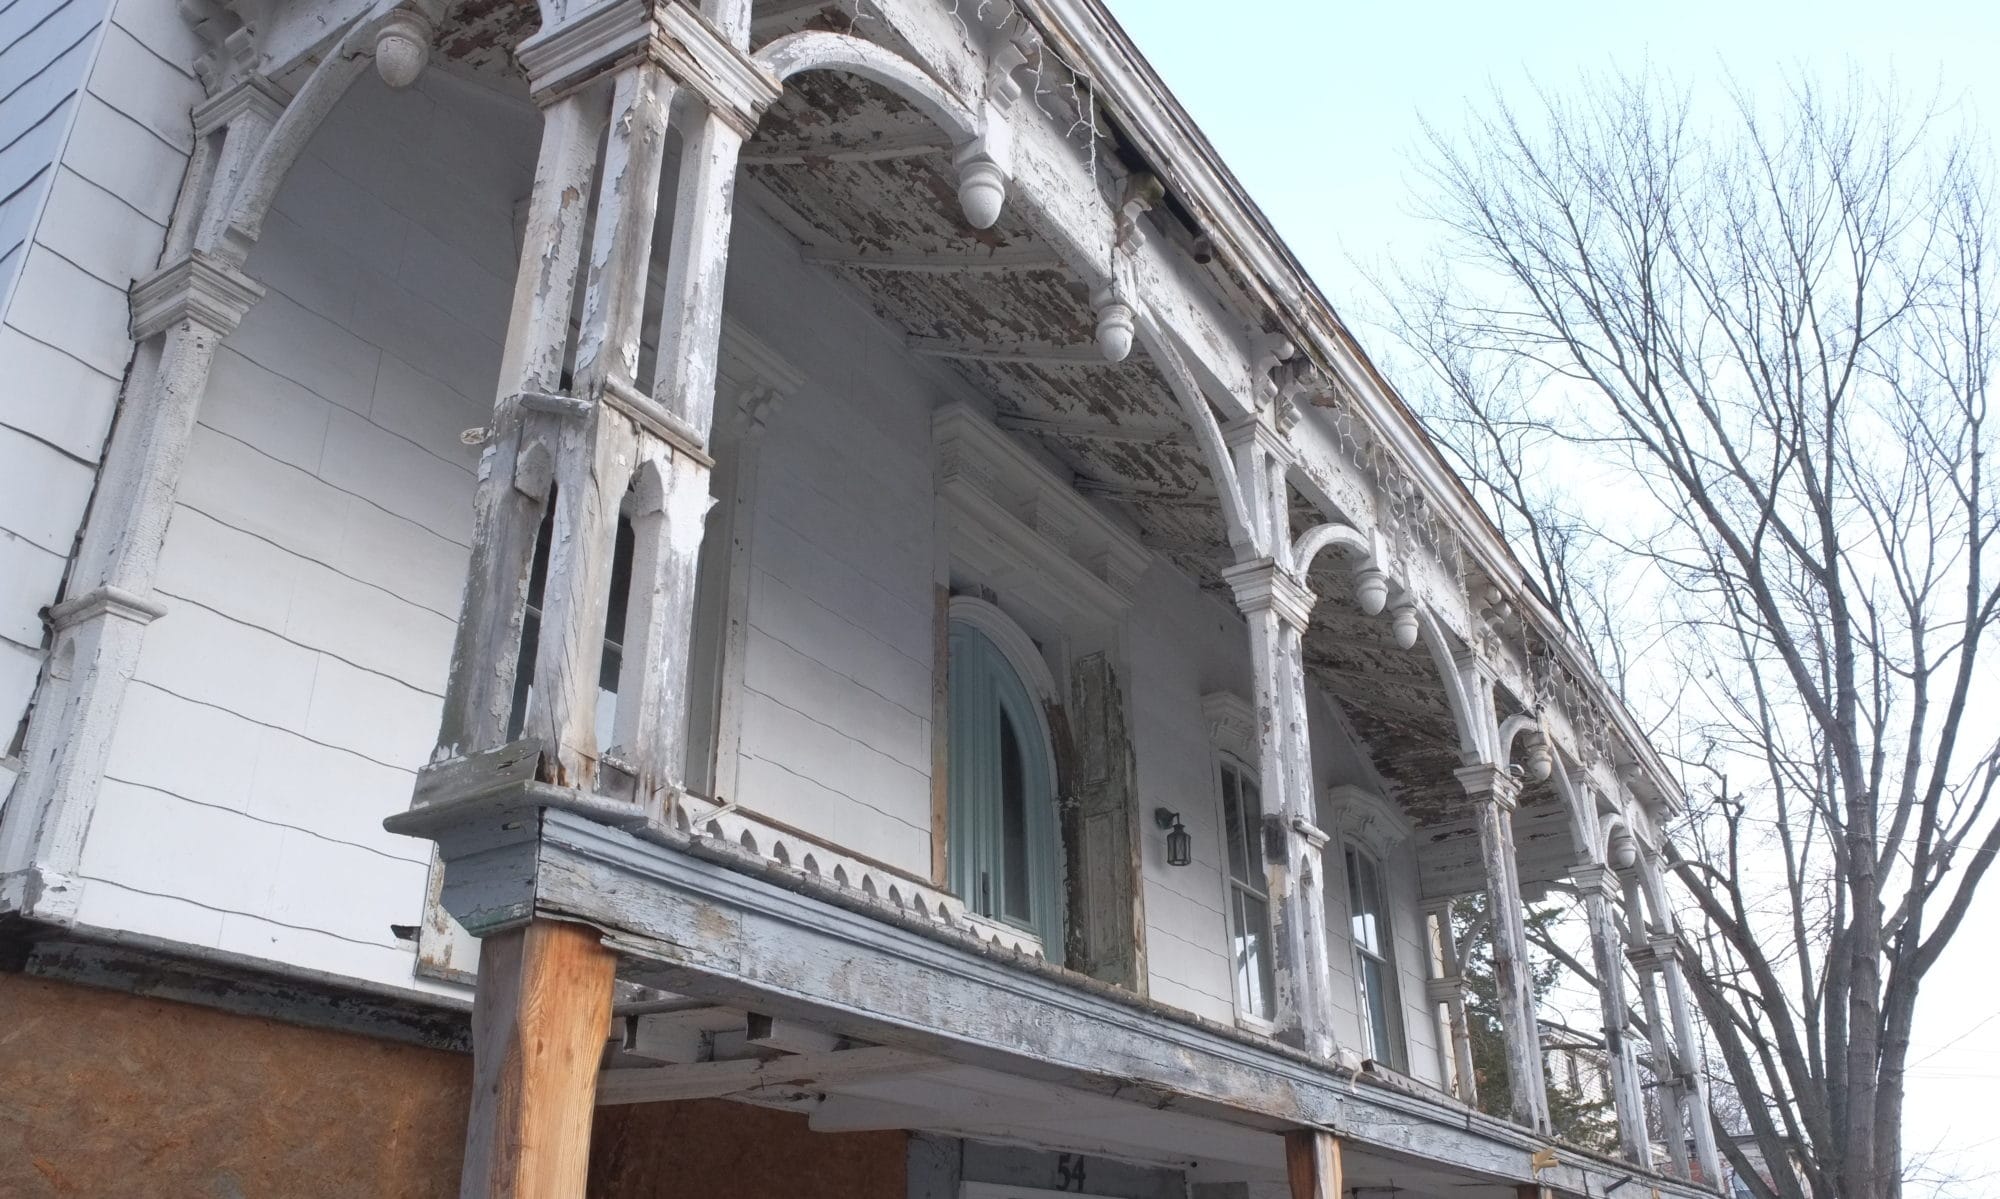
We will still need to add all the fancy trim such as the arches and cornices, but these will have to wait. It will look pretty fancy with all the trim back on. You can see from the photos that there was a lot of trim. We did save all the old trim and will re-use some of it and fabricate the rest. Still crazy busy at work so haven’t been putting in as much house work as usual.

Lastly, a big thank you to Paul, Sue, Don and Vicky for their help painting. Thank you.