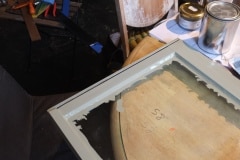
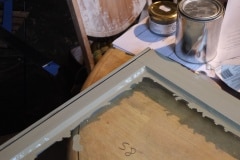
The other day, we glazed our first window pane, and boy was it hard. I’ve watched plenty of videos on the subject, and yes, it looks hard, but I wasn’t expecting it to be this hard.
In the videos, the putty seemed like plasticine or play-doh, but out of the tub it was very sticky with hard lumps in it. I tried to break the lumps up by hand, but it was taking ages and getting very messy, so I checked online, and people suggested microwaving it, which did the trick. Then it seemed even stickier and I couldn’t get it off my hands. Luckily I had some chalk powder at hand (which is one of the ingredients of putty), and that got me to the consistency I wanted.
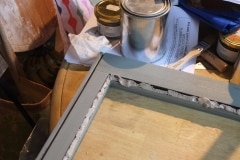
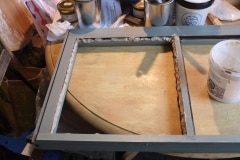
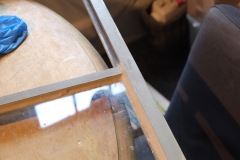
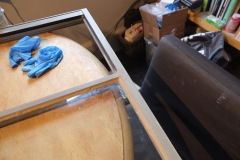
First task was to get the glass bedded down onto the rebate, to ensure a good fit and seal. A bead of putty is added to the rebate, the glass is inserted and pressed down to squeeze out any excess, which is trimmed off with my fancy putty knife. After a dusting with pumice powder, to remove any excess oil from the glass, it did start to look okay.
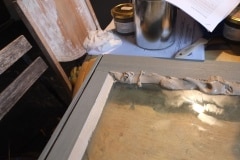
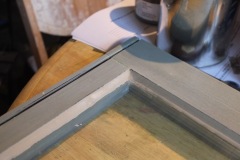
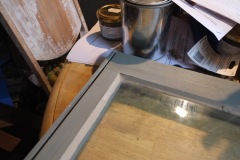
Back to the glass side again, I made a mess of applying the bead of putty, but I know this will clean up. The problem I had was having was getting a nice chamfer on the putty, which seems to come down to getting the right pressure and angle of the knife. The corners took me a while but eventually I had it complete.
On the videos, the experts glaze a pane in about 10 minutes, it took me well over an hour but in the end it looked pretty decent. As recommended when using linseed oil, putty and paint, I immediately dusted the putty with chalk and then painted it. You’ll see that I painted on the glass as well, this is to give the putty a good seal against the glass, with any excess removed with a razor blade once the paint has cured.
Overall I think I scored a ‘C’ on my first attempt and no doubt I’ll get better and faster,
though today I couldn’t get the chamfer correct at all and had to scrape off all the putty, very frustrating. Not sure I like glazing.
