A Porch is Reborn

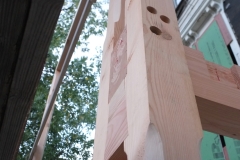
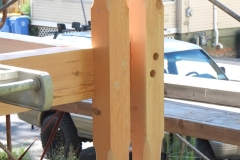
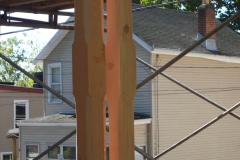
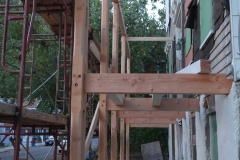
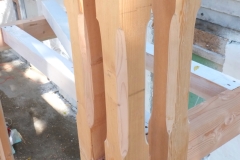
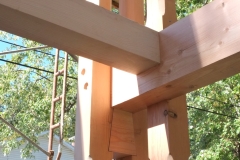
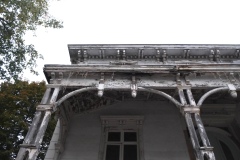
After some setbacks and delays our porch has finally been raised and how majestic it looks. Craftsmanship is top-notch. From the amount of comments from passers-by, I think we have achieved our goal of re-creating the original porch. It’s not an exact replica as by modern standards the old porch was under-engineered but I think we’ve managed to strengthen the structure a lot, whilst still retaining the original aesthetics.

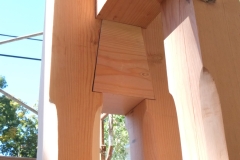
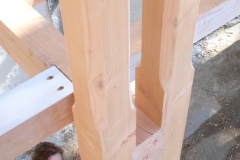
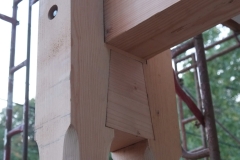
The construction techniques used were similar to the original porch, with some lovely pocket tenons, pinned in place with hardwood dowels. There are a few heavy-duty galvanised bolts here and there but they will be hidden by wooden plugs. It is a delight to look at.

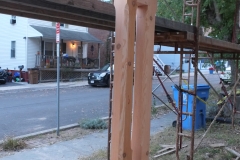
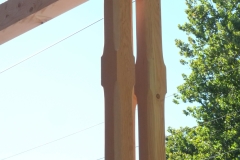
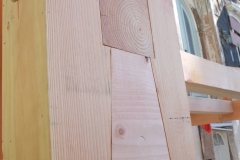
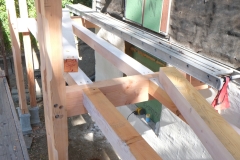
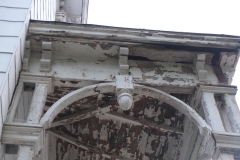
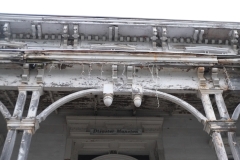
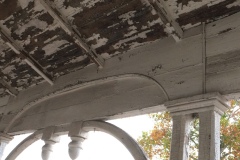
The porch is far from finished as the original had a lot of detail which you can see in the following. We’ve kept most of the original pieces, some we’ll restore and some we’ll remake. I’m glad that we’ve finally replaced the single ground-floor post (last photo) with double posts. I’m sure the porch originally had double columns on the bottom but they probably rotted away to be replaced with the single columns.

Currently, we’re prepping the wood for paint, sanding it, filling in any blemishes, etc., and then we will give it a few coats of primer, for which we will be using linseed oil paints.

The porch roof, which had a beautiful concave structure made of laminated beams will be untaken next year as we’ll need to save up for that. It was a complex roof and the gutter was built into roof contour which I thought was very clever. You can see the hole for the down pipe in the last photo. Trick will be to hide the pipes.

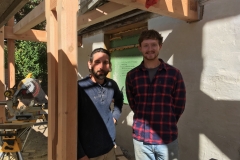
Thank you to Andre and Brian of Hudson Valley Timber Frames, you were the best people for this job.
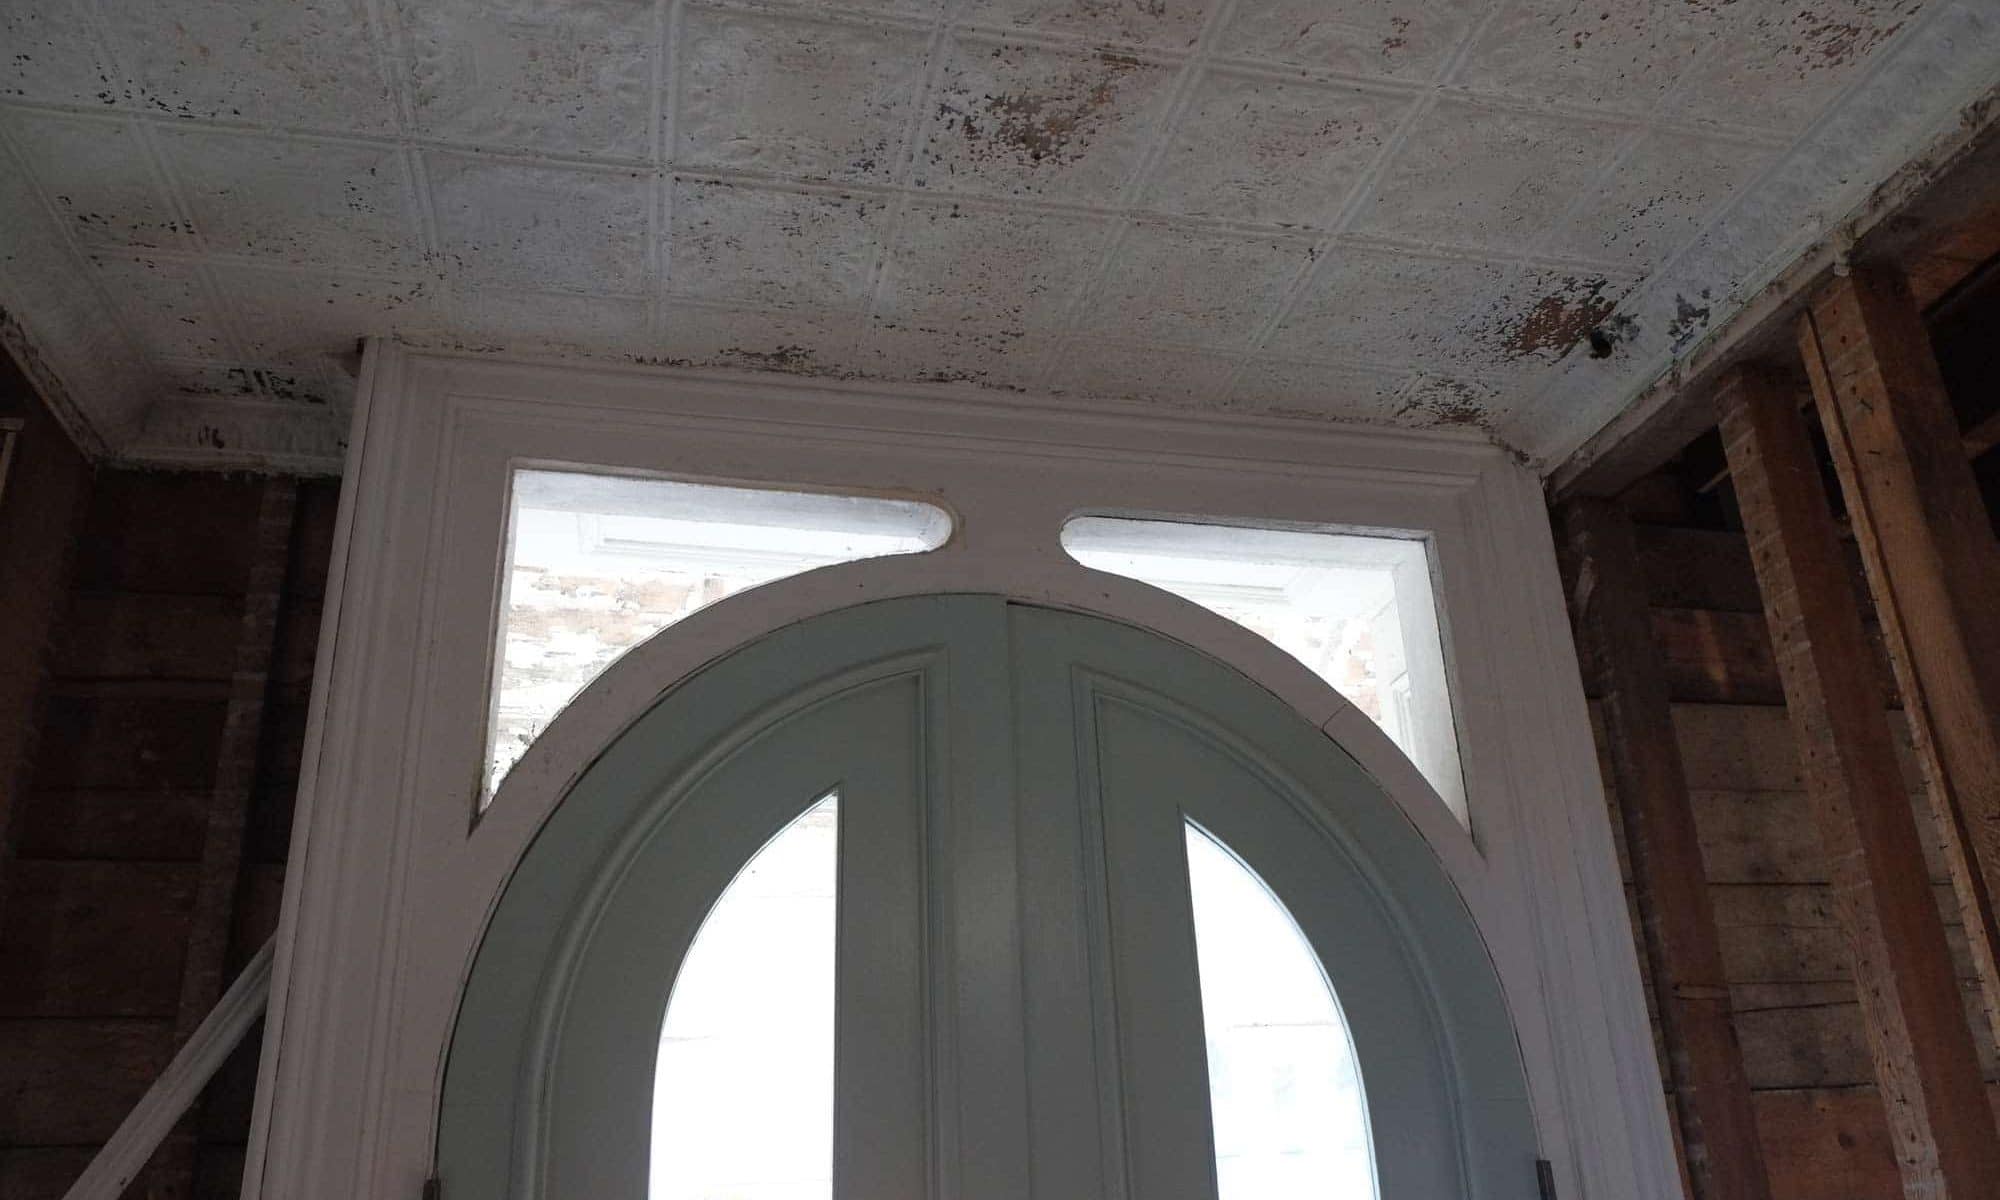
Parging and foundation drains

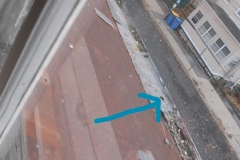
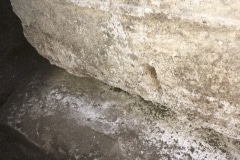
While our porch is still absent we thought it might be a good idea to parge the ground floor walls as they look a bit of a mess as well as put in a foundation drain to the left of the house. It will be no surprise to long term readers that when we reached the footings, we found another bodge. At the rear there was a 4′ length of wall that in most places you could stick your arm under past your elbow. I’d say that’s not good.

Again this took us a while to fix, mostly trying to stop the bank collapsing and clearing out all the dirt in the cavity. Glad to say that this has all been fixed. This bodge definitely wouldn’t have passed inspection by the building department had they seen it and why  they didn’t see it, I’m not sure. Fixed, moving on.

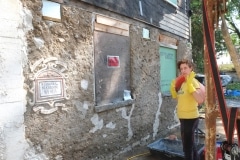
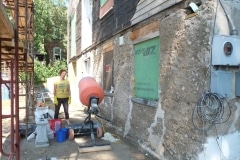
As you can see the outside is a bit of mess. We will be preserving our “Disaster Mansion” plaque and will try and frame it nicely in lime, but for now we’ll just cover it with plastic. Our first attempt at parging the front was last weekend but we didn’t get far as the air compressor we had wasn’t up to the task, but luckily we found a second hand, Honda powered petrol/gas, one for sale from a nice chap around the corner, however, this one in turn broke down after a few hours but that’s another story.

As you can see we first had to remove the cement plastering from the old lime wall. We did tell our old contractor to leave this wall alone, but did they listen, no, so not only did we have to pay for it, we had to spend our time and energy removing it. Fun times. As you can see the wall is a bit rough beneath the concrete but the parging will fix all of that.

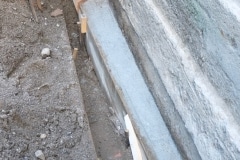
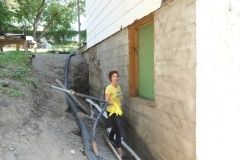
By the way, the reason I’m drilling and grinding the wall was becuase it wasn’t flat (+/- 4″) and the membrane we install as part of the foundation drain is pretty rigid so best suited to a flatter surface. The black pipe by the way is connected to our down pipe from the roof.

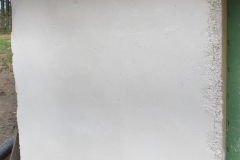
We need to leave this first coat to cure for a week before applying a second coat, but fast forward a couple of weeks a second coat was applied and I tried to get it as smooth as possible, which isn’t that smooth. Too busy to spend the time learning to plaster so I cheated by going over it with a grinder and random orbital sander with a diamond pad and it comes out great, smooth but not flat to give that “Ye Olde” look, which was all the rage at the time, probably… First pic is my best plastering, second after a bit of elbow grease.

Apologies for the lack of posts, this year has been tough at my day job, new masters, which pretty much sums it up.

Work Resumes on Porch

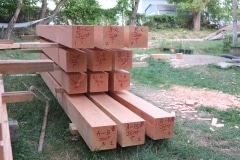
I’m happy to say that work has now resumed on the porch. Delay was caused by a labour shortage but now Andre has employed a new apprentice, Brain. Over the last few weeks Andre and Brian have been cutting all the joints for the porch and I must say they look very nice. Apart from some bolts holding the porch to the house and the post bases I think it will all be pegged so possibly no nails involved – old school and I love it.

We were hoping to get a lot of these timbers painted or at least have a primer coat before they got erected, but all the wood was pretty much cut in the last week or two and we just didn’t have the time, Aimee has O+ fast approaching and I have tight deadlines at work which means I have to do day job work most evenings and a bit at weekends, yes it sucks. We did manage to get some timbers painted but the rest will have to wait.

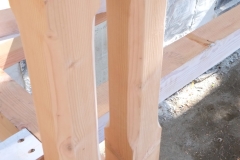
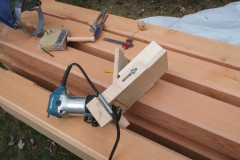
We promised the city historical officials that we’d rebuild the porch as close to the original as possible.  Original pillars were true 4″x4″ with a chamfer width of 1″, new pillars are being beefed up to 5″x5″ so scaling up the chamfer we were looking at a width of about 1.25″. The ones Andre made were 3/4″ and although done well, they just looked underwhelming. In all fairness to Andre, he was using the largest chamfer bit he could safely use with a hand held router, any larger and it starts to get dangerous. Obviously I wasn’t happy, so last weekend I devised a jig (based off this jig), trouble was we had until Thursday (3rd Oct) to complete them as that was the day that Andre had hired extra hands to help raise the porch.

It took me half a day to make the jig and then an hour or two extra to refine it after initial test cuts. By the way, for situations like this I pretty much rely on Cyanoacrylate glue (super glue) as you have a strong bond in a few minutes.

Apart from the ends of the chamfers, which needed to be finished by hand, the results were surprisingly good, only issue was it was time consuming. The router used a 1/2″ bit and due to the jig design you had to make maybe 5 to 6 passes. I timed making the chamfers for one edge and it took about 45 minutes and an extra 20 minutes to clean up the chamfer ends by hand. So for one pillar we’re talking about 4 1/2 hours and we had 12 pillars to do. Ouch!

There was no way that we were going to finished them in time so I spoke with Andre and he kindly took over the task, which I think took him and Brian probably two days. I definitely think it was worth the extra effort, so thank you Andre and Brian.