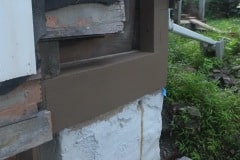
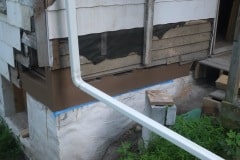
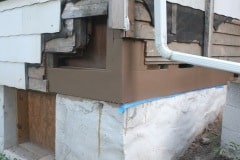
It’s taken a while but now it’s done and it’s even had two licks of paint. Overall pretty pleased with the result especially considering the state of it before. I also epoxied and screwed some pressure treated 2×10’s to the back of the beams which will help spread the weight over the wall.
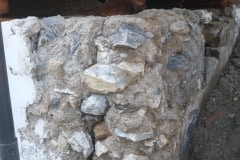
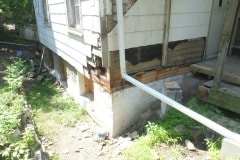
As a reminder this is what it looked like after I had removed any crumbling mortar and rotten wood (note the lack of wooden sill joist which had completely rotted away, leaving corner of house hanging for about 10′),
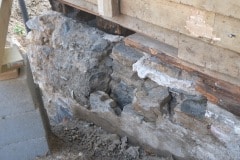
and after I had repaired the wall and ground the top flat.
My first attempt to replace the beam used pressure treated, didn’t like it so that got replaced by old growth timbers from the house.
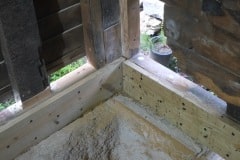
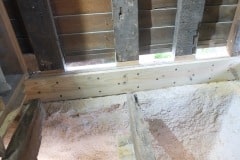
I didn’t dimension the old growth timber so there were minor gaps etc. but those got filled in with an epoxy paste towards the end.
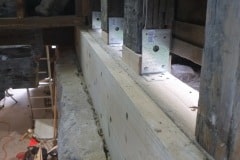
Here you can see the beams reinforced with 2×10 pressure treated. The original beams were placed on the very edge of the wall and some are even over hanging so it was good to spread the weight inwards.
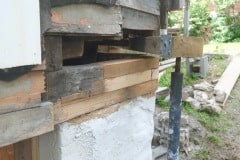
Finally the completed rim joist, with all cracks and gaps filled with West Systems Epoxy and then two coats of exterior paint. Eventually this will all be covered with the sidings. The wall will be parged again as the beam is still over hanging in parts, plus I spilt a fair amount of epoxy on it. Good for another century.
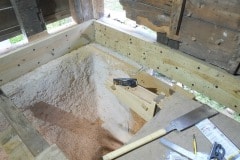
Next project is to replace the rotten floor joists and I’ve already started to cut the joints as can be seen in the following image. I’ll epoxy and bolt everything and possibly that would be enough, but will probably sister in a 10×2 or a LVL beam just to be sure. Tricky cutting these as they are awkward to get at, one down and two to go. Using a sawzall to rough cut and then a trim router with template. Finishing off with a combination of Tenon saw, Japanese saw and hand plane, basically trying everything until I find what works best.
