Repairing the footings

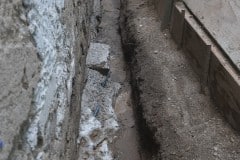
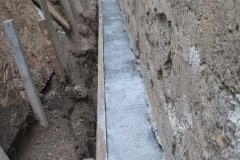
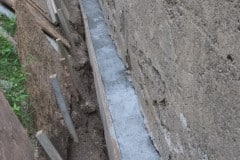
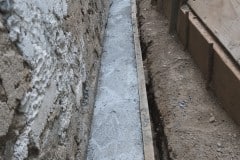
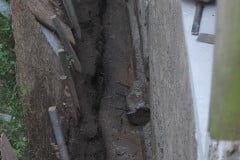
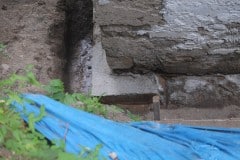
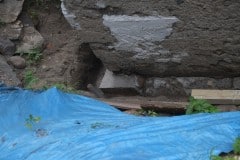
If you read the previous post you’d know that our rear wall footings weren’t up to scratch and needed repairing. It was a bit tricky as the space was limited but passing buckets of concrete out of the window worked well. We prepped well and I rust treated the existing rebar, added new rebar and pressure washed it a few times. After the concrete had set I did go along the bottom of the wall and filled up any gaps that still existed and as suggested by a few, I might seal the joint at the bottom.

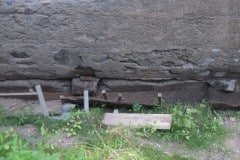
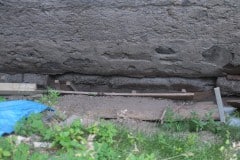
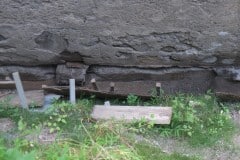
We’re pretty pleased with how it worked out and it’s a major improvement over what Thomas Motzer left us with, see below. Just a shame we had to spend the time and energy to correct this mistake. With this done we can move on to apply a new parge coat of lime to this wall which we will probably start this weekend.

P.S. the white stuff on the walls is new lime mortar and as this will be hidden or white washed we didn’t bother color matching it.

P.P.S. Hope you’re feeling a bit better Chris 🙂

They promised the earth, but delivered crap; again

The Contractor, and I don’t mean to insult any decent contractors out there.

Recent rainy weather has shown that we get pretty major water ingress into the ground floor, bad enough to soak carpets and cause major mould, so it needed to be addressed. The leak isn’t through the walls but where we had footings placed under our stone and mortar walls.

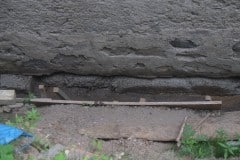
Investigation required more digging which revealed a real hodge-podge of a footing which Thomas Motzer installed. To be honest I’m not really sure you could call it a footing as in places it doesn’t extend any further out than the wall they were trying to support, plus you could put your hand at least 10″ under the wall in many places. Lastly they had left unexposed rebar sticking out and when this rusts it will expand and start cracking the concrete which just accelerates the problem. We spoke to an architect last night and he confirmed than rebar should be completely enclosed by the concrete – thanks A2.

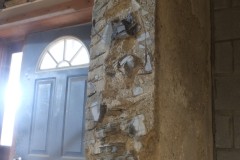
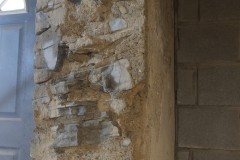
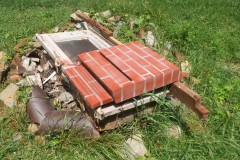
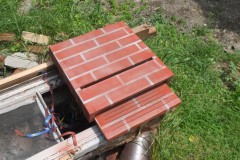
If you don’t really understand what you’re looking like, the footings should look like the corner section (last two pics) which Thomas did get right.

I’m pretty sure that this wouldn’t have passed the building inspection so I’m guessing, like us, they didn’t see what was going on outside. Admittedly it was difficult to access and earth had probably collapsed into the trench by the time the inspector looked at it. Anyway we decided we had to do something about it not least because of the leak, so we cleared out more soil, cut back the rebar and rust treated it as well as adding additional rebar pieces so we could get a better key into the existing concrete. Sucks that we have fix this after spending probably tens of thousands getting it fixed in the first place. The weather didn’t help with temperatures hitting triple digits on the weekend, that said we were out of the sun for most of time and there was a slight breeze.

We’ll mix inside and then have to bucket the concrete out of the window, fun times!!!! We need to get this done so we can plaster the rear wall, install a french drain and get this pain in the ass trench filled in.
Fixing Door Openings

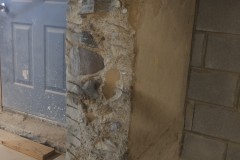
It seems a good idea that we fix our doorways before we parge/plaster the interior walls. The doorways are pretty uneven so we added some shuttering and slowly filled up behind with lime mortar mixed with a bit of fiberglass and as many stones that we could fit in. You can see Aimee hammering in the mortar to reduce voids.

Progress is a bit slow but at least we’ll have a pretty square opening for a door to be installed. This door is to the bedroom and we had the builders cut this opening in the wall for us. The second doorway we need to fix is to the boiler room and for this we plan to have an arch, how fancy is that and the arch should be a fun project. The reason for the netting is that the masonry above the door is extremely fragile and if it fell on you it would likely kill you.

We did have a plastering fail yesterday. I removed the shuttering and 90% of the plaster came away from the wall. Not sure what went wrong there but it could have been any combination of the following:

  1. Messed up the ratio of the mix
  2. Didn’t mix for long enough
  3. Removed the shuttering too soon
  4. Mix was too dry
  5. Didn’t pack in in well enough

We’ll probably never know why but I suspect a combination of all of the above with the possible exception of (5).

Thanks again Joe and Deborah for the loan of your cement mixer.

Brick Bat Box!!!

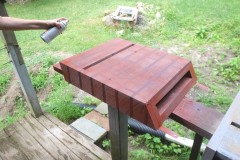
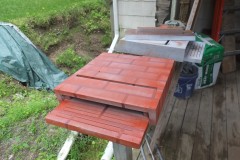
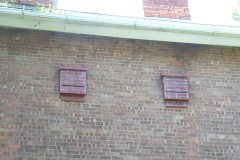
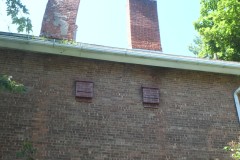
Aka some camouflaged bat boxes. This is my attempt to reduce the mosquito population, that said there is no guarantee that the bats will nest in the boxes. I built these last year but with so many other projects on the go they’ve sat for a while. Had to get them up soon otherwise another year will have passed so we made the effort and got them up.

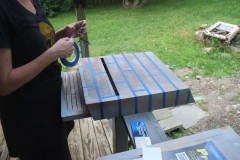
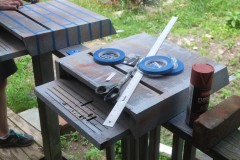
Wood is the same wood we are using for our windows which has been thermally modified so very rot resistant. It has a beautiful mahogany color but I decided to paint them so they would blend in. Okay the colors don’t quite match and they should probably should have been positioned under each chimney but I think they will fade and weather in time and I was using existing hooks in the wall.

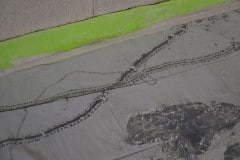
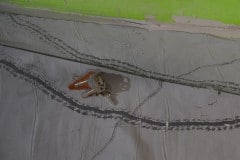
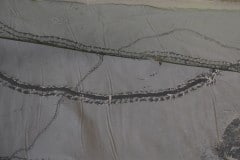
Last few pictures are some tracks we found in the lime mortar dust. I suspect some of them are Millipede/Centipedes.