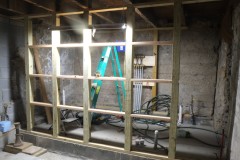
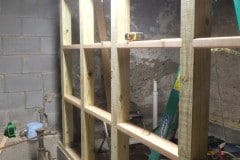
So the novelty of working in near freezing conditions is wearing off a bit, even our tools don’t work well when it gets that cold, example being our planer, the rubber rollers harden and lose their grip and can’t feed the wood through. This weekend it will hit a balmy 1°F/-17°C and it’s not much different inside the house.
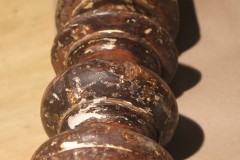
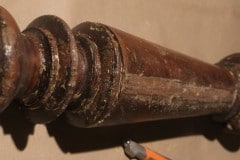
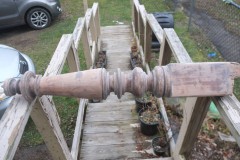
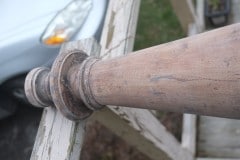
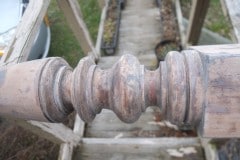
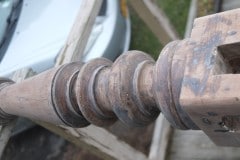
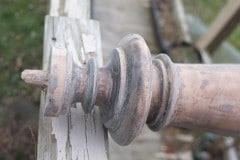
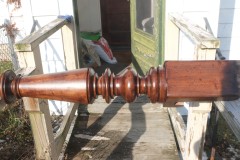
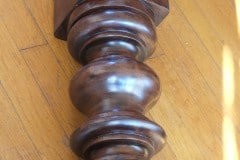
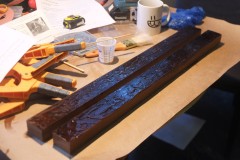
After years of working on the house, evenings and weekends, I find myself at a bit of a loss as to what to do, so I’m trying to think of projects that can be done in the comfort of our kitchen and the first project that I’ve been working on is restoring the the newel post which is the large post at the bottom of a staircase. We will probably junk most of the stair case so it’s nice to keep at least some original parts.
This post has been pretty abused over the years but I hope to restore her to some former glory. I suspect the post originally came from another house as it had been painting white and had period fixes (square nails). This post was on the ground floor so it doesn’t need to be perfect. The bottom was resting on soil and is pretty rotten so I’ll chop that off and add a new section.
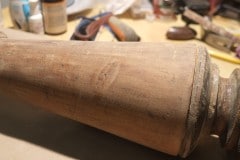
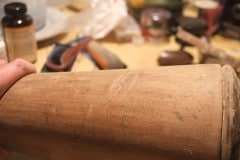
Every night, after work, I’ll crack a beer and start scraping and sanding. I use Bahco scrapers with their carbide blades and they are great. You have to be aware of the grain of the wood and apply light pressure. As for sanding I’m loving these flexible 3M sanding sheets which seem to last and last.
Tonight I removed a pretty decent sized dent from the post by using a steam iron, lots of videos on youtube but this one is pretty good. I spent about ten minutes and I think I got about 80 – 90% of the dent out which is good enough for me.
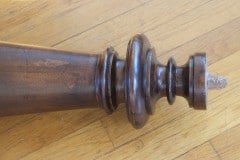
After sanding I filled the many small dings and dents with West epoxy, then applied a dark walnut stain before adding a few light coats of satin polyurethane. I’ll probably sand back lightly and then apply a couple more coats. It’s not perfect, but I’m happy with it. Eventually I’ll replace the rotten wood at the end.
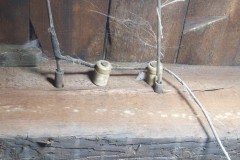
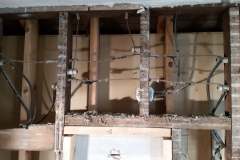
Another project is to clean up the basement joists. The joists have hundreds of old nails in them (which we are removing) and are littered with the old knob and tube style of wiring. Not sure whether this wiring is original to the house as there is evidence of gas lamps upstairs. Interesting article from Goshow Architects in which they talk about the pros and cons of K & T wiring.
I may try and remove some of the knobs without damaging them and use them for cabinet handles etc. as per these Pinterest ideas. Currently they are a bit of a pain to remove without breaking them.
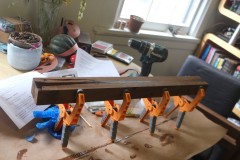
Lastly I’ve been milling wood for our sash windows. A while back we got this great thermally modified wood which is very rot resistant, unfortunately it isn’t thick enough so I’ve had to run it through the table saw, jointer and planer before I can epoxy the pieces together and after all that I still need to run it through the planer and table saw again. It’s a bit of a faff, especially as each window requires ten finished pieces. Next time I’ll find some thicker lumber. I can recommend the Bora clamps, they do need a really strong grip to open, but your hands strengthen up.
Can’t wait until we can heat at least a portion of the place 🙂
