They Came, They Poured, They Concreted, They #@$&ed Up

What went wrong Al Riozzi (AJR Masonry)?

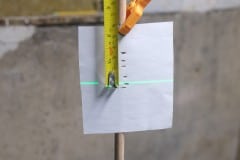
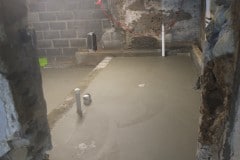
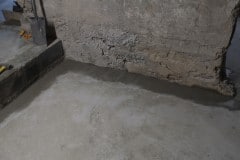
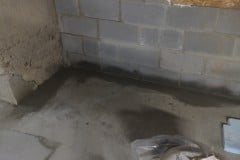
Seems we have some height issues with our pour and we have areas which differ in height by at least 1 & 3/8″. It doesn’t seem that we have a single isolated high spot, rather we have low and high areas. This week I’ll do a more detailed survey and take readings every foot or so in a grid fashion.

We spoke to some knowledgeable friends about this deviation and they said it was unacceptable, so we’ll contact Al Riozzi (AJR Masonry) in the week and see what he has to say and hopefully they can take care of it with self leveling compound.

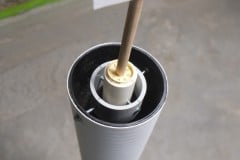
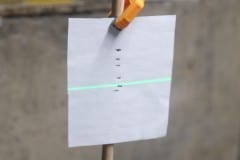
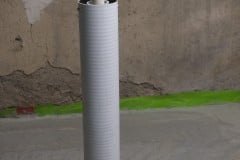
So I didn’t didn’t have to keep checking that my measuring stick was completely vertical I made a 2-axis gimbal out of pvc pipes, some machines screws, part of a sewing reel and a dowel rod. Using this I can just place it and the dowel rod is always vertical.

I marked the deviations on a piece of paper and the higher the marker the lower the floor is etc.

So if you’re looking for a mason or concrete firm look NO further than Al Riozzi (AJR Masonry).

They Came, They Poured, They Concreted

Yes we got our concrete pour on Friday!!! Big thanks to Al Riozzi (AJR Masonry) and his crew who did a great job! This was a big big day for us and has taken about three months to prepare for and we got it done just before winter sets in. It’s been quite the slog and so pleased this is behind us now. As a reminder this is how the ground floor looked in April.

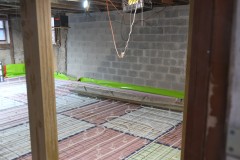
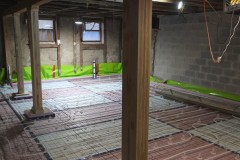
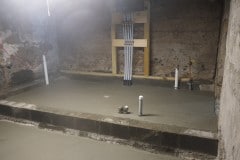
Final thickness of the concrete was about 4 & 1/2 – 5″ which is a decent thickness and we also added rebar mesh supports to lift the rebar and radiant tubing to the top third of the slab, this will make the radiant heating system more efficient and responsive. We also managed to drop this new floor by about 5″ giving us a little more headroom.

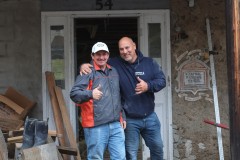
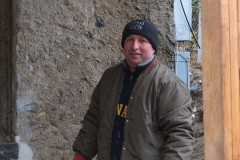
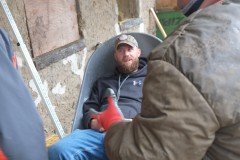
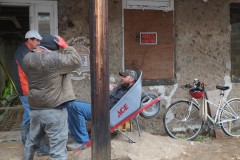
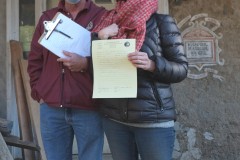
This is the crew, I didn’t catch all their names but pictured (in no order) is Al, Anthony and Pat, and I have to credit Pat with the “Adirondack wheel barrow chair”, it looks really, really comfortable and it’s portable!

The last few shots were just before the pour and shows how we used small supports (known as chairs in the trade) to lift up the rebar mesh and Pex tubing. Concrete guys don’t really like these but Dave from the building department wanted them and I think that was a good call.

For some reason the video camera shut down before they had finished with the power trowel. I think they did three passes, using two different sized machines.

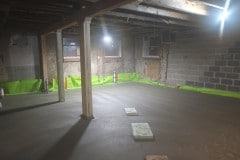
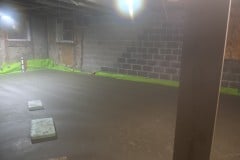
Post pour, if the pictures look a little steamy that’s because it was steamy. Temperature was about 70°F and steam was coming off the concrete. Al did say to expect this as it’s an exothermic reaction. We also have a few heaters to make sure the temperature doesn’t drop too low – tonight it’s dropping to almost 0°C, brrrrr.

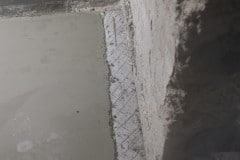
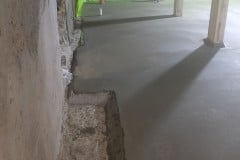
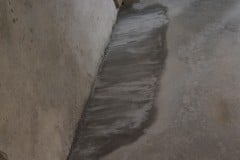
For some reason they didn’t add concrete all the way to the edges, probably something we should have discussed beforehand. Anyway we filled in these areas this weekend and are misting the concrete to improve the cure. There are some areas where you can see some deviations in height but overall it appears pretty flat and we’re happy with the results.

In about a month, when the concrete is fully cured, we will apply a coat of epoxy, probably colored, to add some protection and to smooth out any imperfections, but this is only if we can warm up the area to about 50° which is doubtful. Maybe we can install the rest of the radiant heating system, that would be cosy 🙂

Here’s more on the history of concrete, for all you nerds.
Inspection complete

This morning we had our pre-pour inspection with Dave from the city and thankfully we passed.  We’ve let our concrete guy, Al Riozzi (AJR Masonry), know and he is going to try and fit us in next week, currently there seems to be a shortage of concrete, but fingers crossed.

Temperatures are now starting to hit freezing but I feel we can combat that with a few electric space heaters but once we start to drop to about 10° below there would be no chance of that as our house is far from air tight with broken and boarded up windows etc.

The prep work for this has been a huge job for us so I’m glad we have finally finished.

And the results are in, probably…

[spfx: drum roll]

I started the test at about 1.30pm yesterday with a shade over 75psi and today at 8.30pm (30 hour time lapse) the pressure is at 71psi. I’m hoping the drop is due to colder temperatures than yesterday and pipe expansion. I’ll leave the system like this over the next few days and monitor. Fingers crossed.

I did mean to put a clock behind the gauge but I forgot so the video doesn’t have many moving parts!

P.S. We have our inspection this Friday so really hoping we get the thumbs up.

Updates

  • Nov 1st update. 70 psi (52 hour time lapse). Still putting this down to colder temperatures.
  • Nov 2nd update. 69 psi (58 hour time lapse). Maybe we do have a slow leak. I’ll spray all the connectors with soapy water tomorrow.
  • Nov 3rd update. 65 psi (80 hour time lapse). Sprayed all the connections with soapy water and found one tiny leak so tighten up that one connector and charged the system to 80 psi.
  • Nov 4th update. 78 – 79 psi (104 hour time lapse) which for now I’ll put down to pipe expansion.
  • Nov 5th update. 78 – 79 psi (138 hour time lapse) hopefully holding steady.